2015 Subaru BRZ Custom Headlights
Demon Eyes, Lens Etching, Paintwork, Projector Retrofit, RGB Halos/Strips, Switchback Halos/Strips
When I did that FRS headlight demo build, I should have expected that a BRZ owner would immediately want the exact same style of install for his ride. Leave it to the Subaru kids to wanna one-up the Scion kids, right? 😀
This was a super enjoyable build because, despite almost everything going wrong, the customer was super understanding and cool about it. We shared in the trial-ridden journey of overcoming headlight-related obstacles together. It was a beautiful thing.
Let’s get down to it then, shall we? The vehicle was a 2015 Subaru BRZ and we pretty much threw everything you put inside headlights at these things. DRL Kit, demon eyes, etched lenses, quad retrofit, paintwork, halos, exterior clear coat…. yea… But let’s start at the beginning….
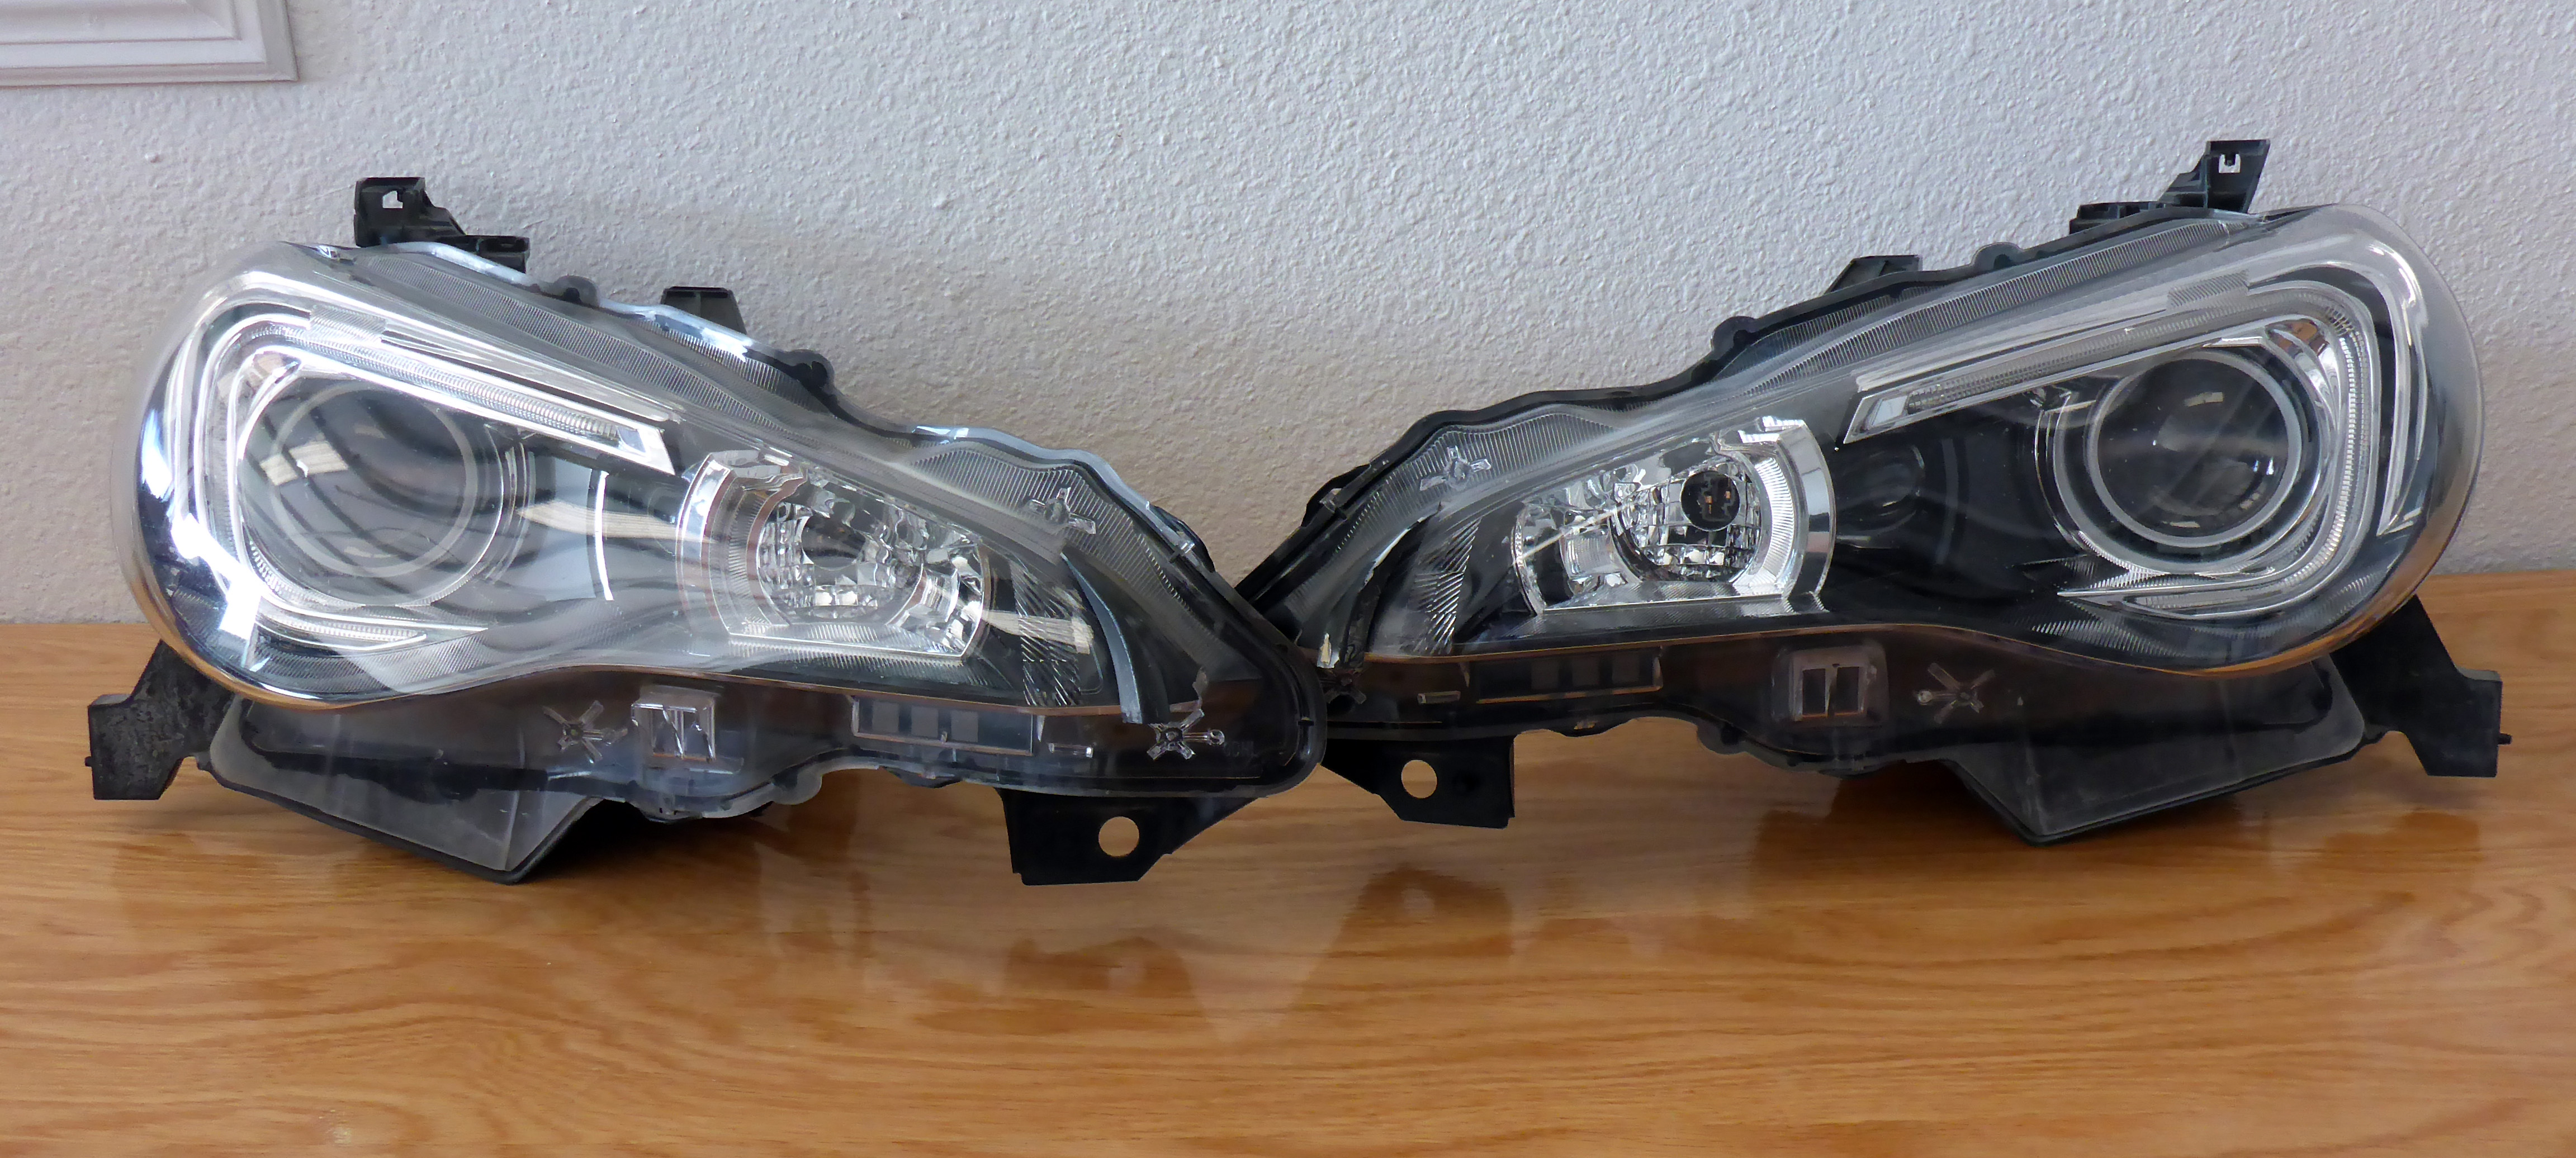
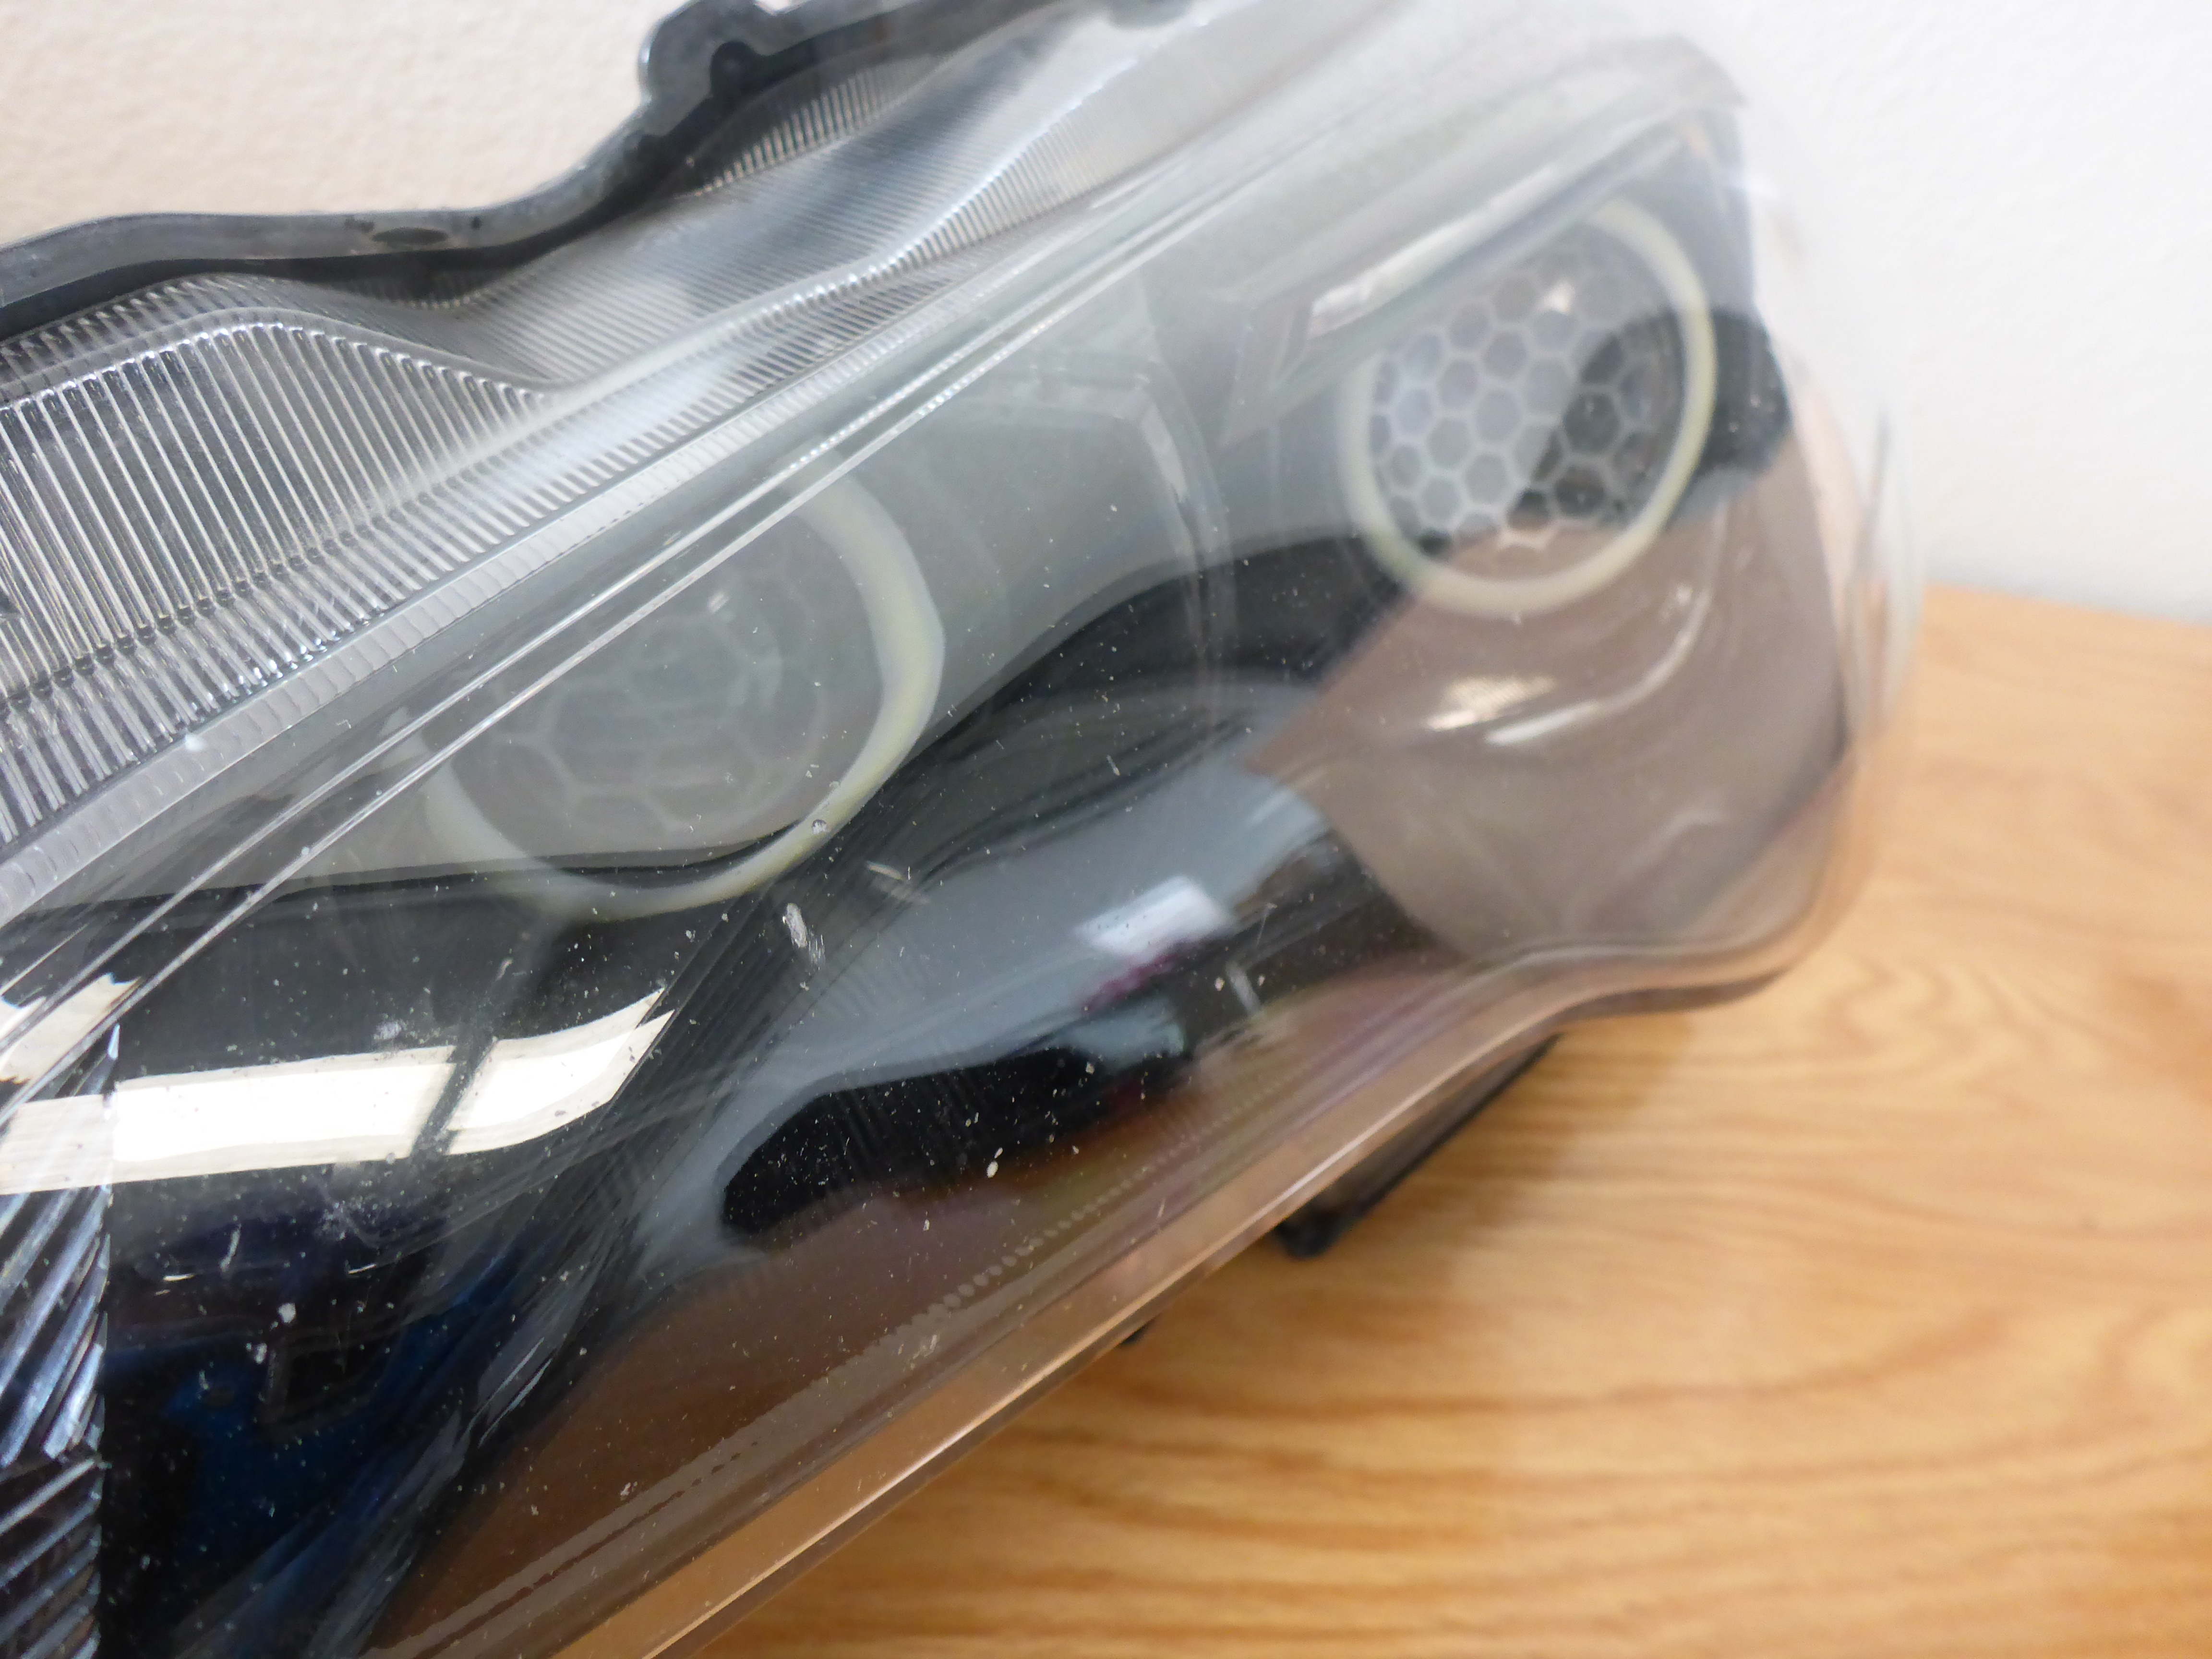
…with some basic vanilla headlights with mediocre output:
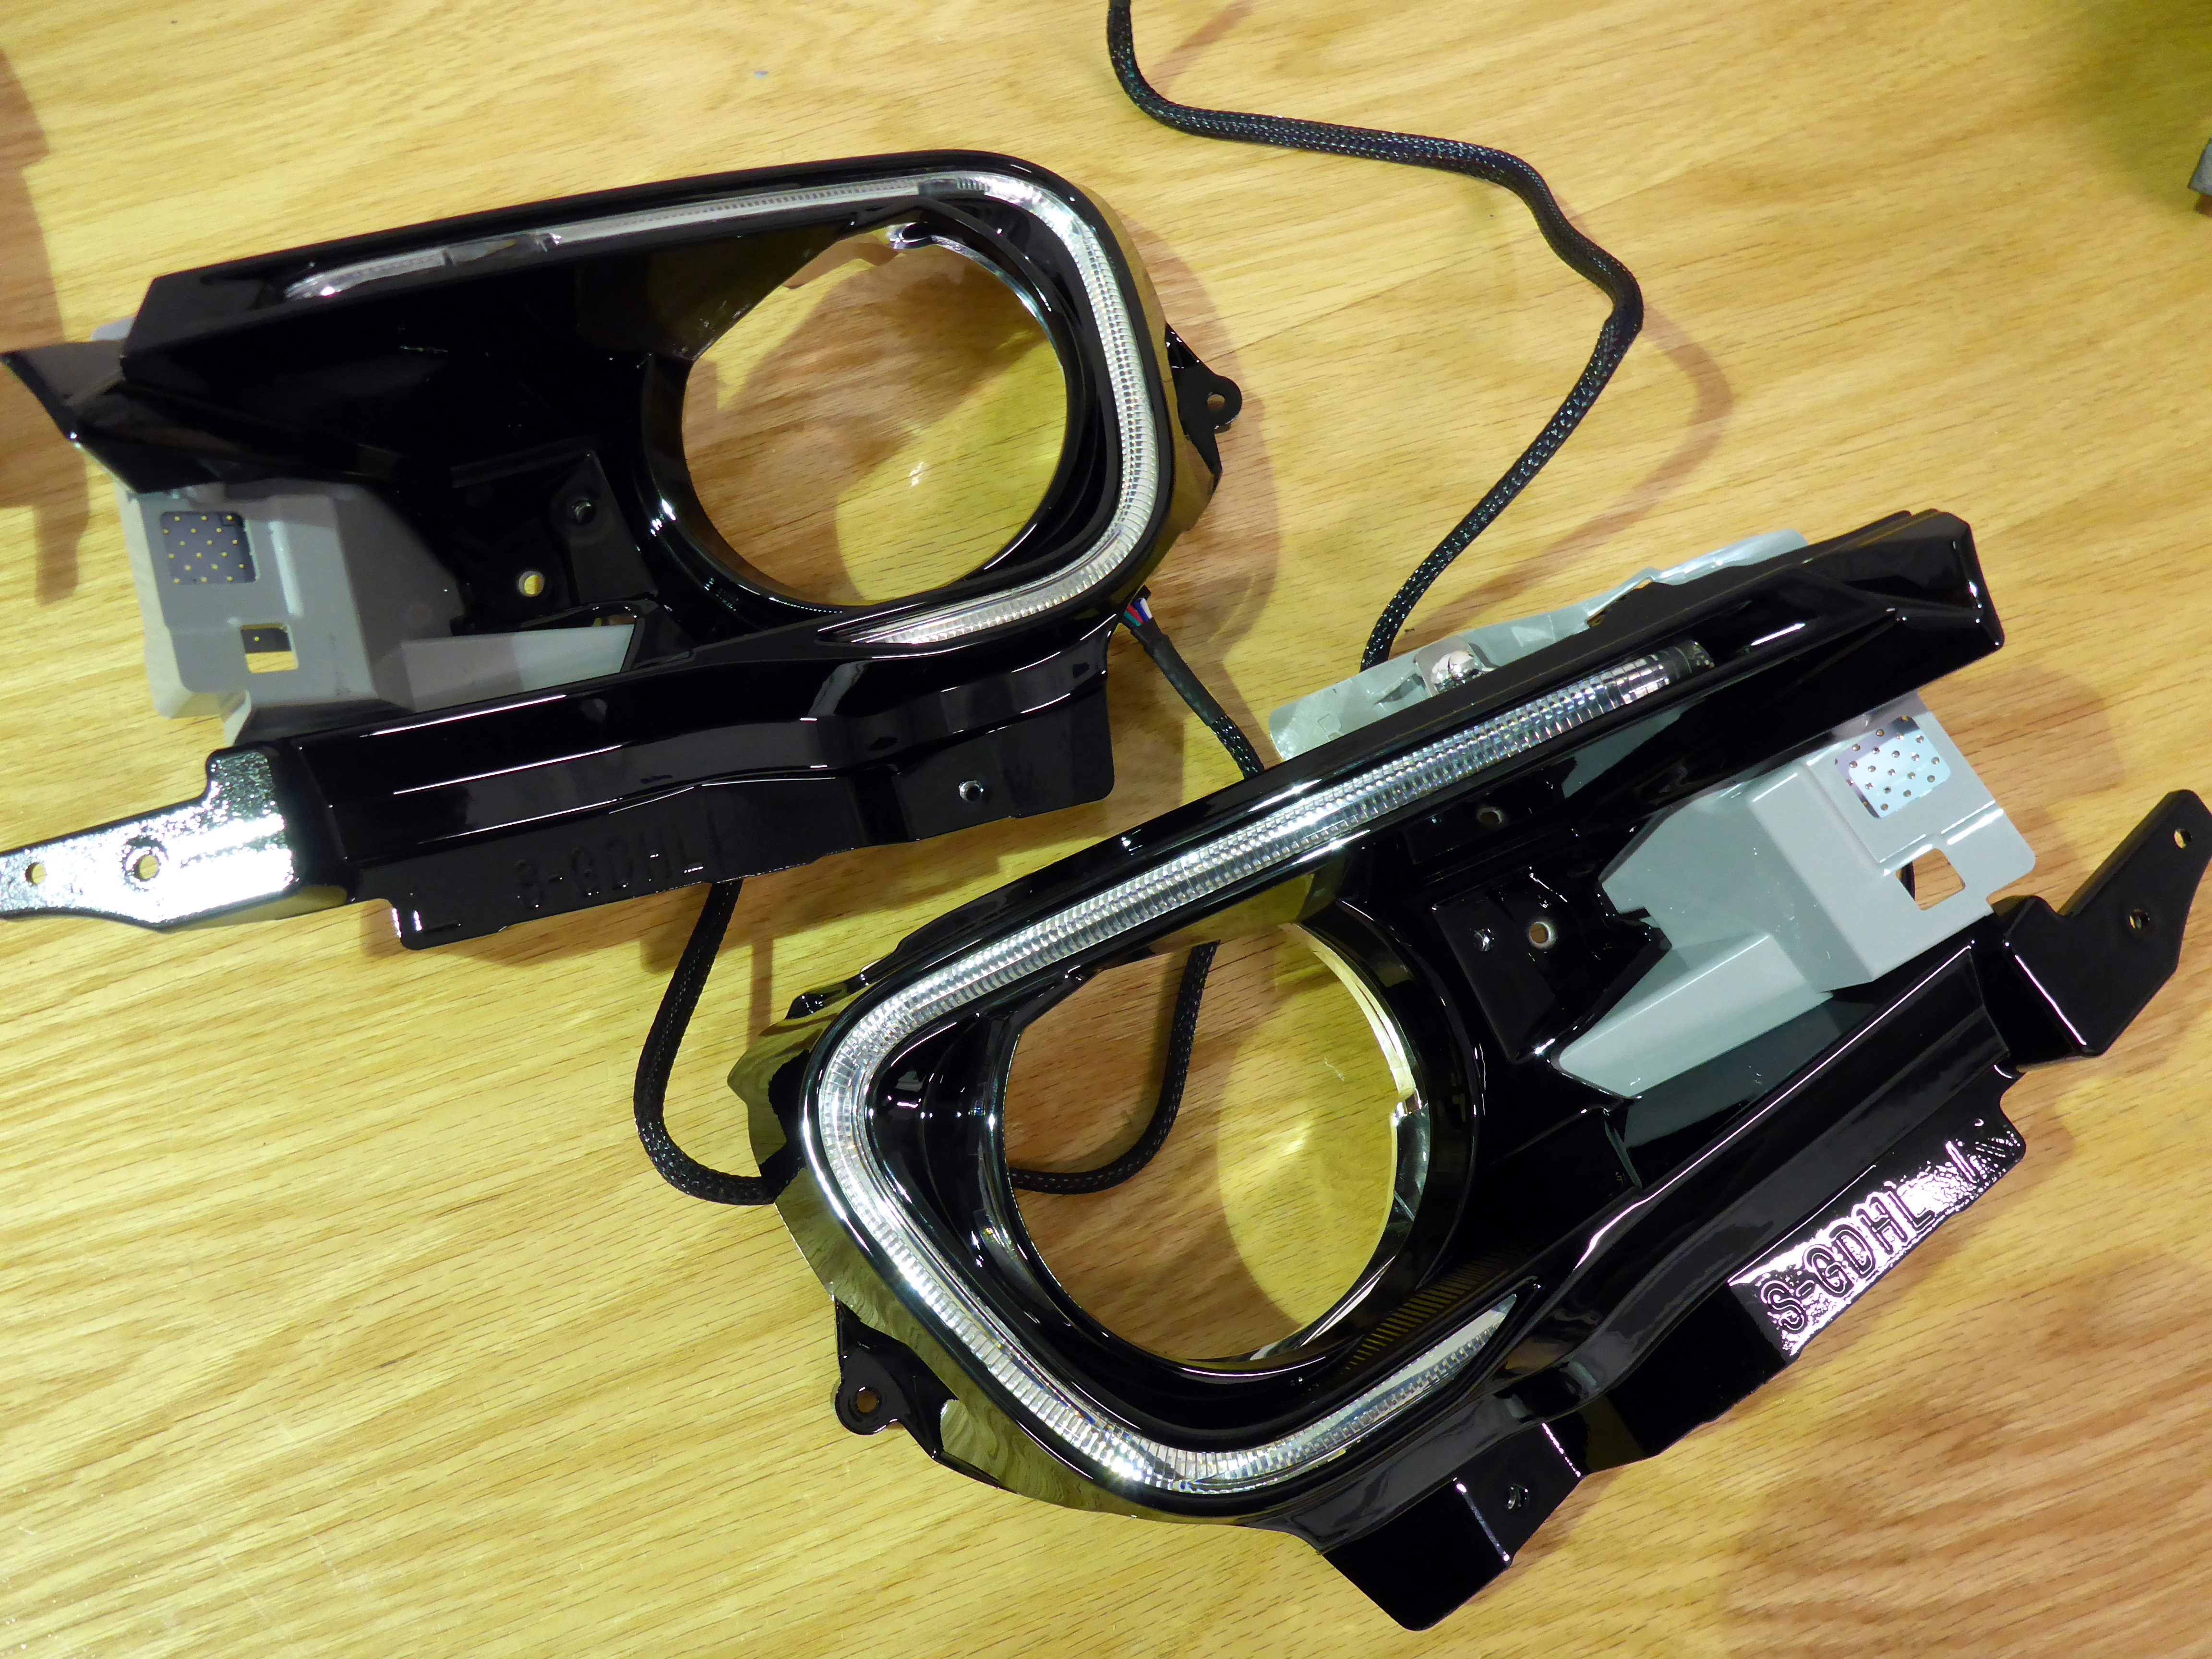
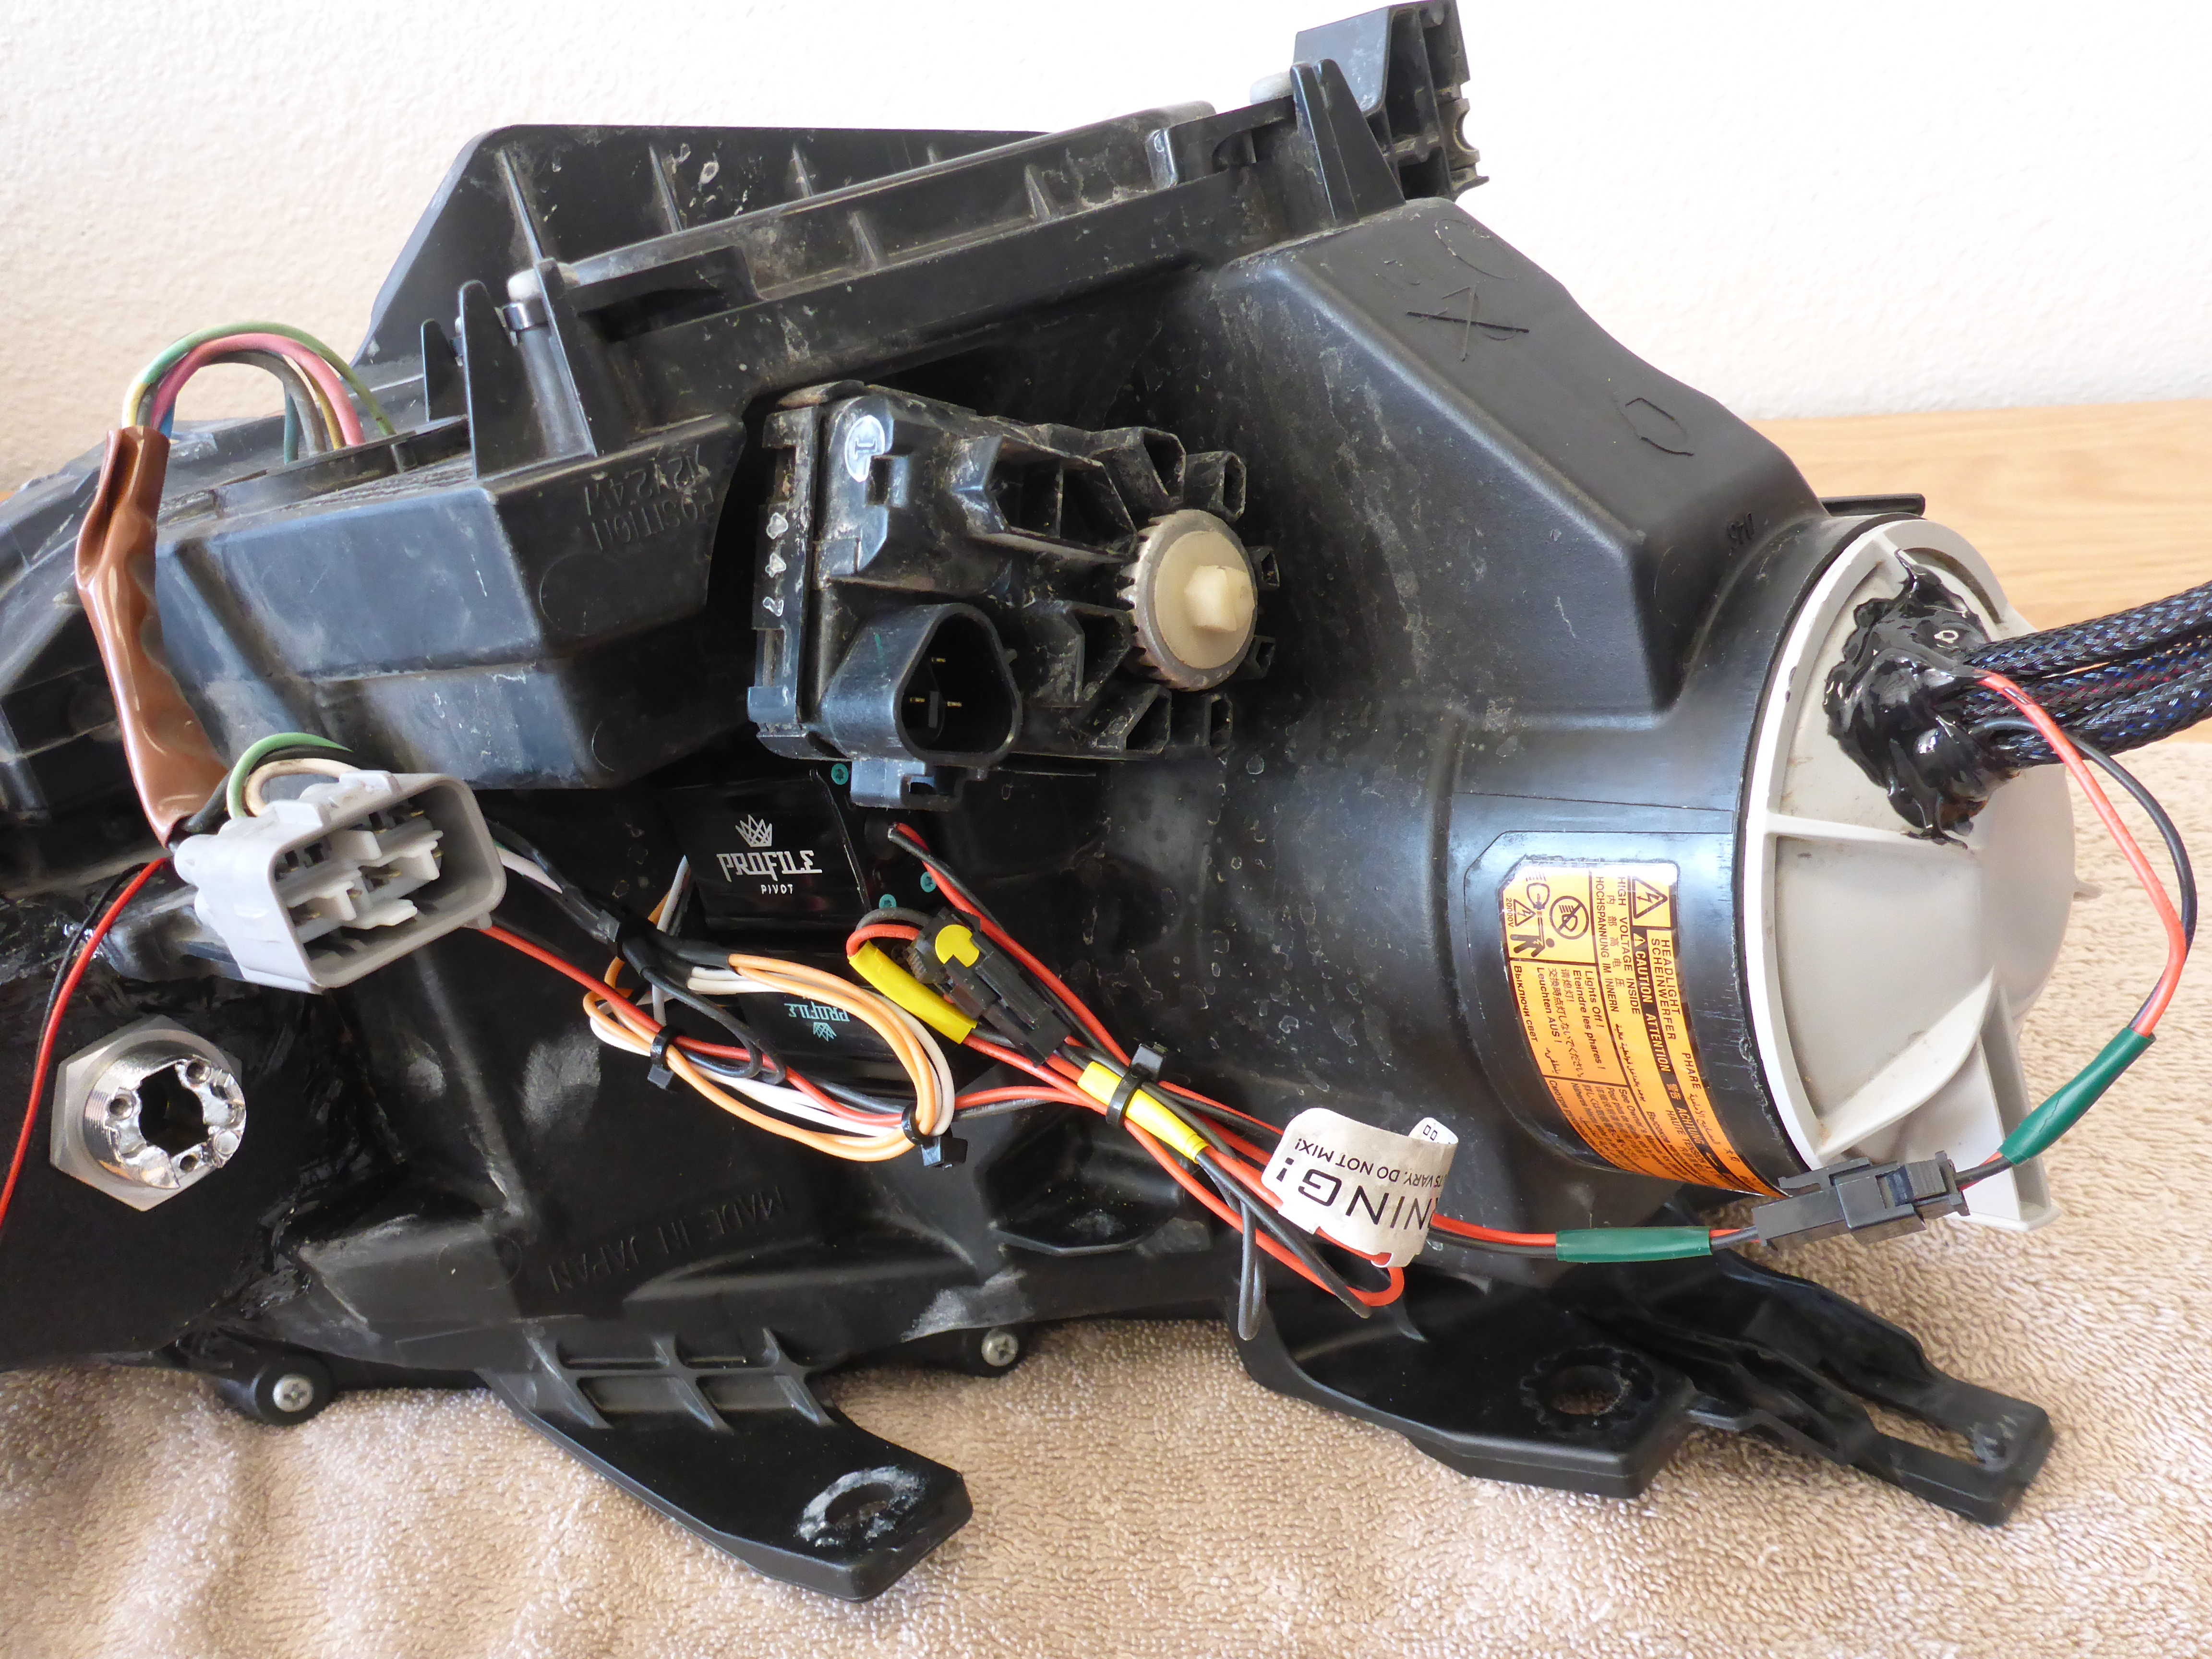
By now you know how all these writeups start… let’s get em apart!

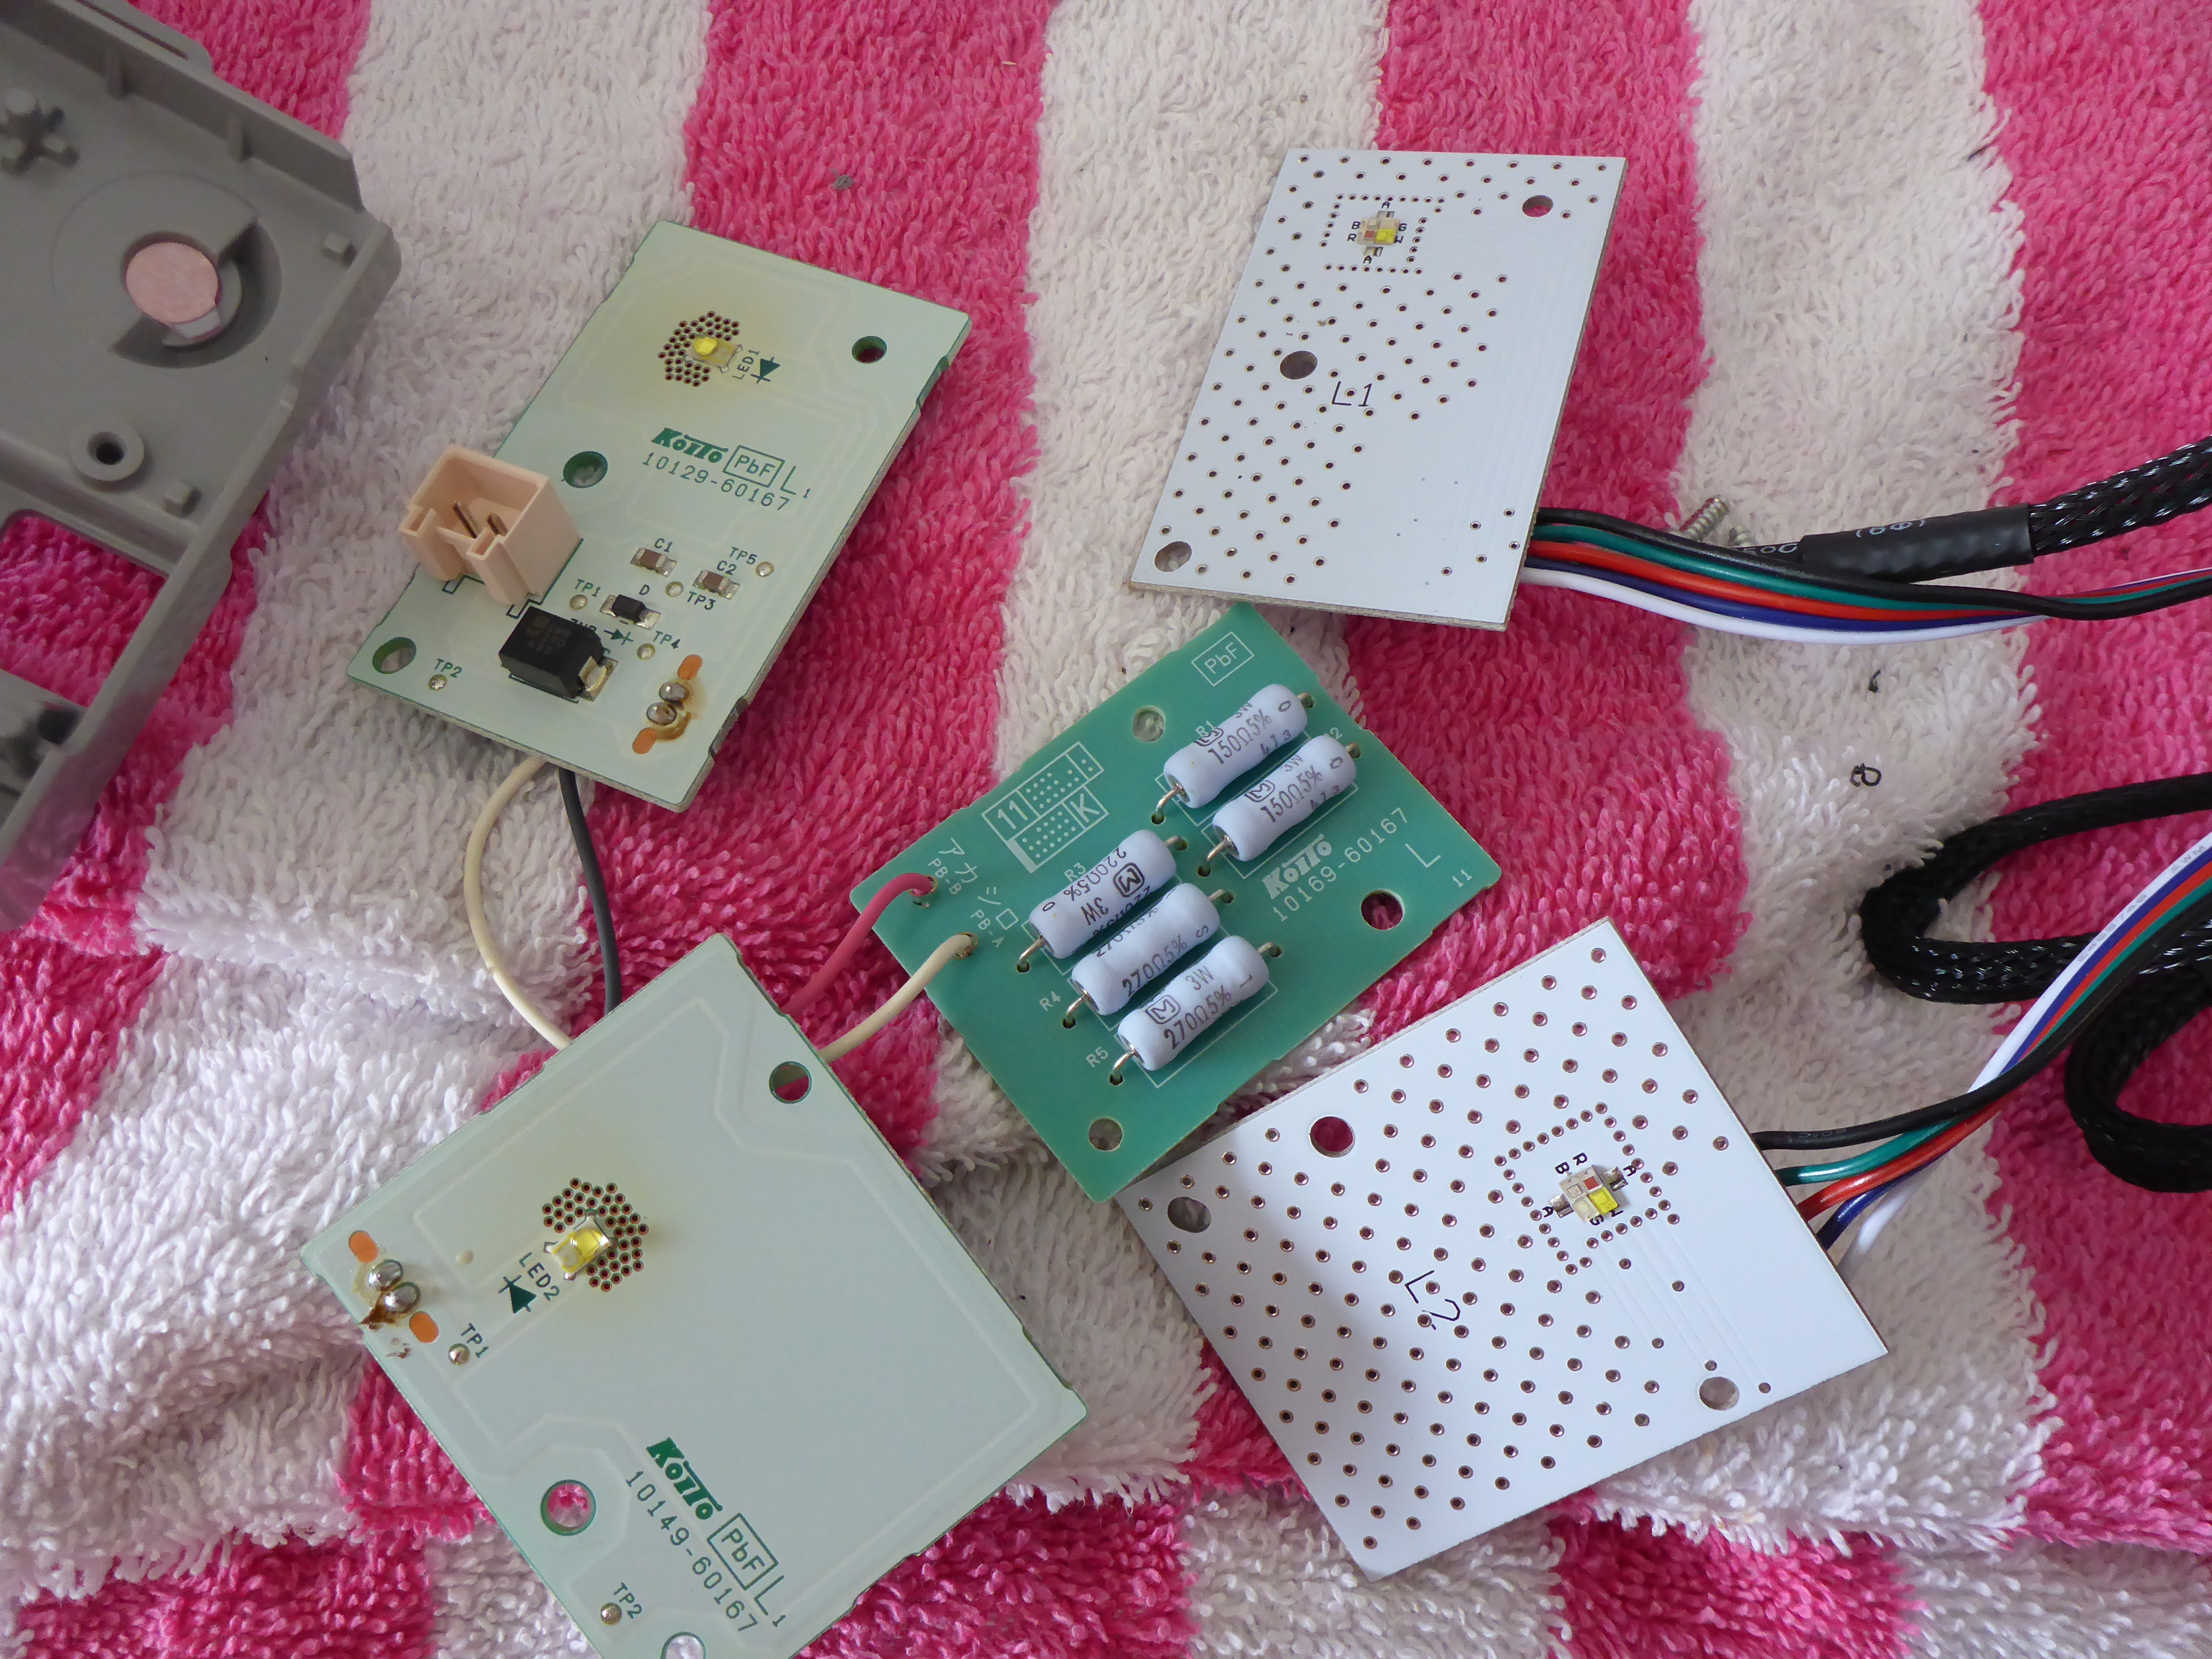
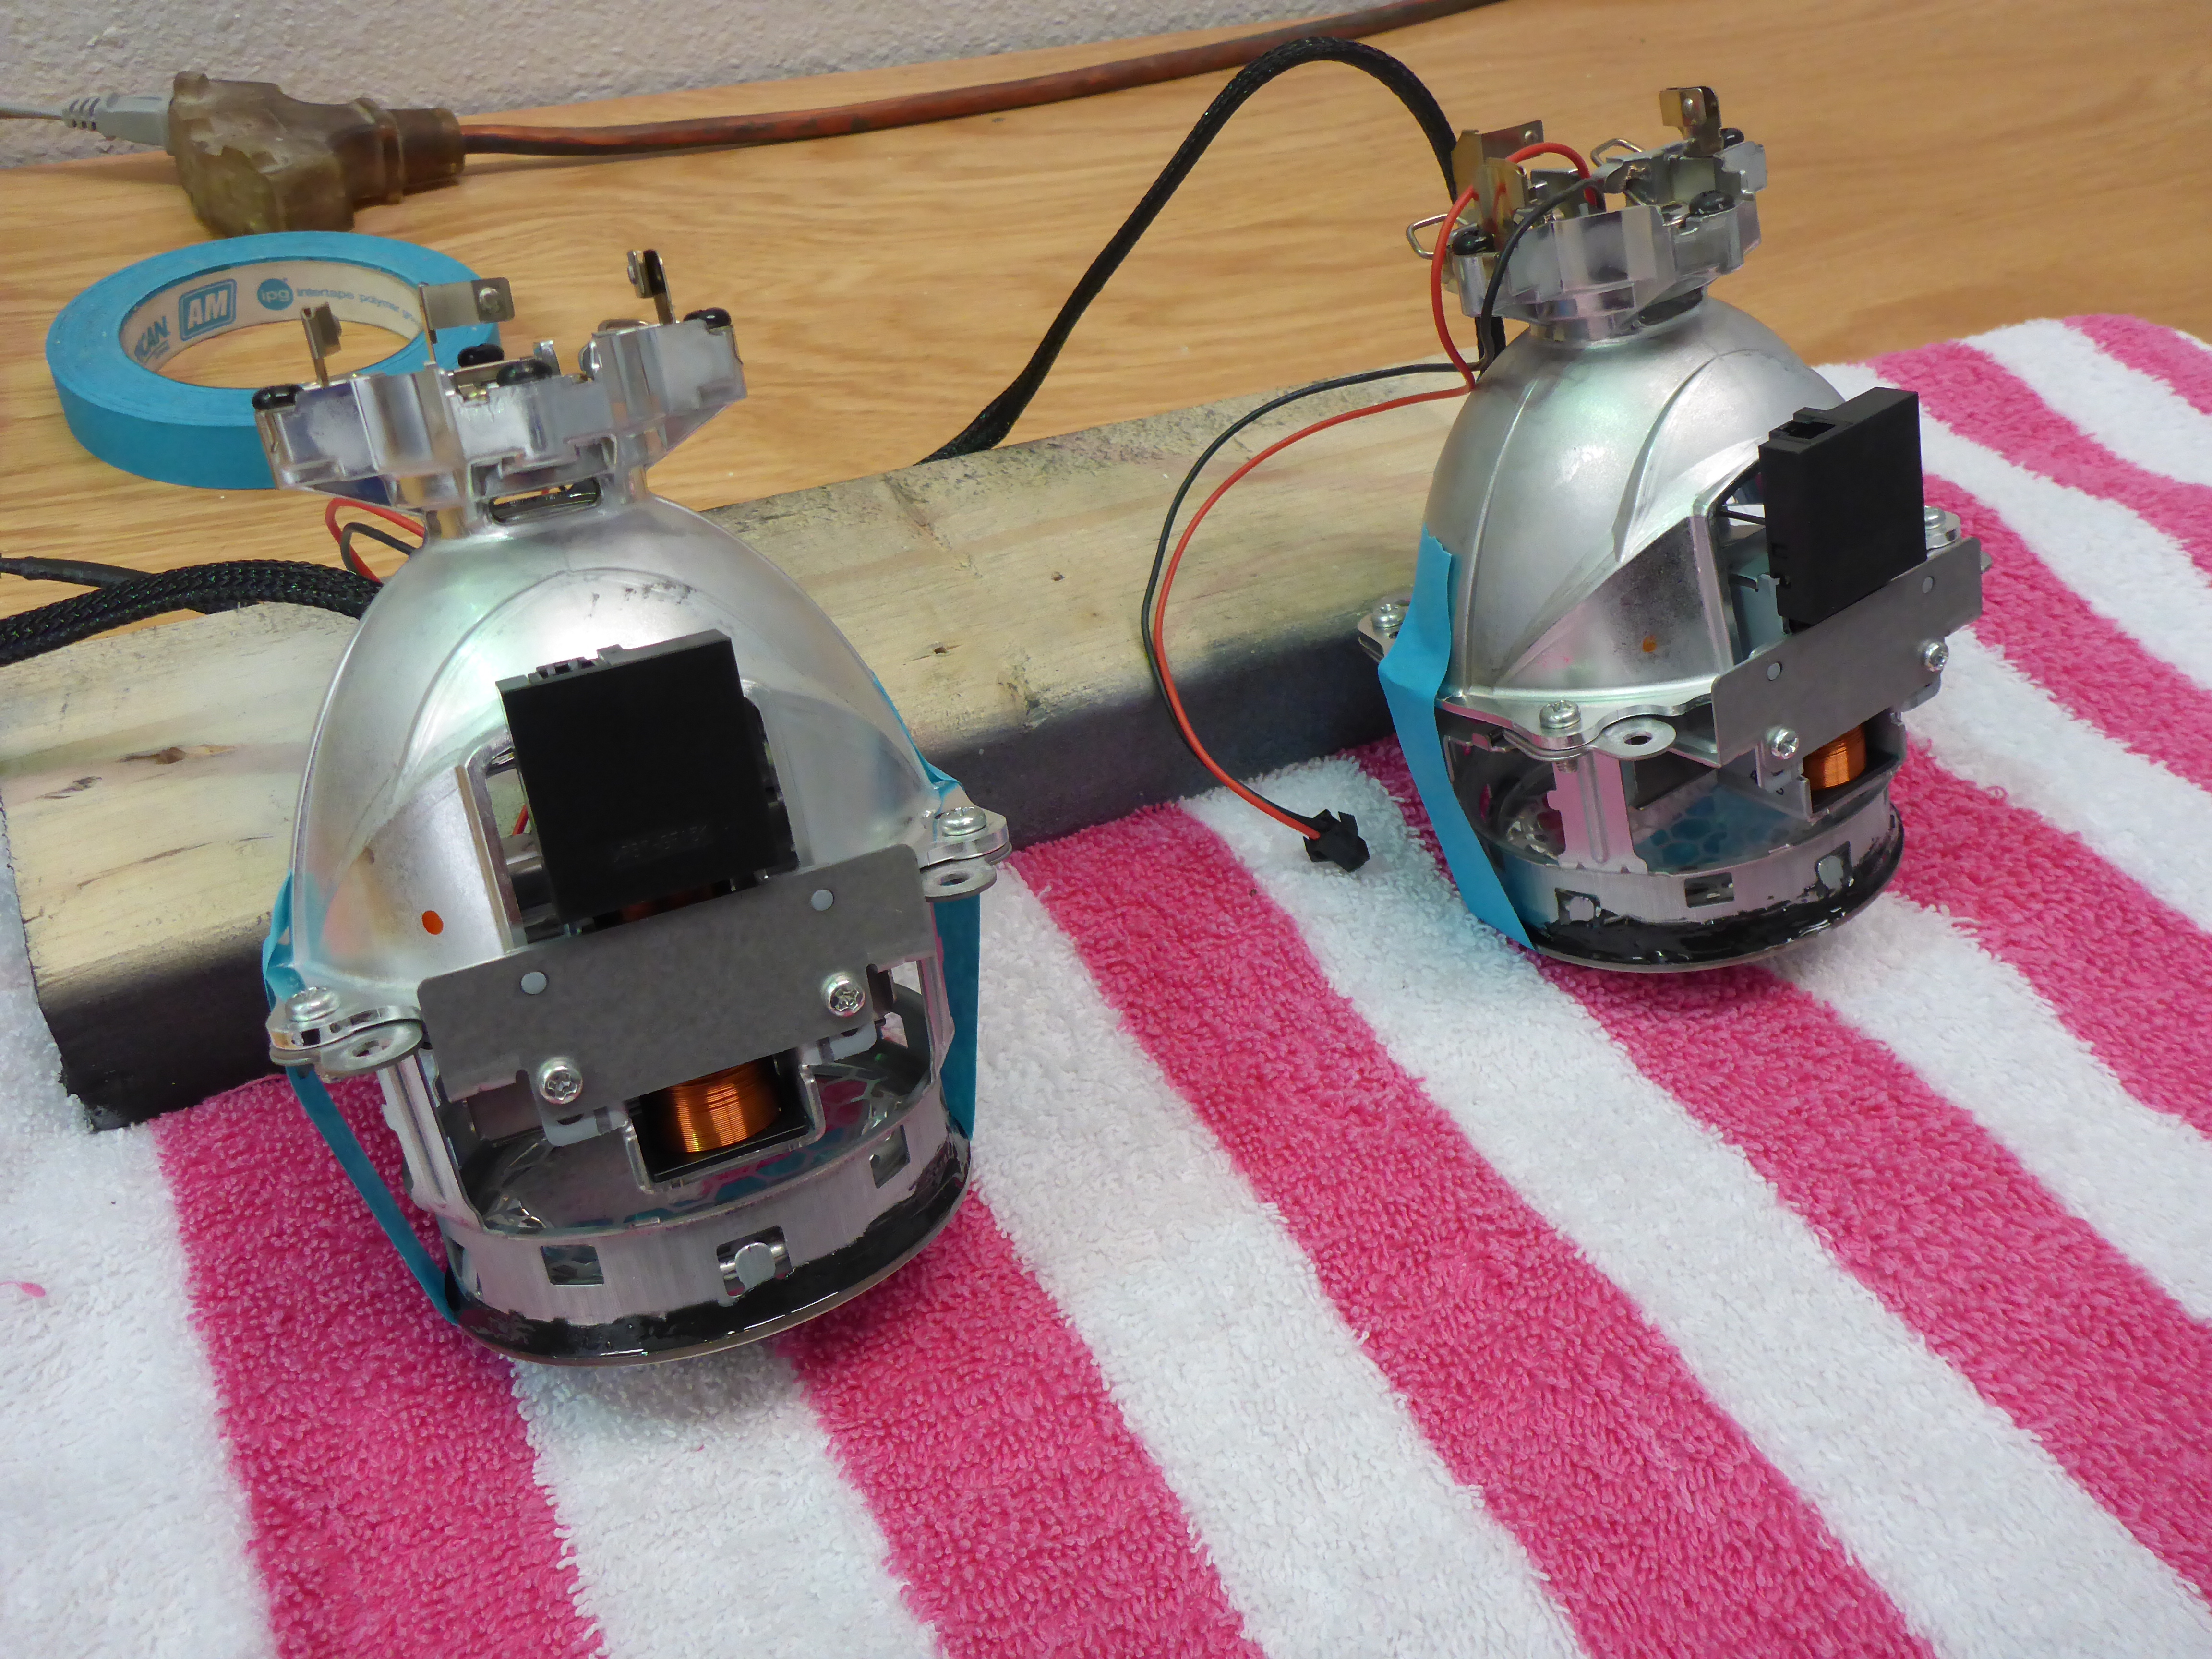
Replacing the OEM Boomerang Boards with Diode Dynamics RGBW DRL Boards:
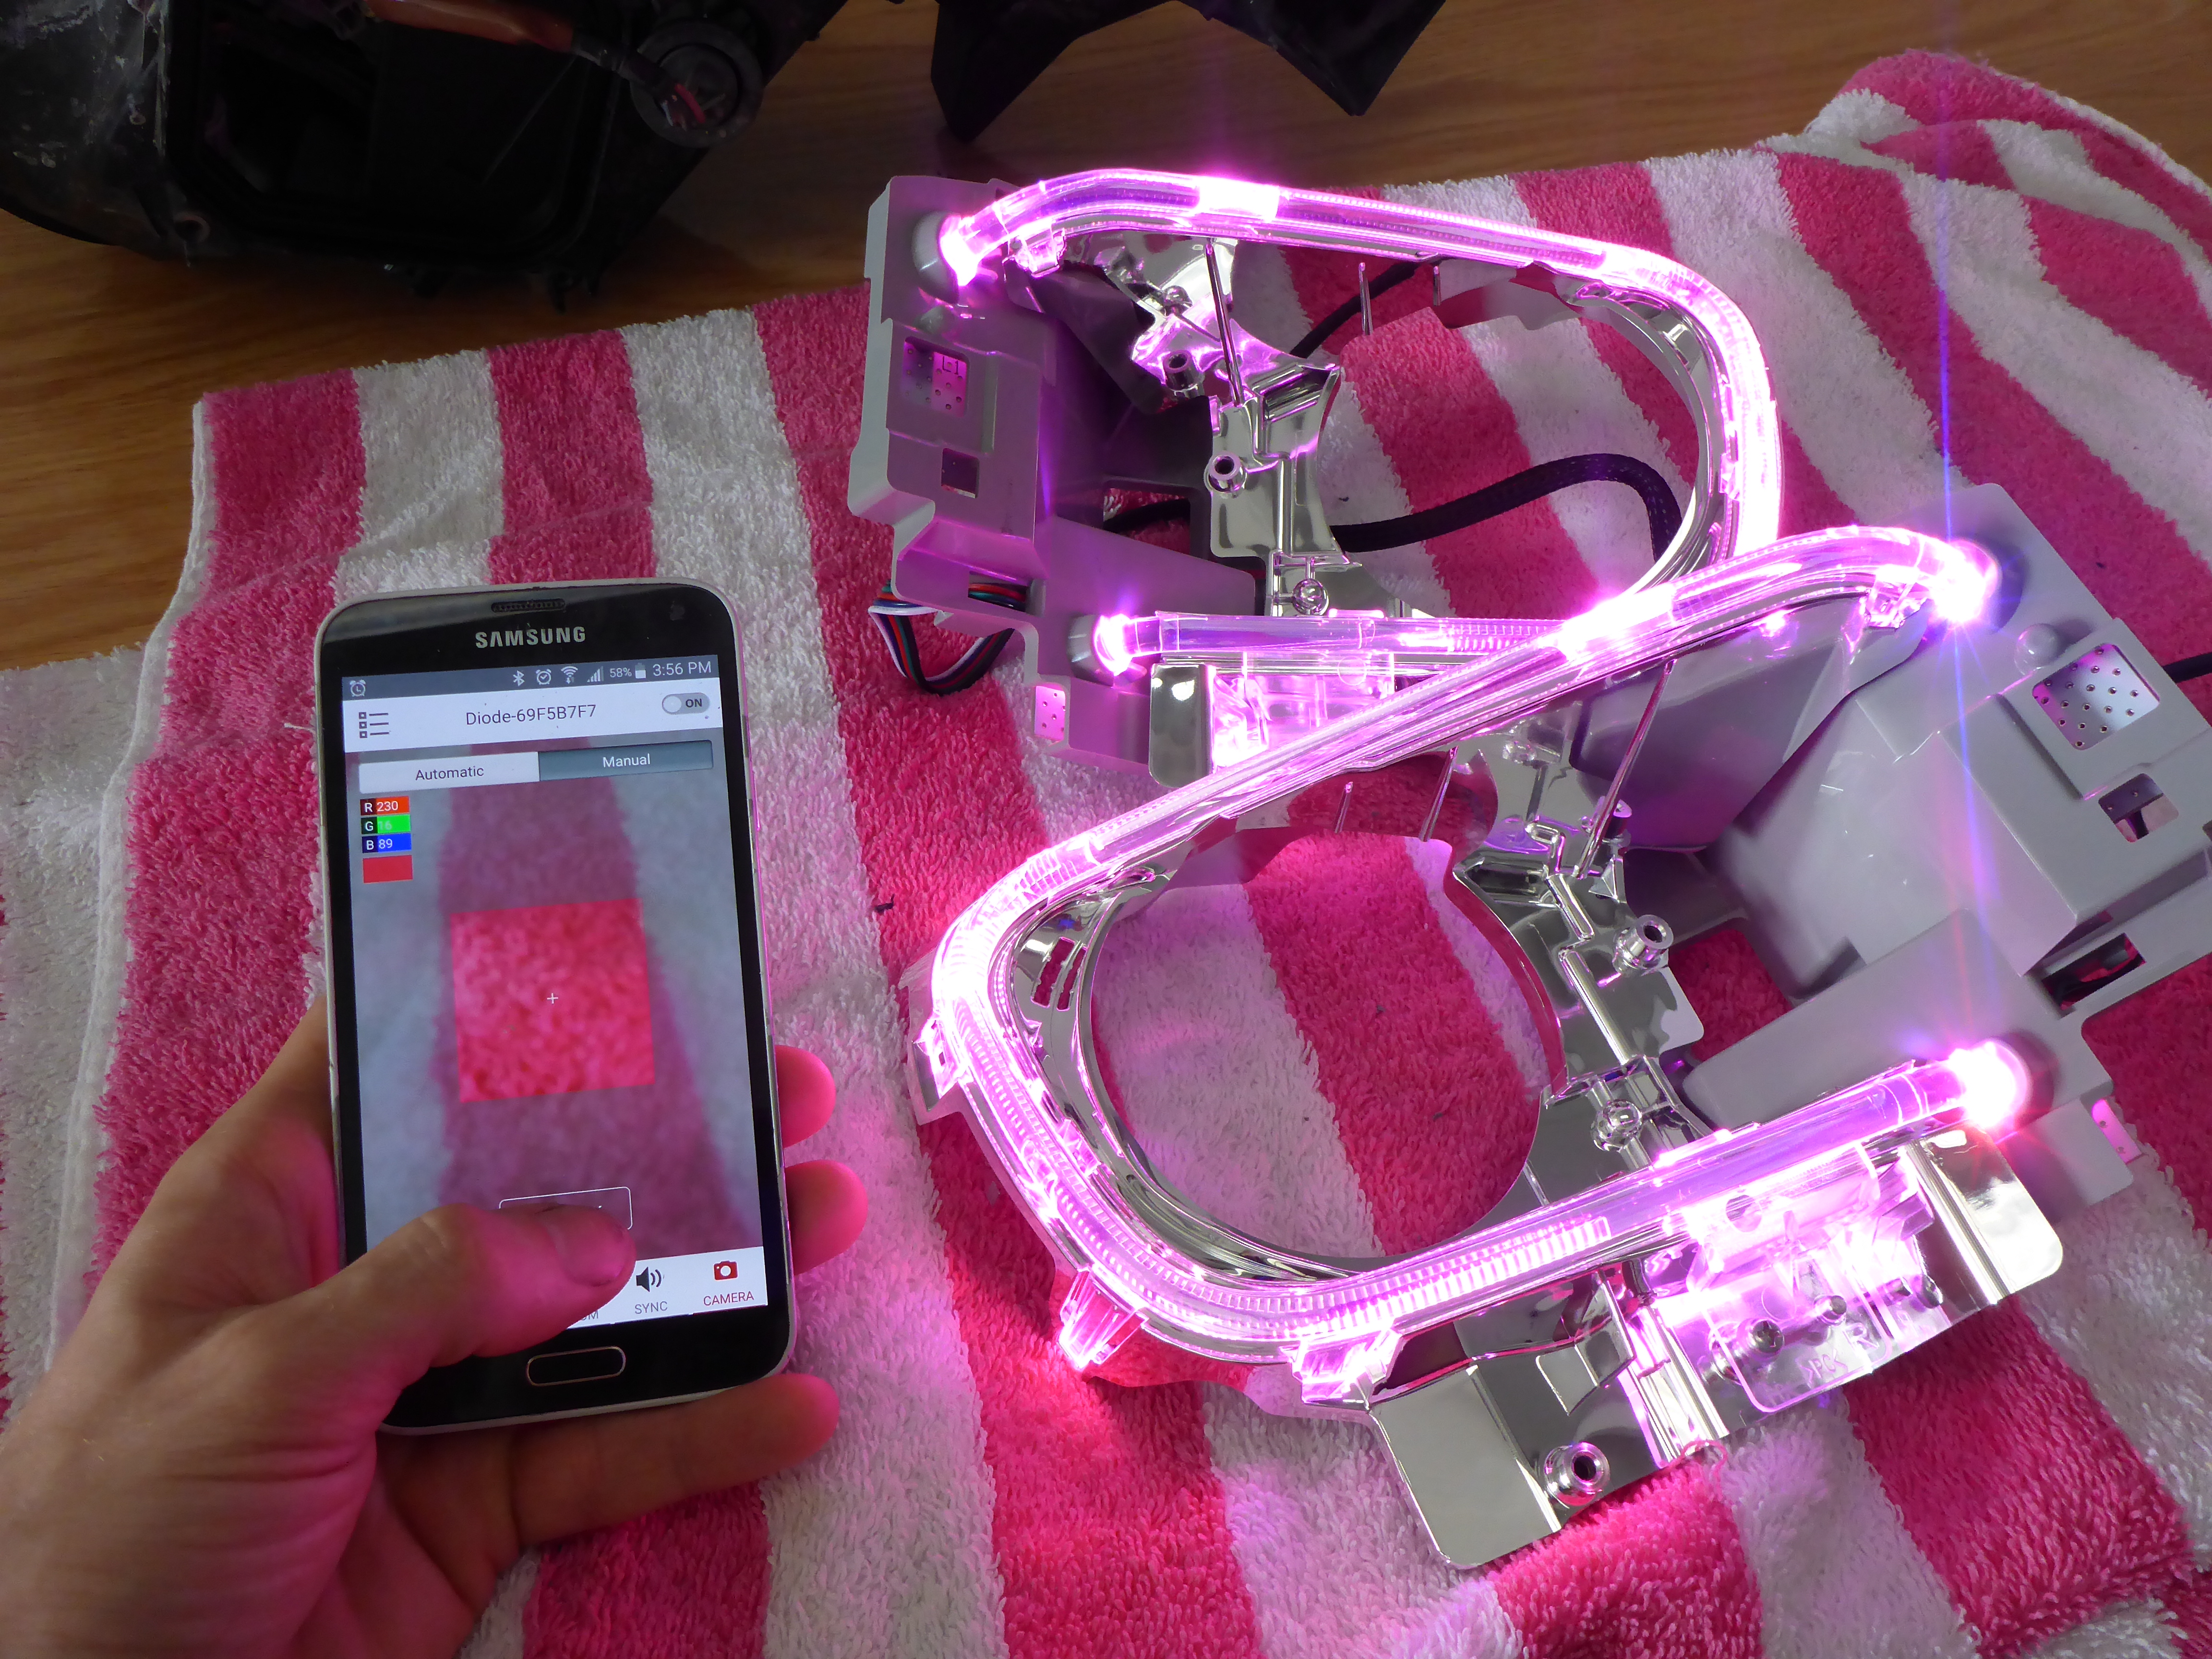
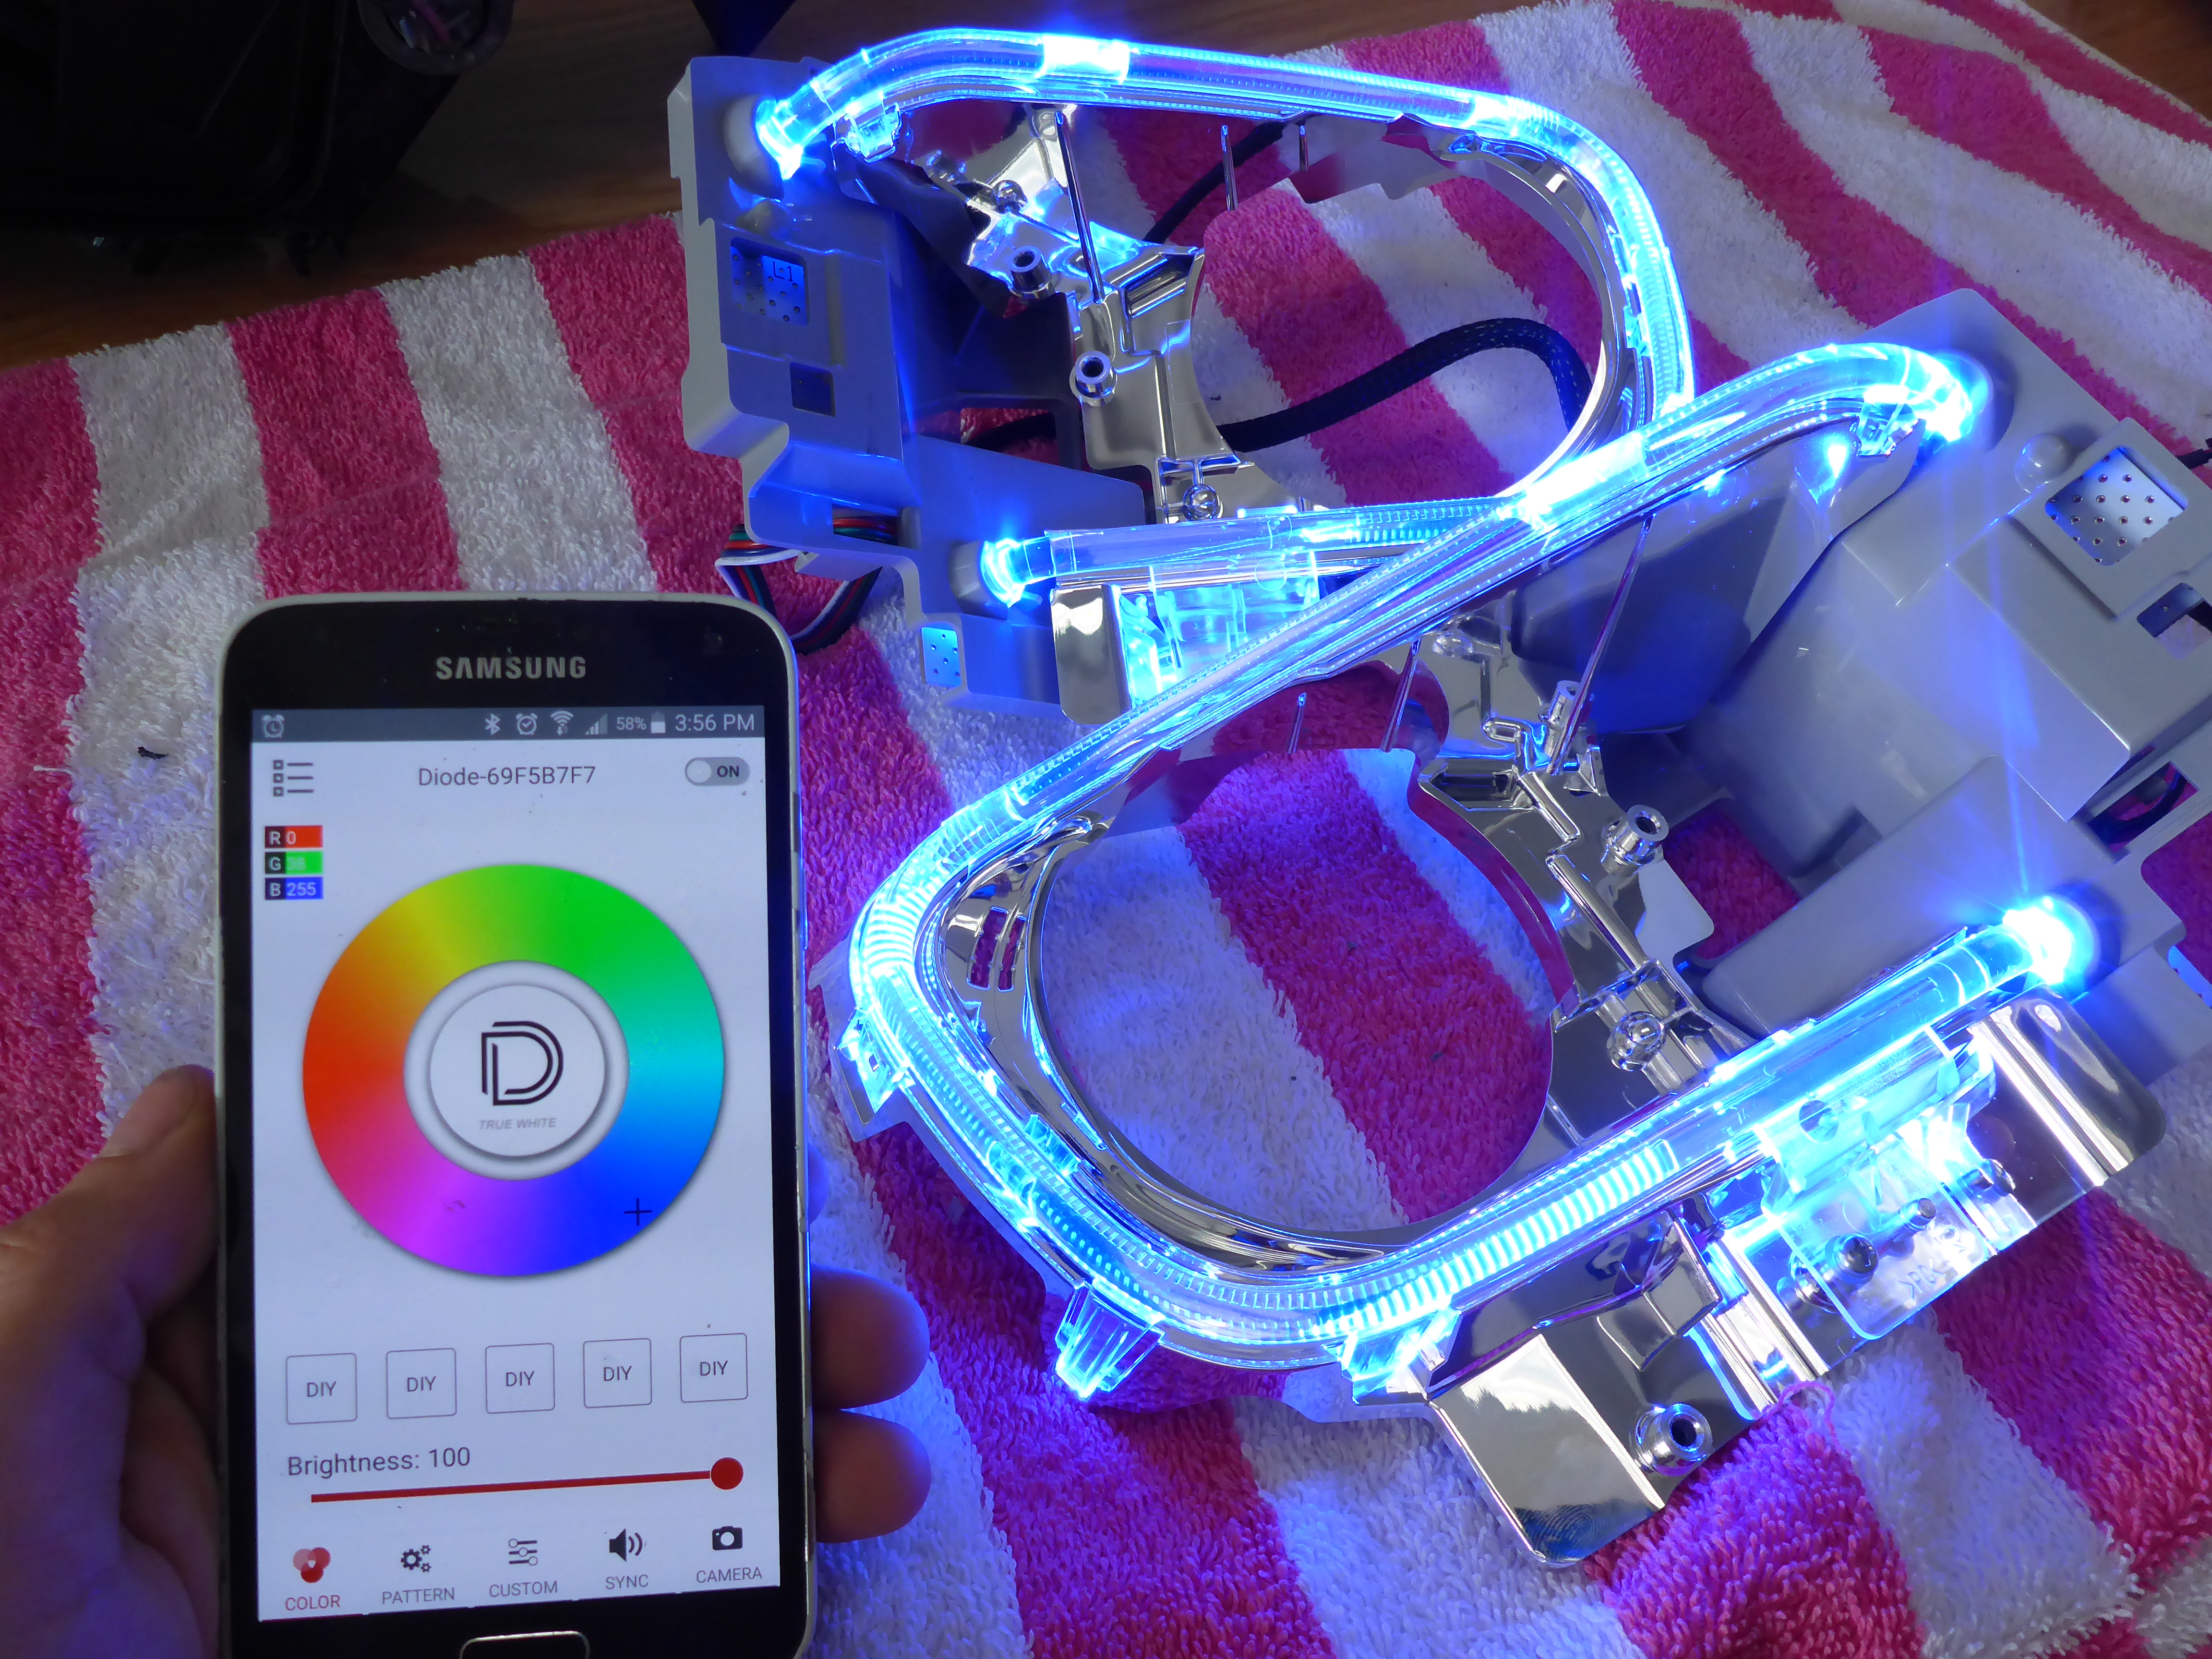
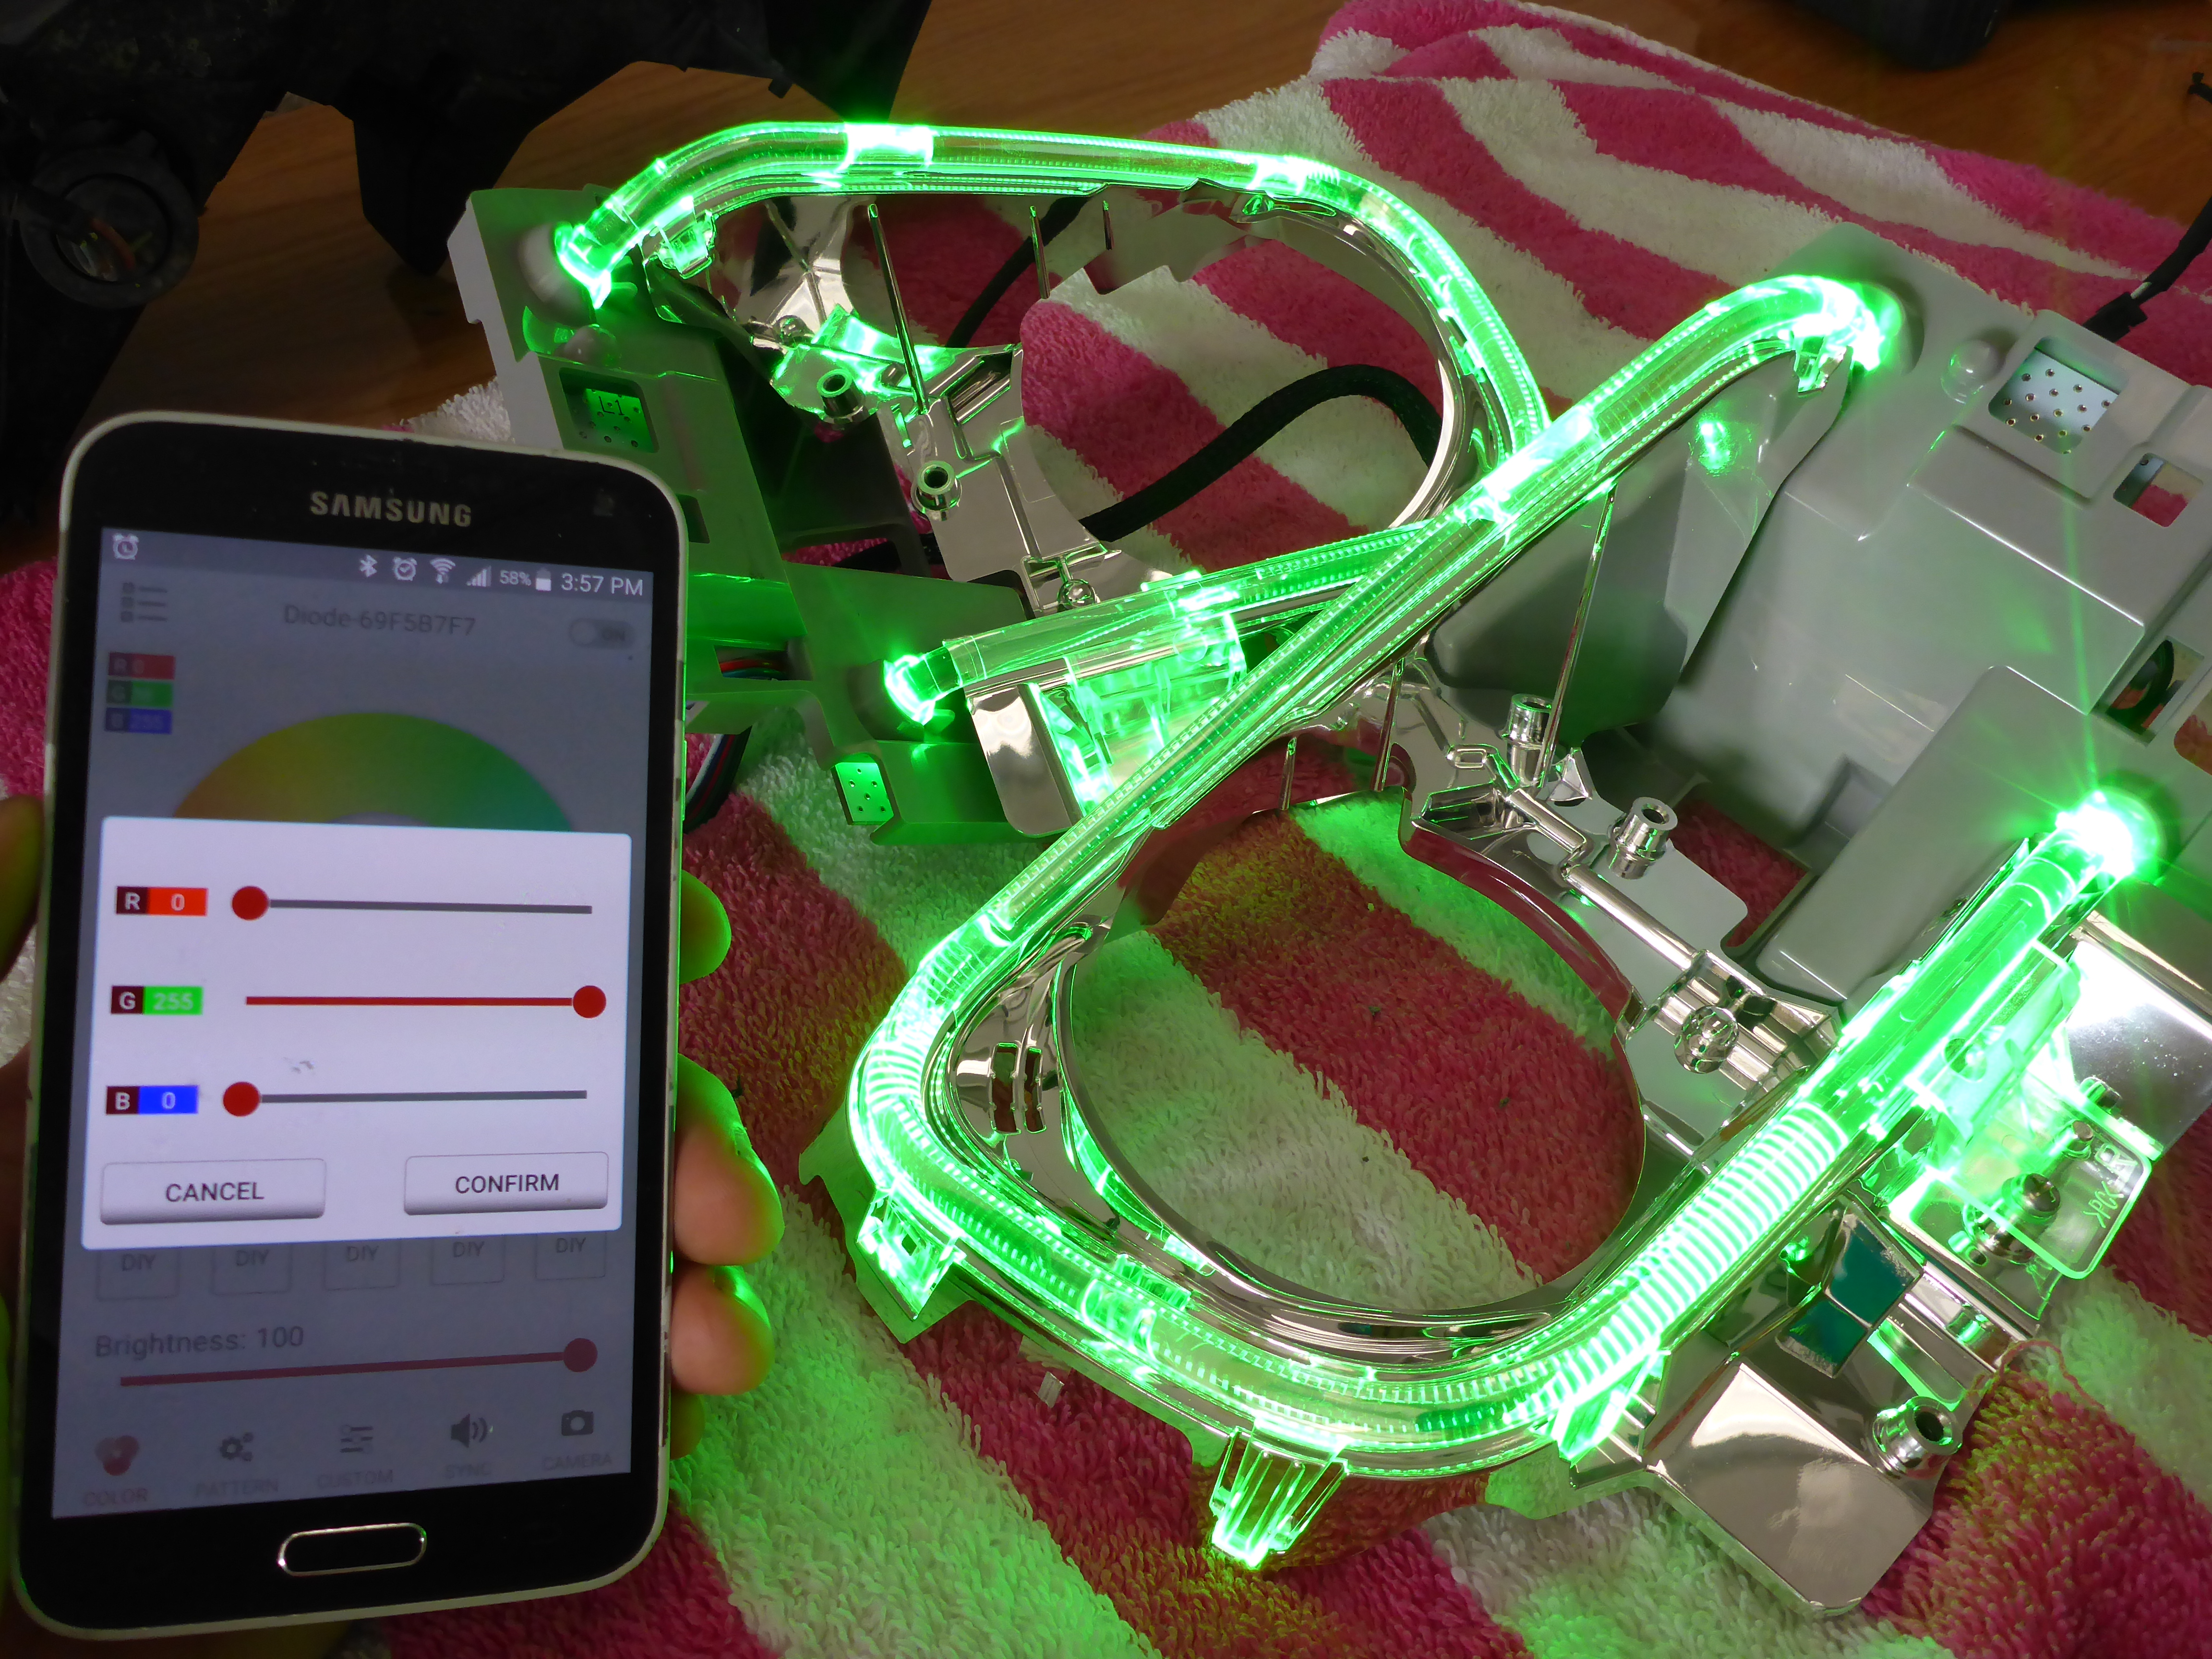
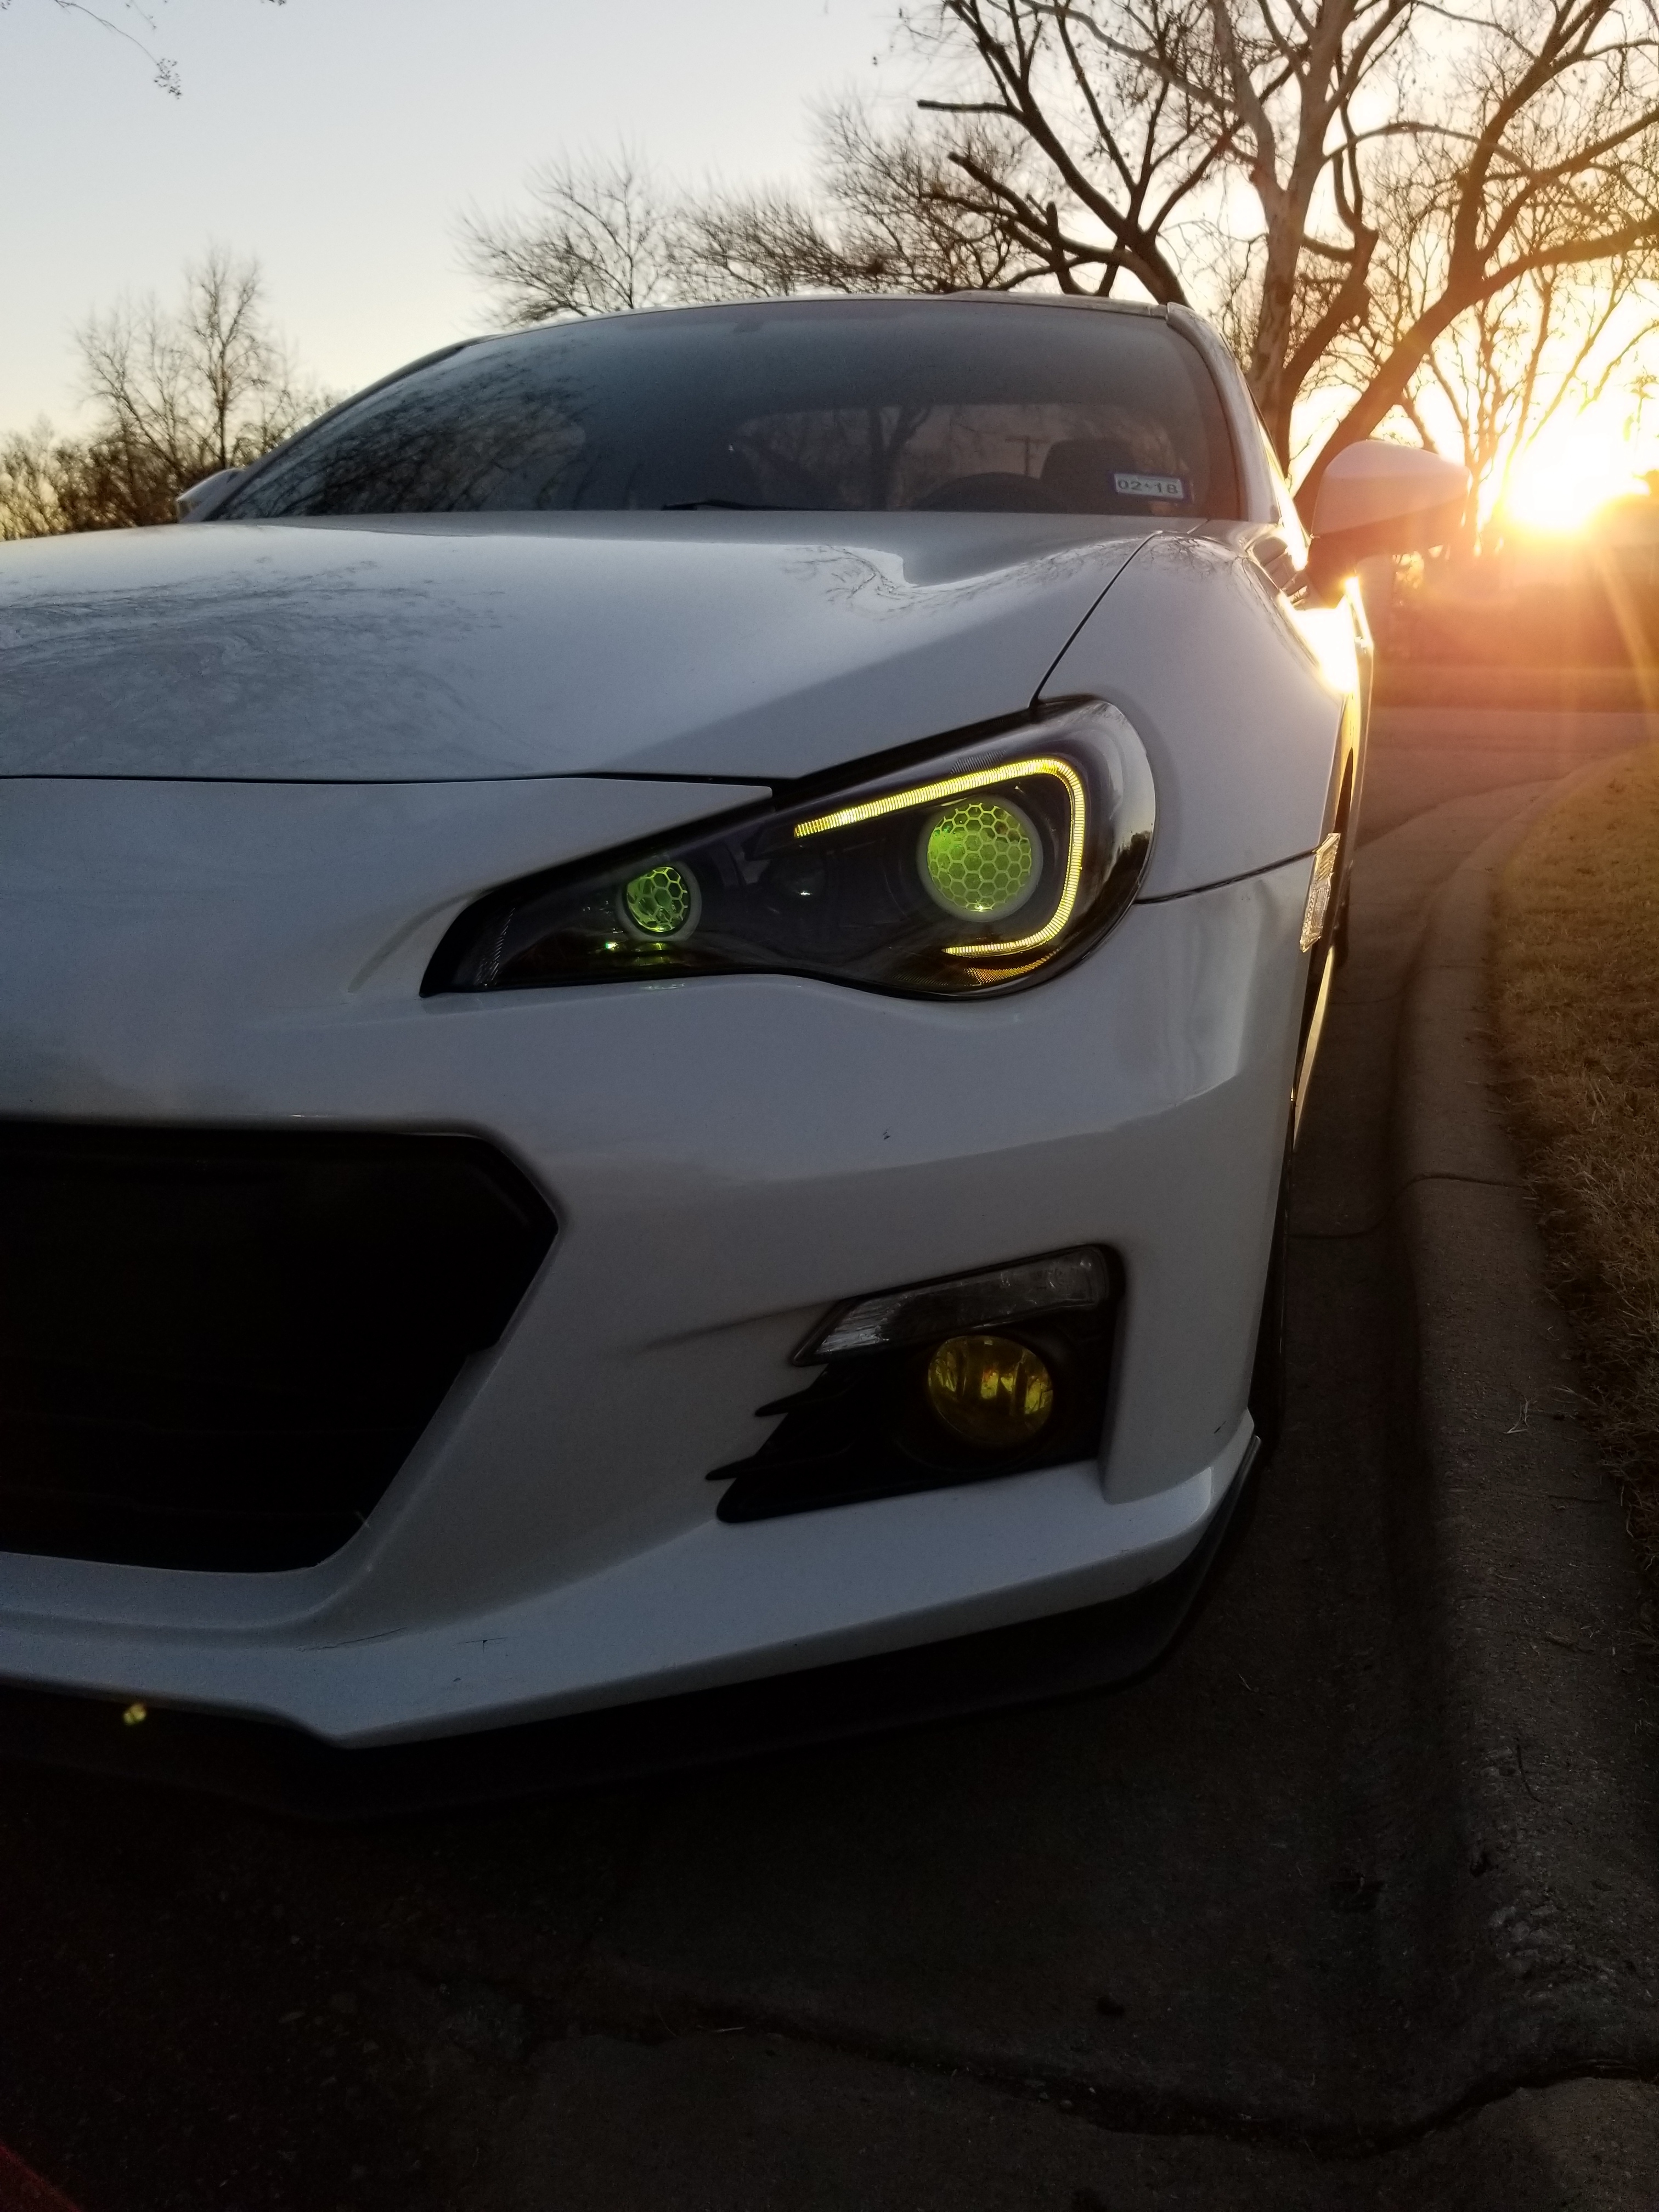
Testing out the different methods of selecting the color output with the Diode Dynamics Bluetooth Controller:
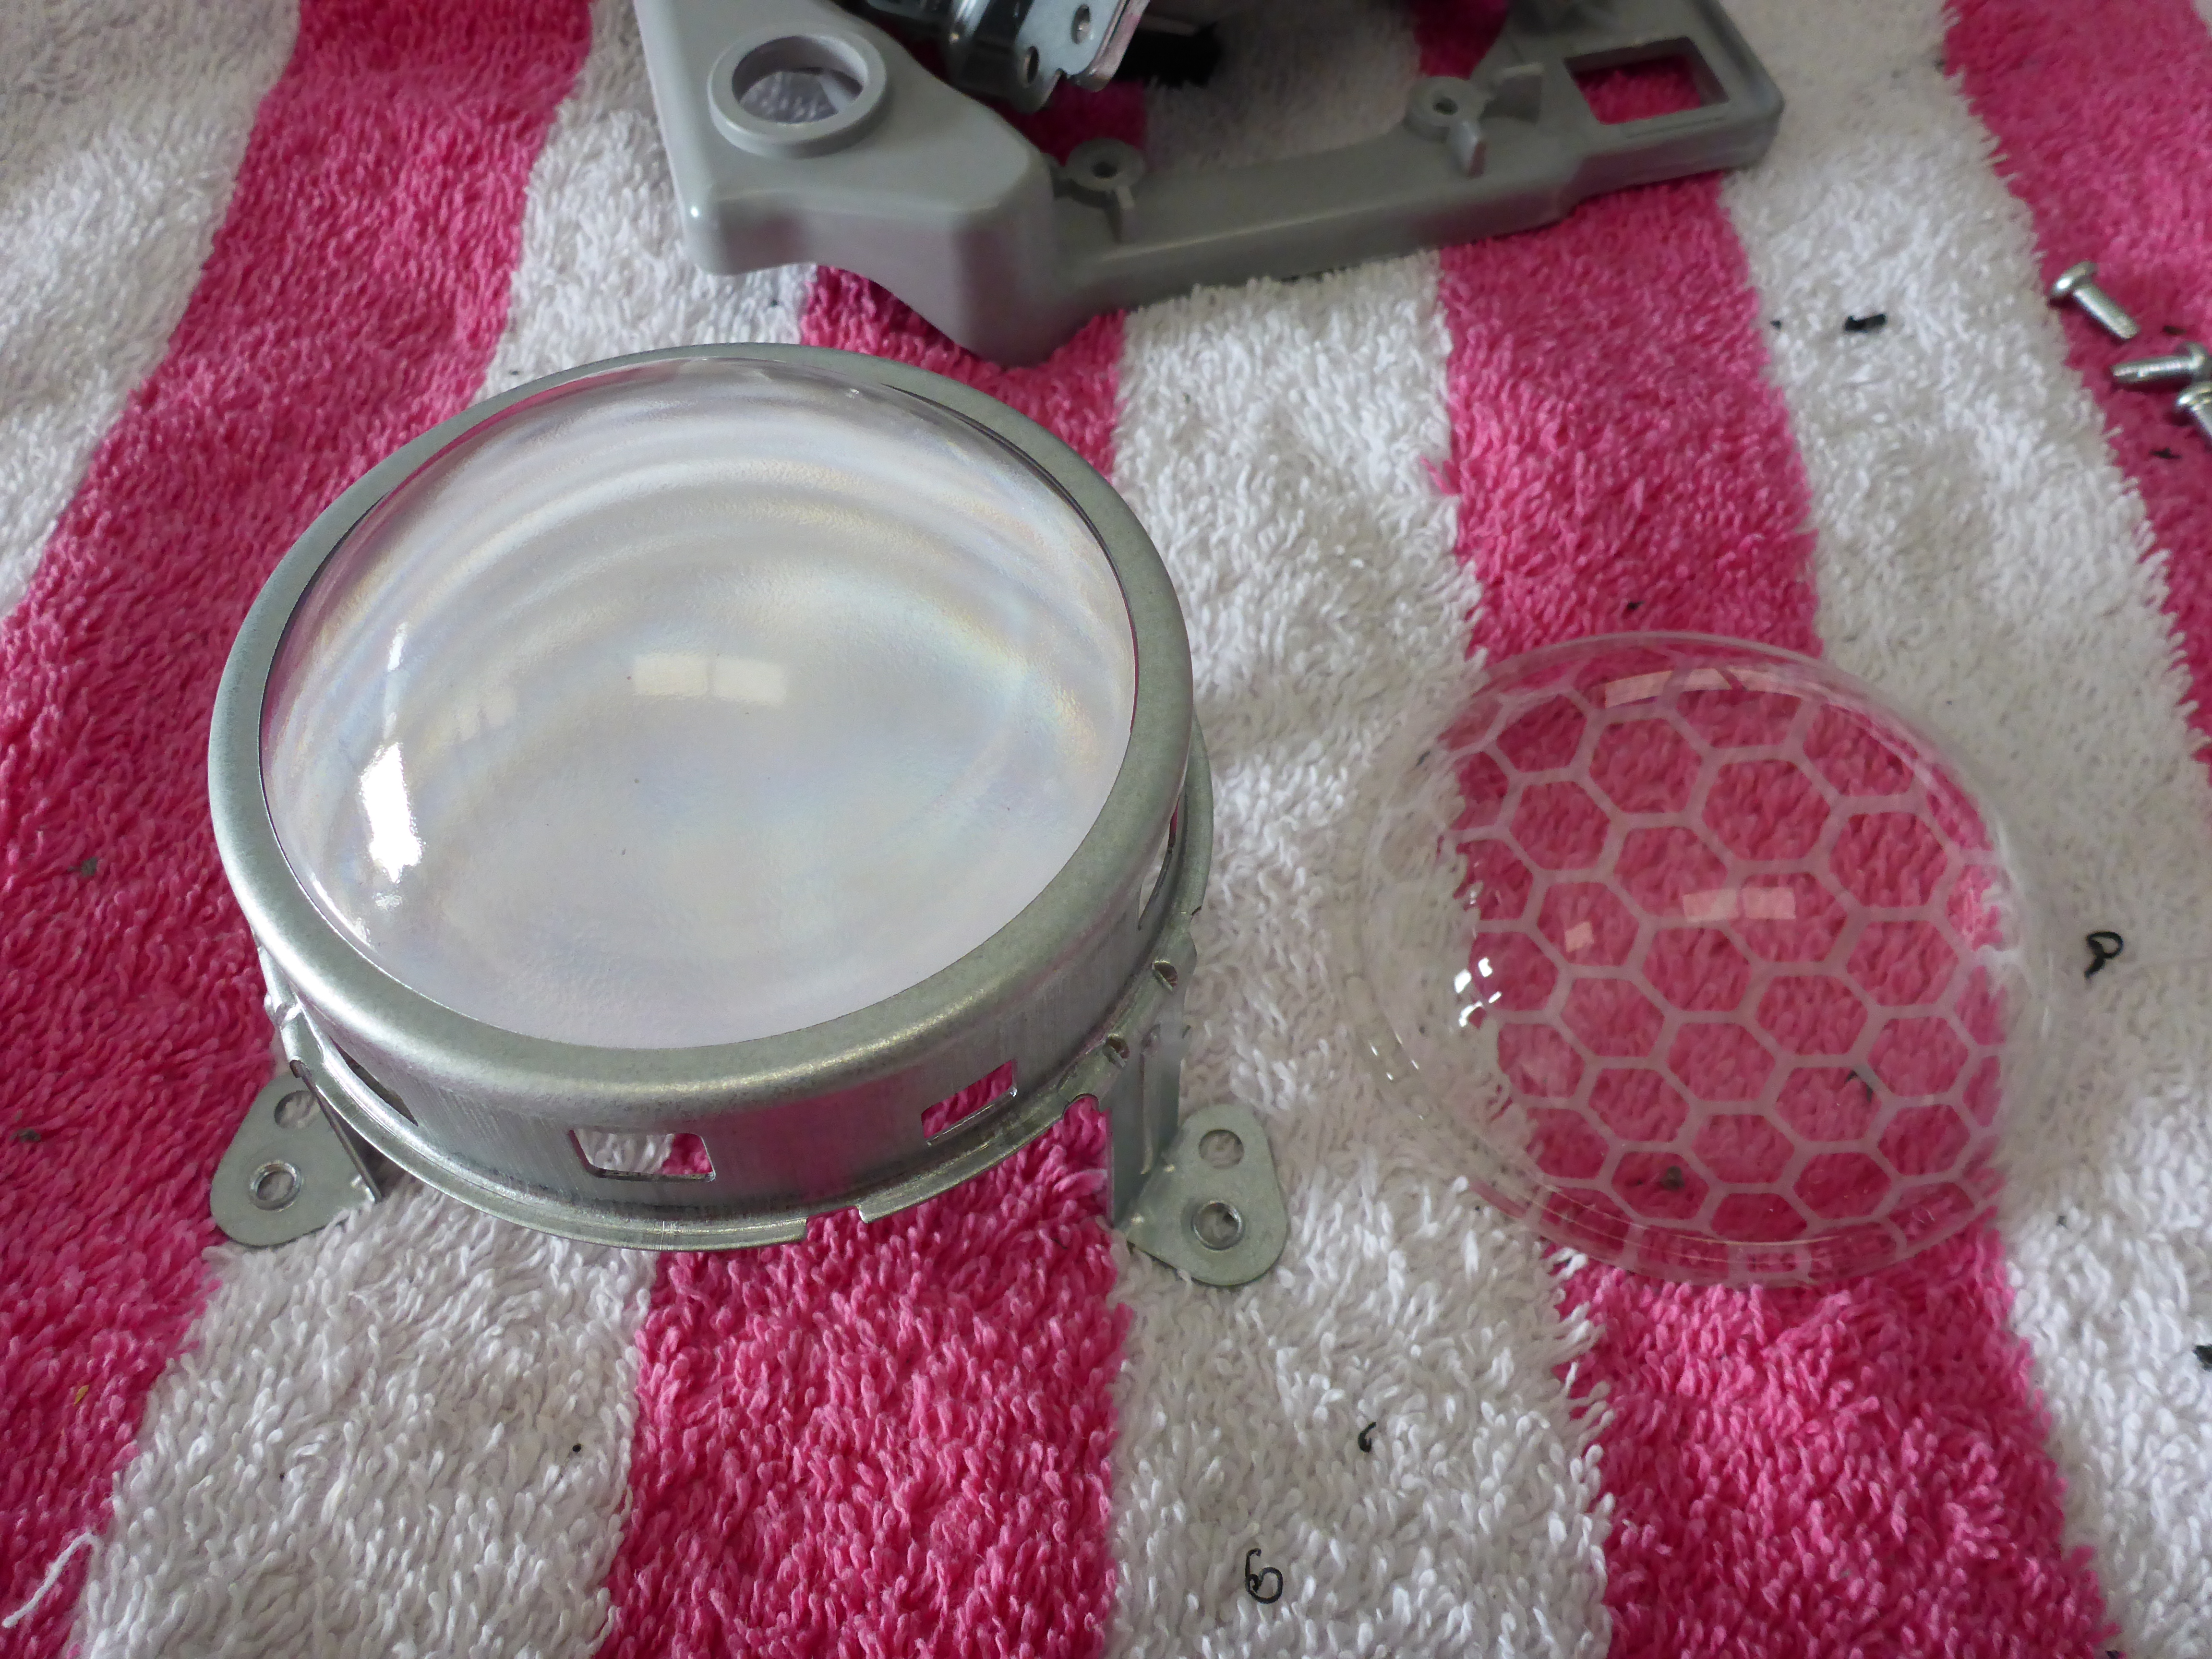
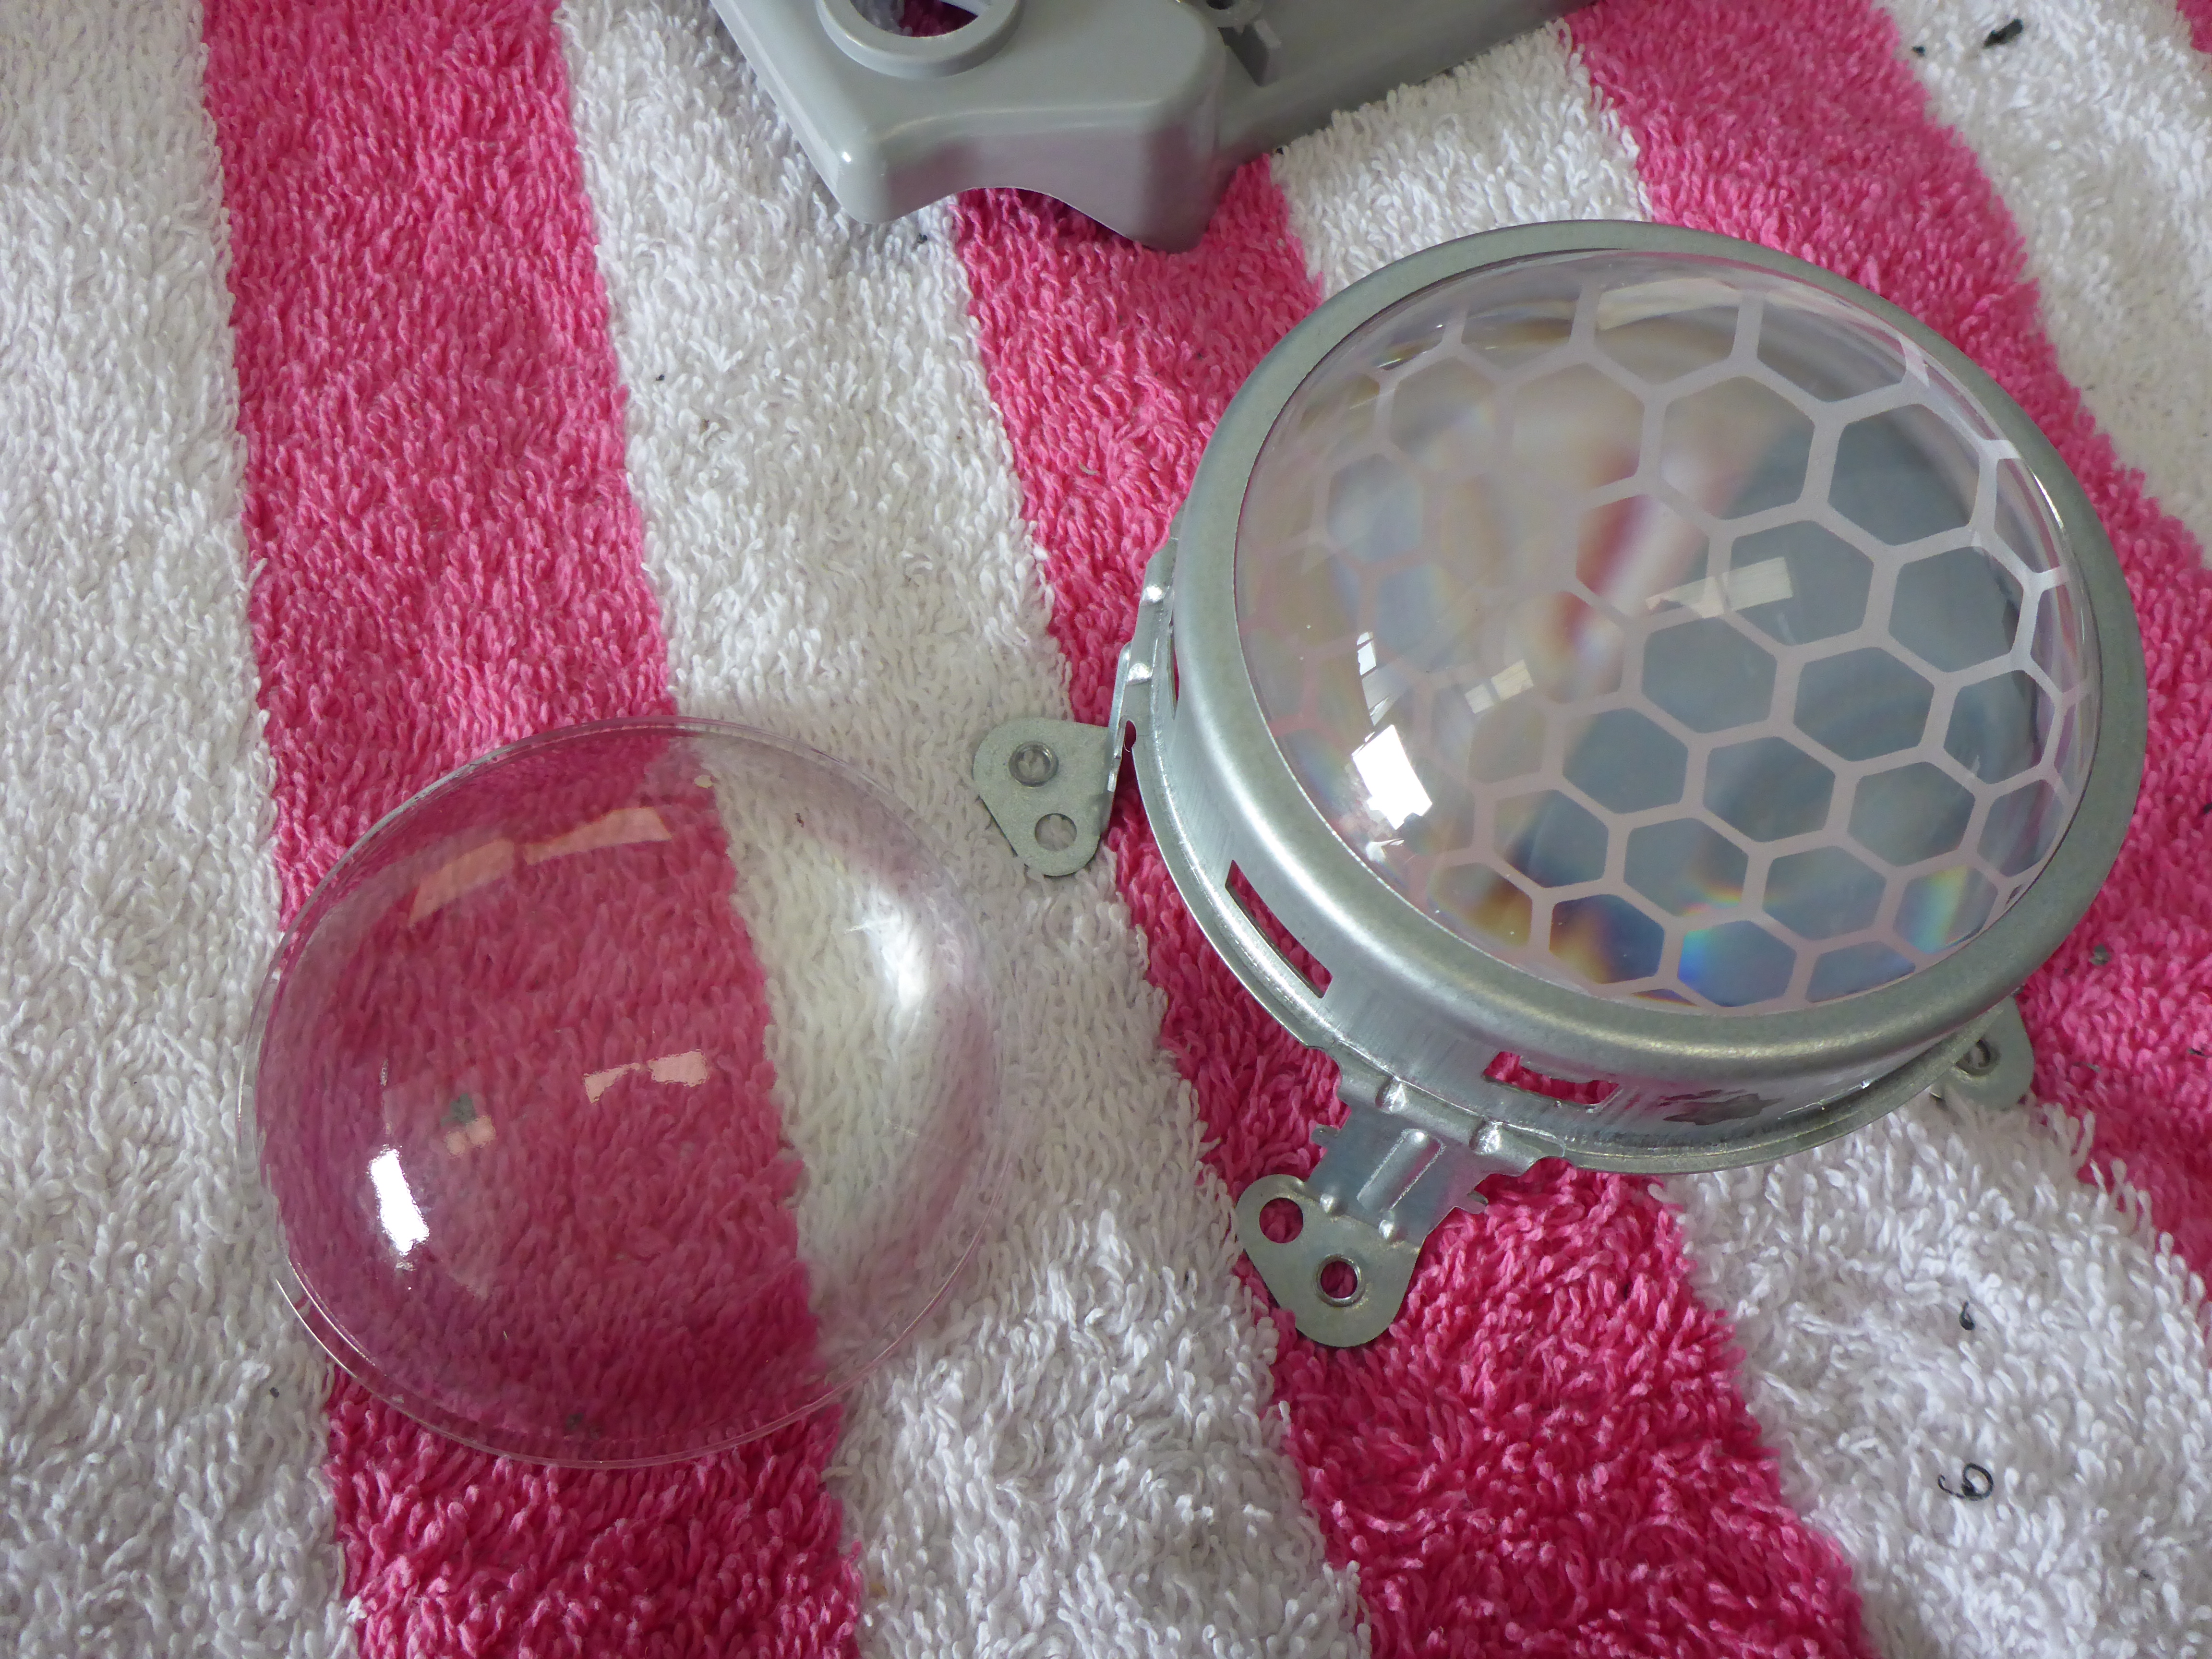
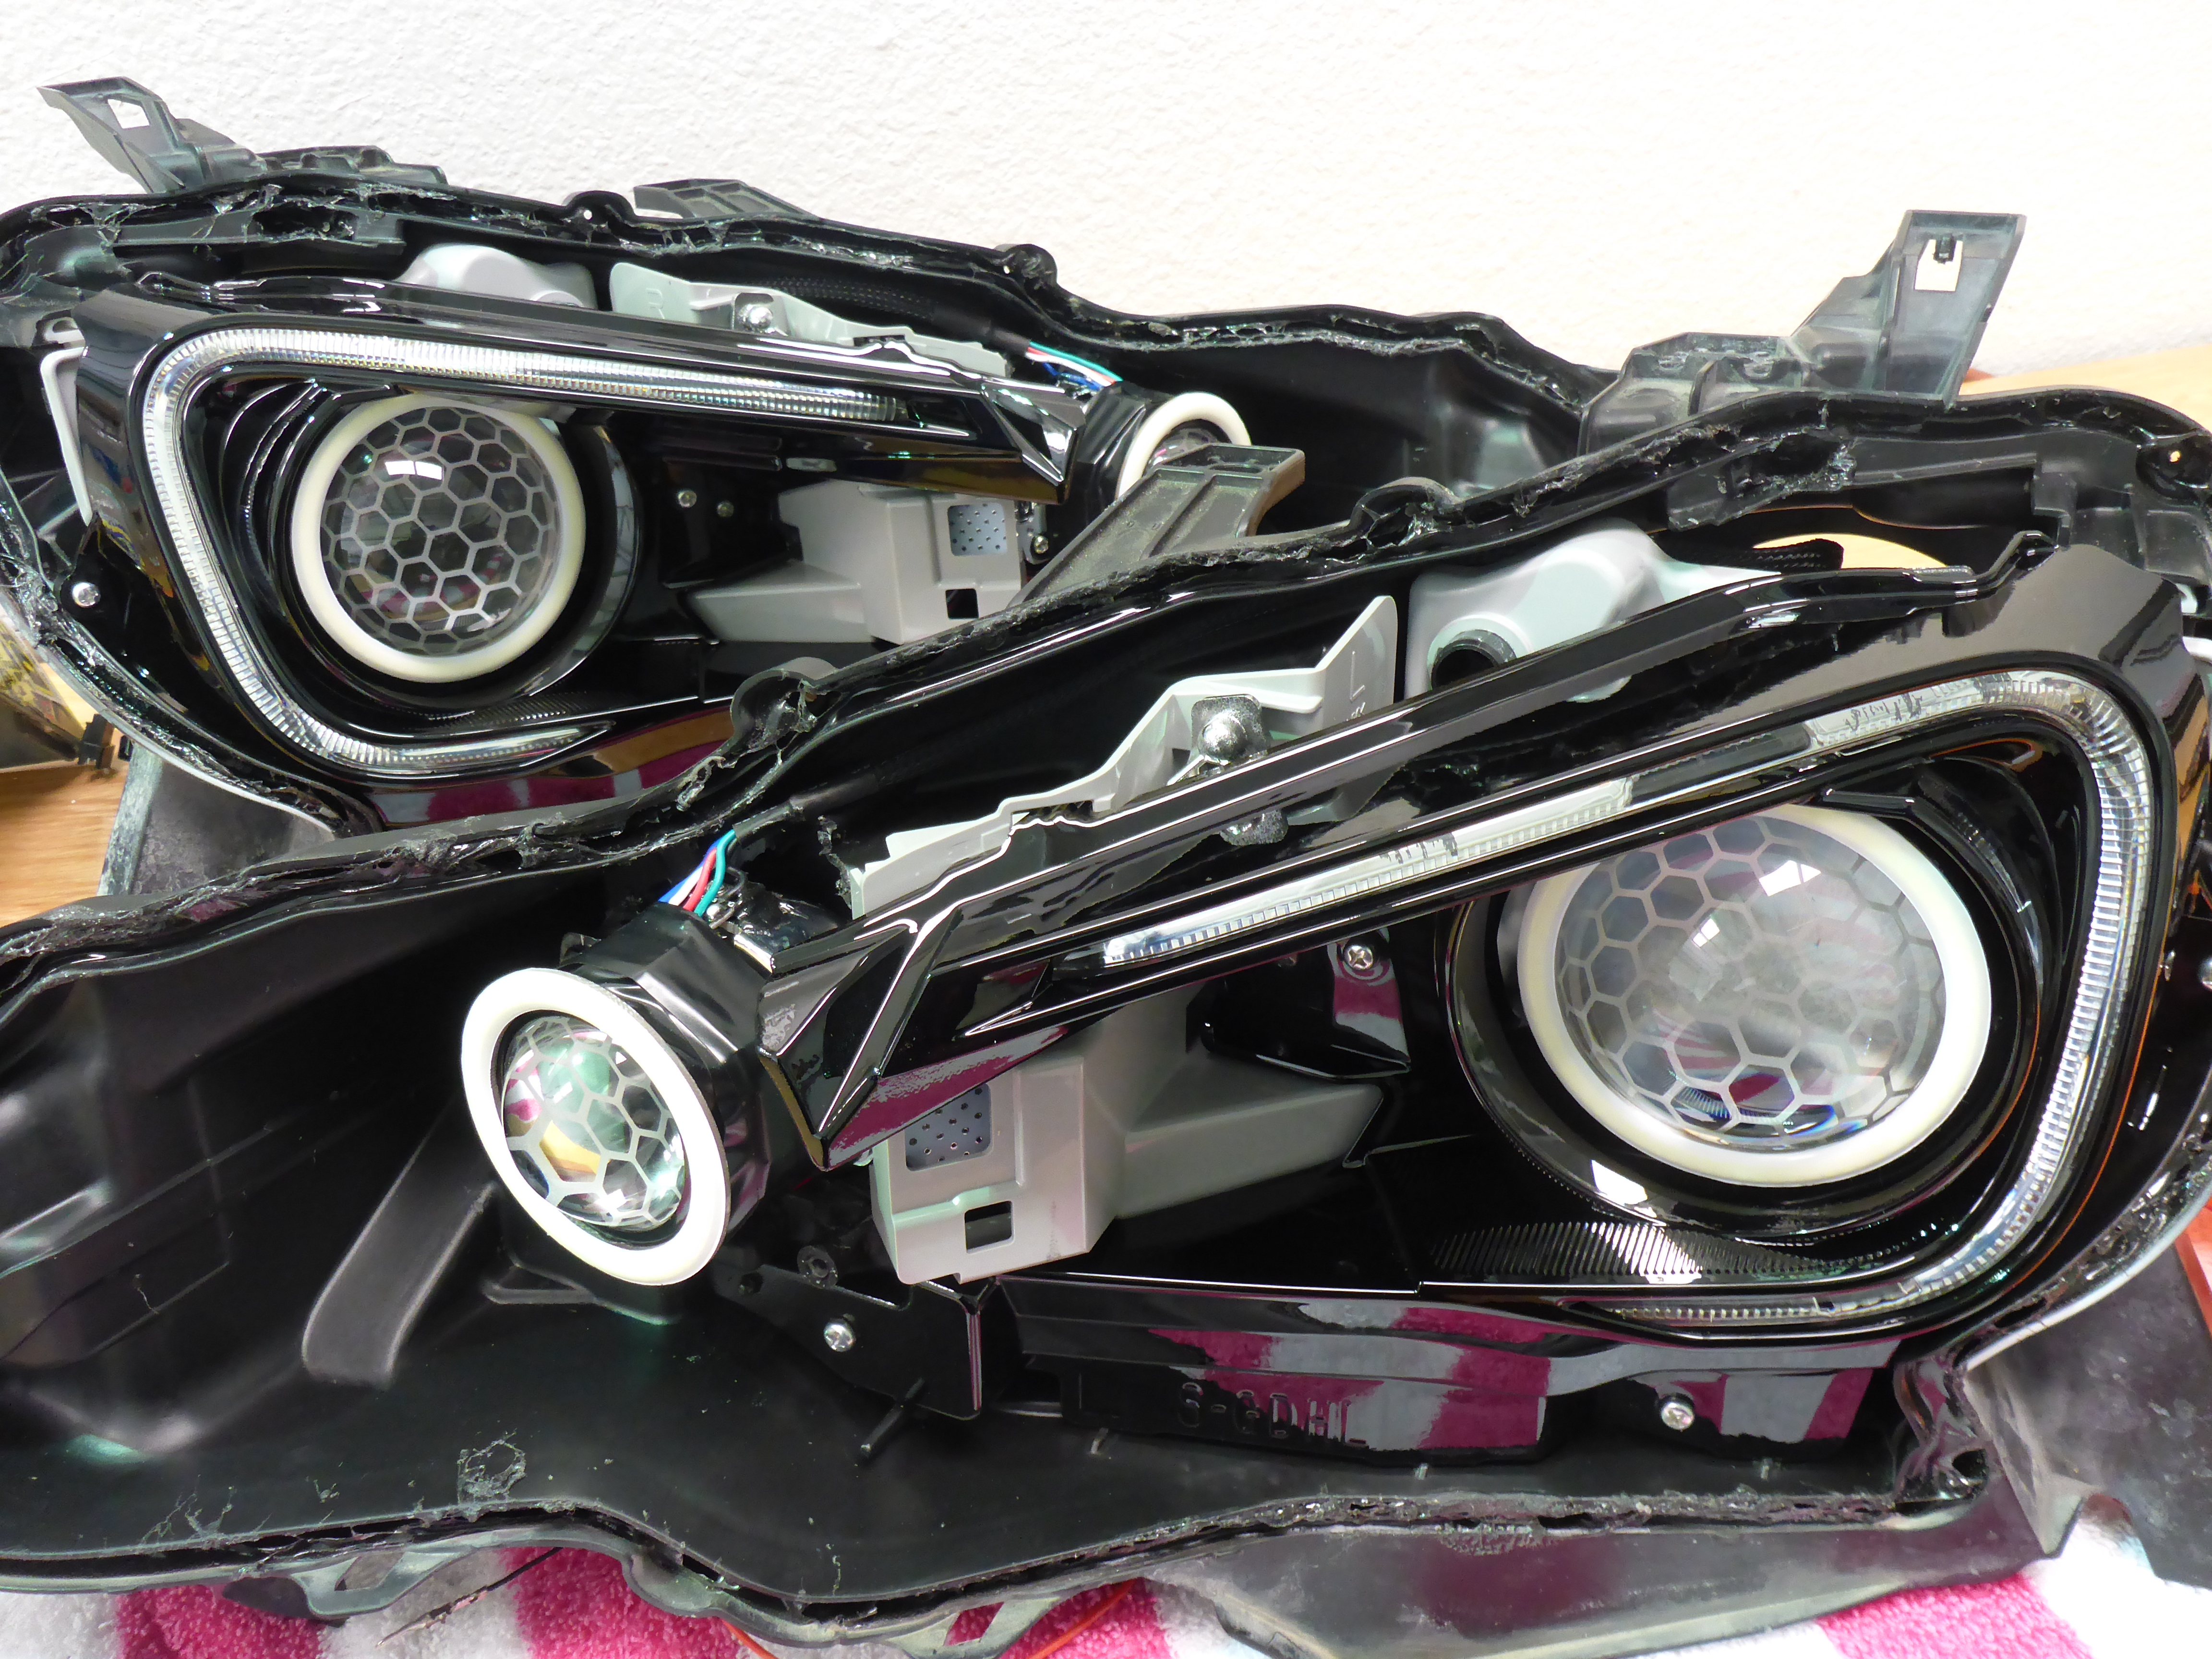
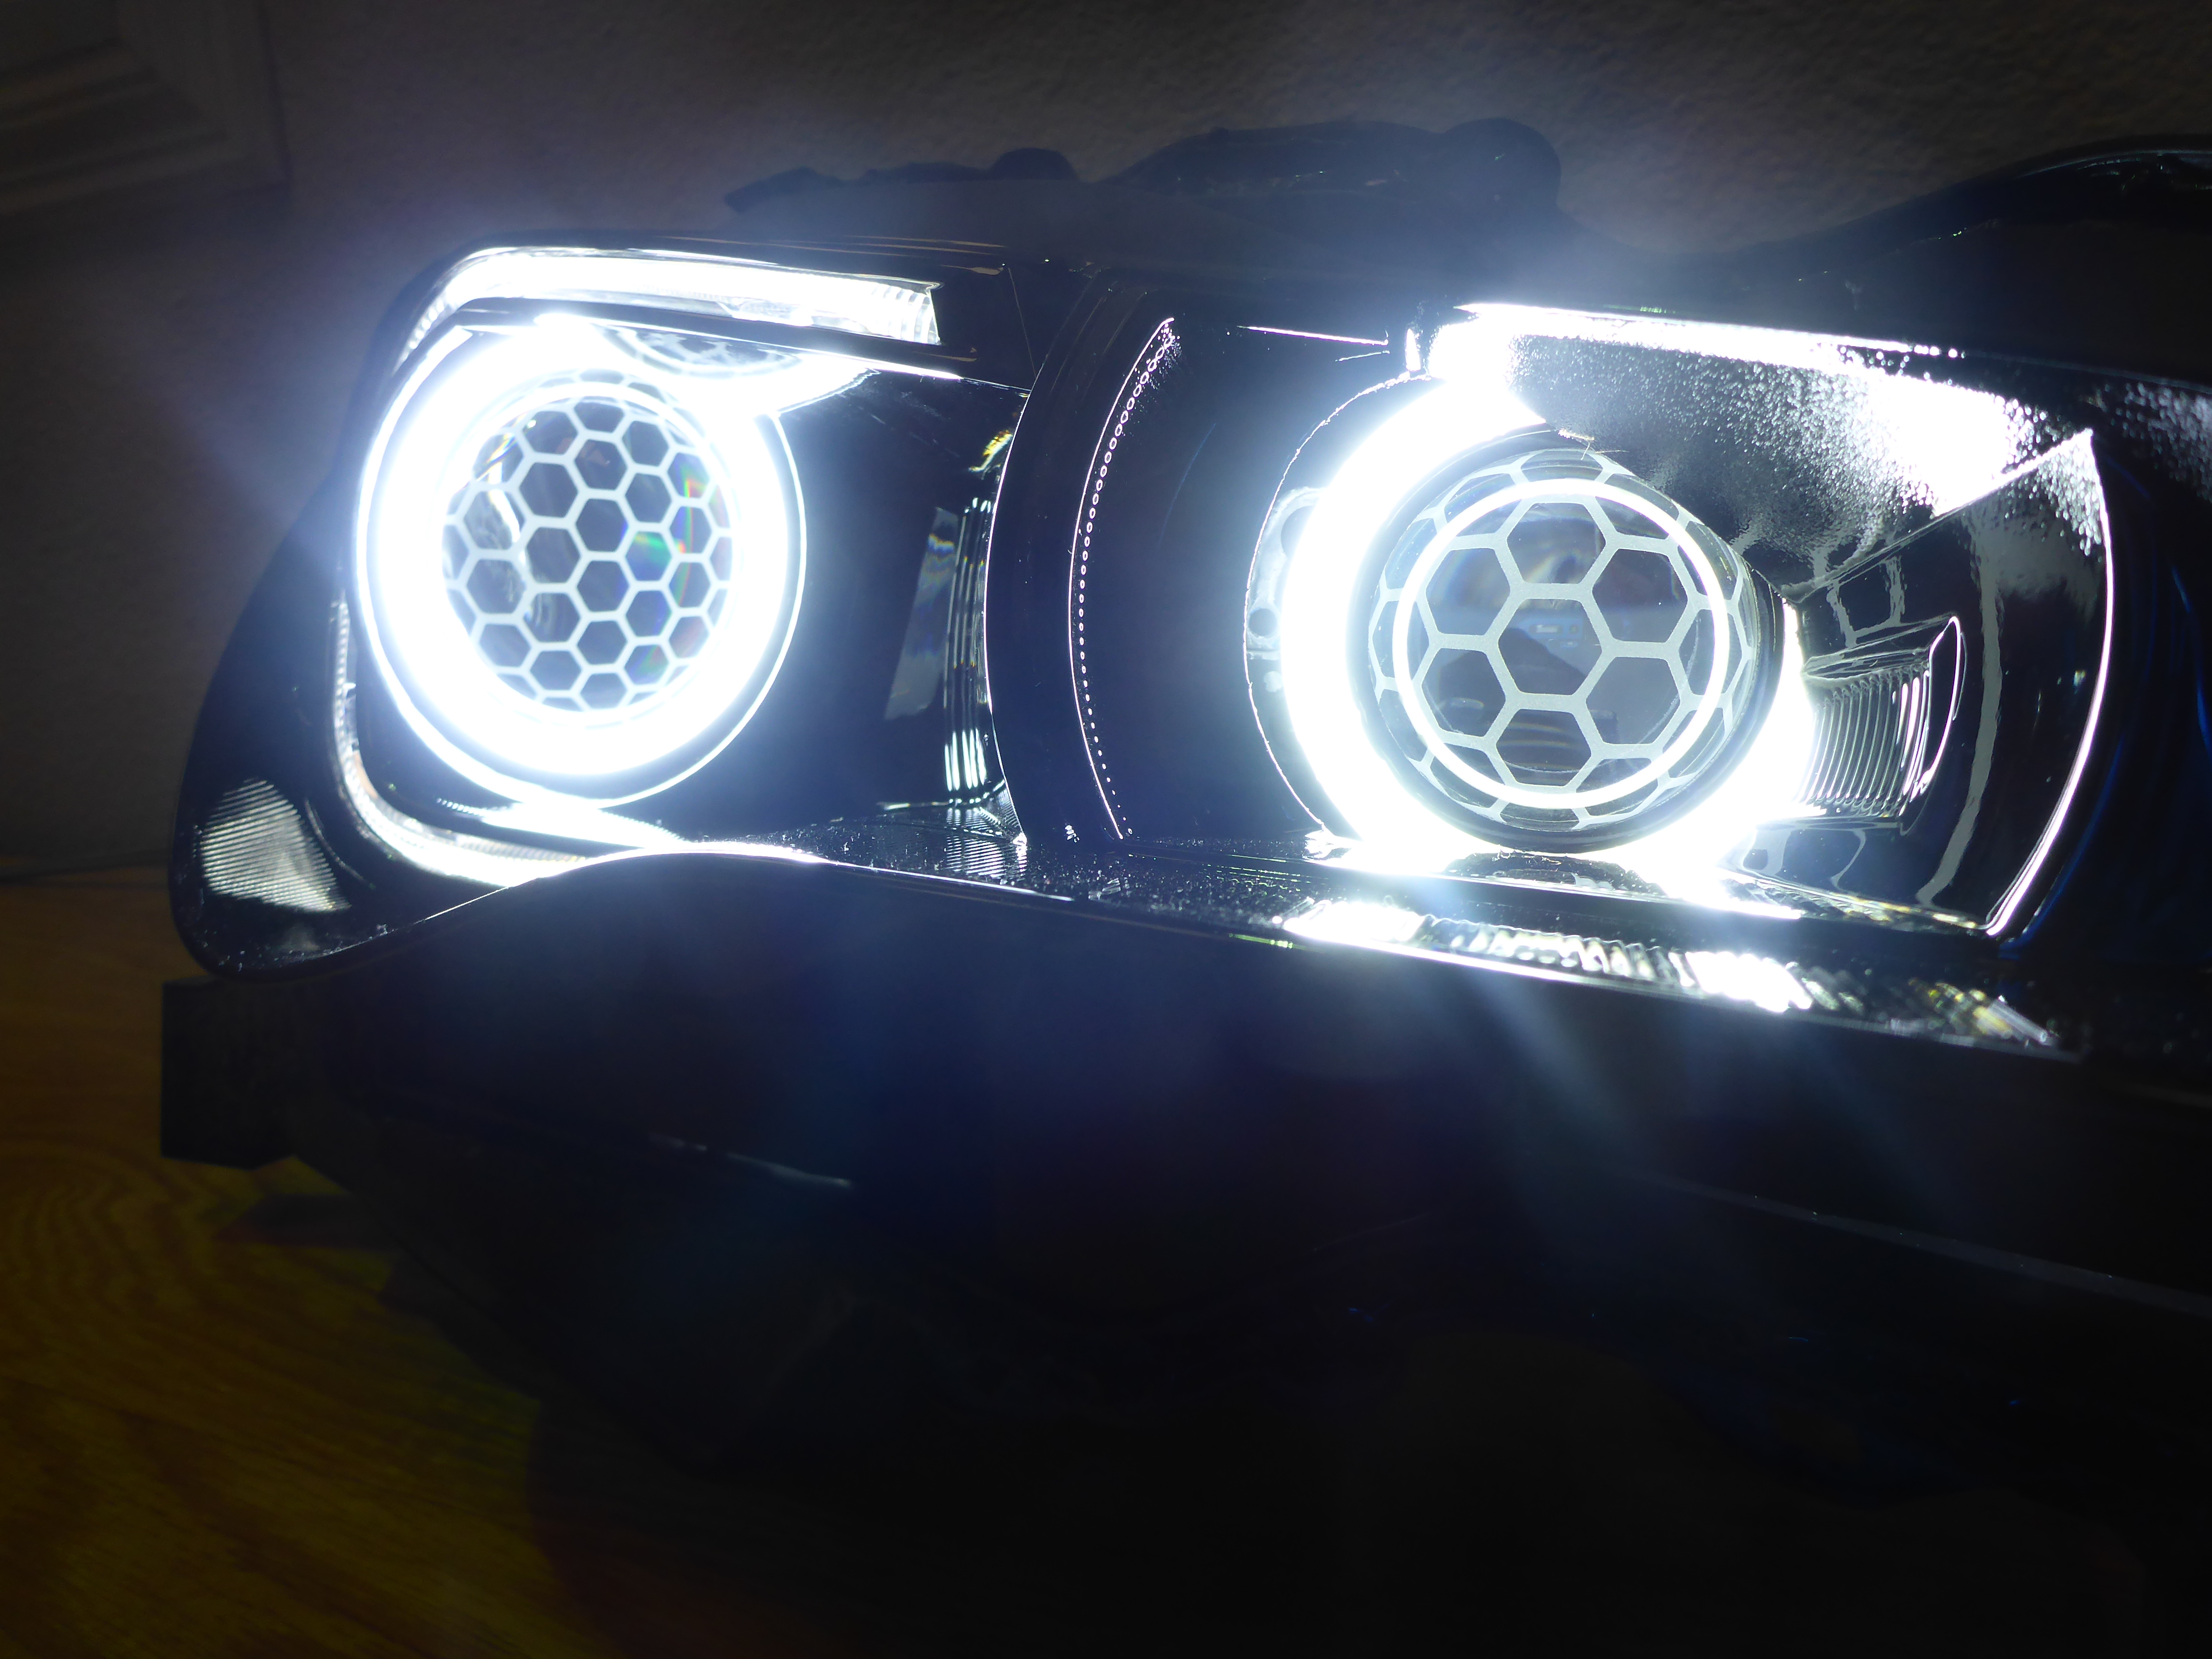
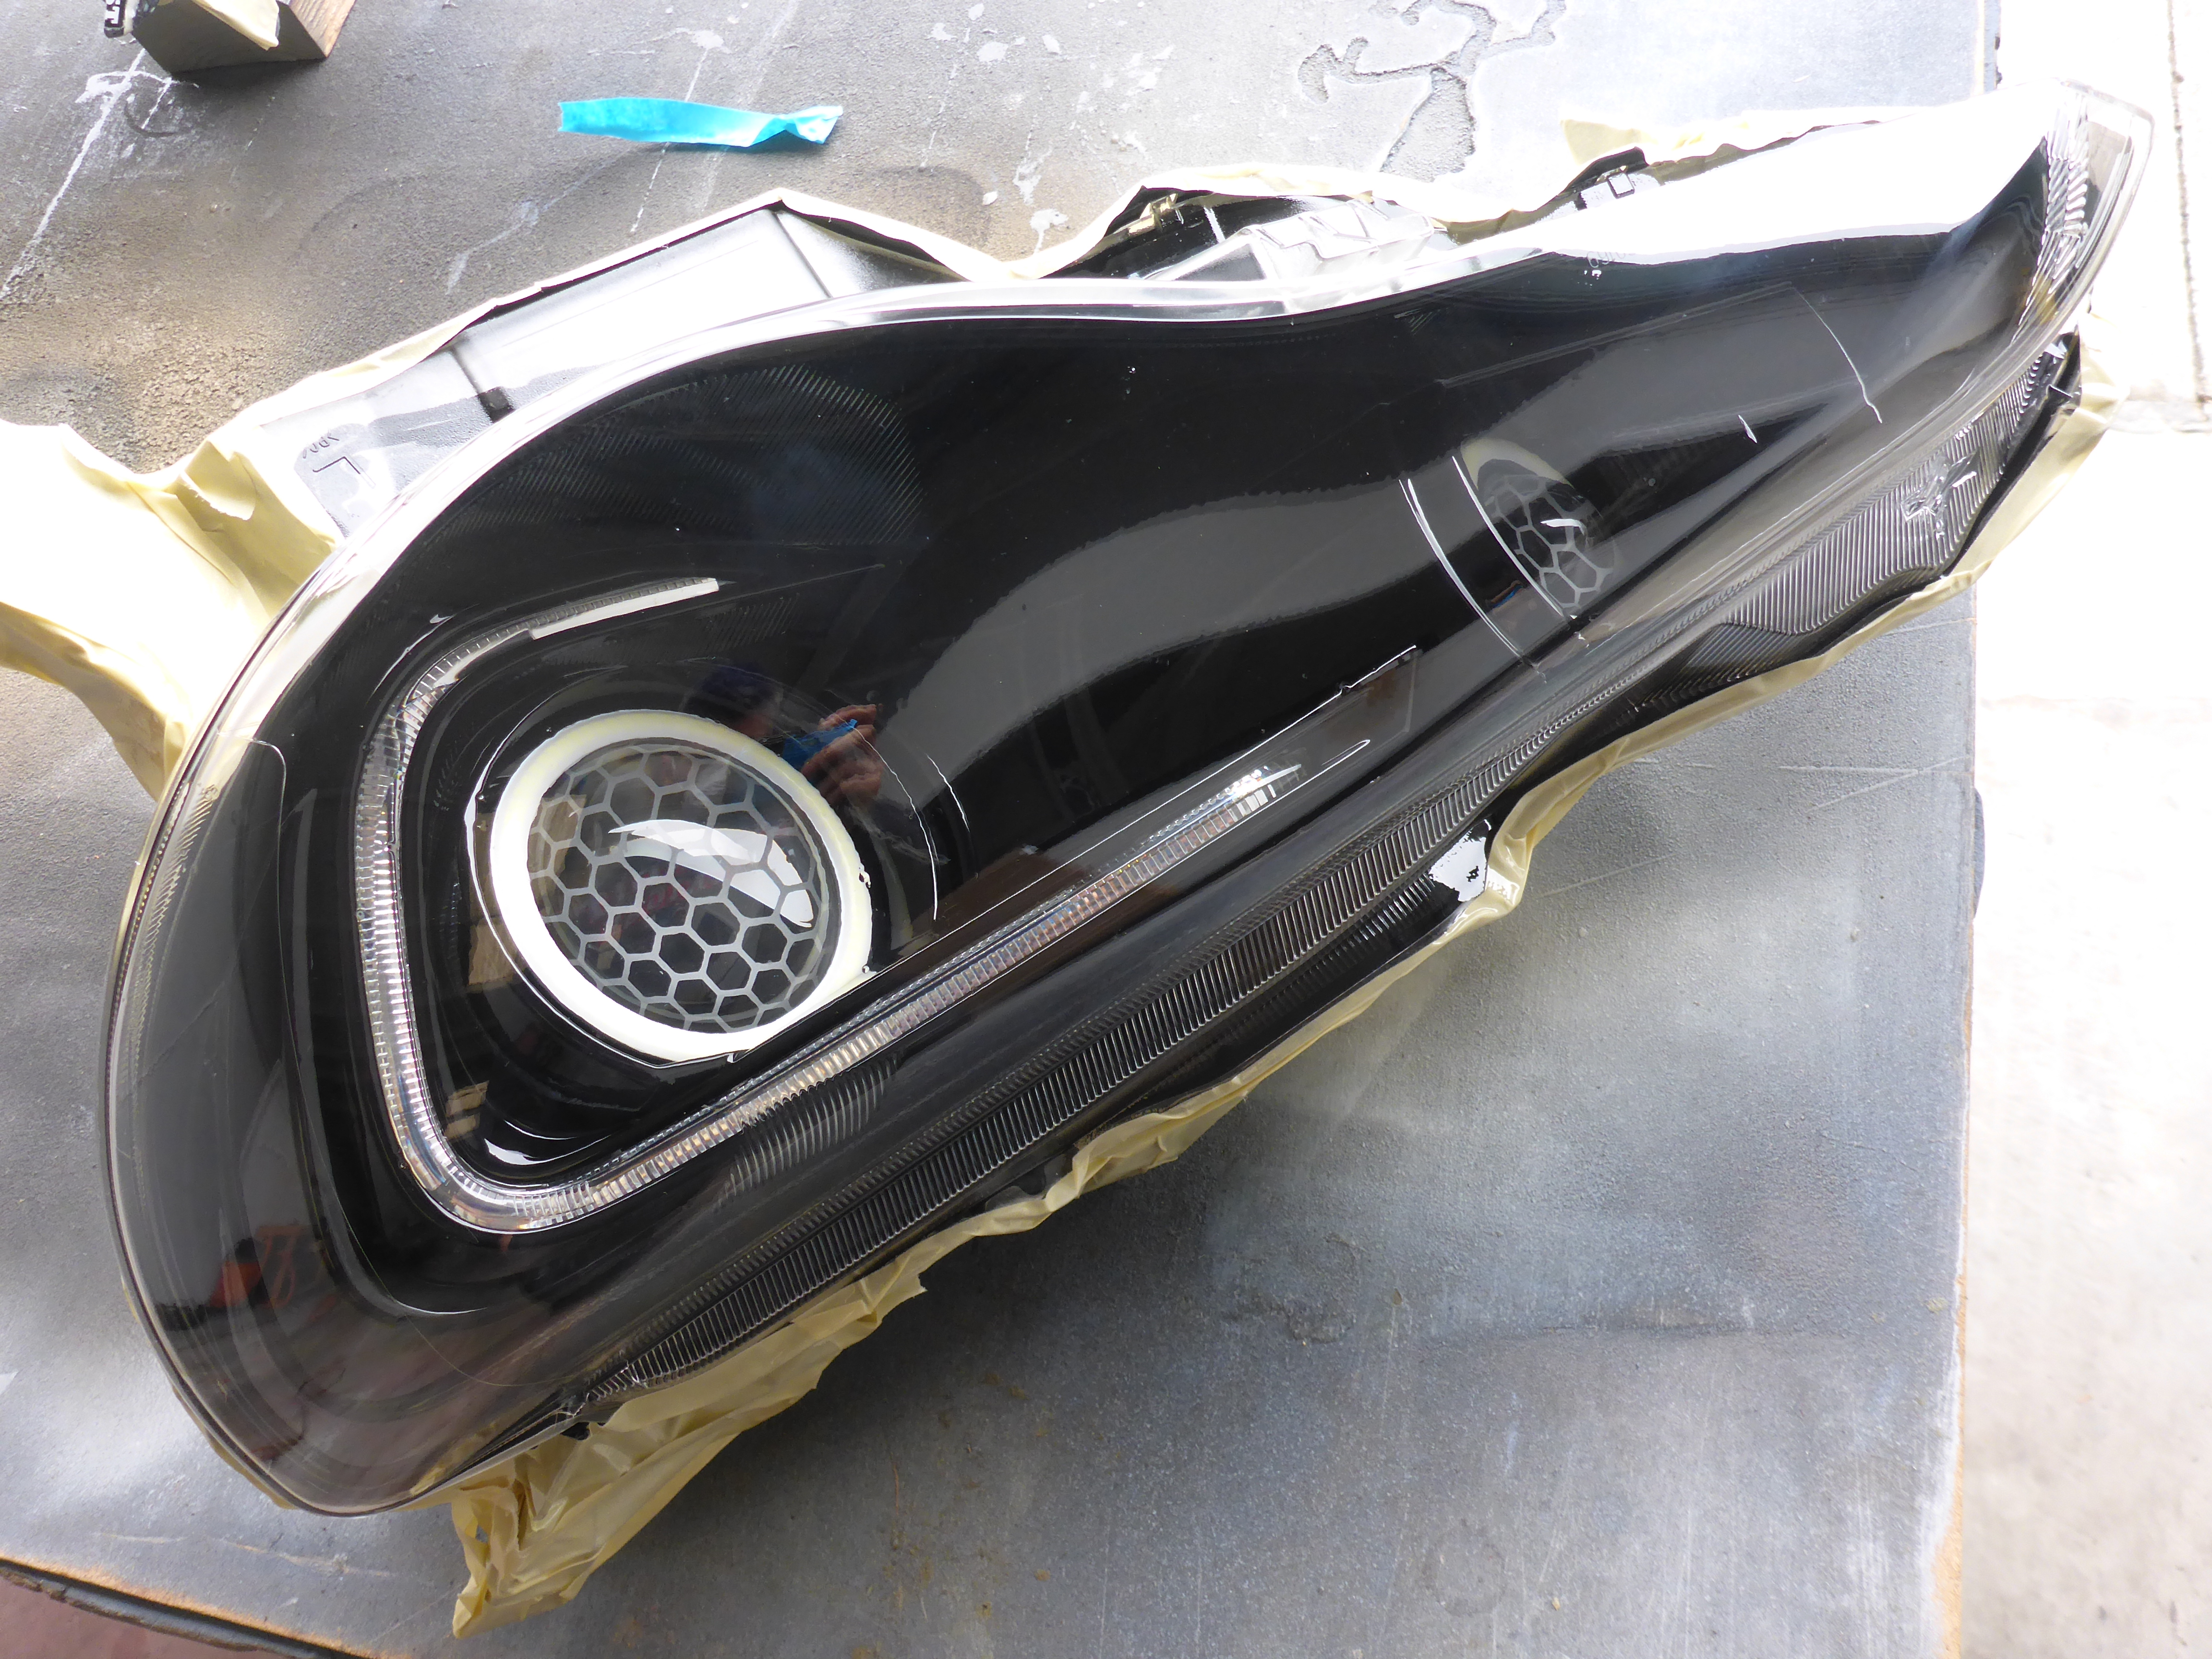
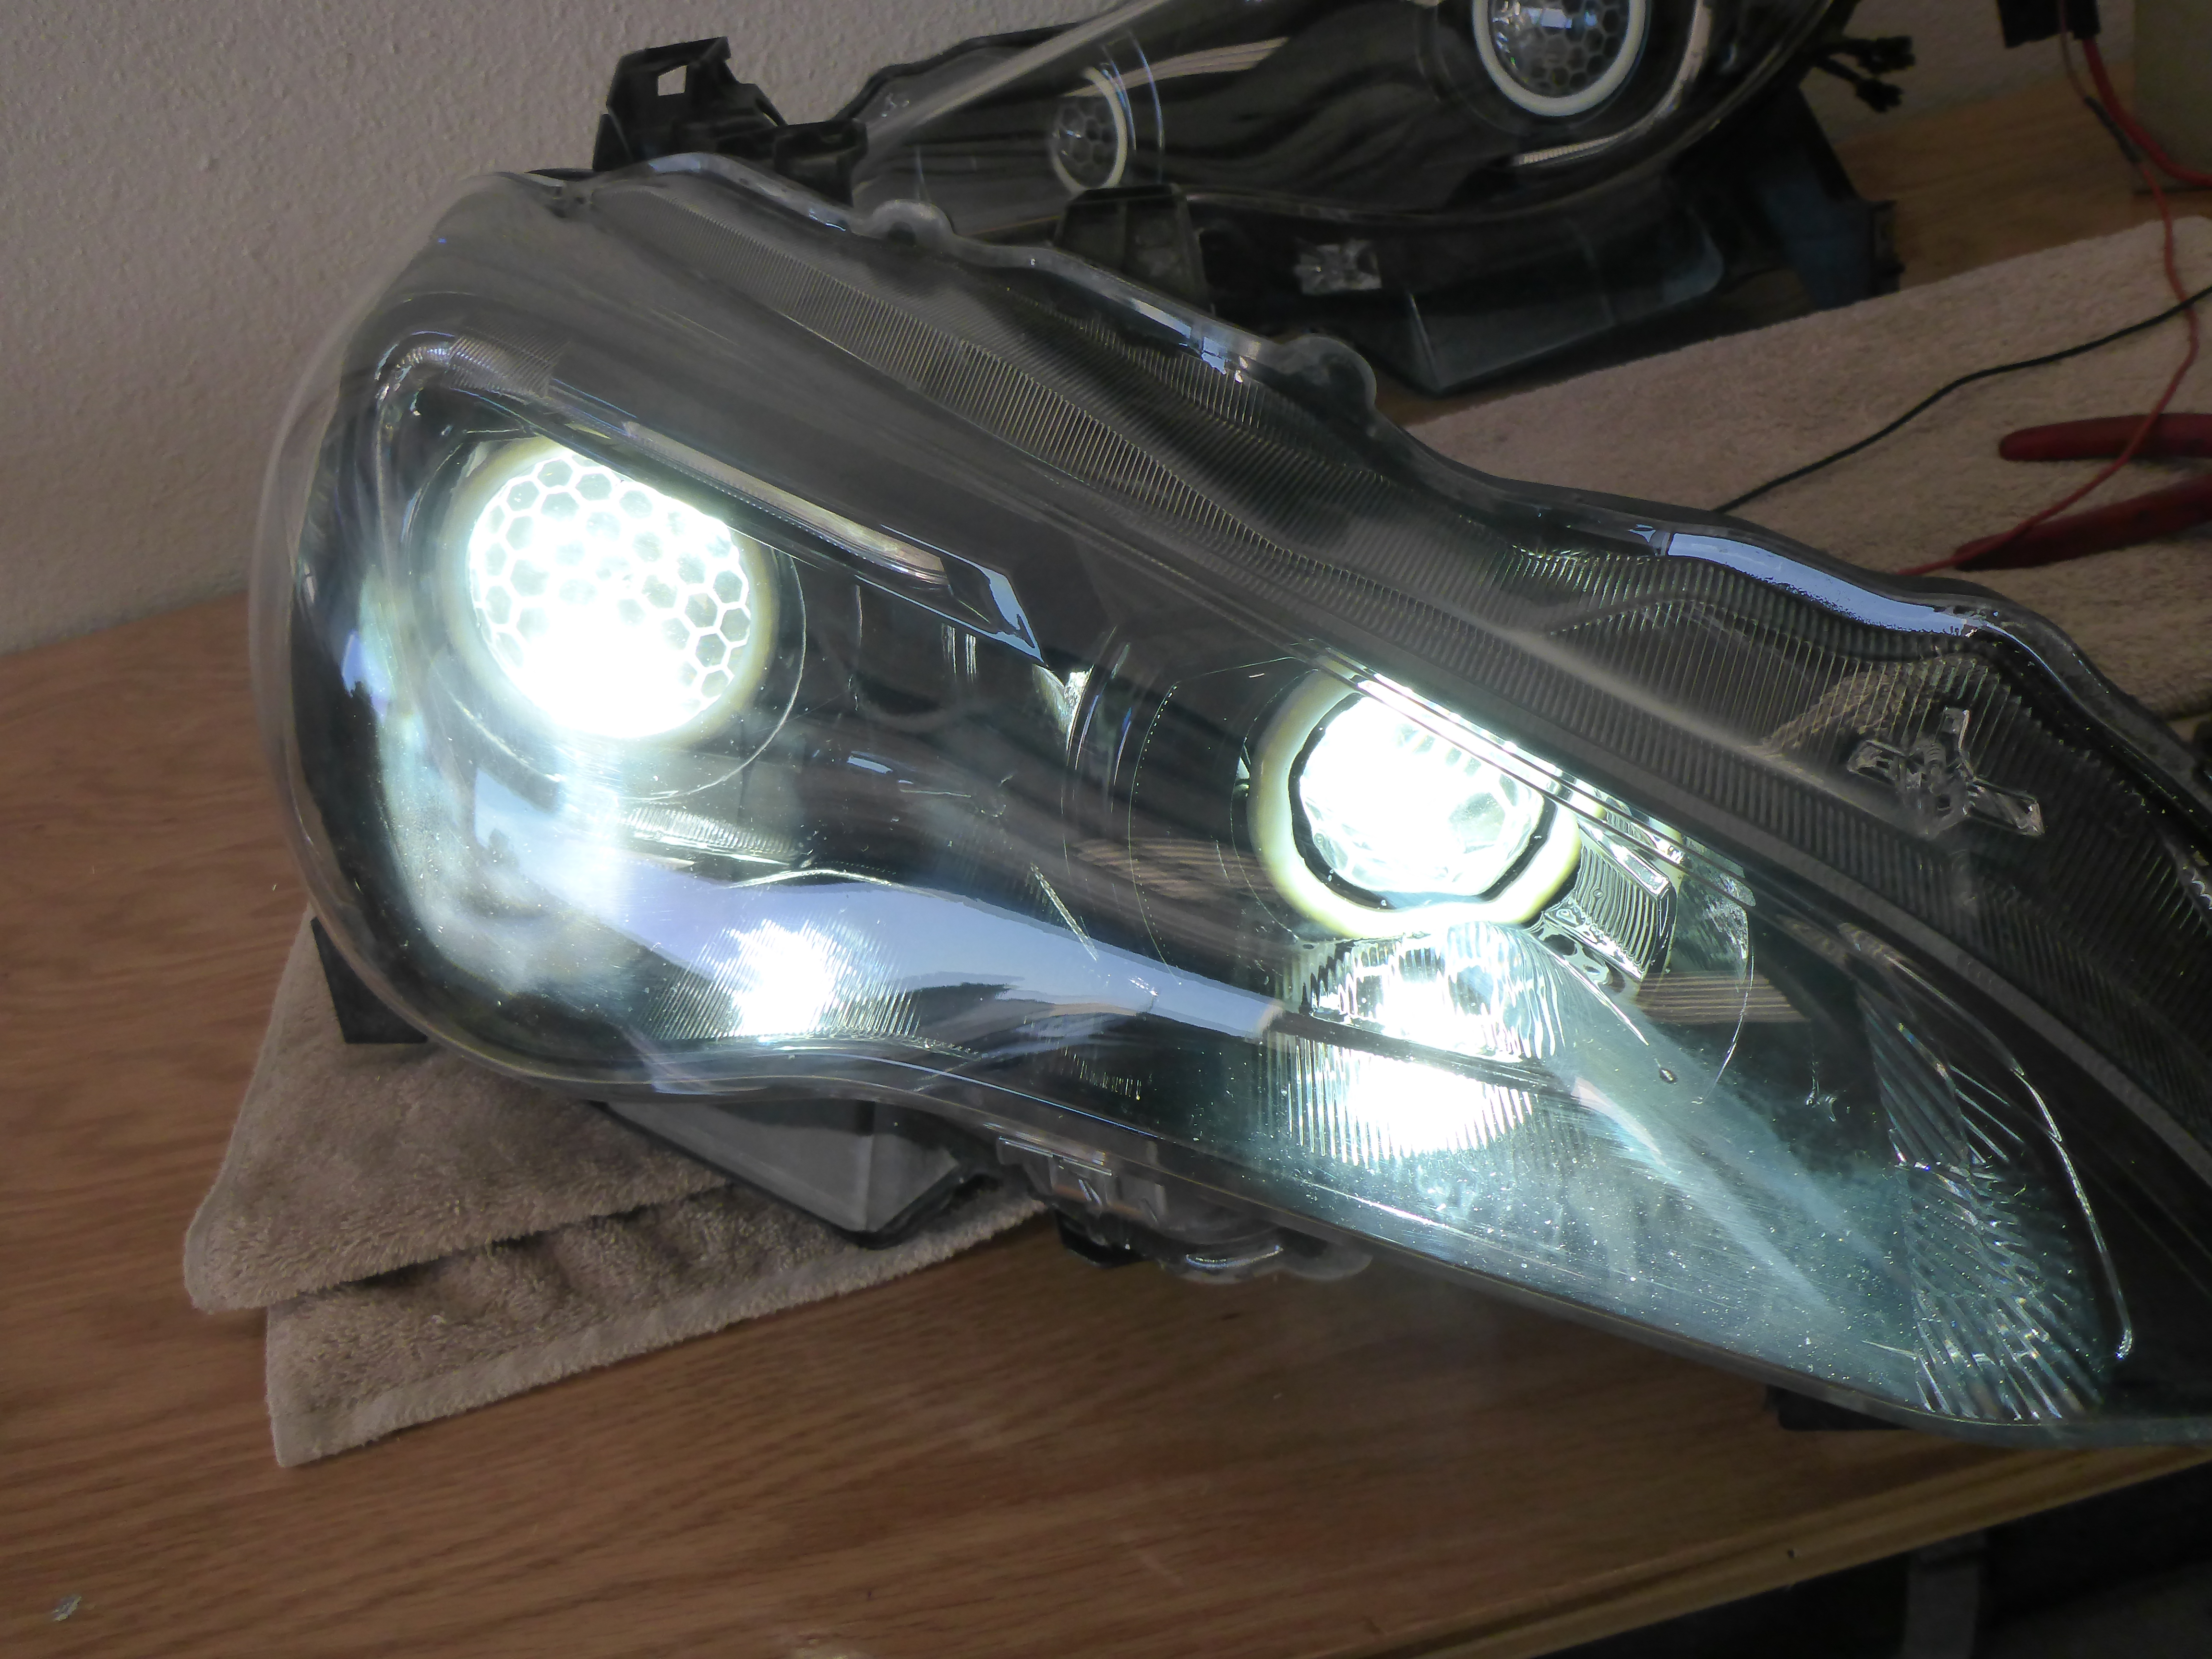
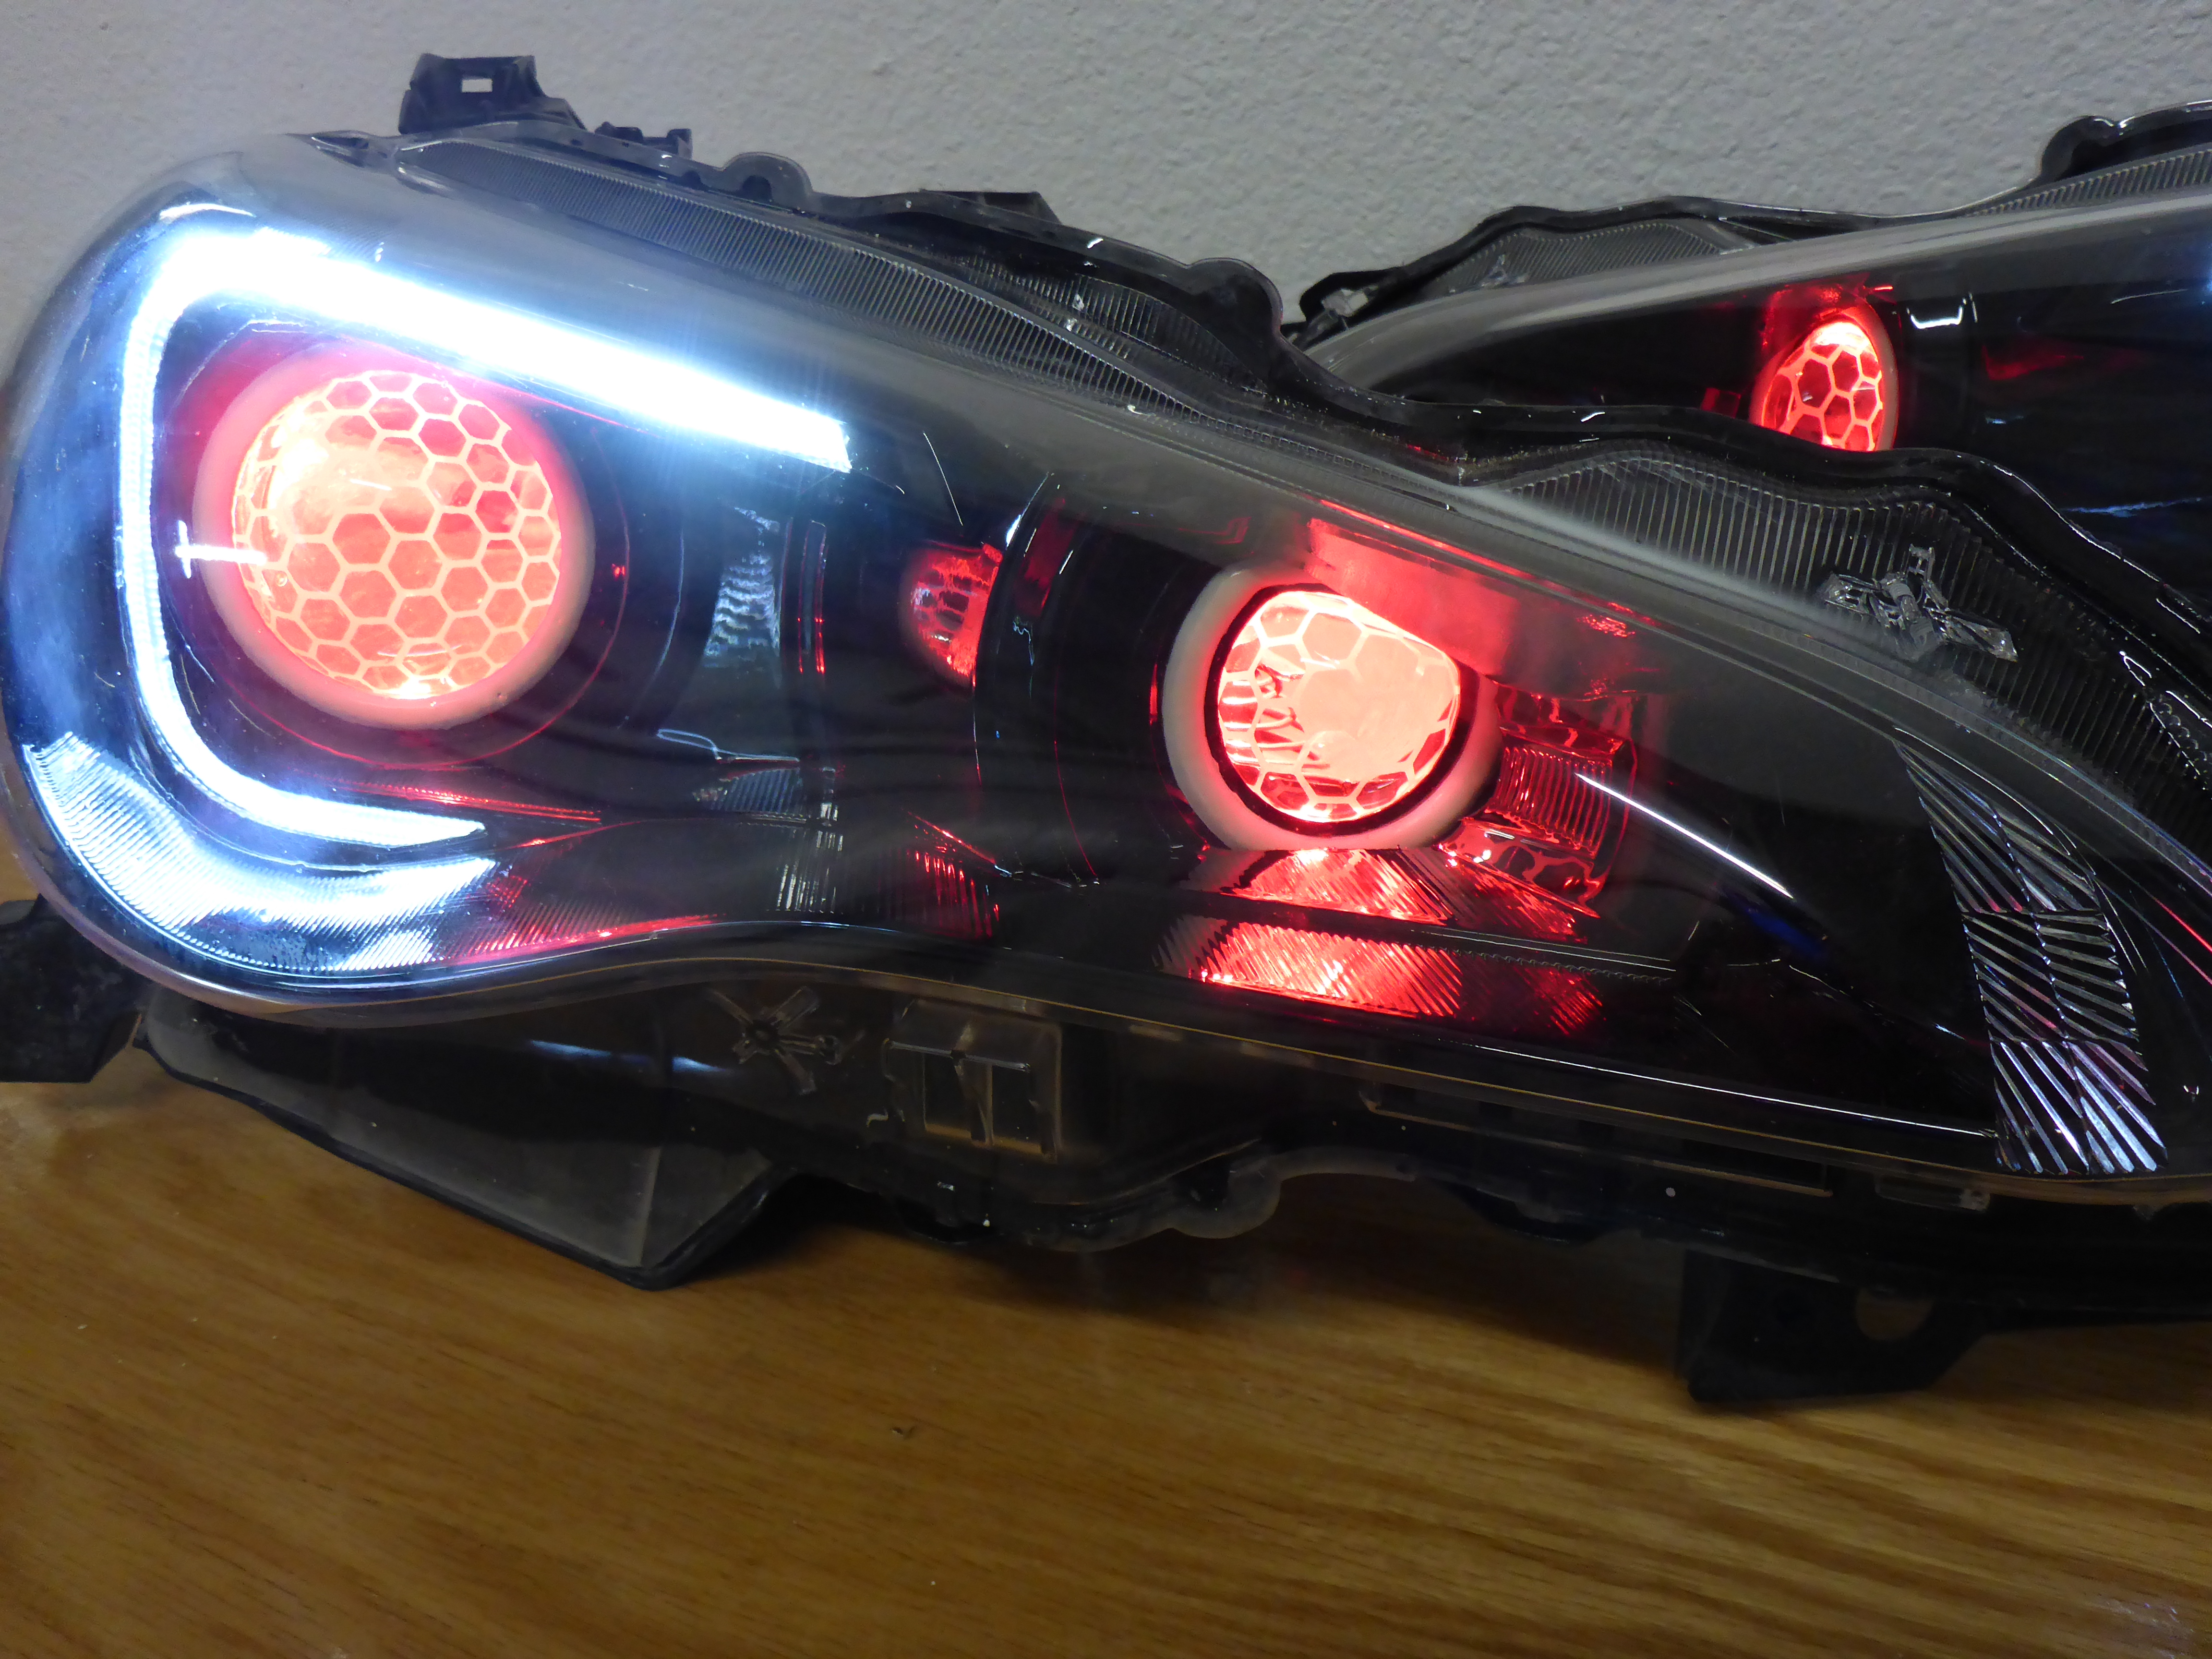
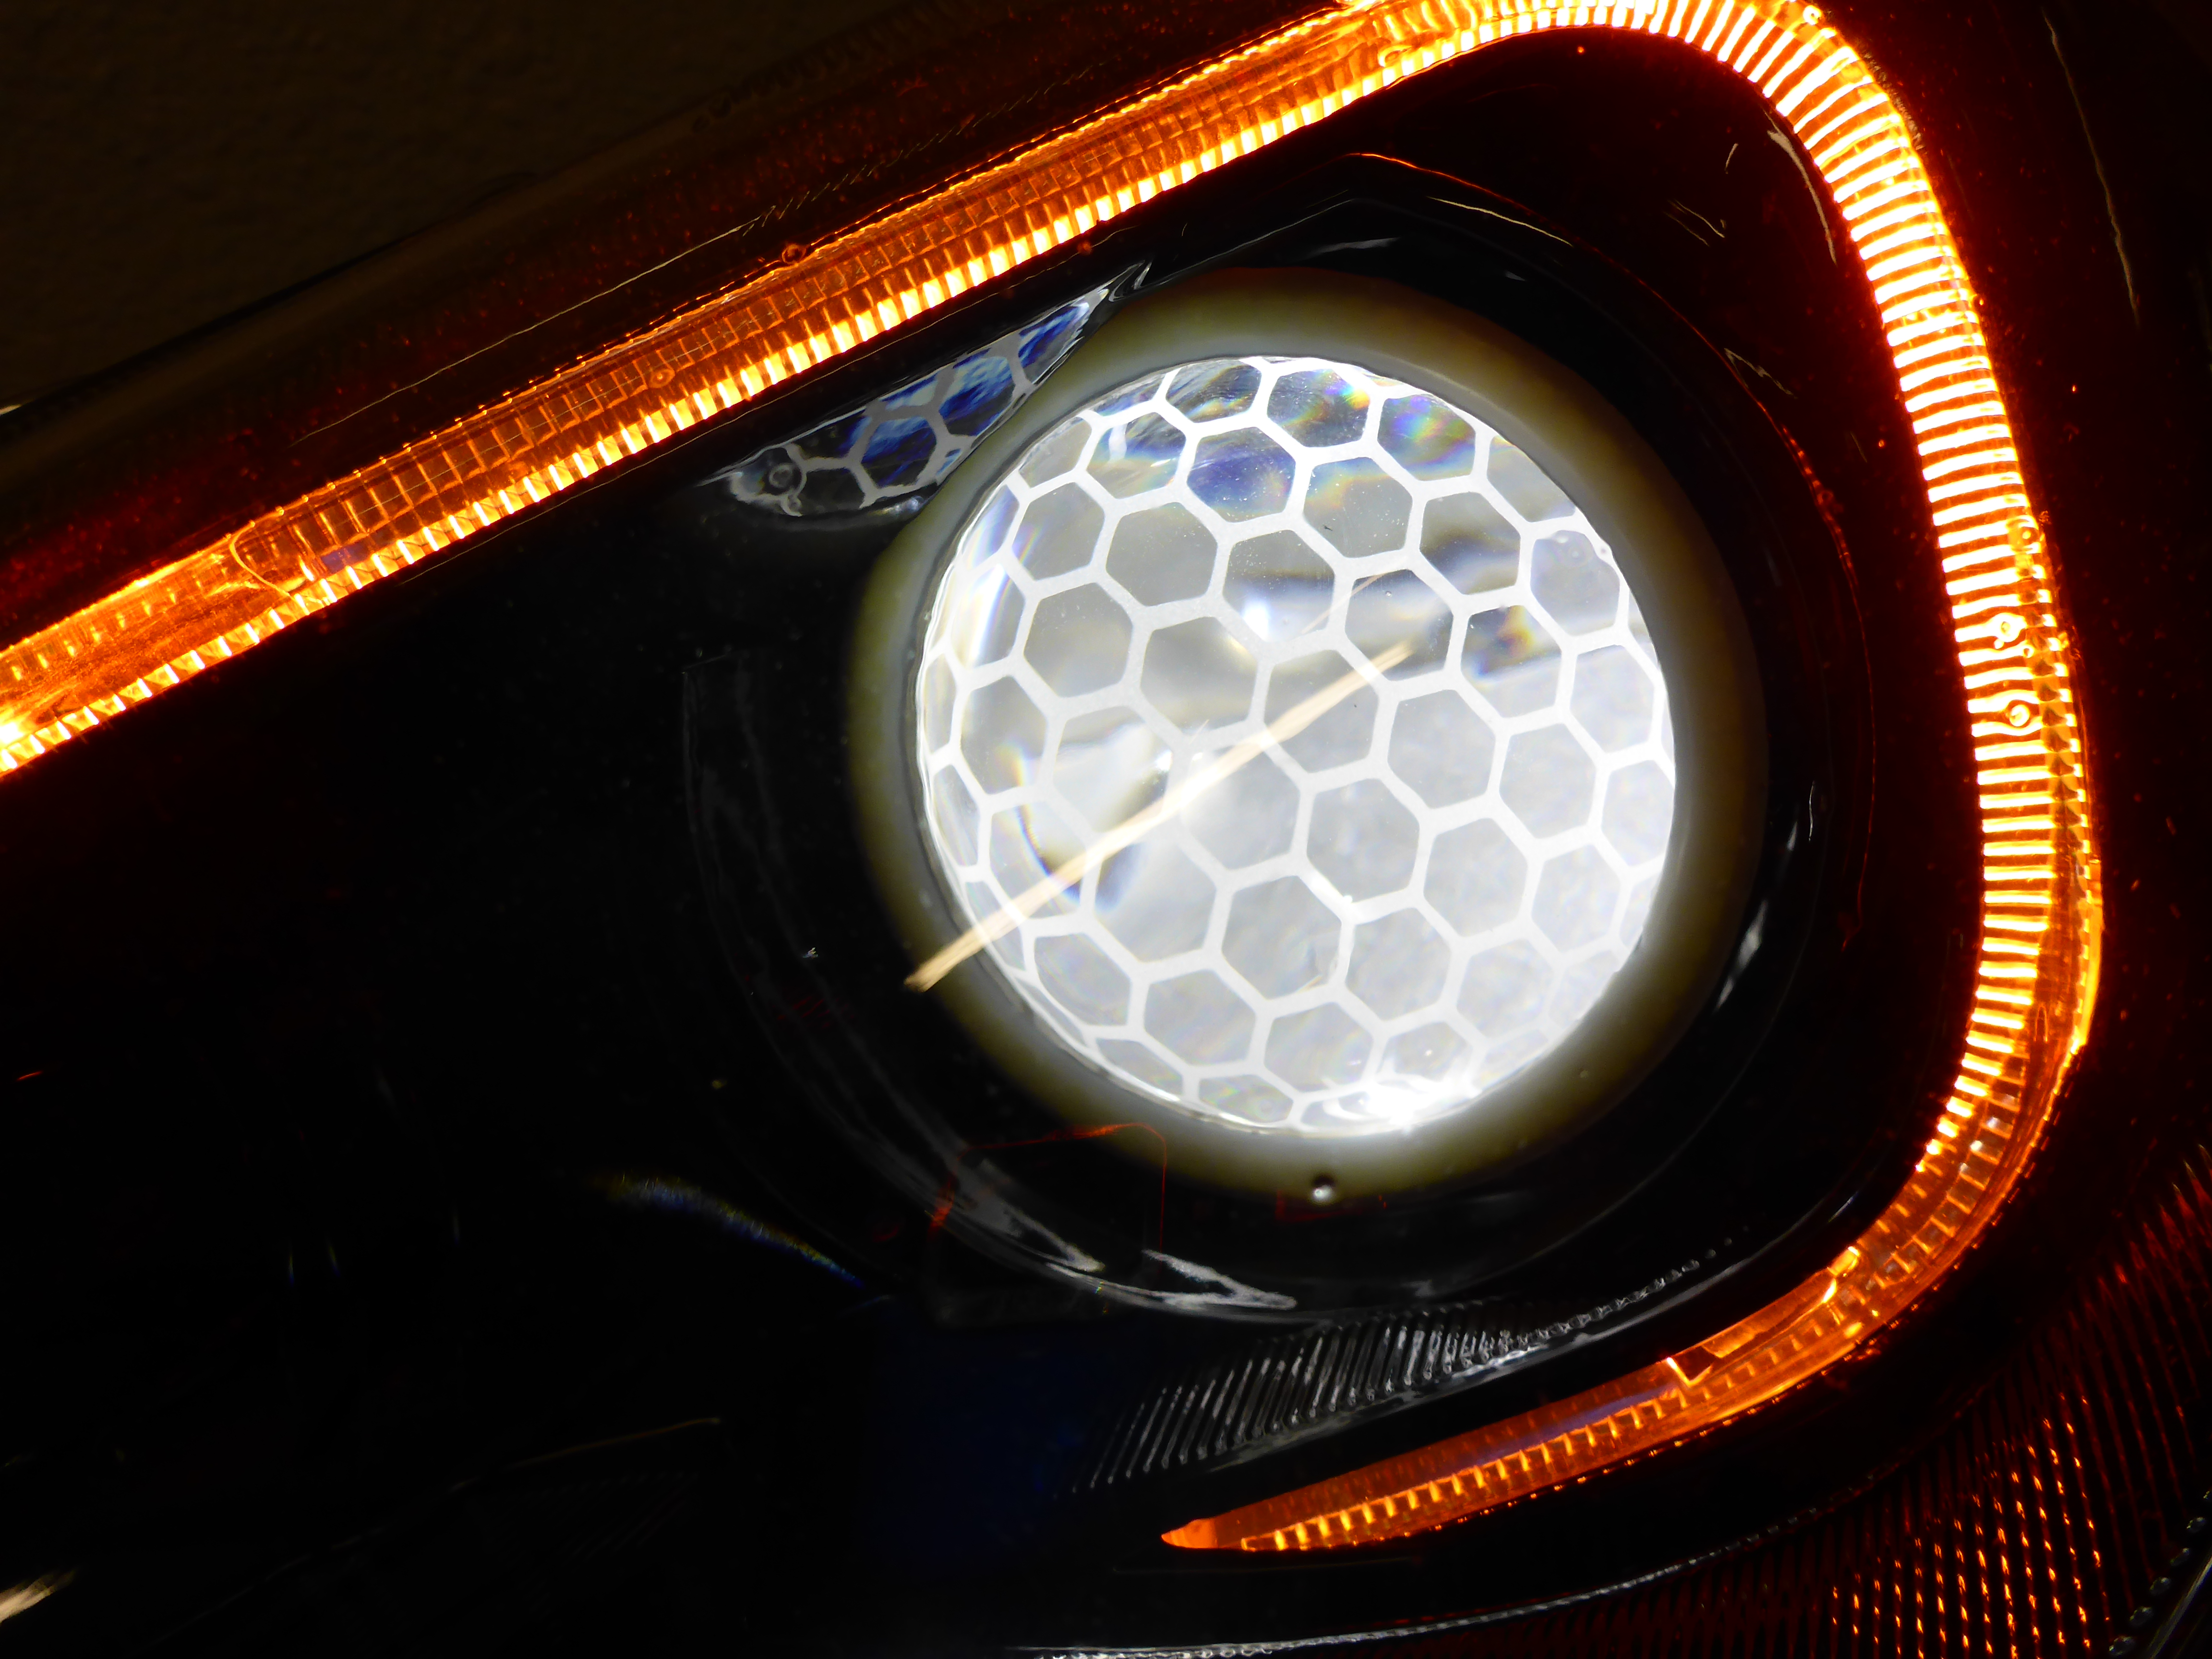
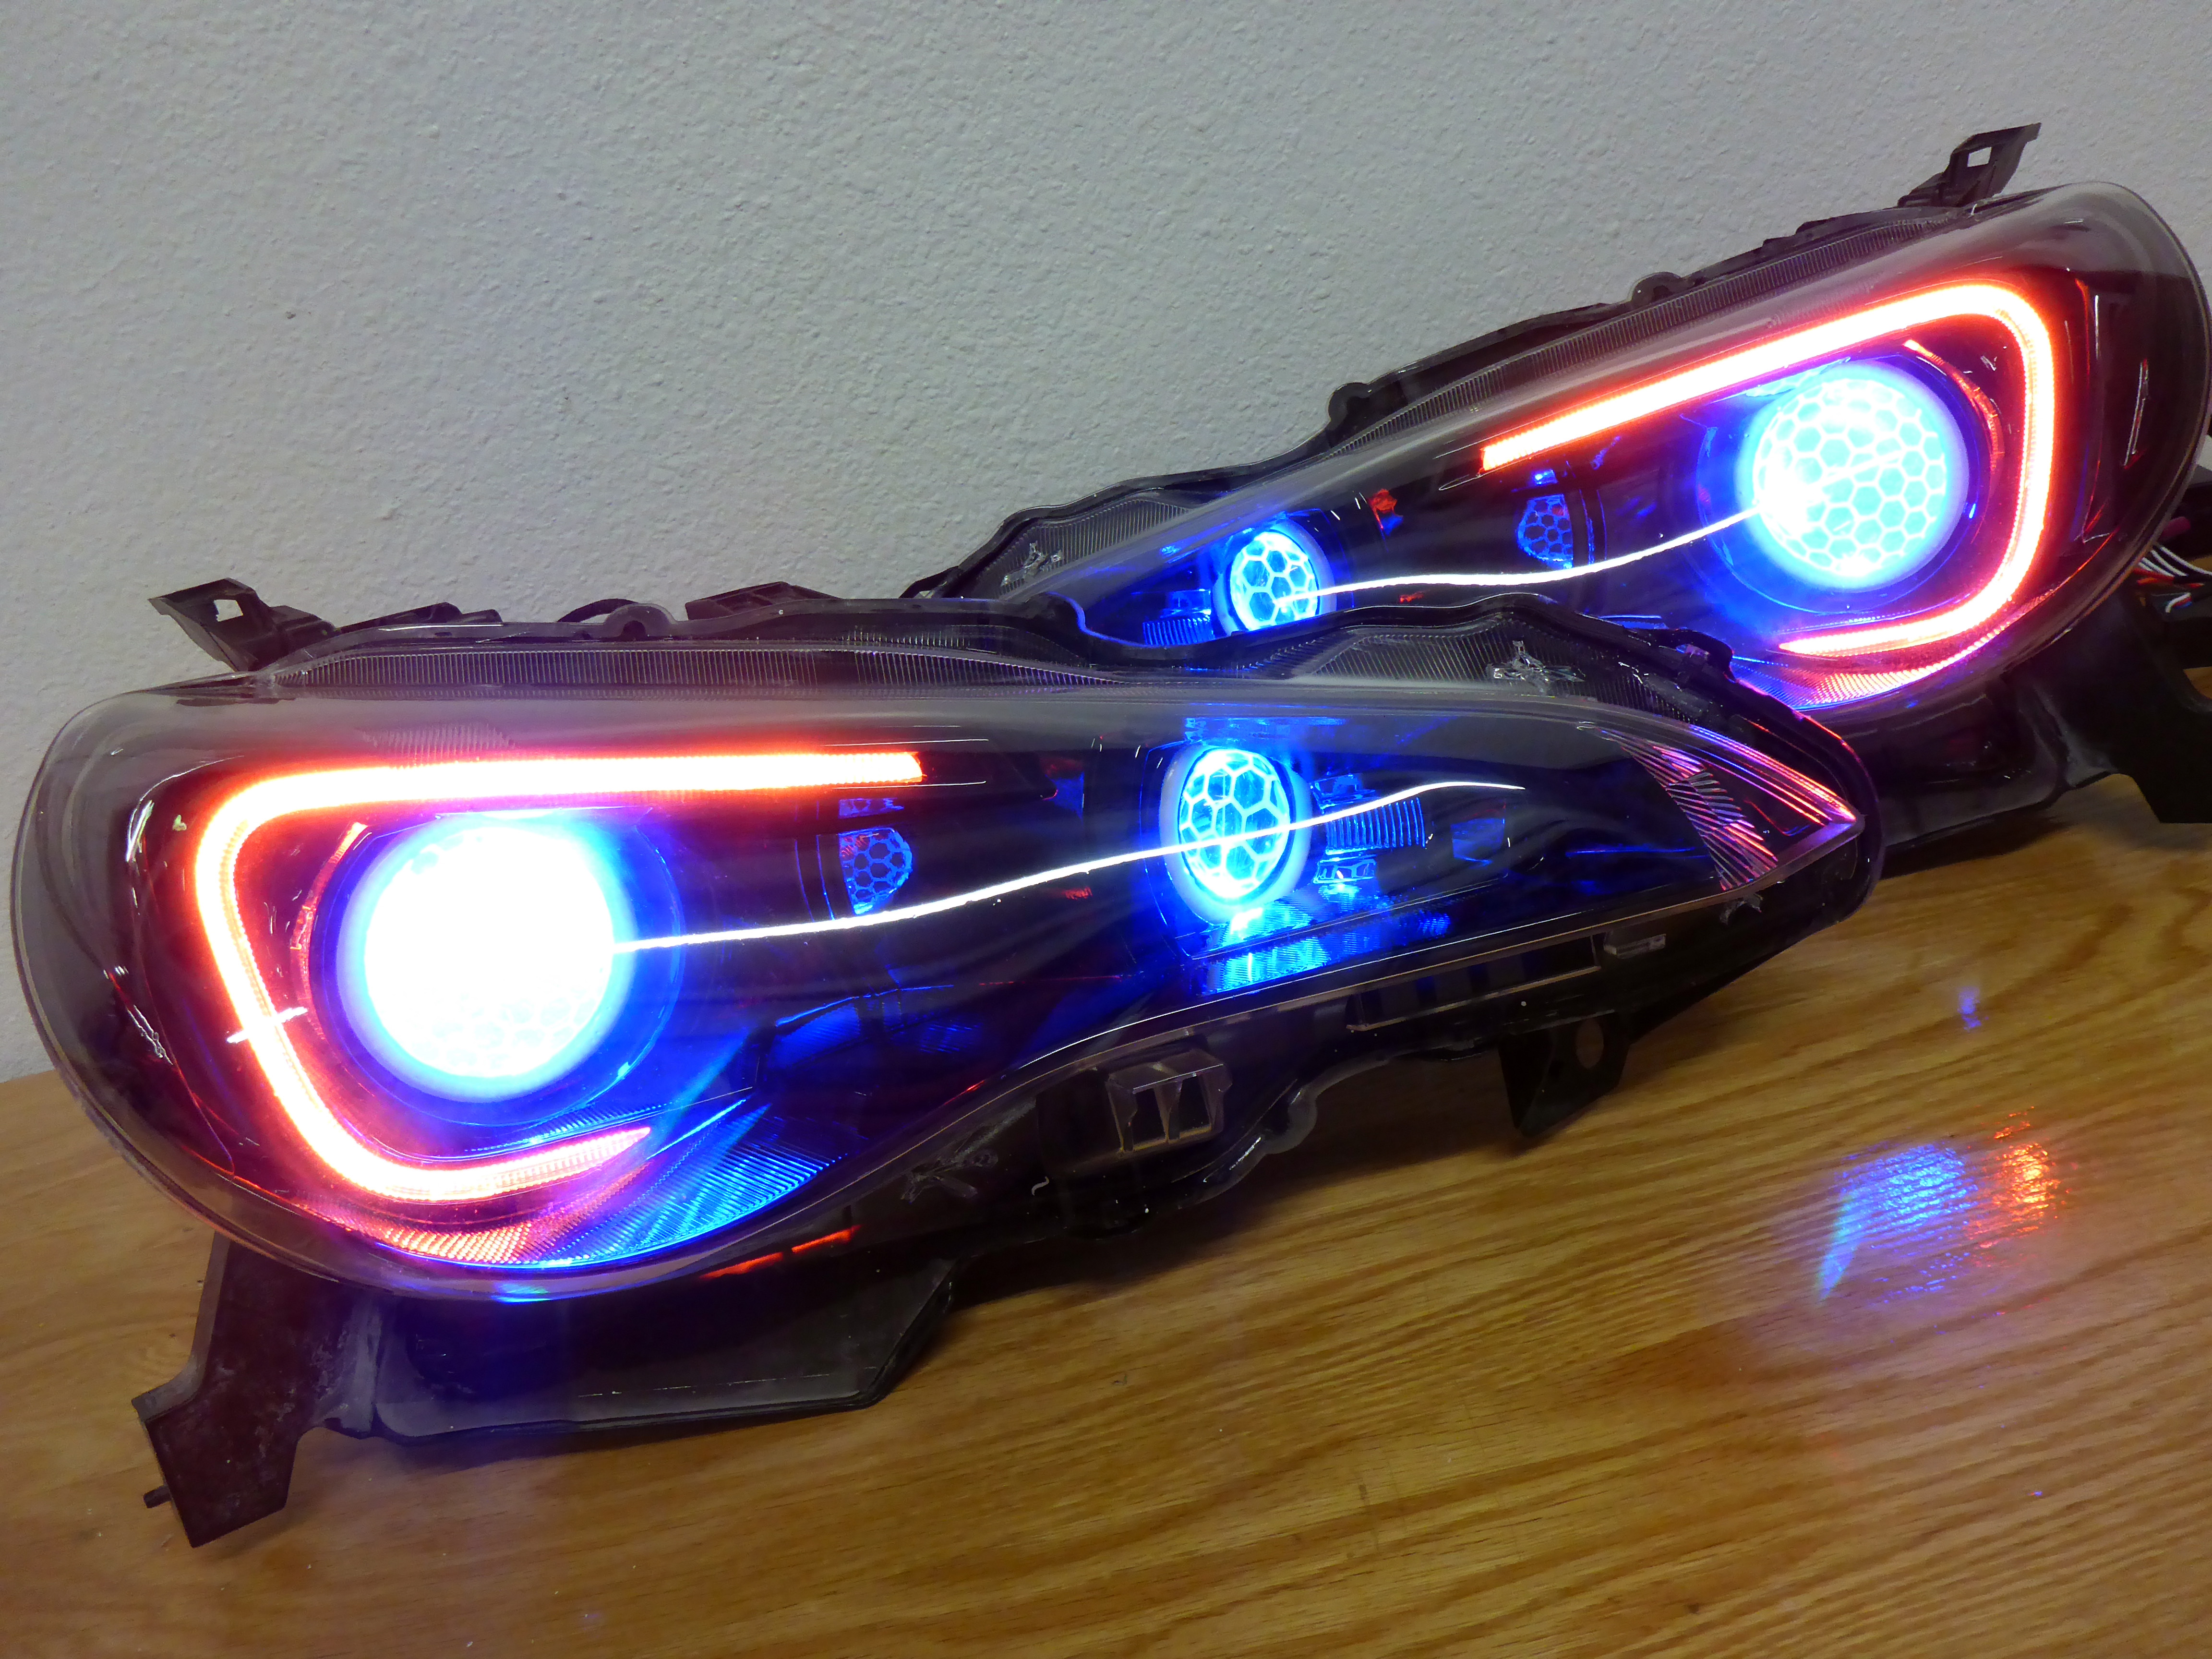
It’s lens upgrade swap time! For the OEM projectors, I replaced those with Morimoto STI-R lens etched with the honeycomb pattern. Kewl.
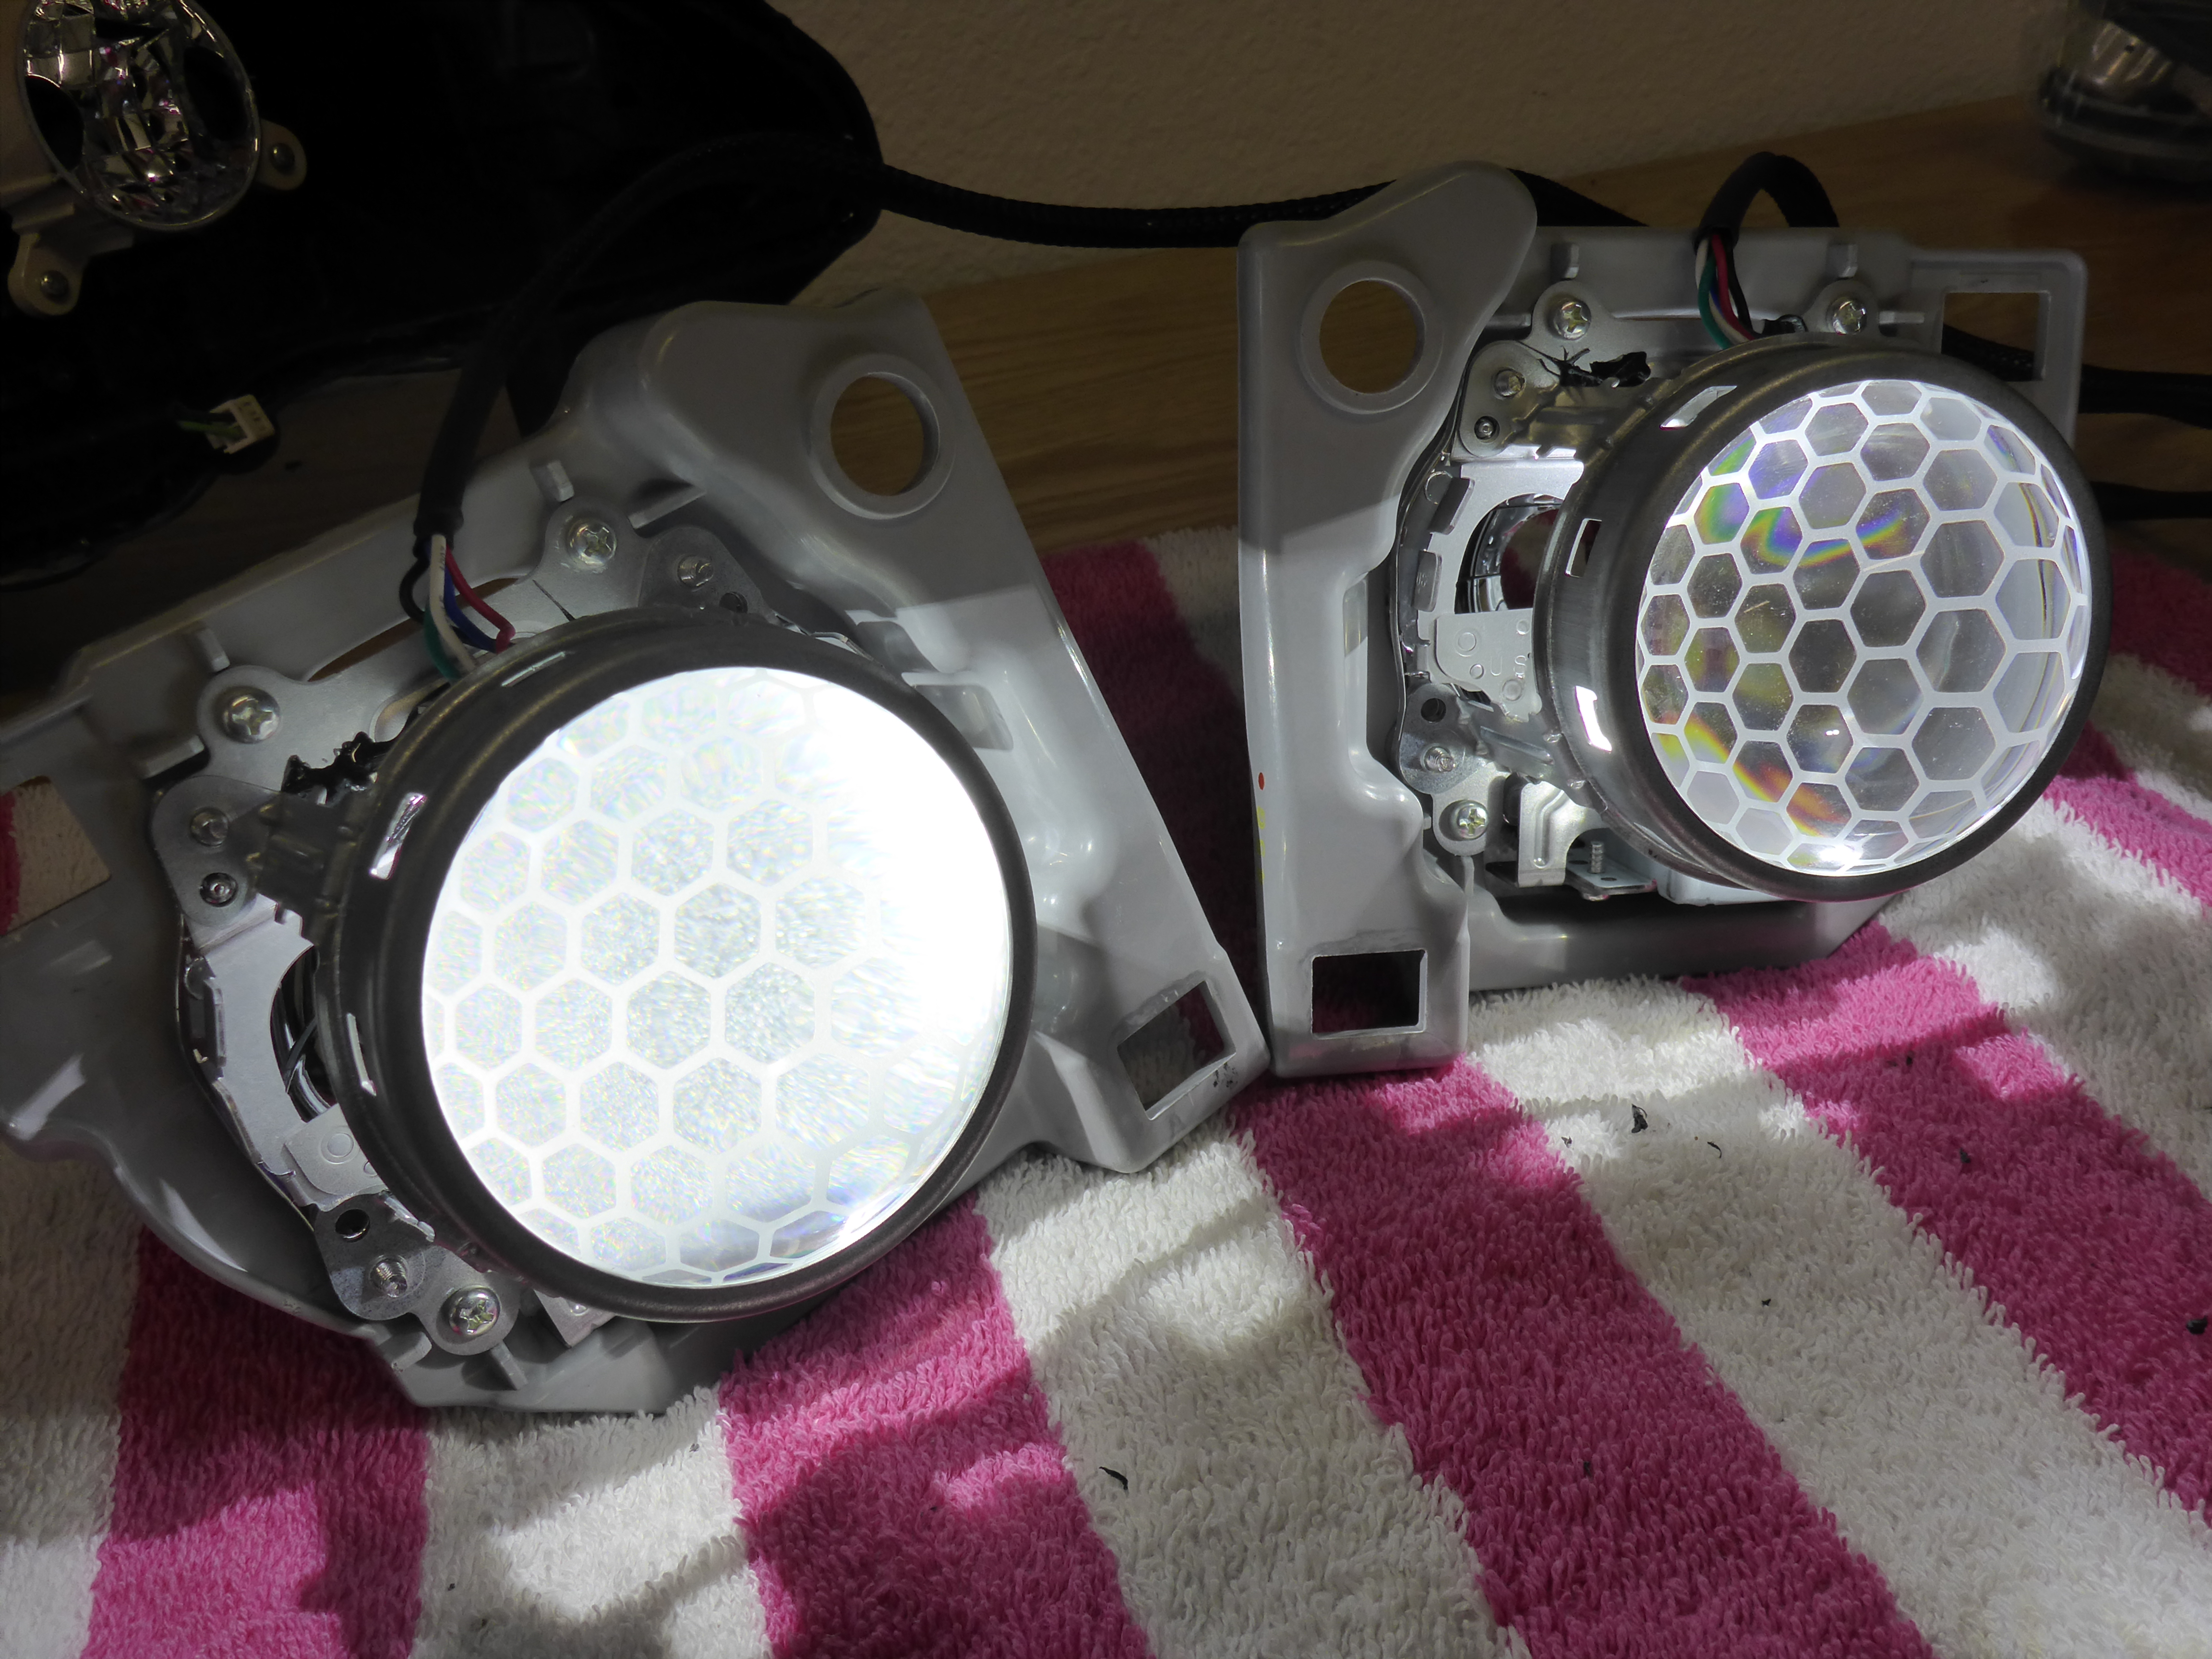
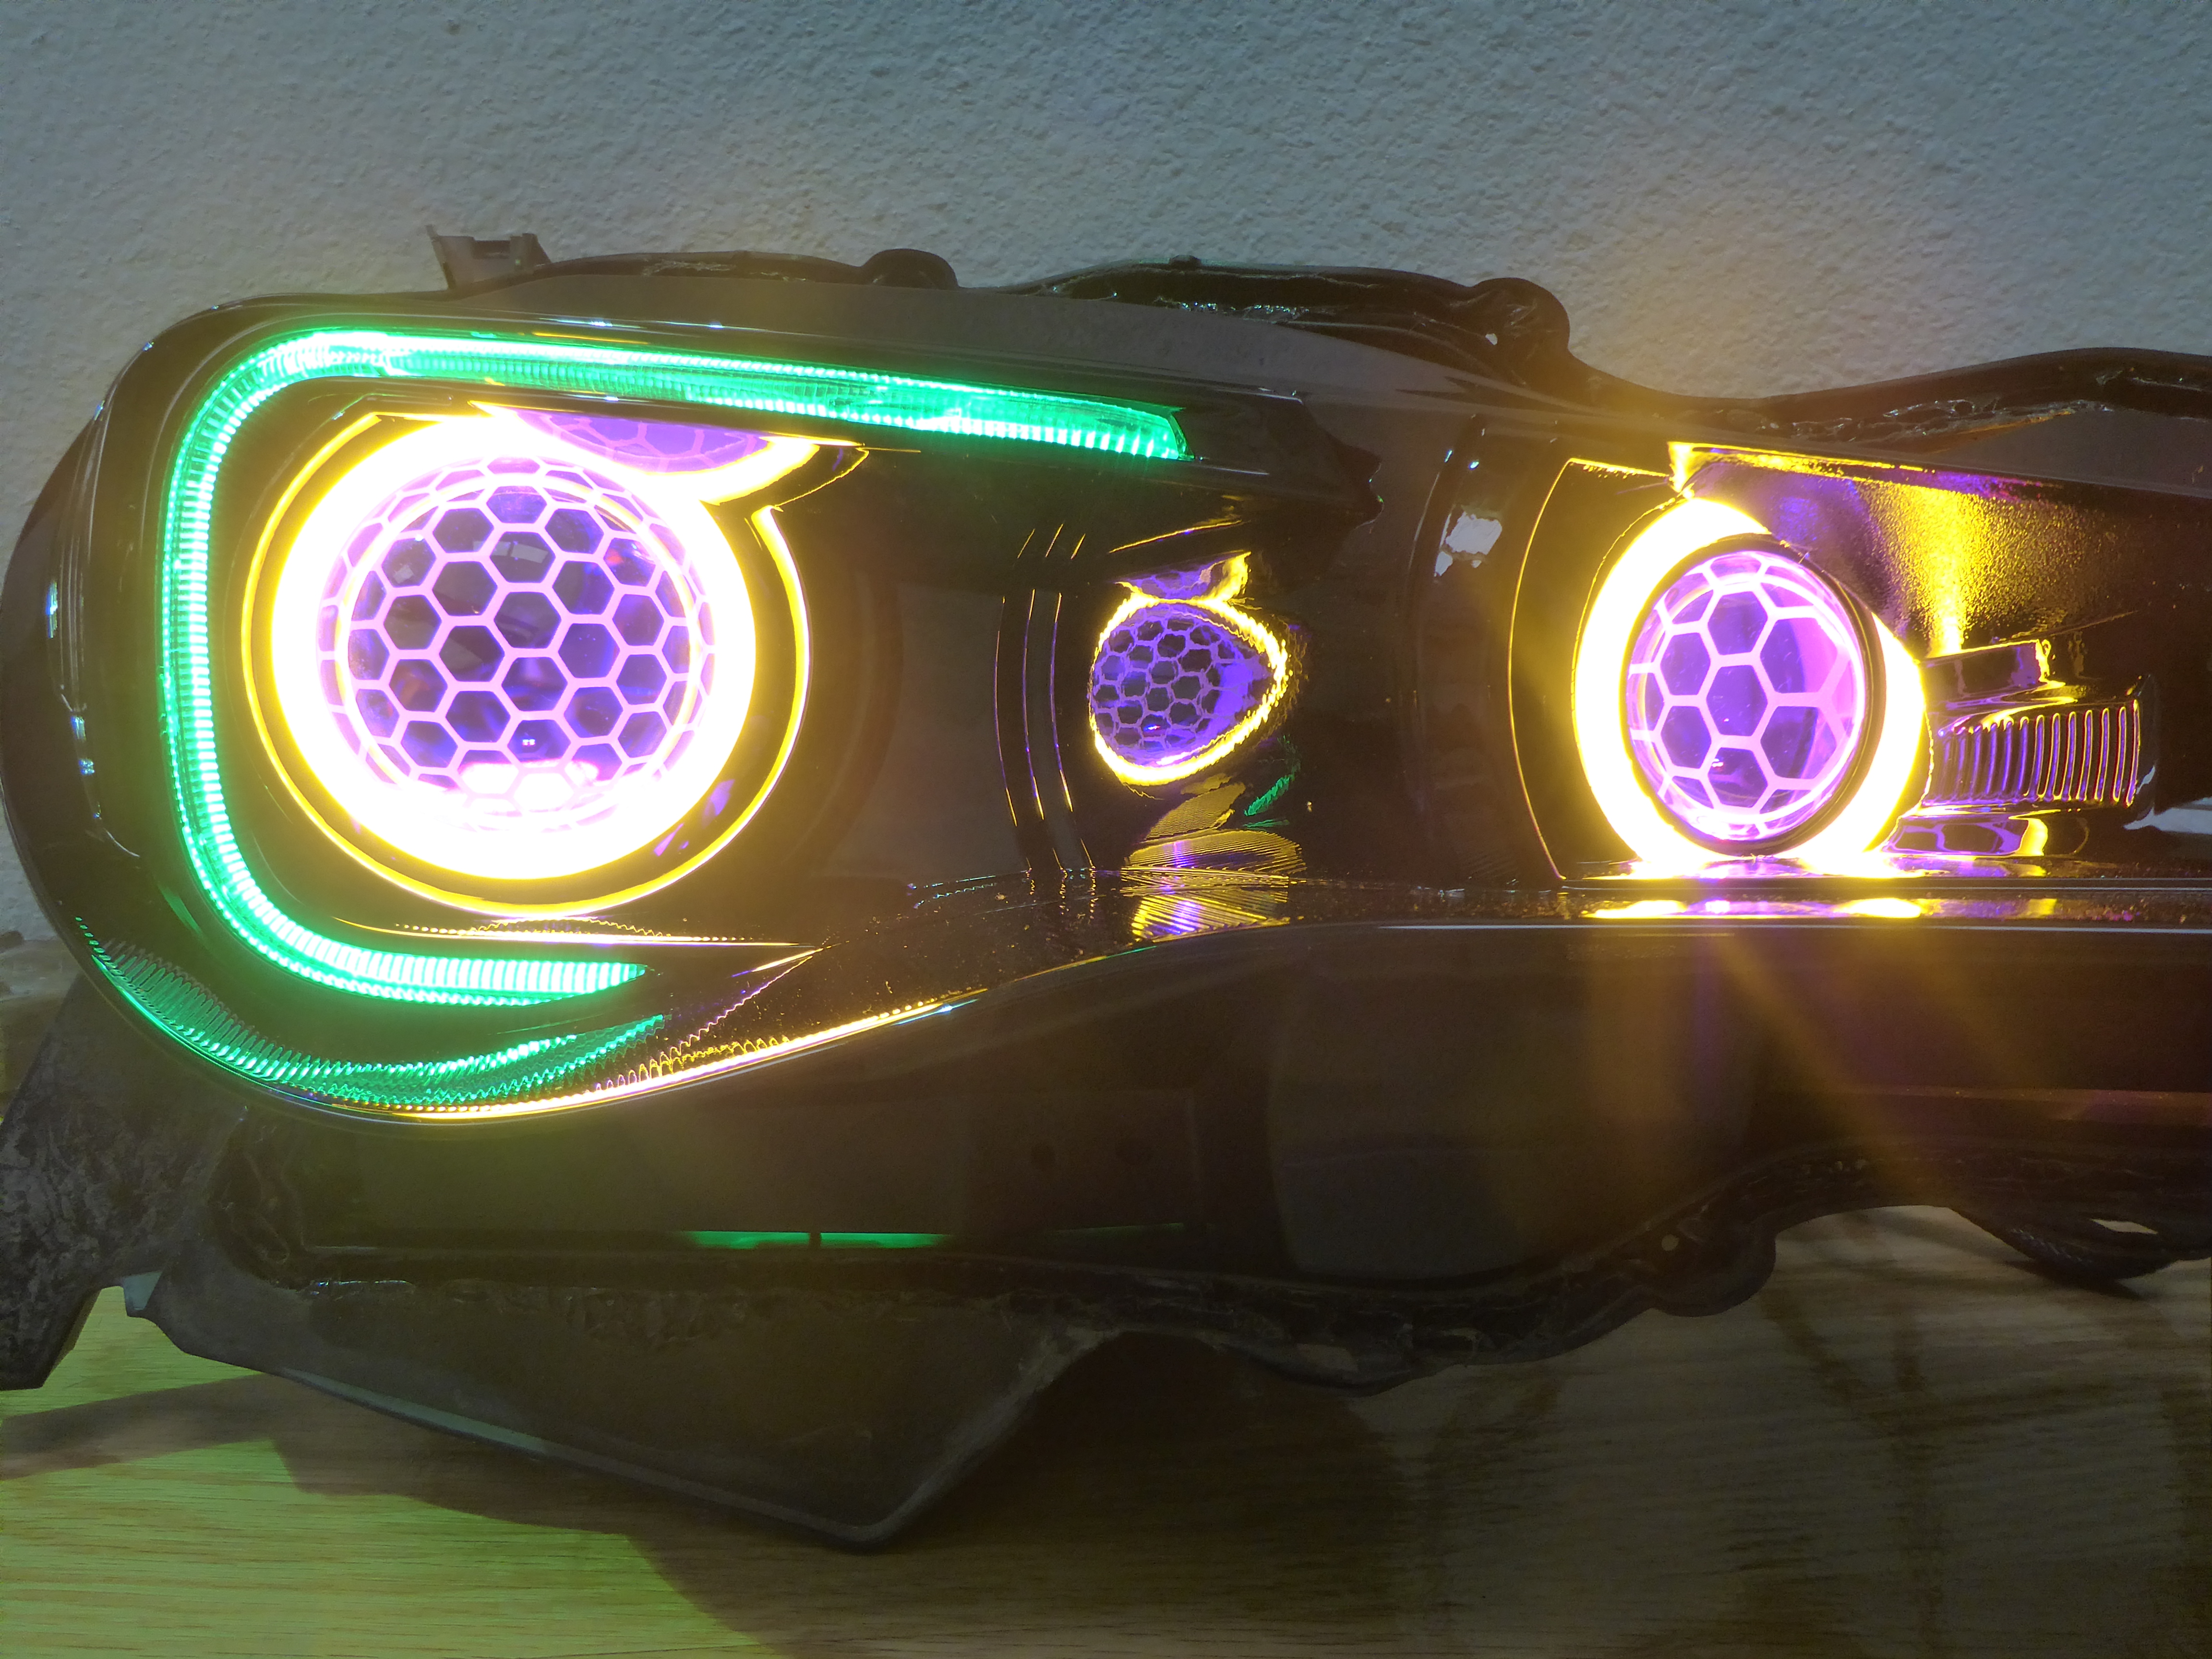
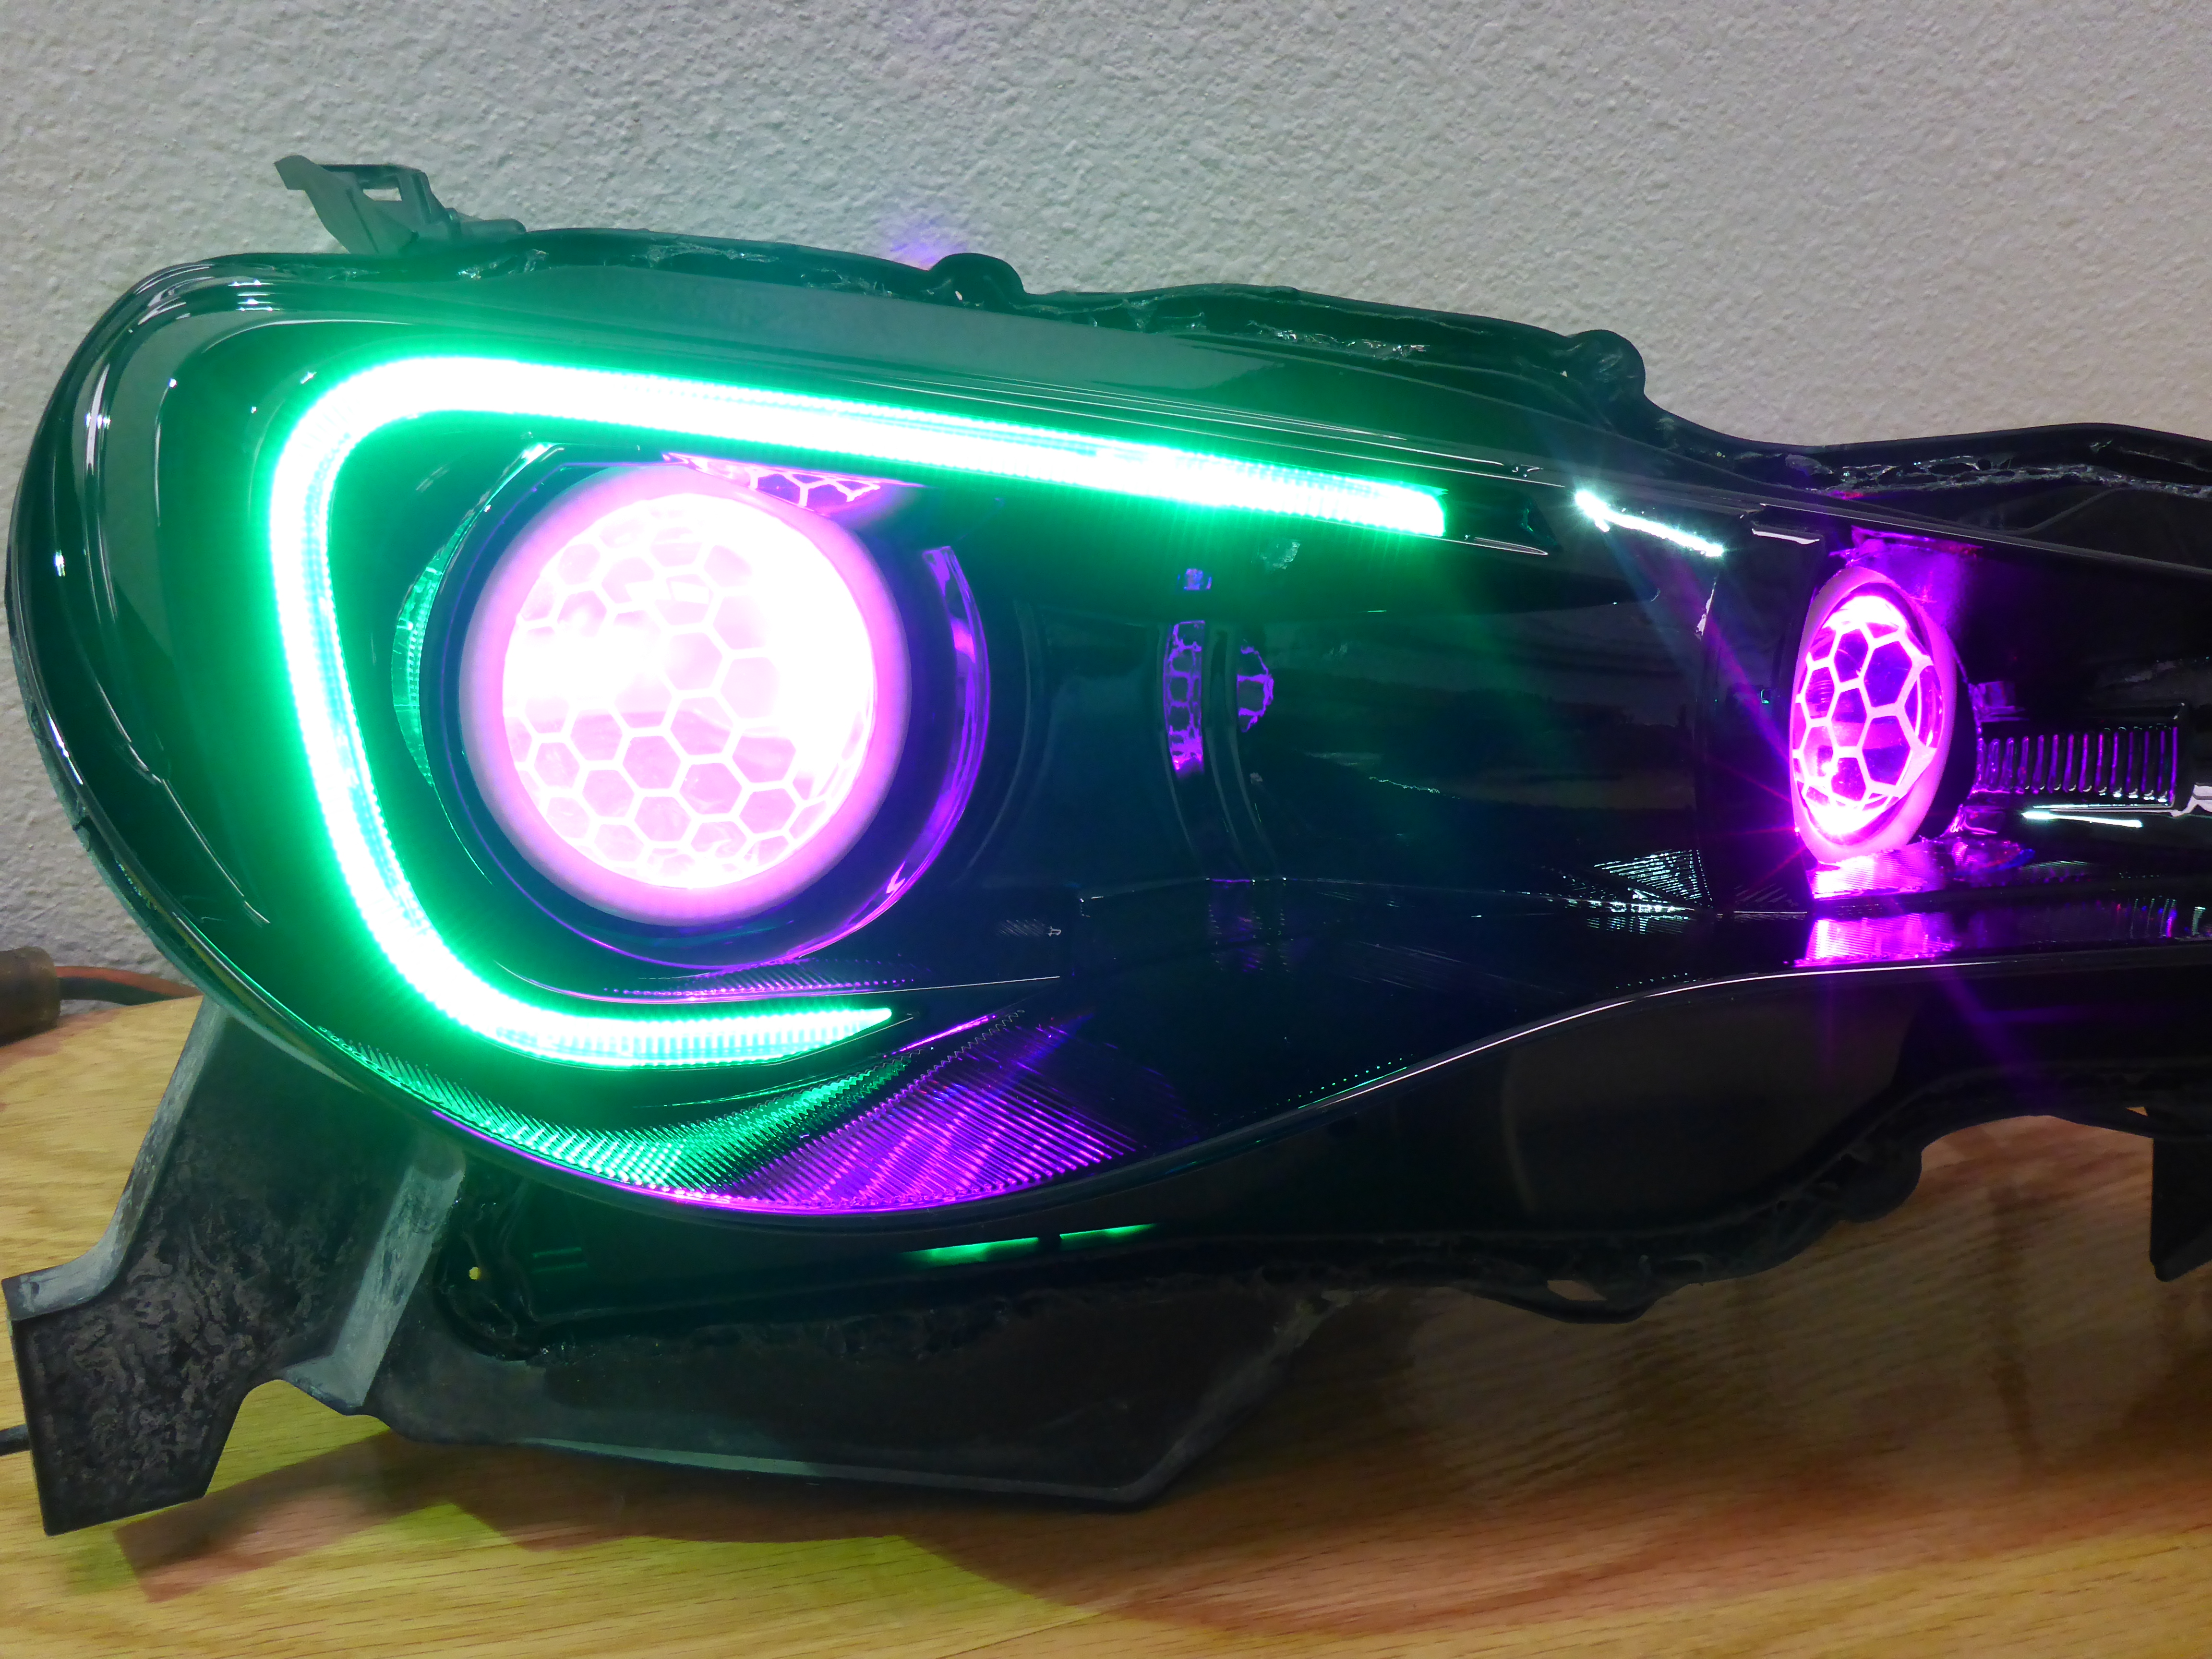
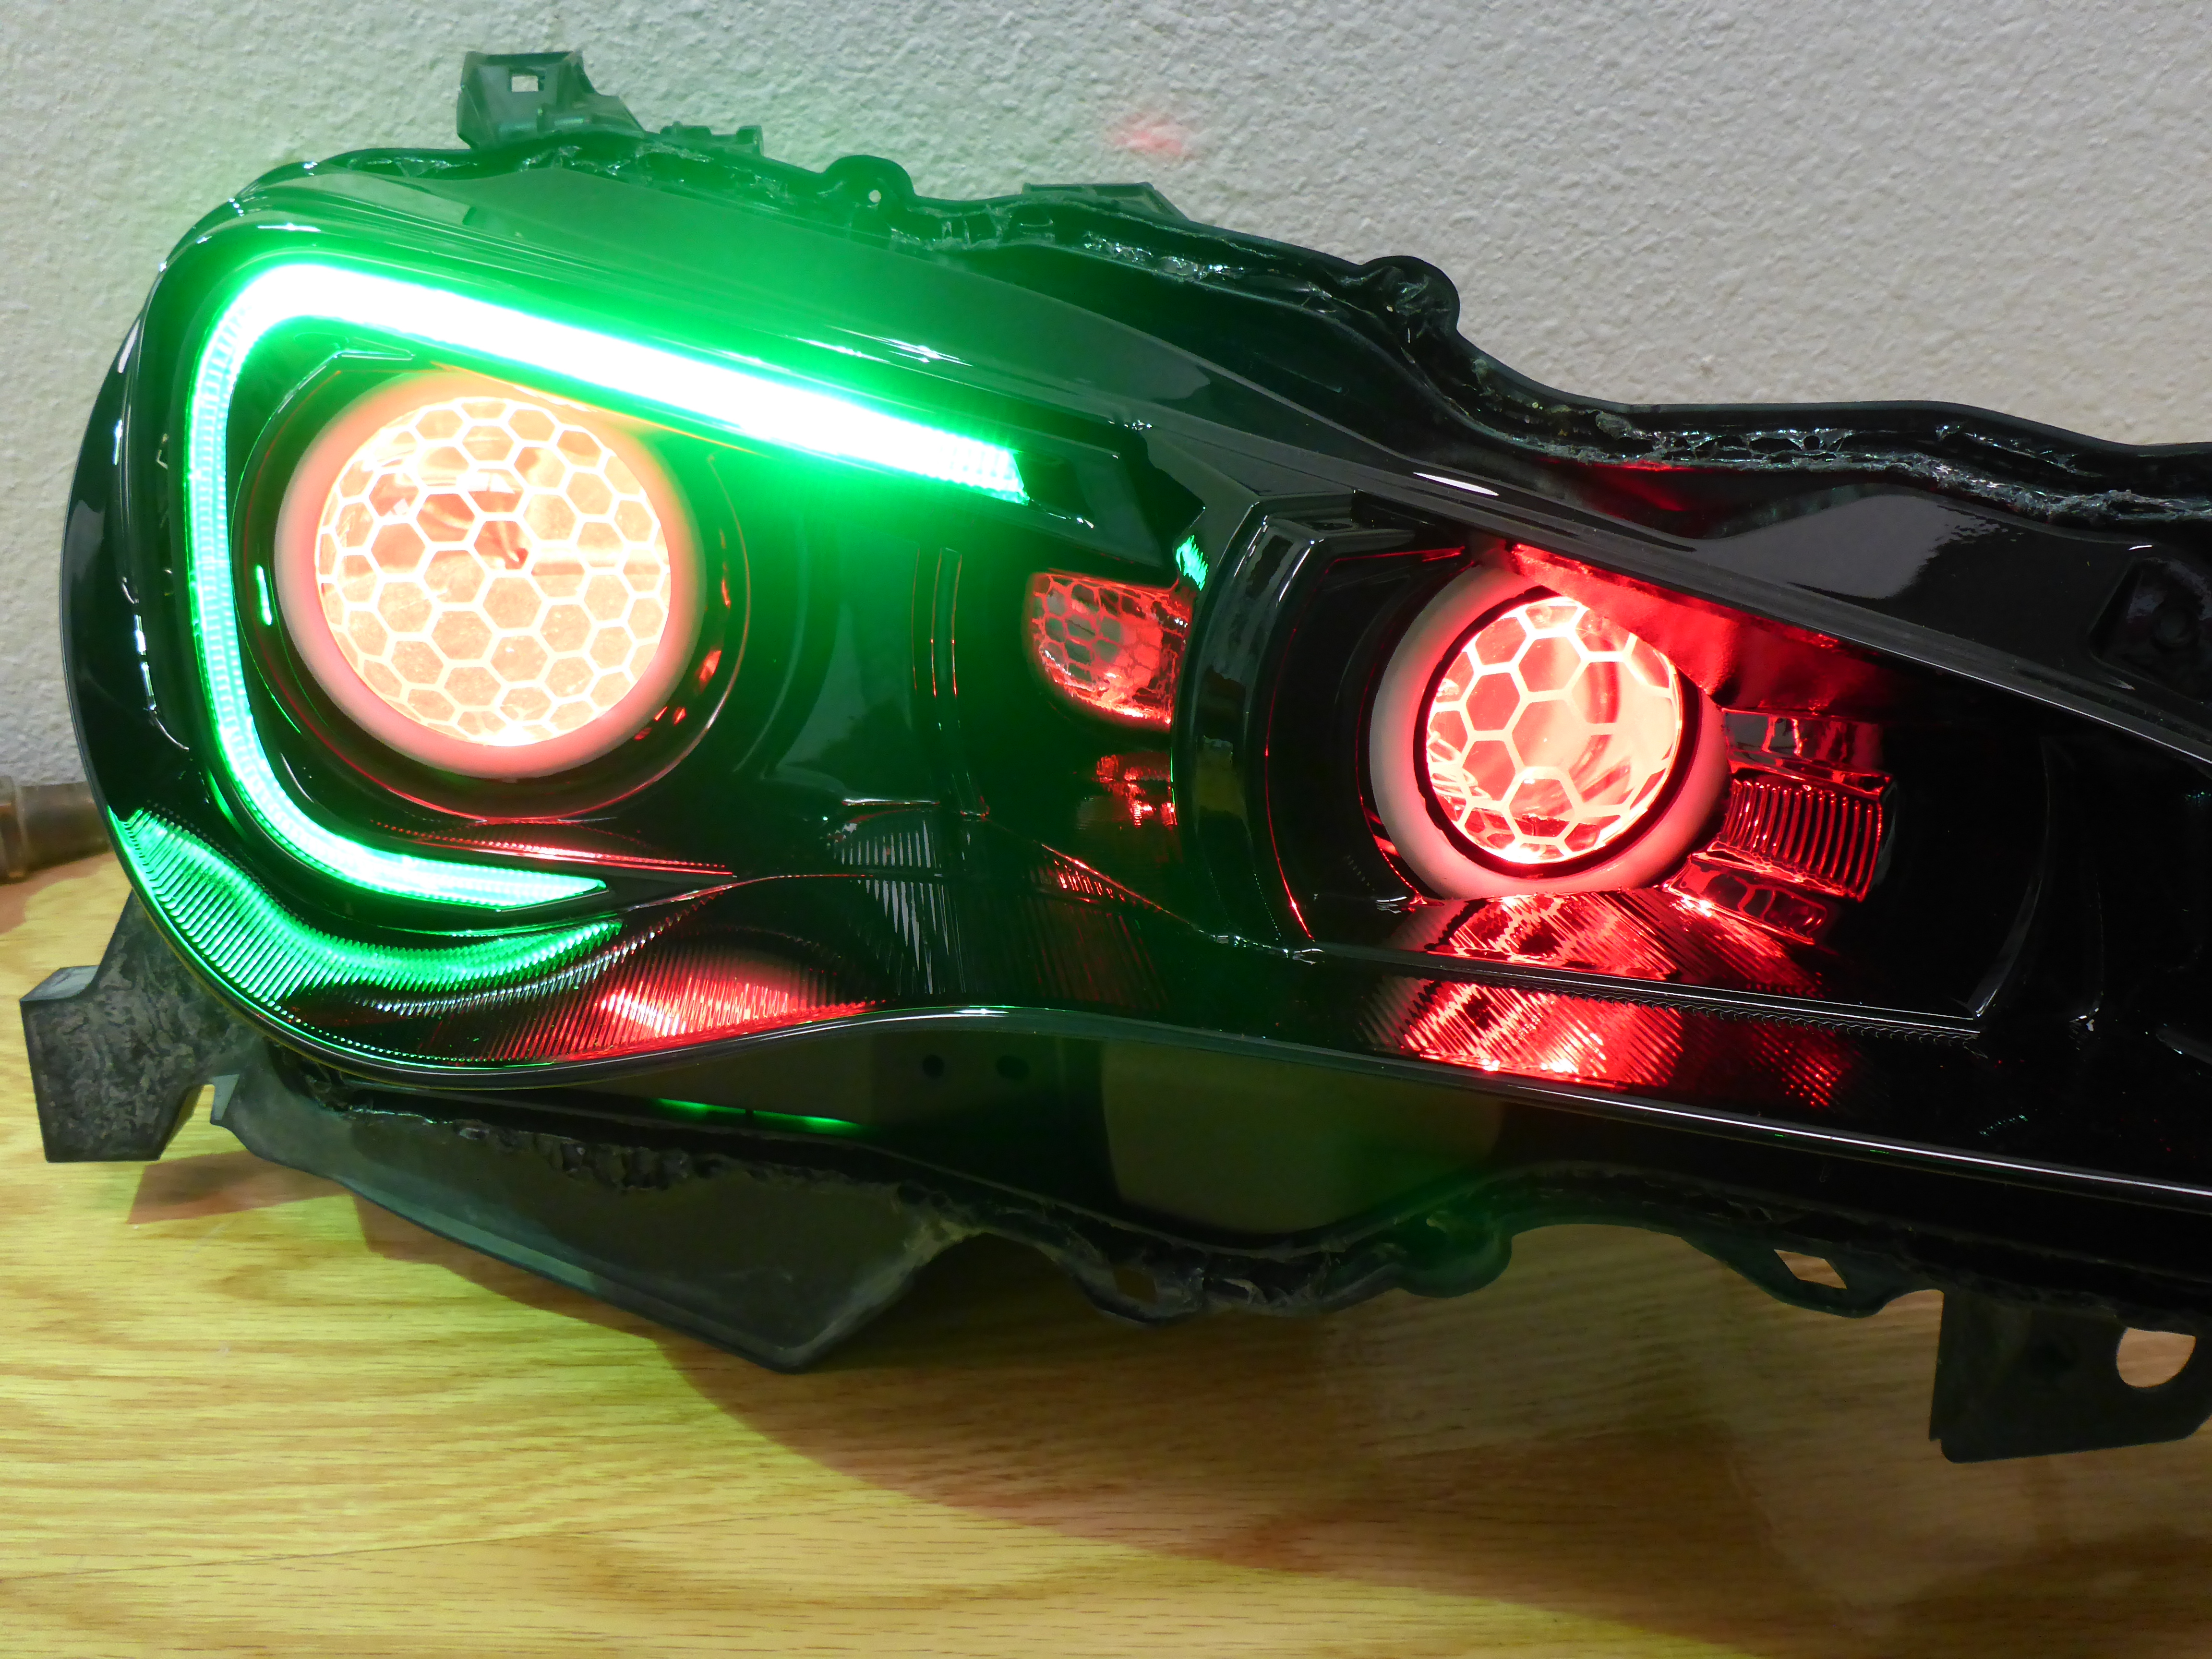
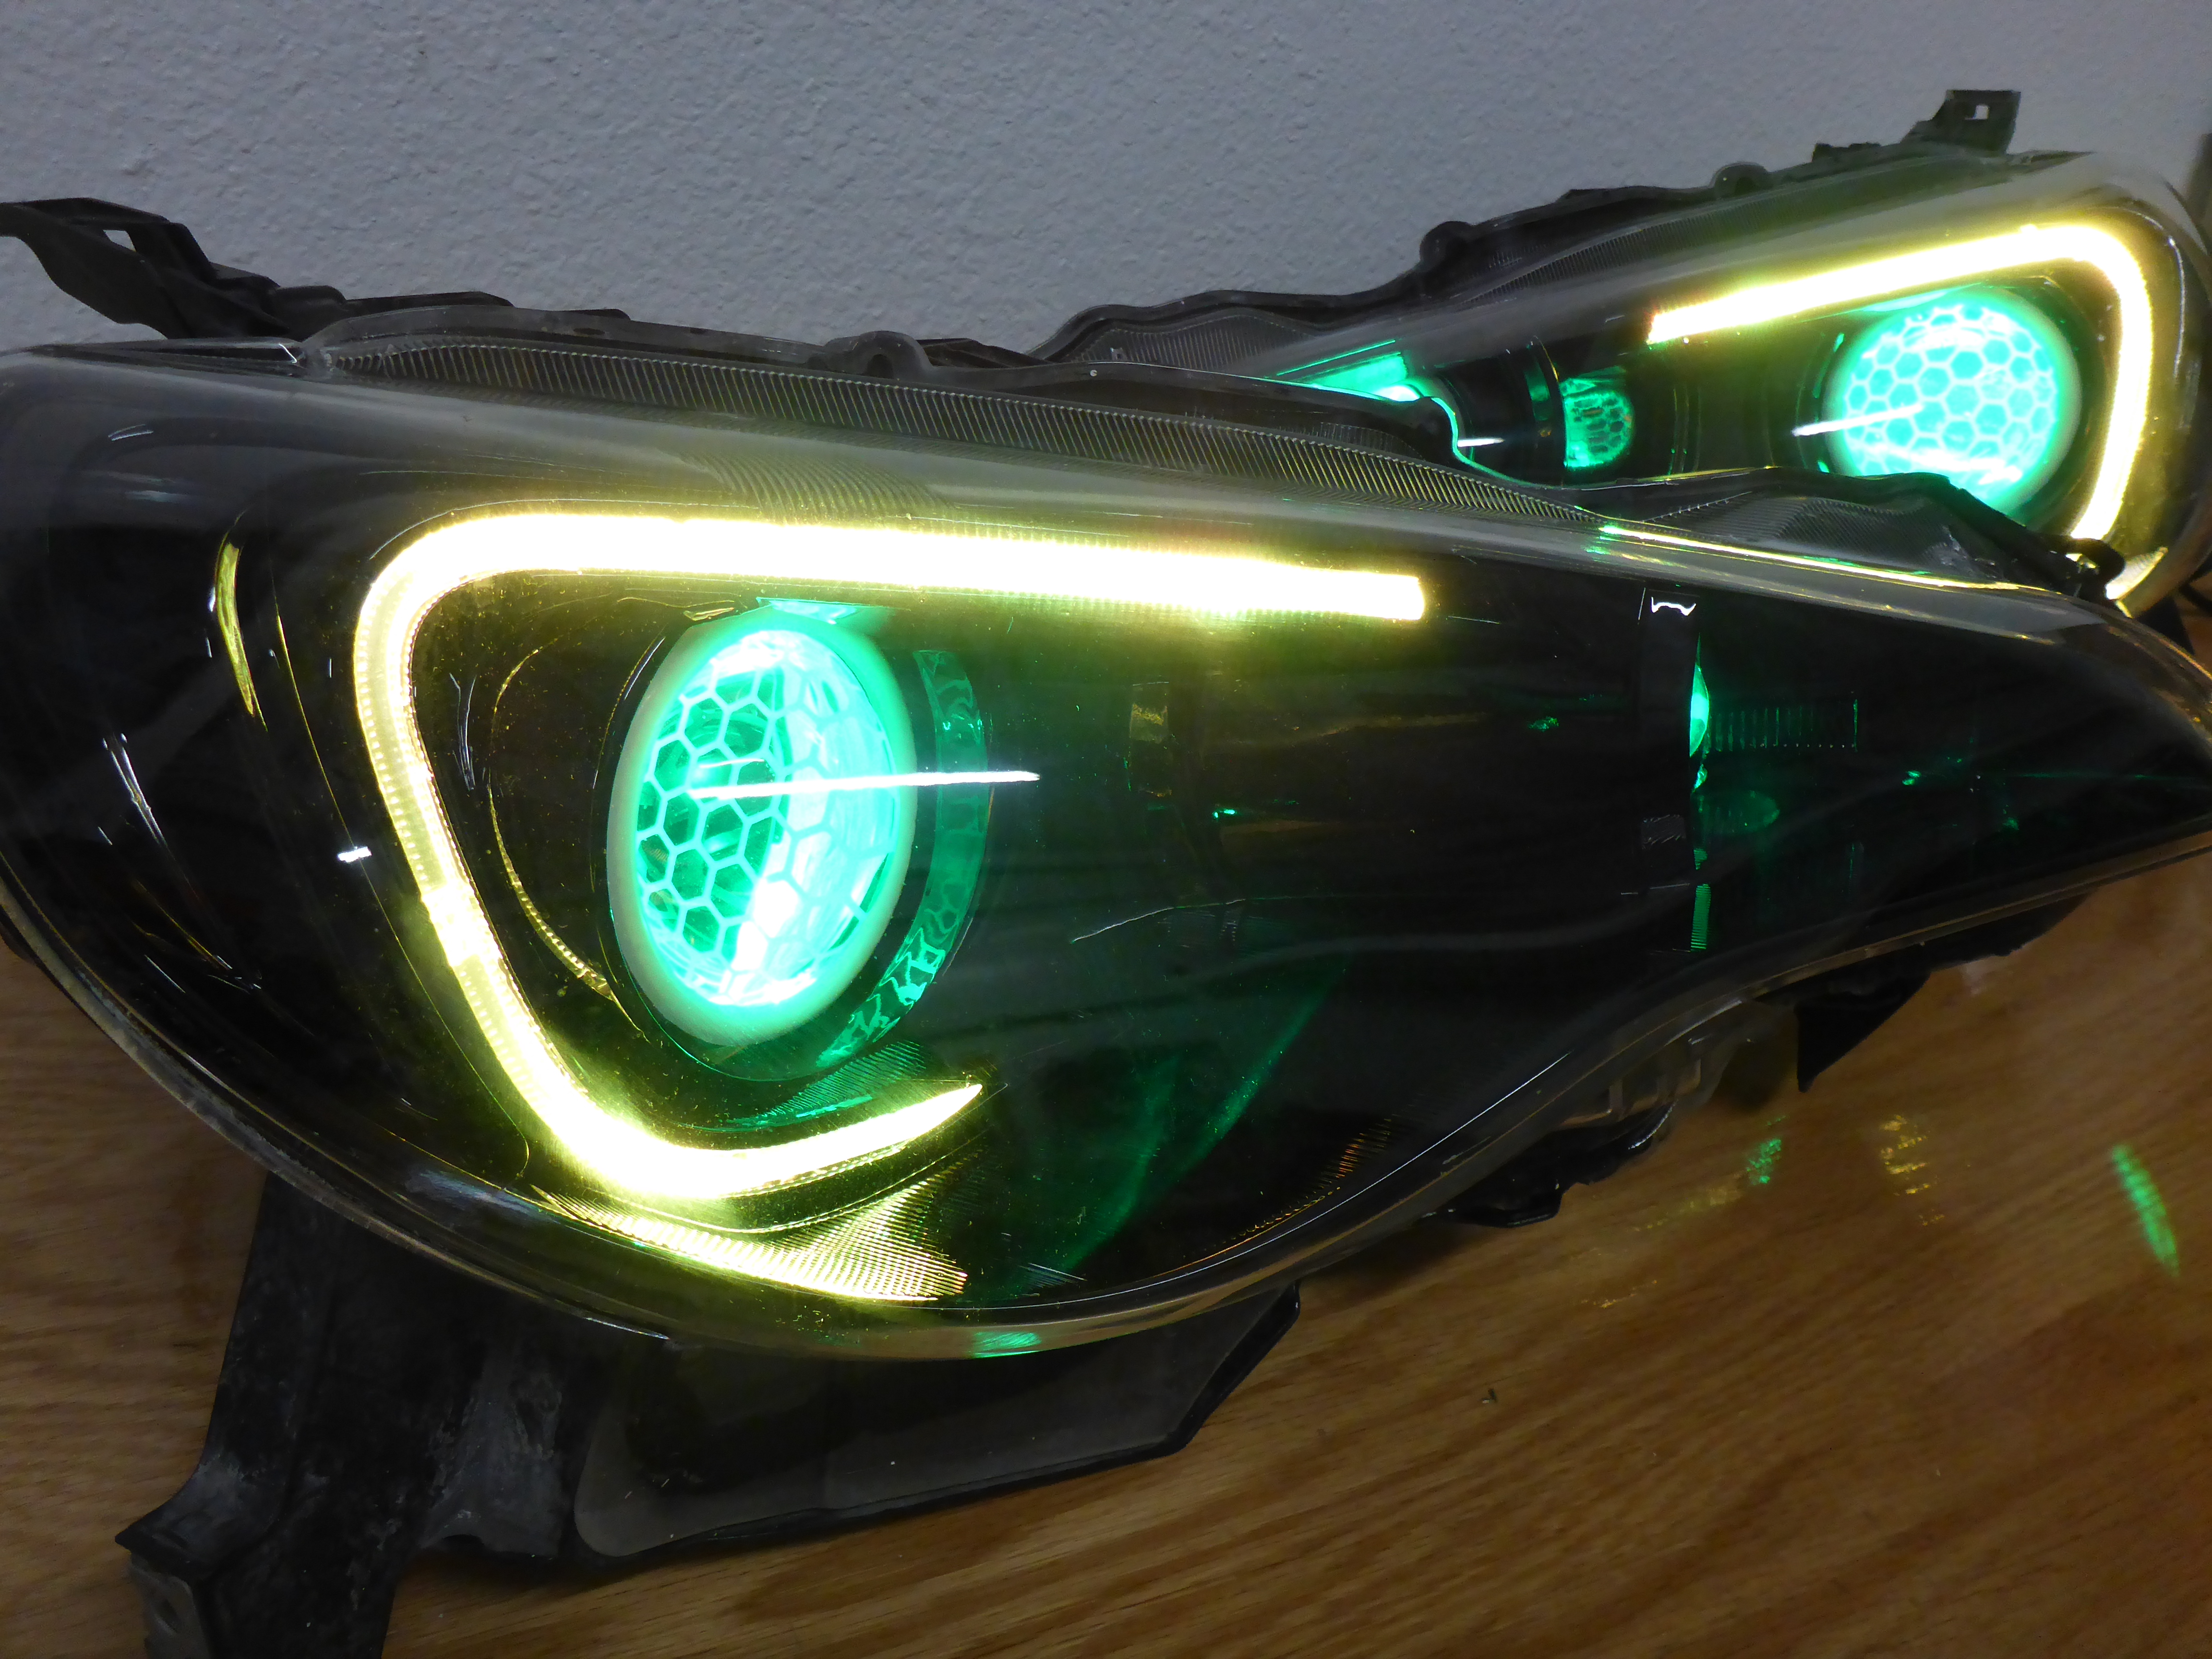
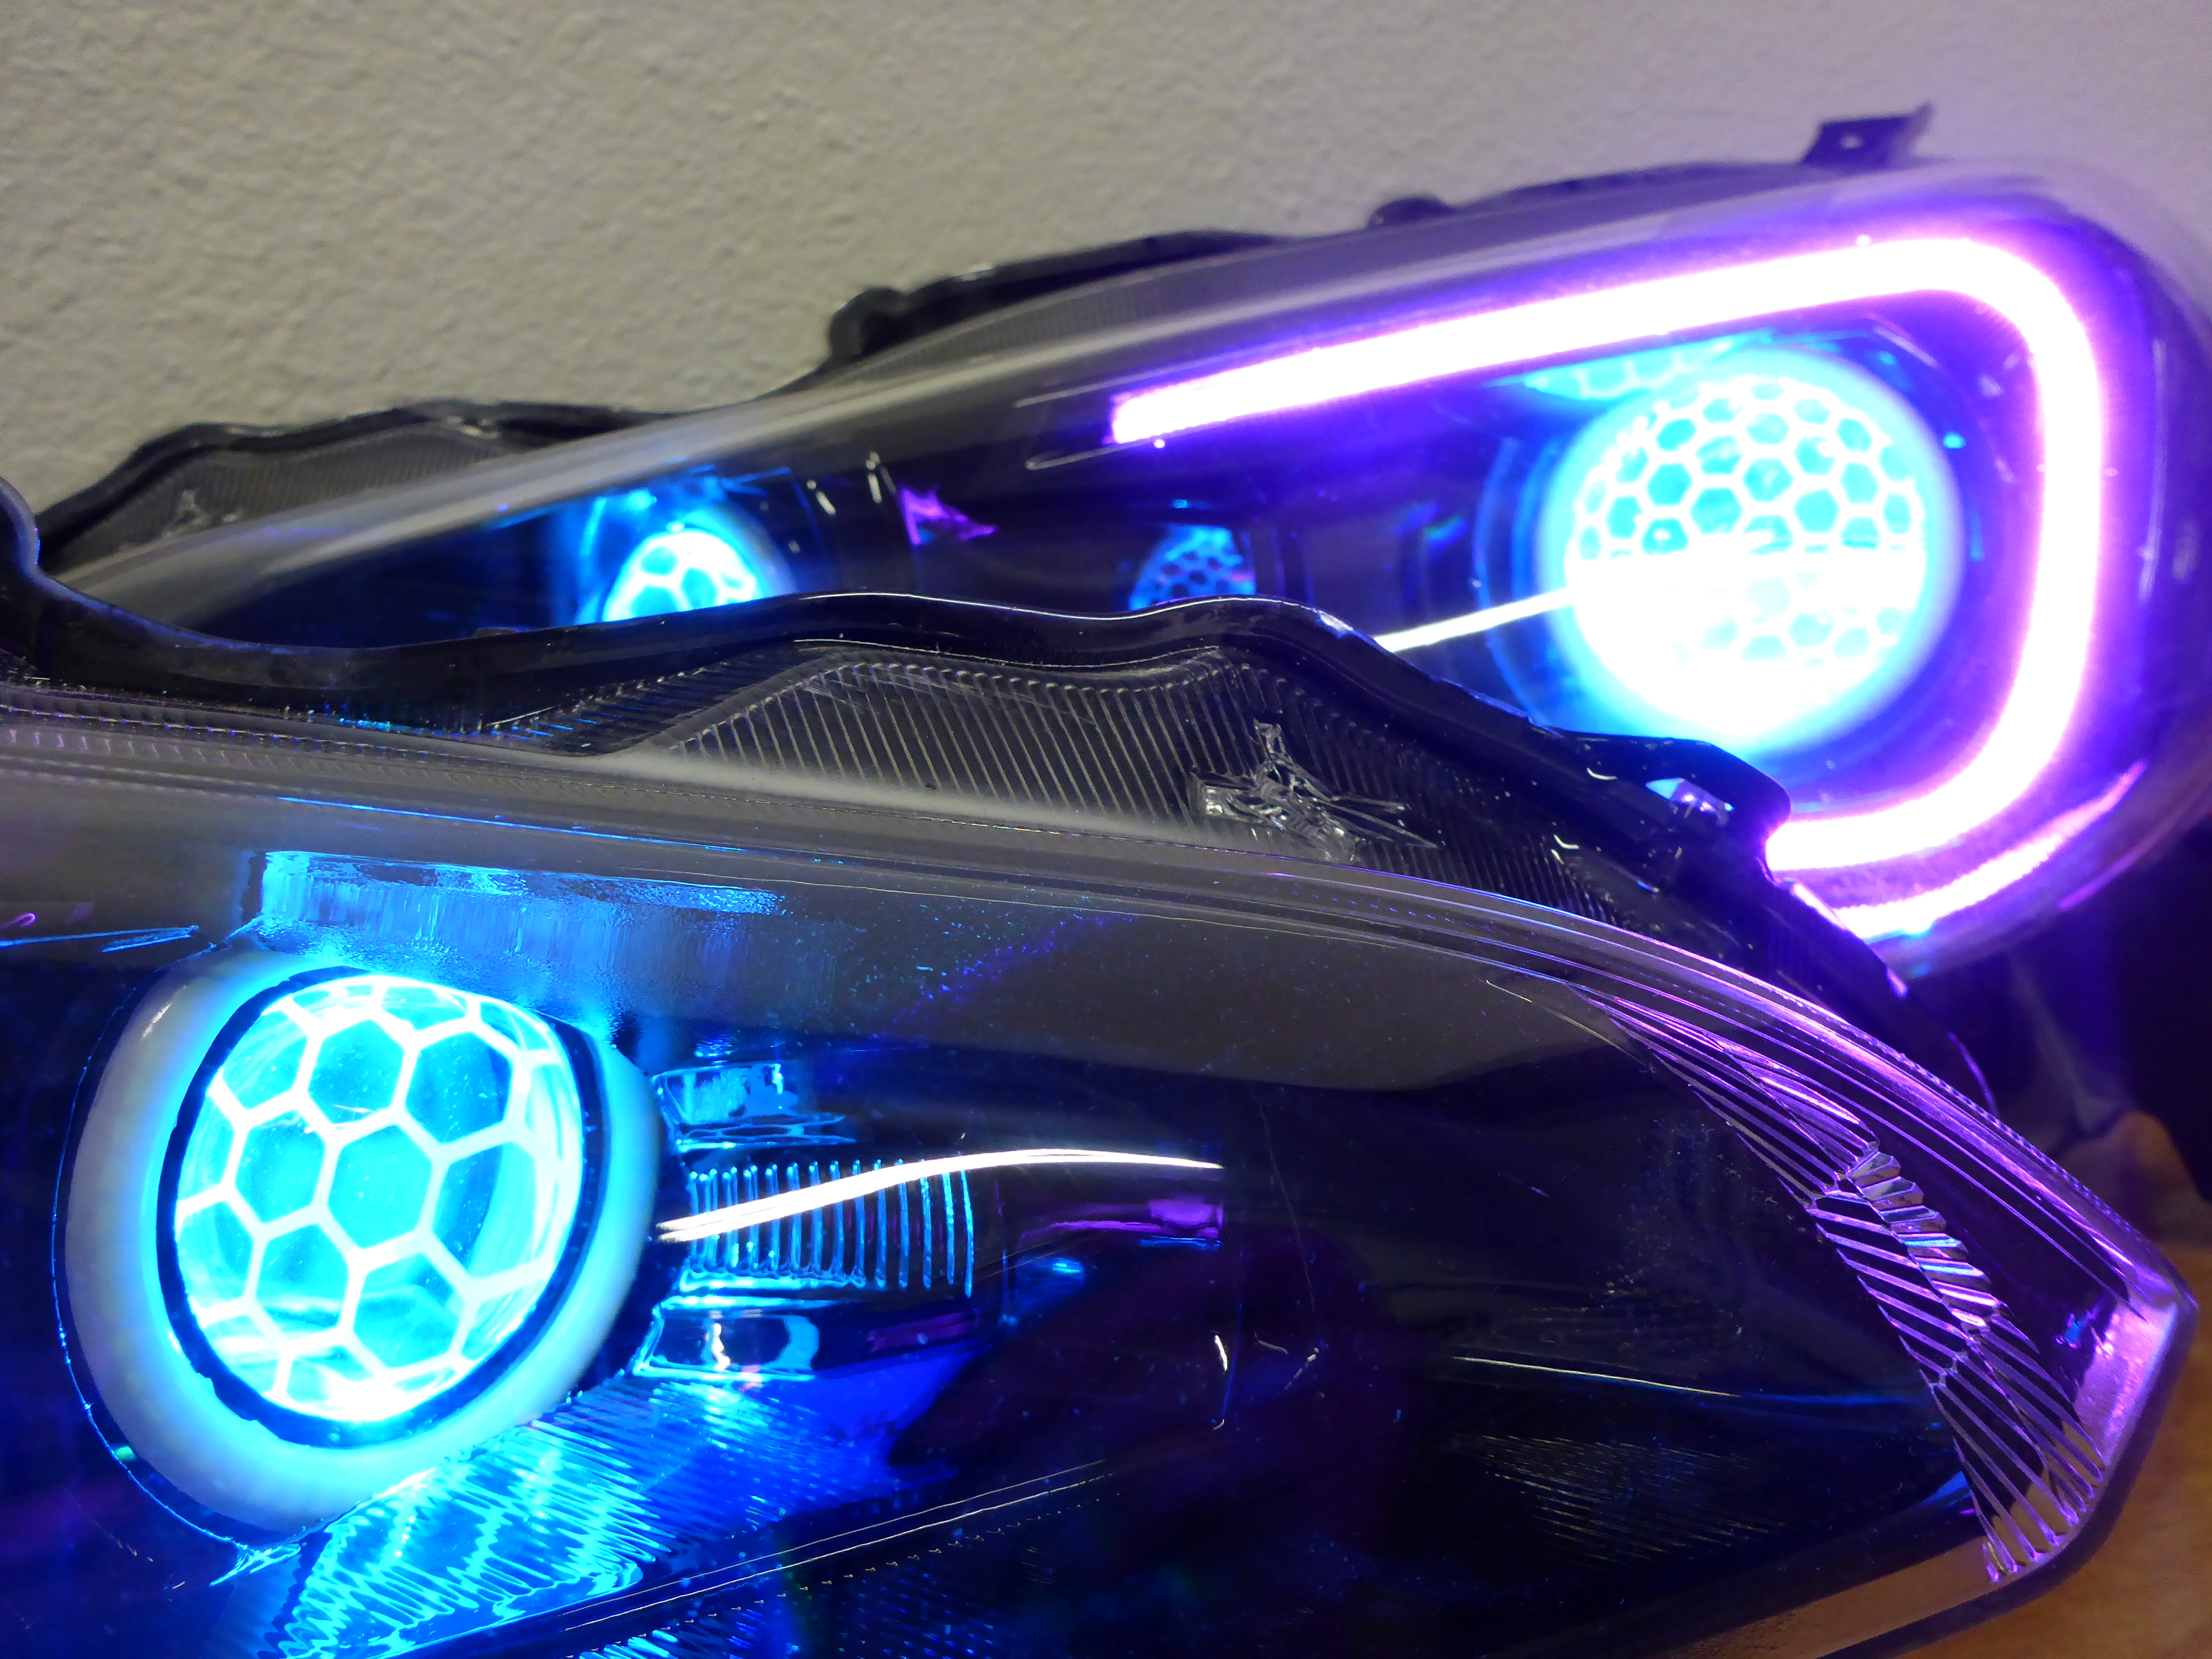
And now to install the Diode Dynamics Universal RGBW Demon Eye kit into the OEM projector assemblies and test those out on white mode:

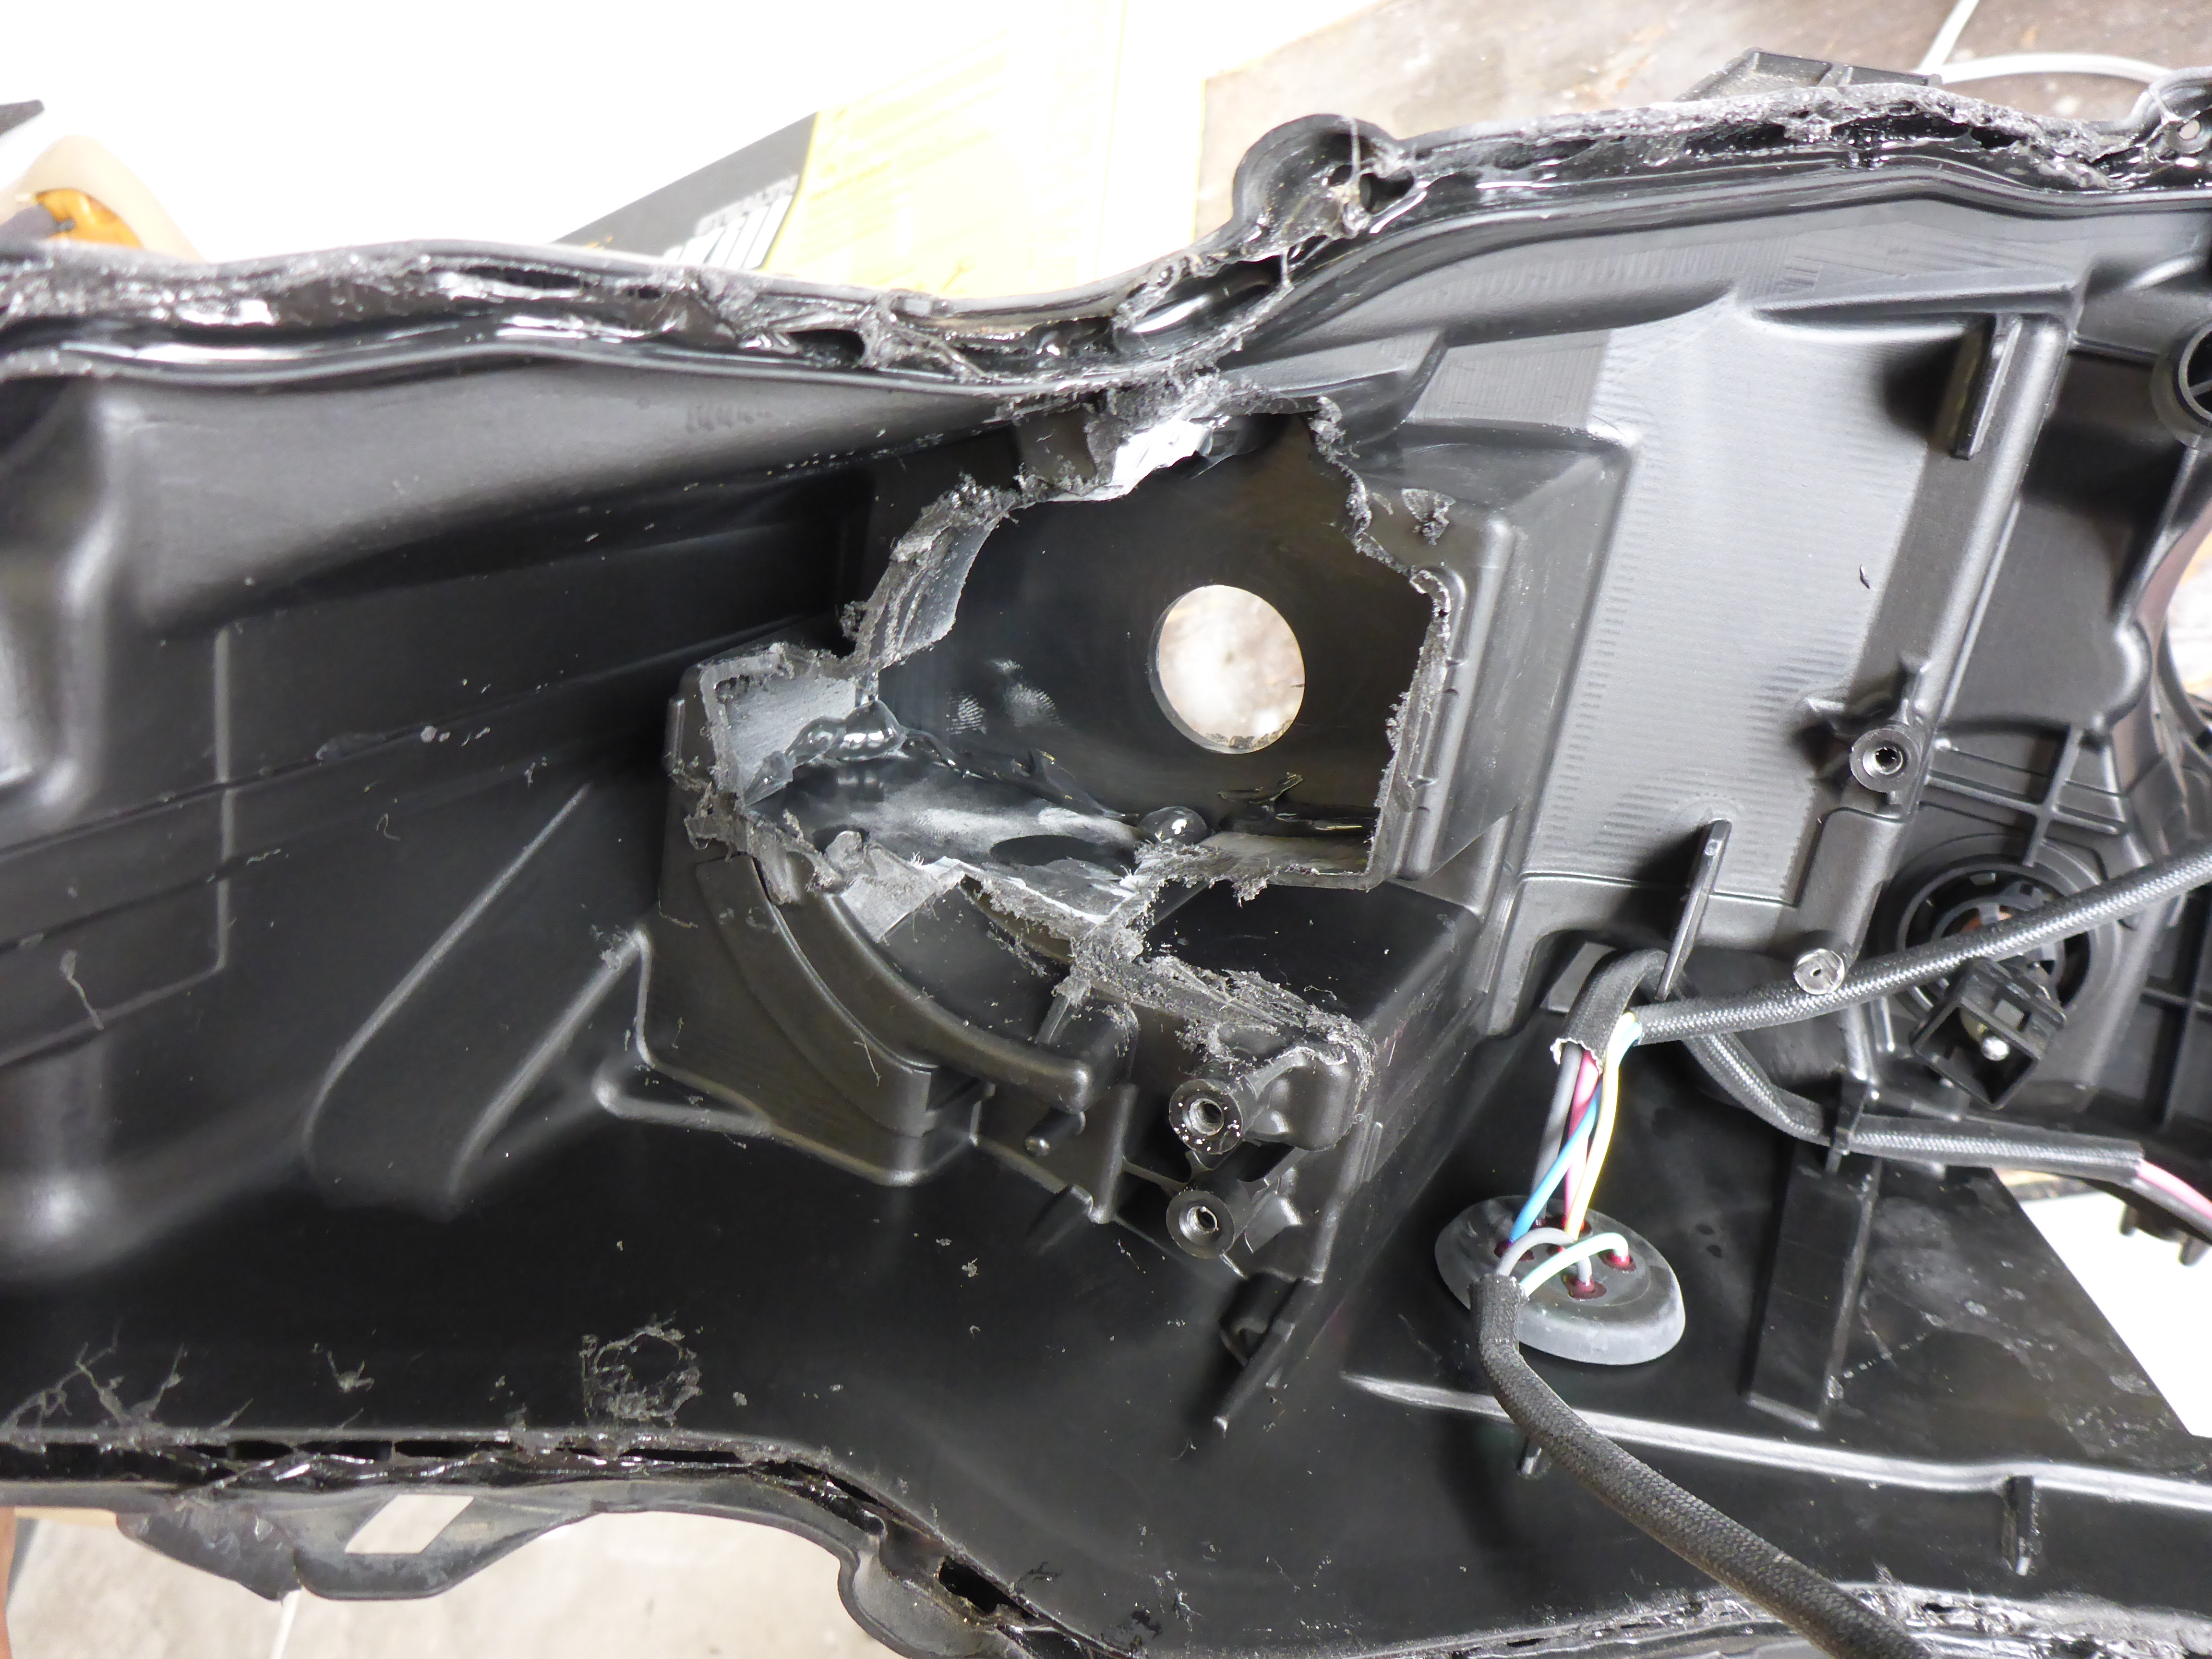
Now for the real brain bender: getting that Morimoto Matchbox Projector into the turn signal location! It took a lot of gentle alignment, adjustment, cutting, plastic welding, fabbing, crying, and laughter… but it got done!

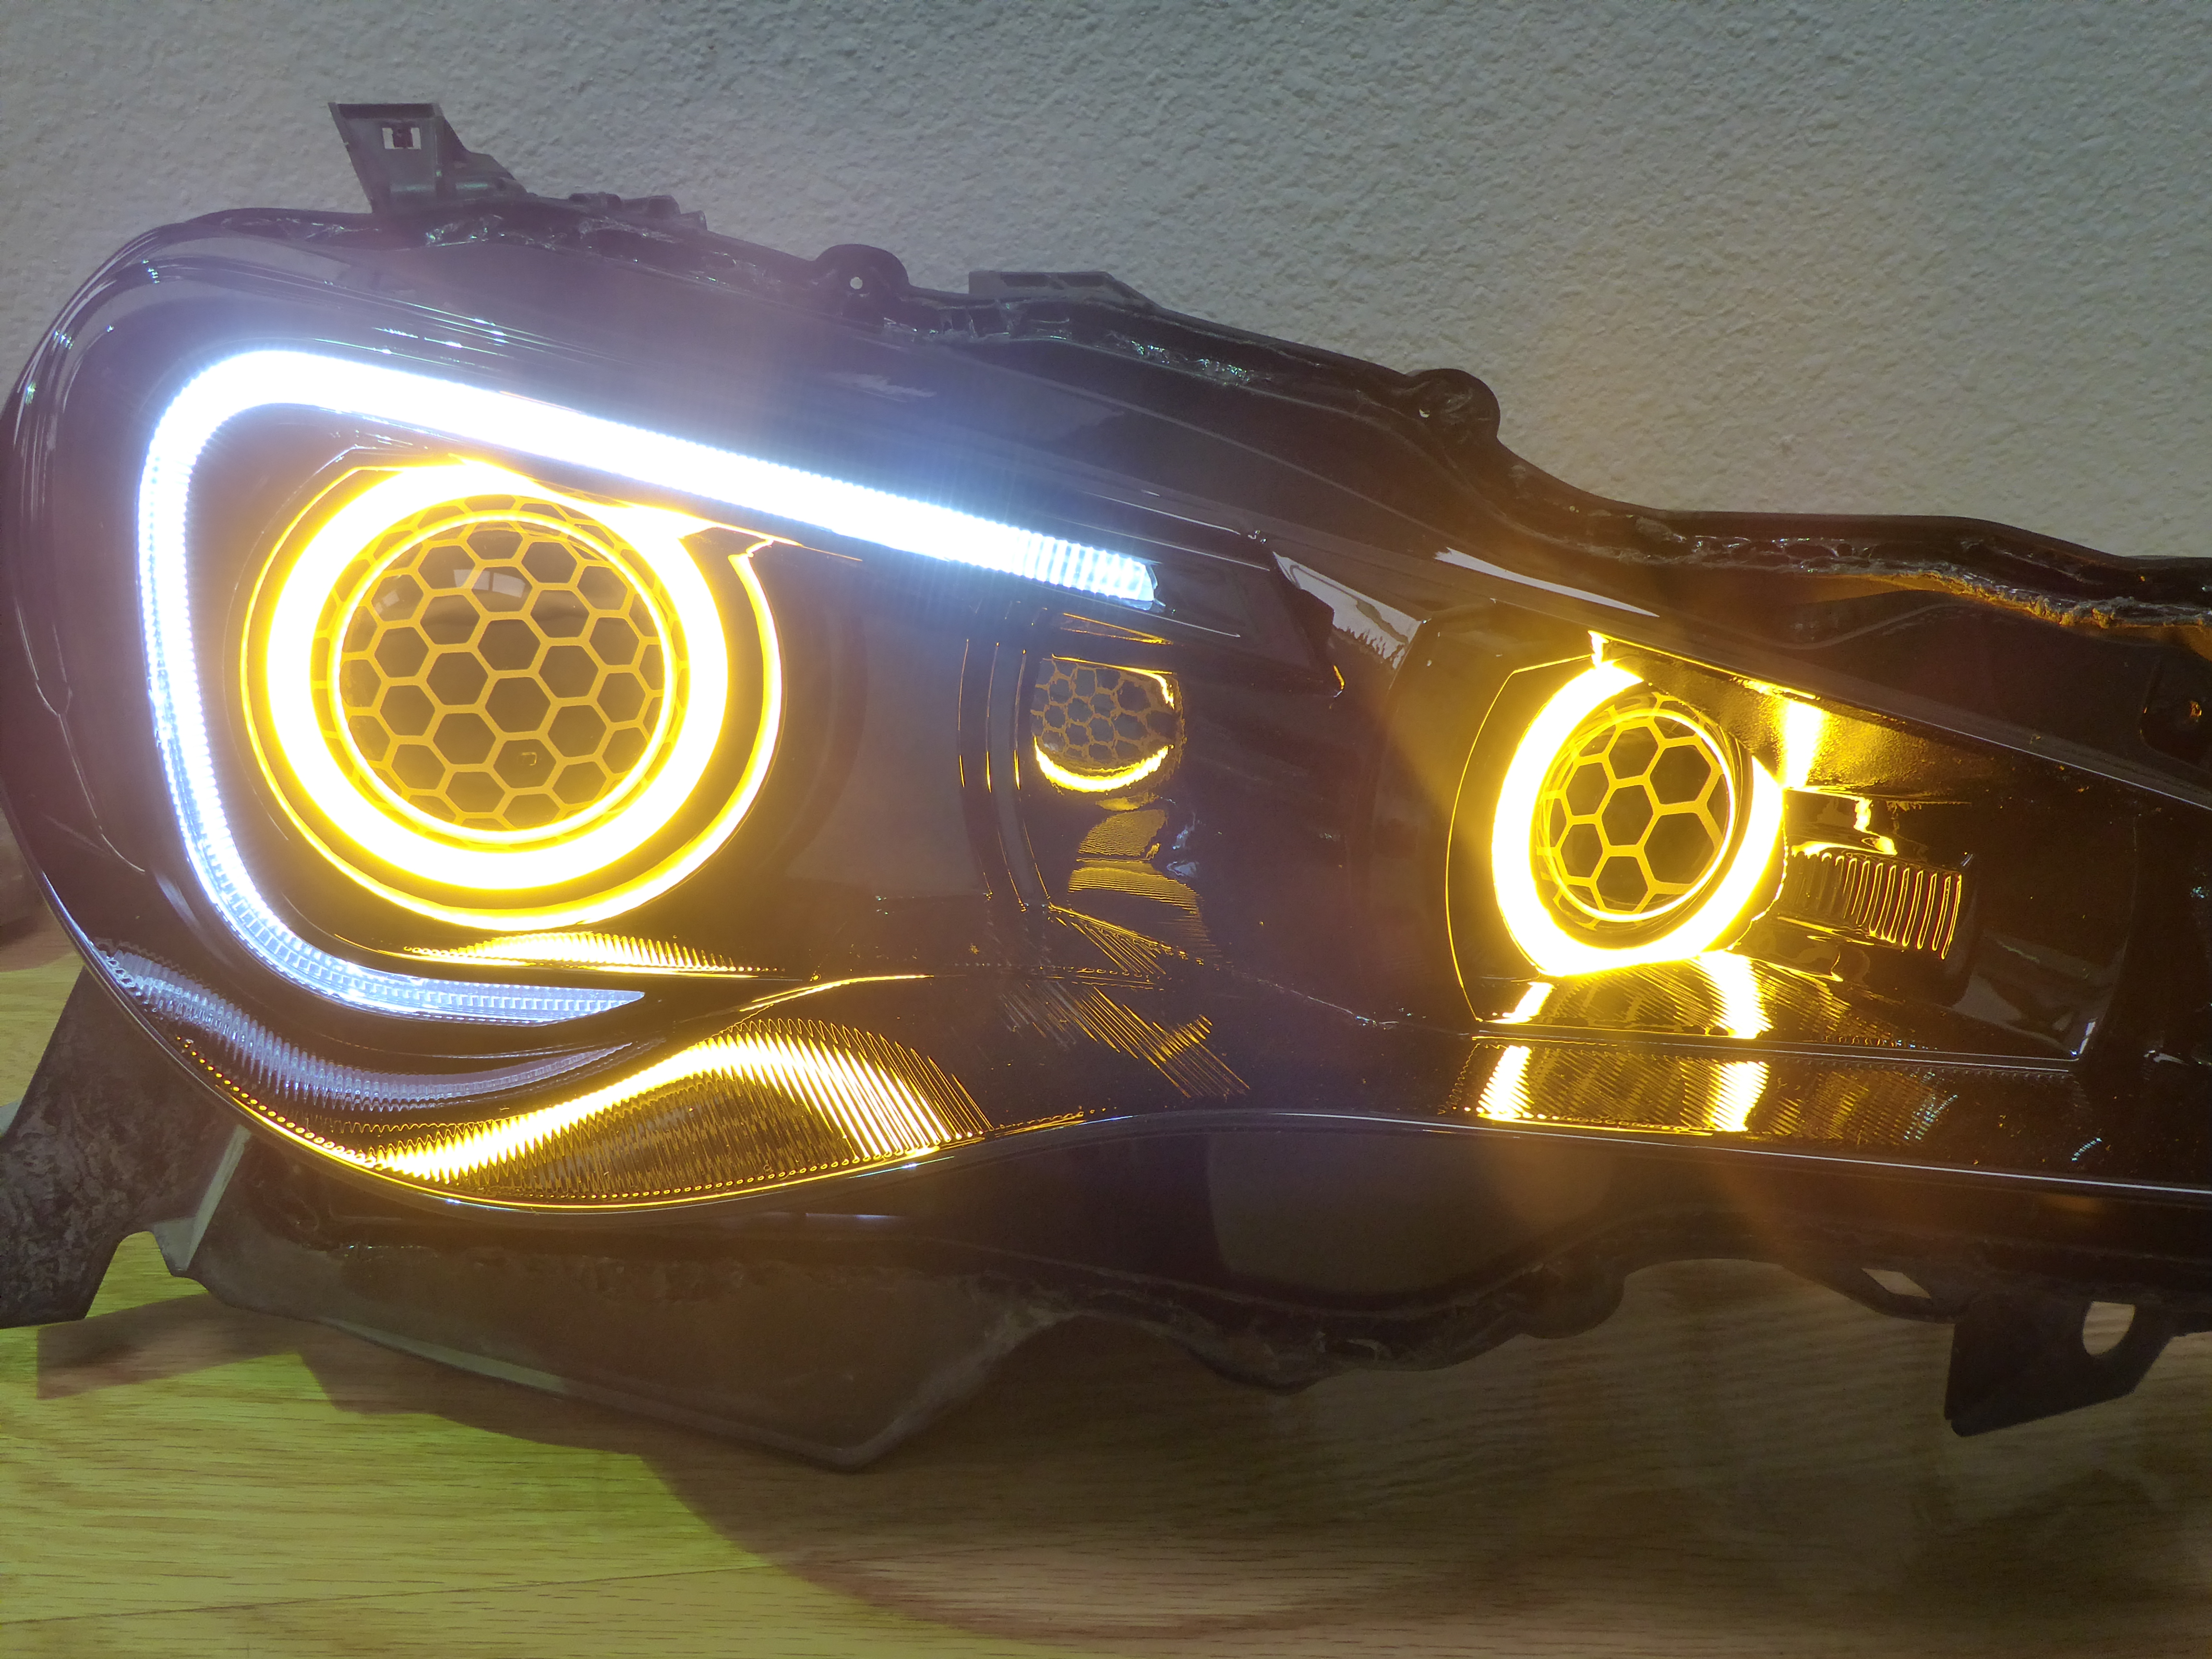
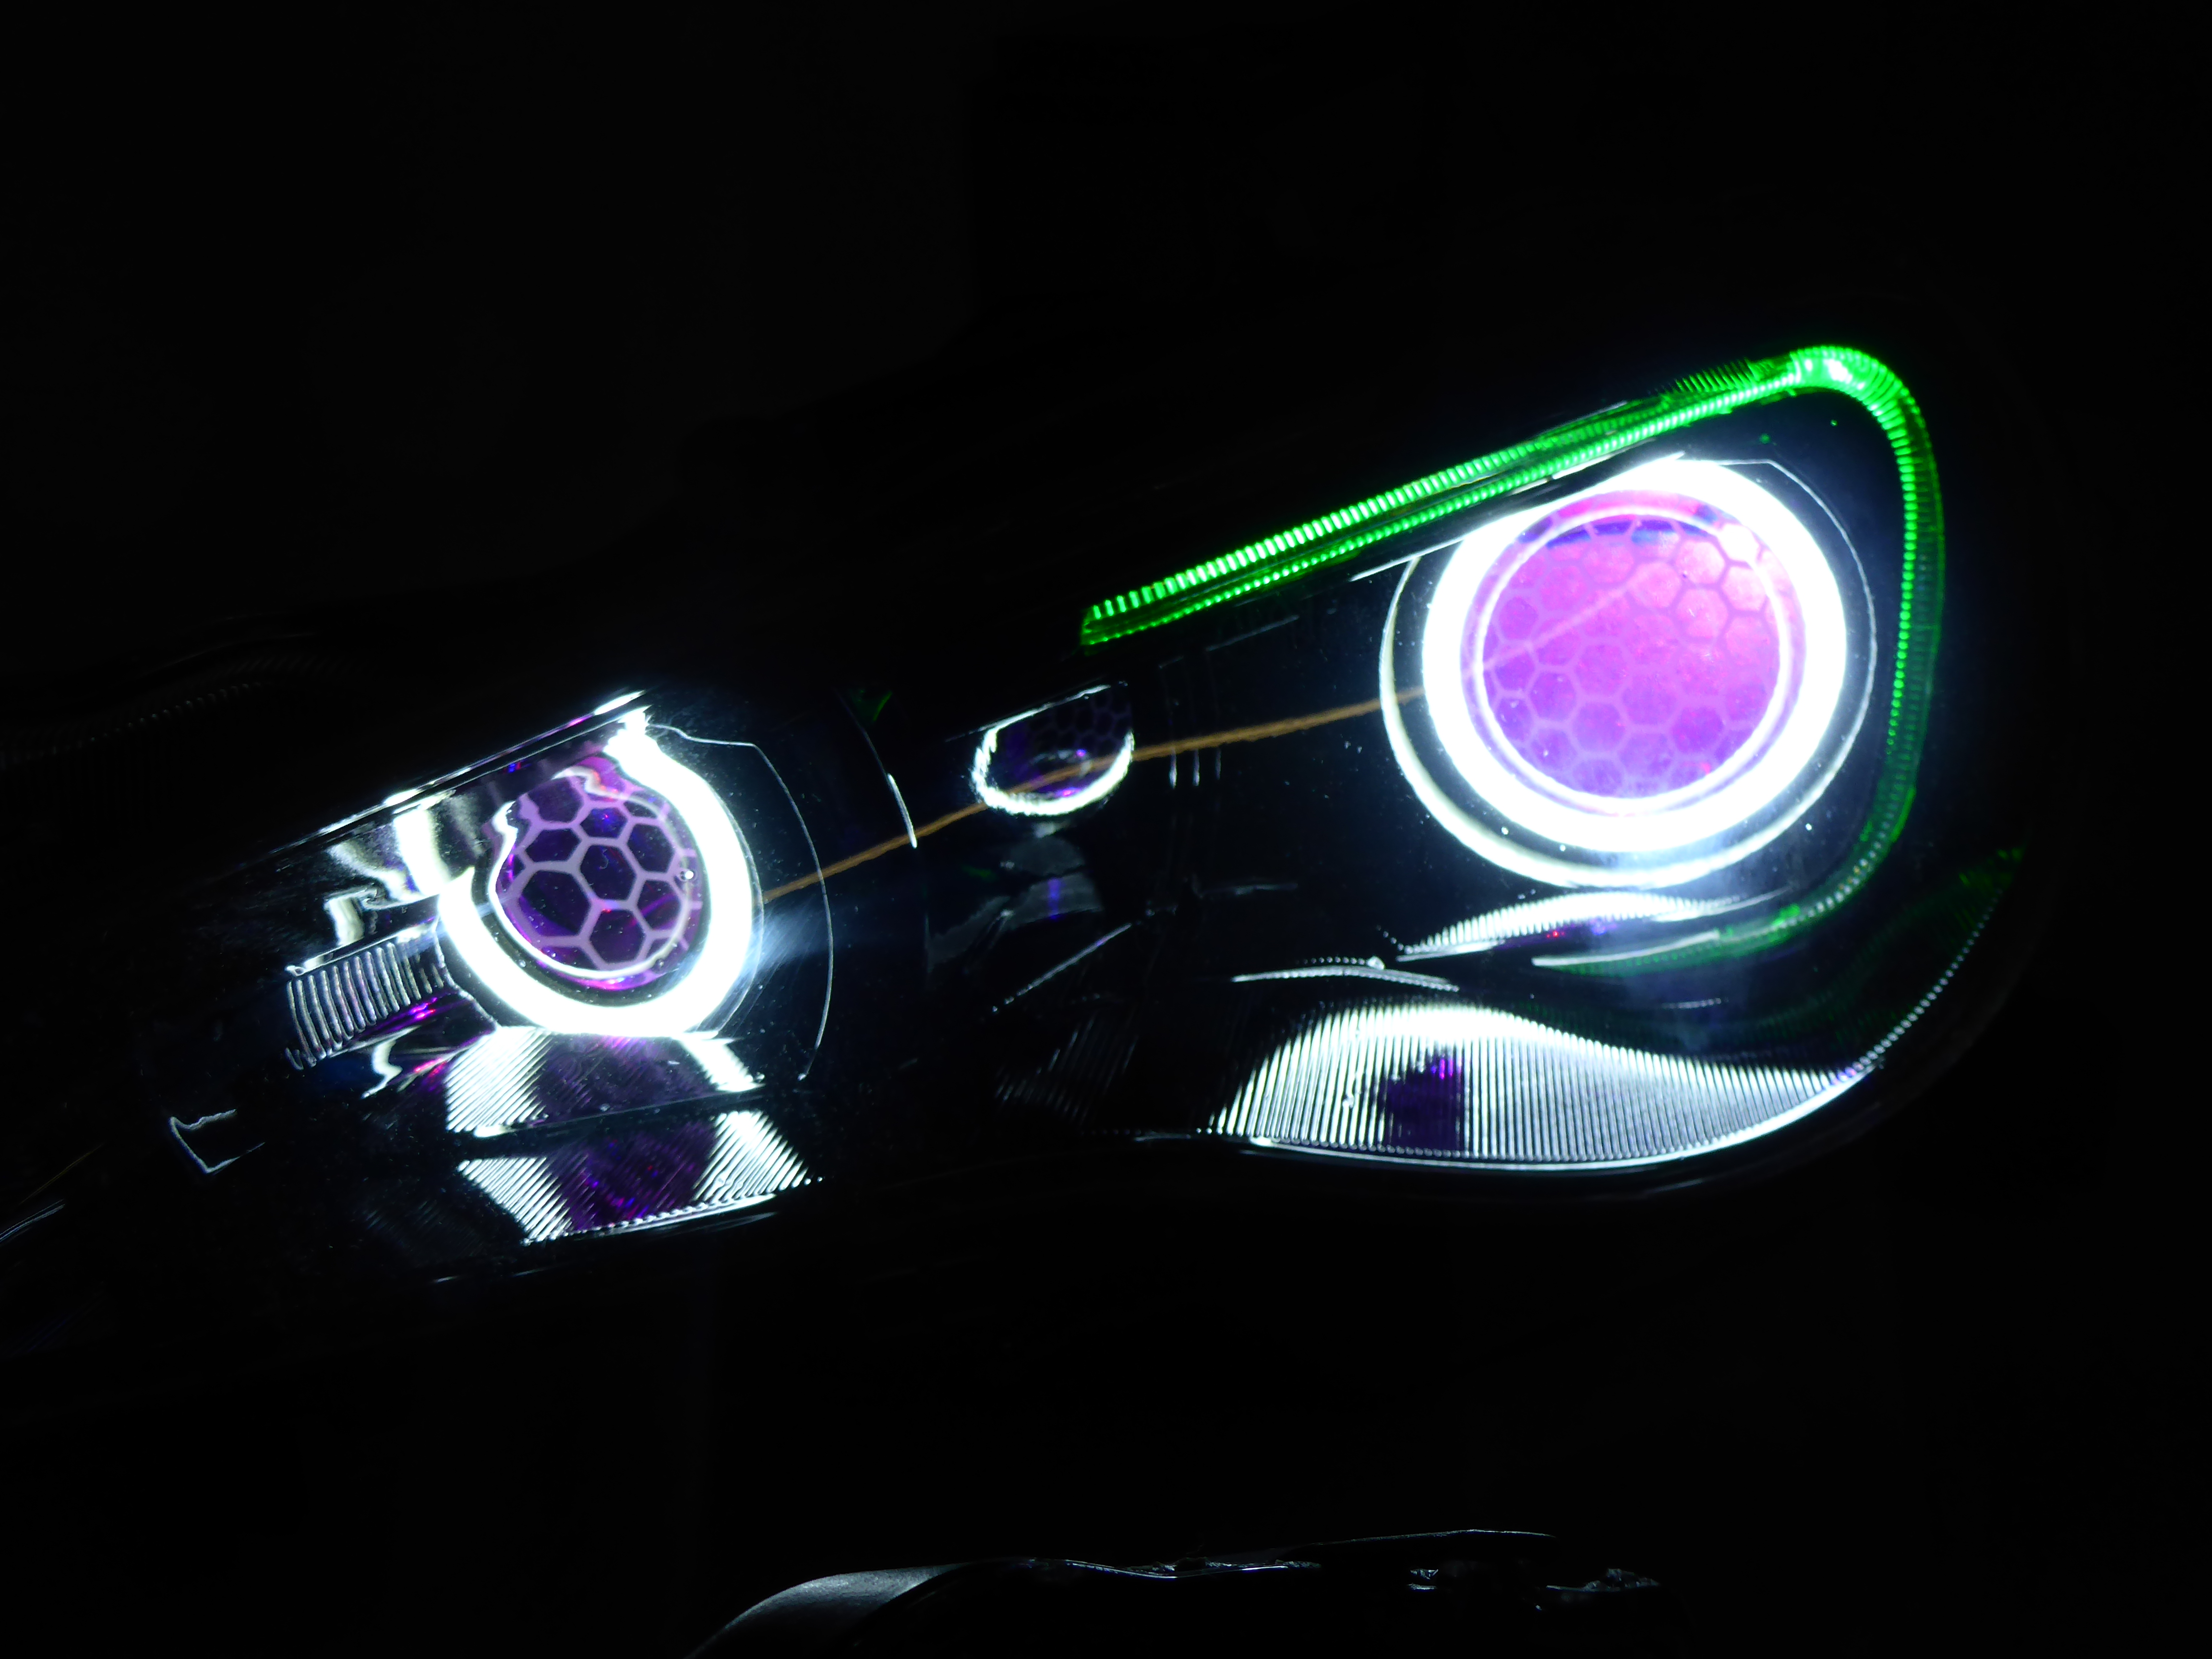
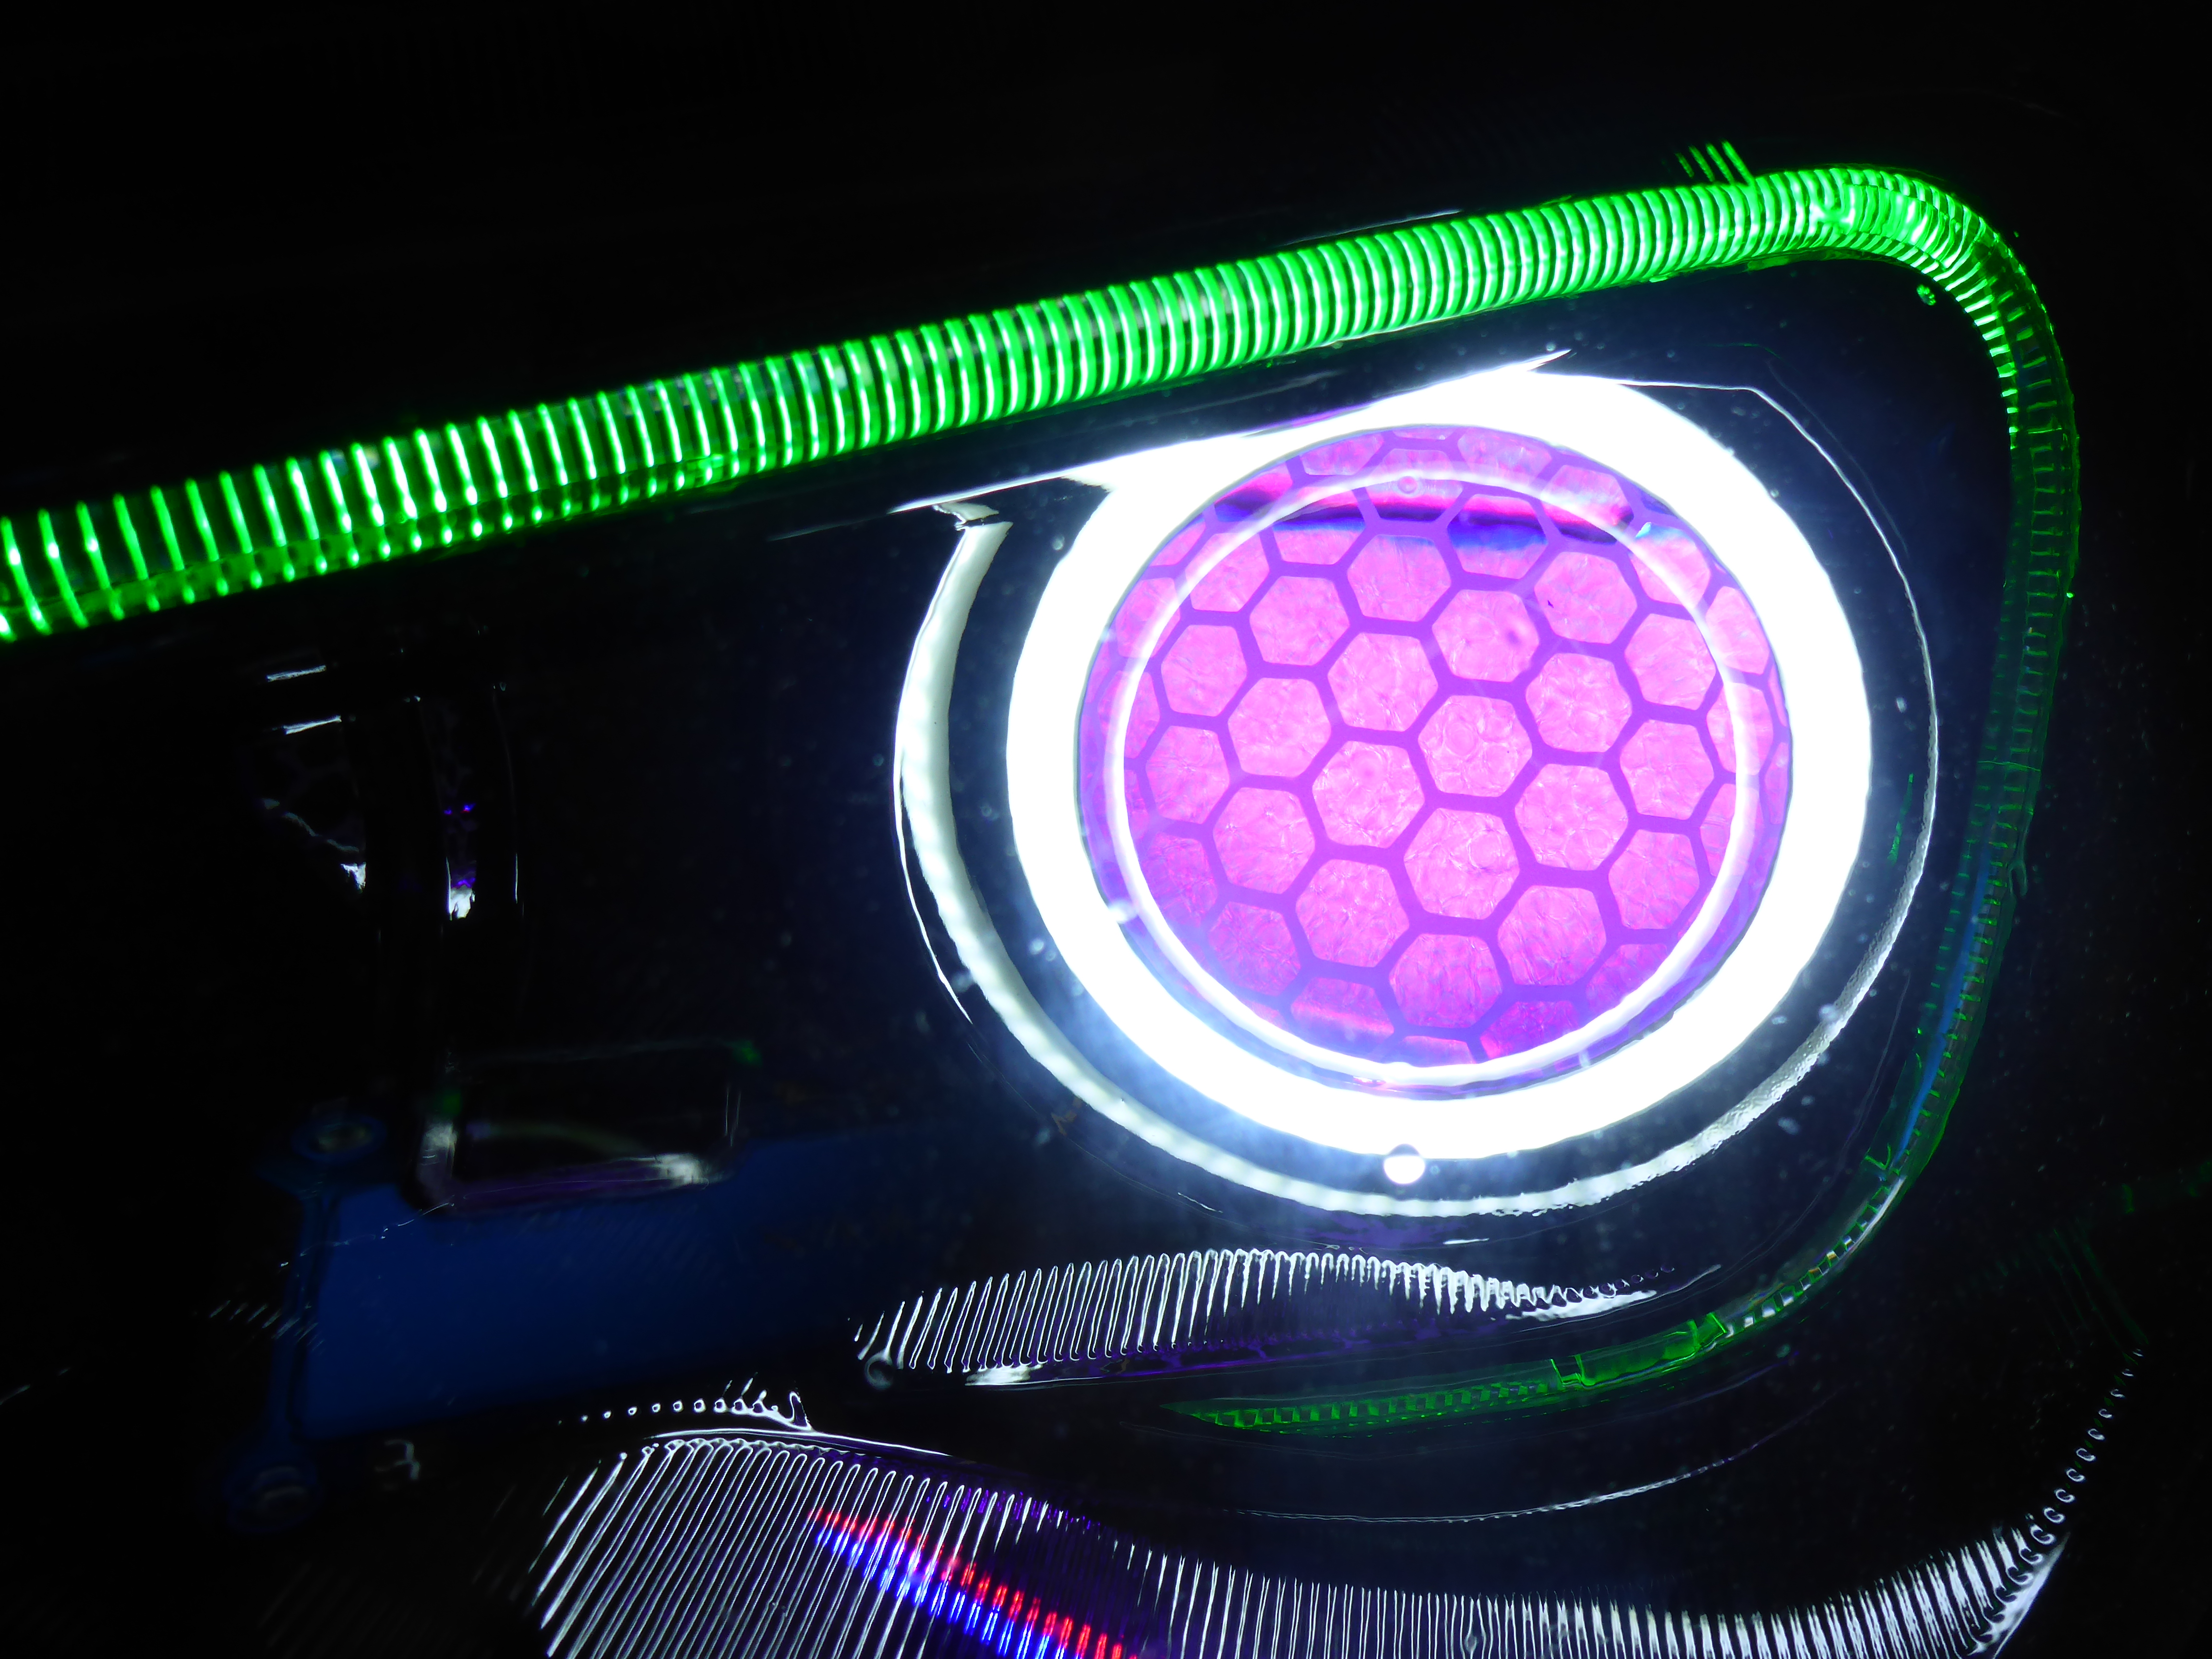
Mounting the Profile Pivot switchback halos to the honeycomb etched Matchboxs:
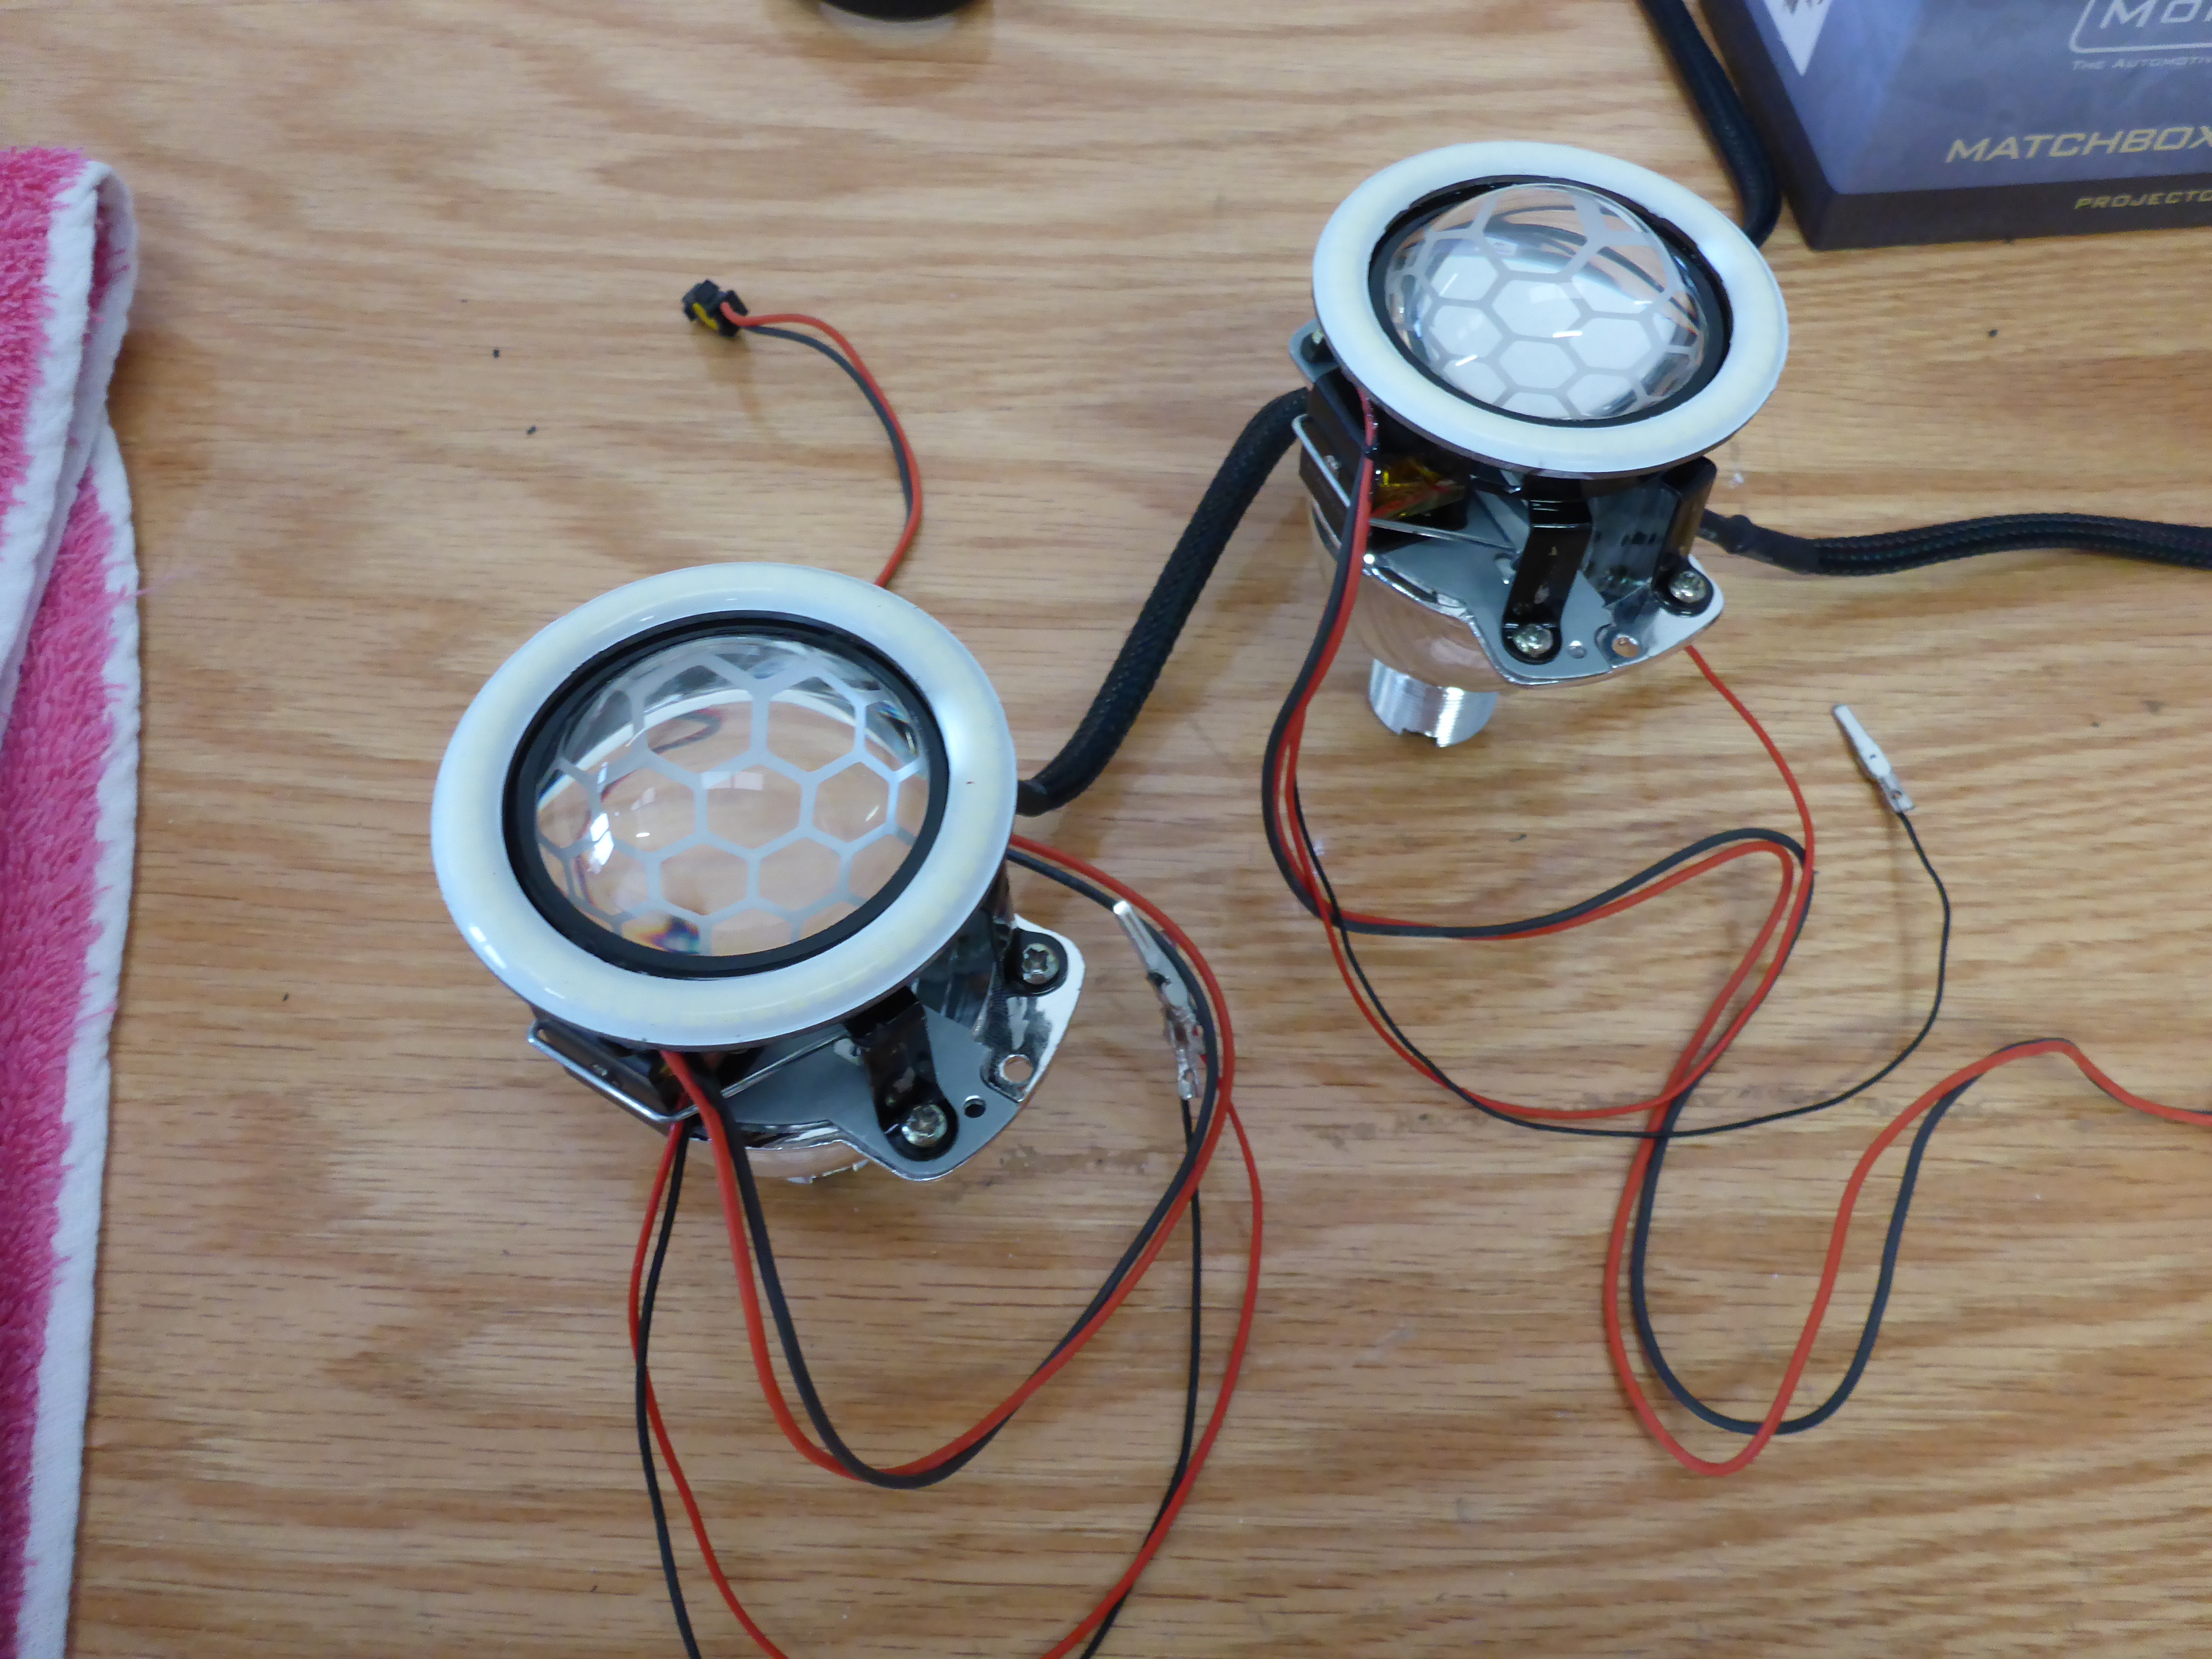
There was a lot of test fitting and careful trimming of the factory bezel to make sure everything cleared the new halos and Matchbox… I wanted these halos mounted BEHIND the shroud to maintain that ‘evil angle’ styling of the housing. Big round circles wouldn’t have looked right in these things.


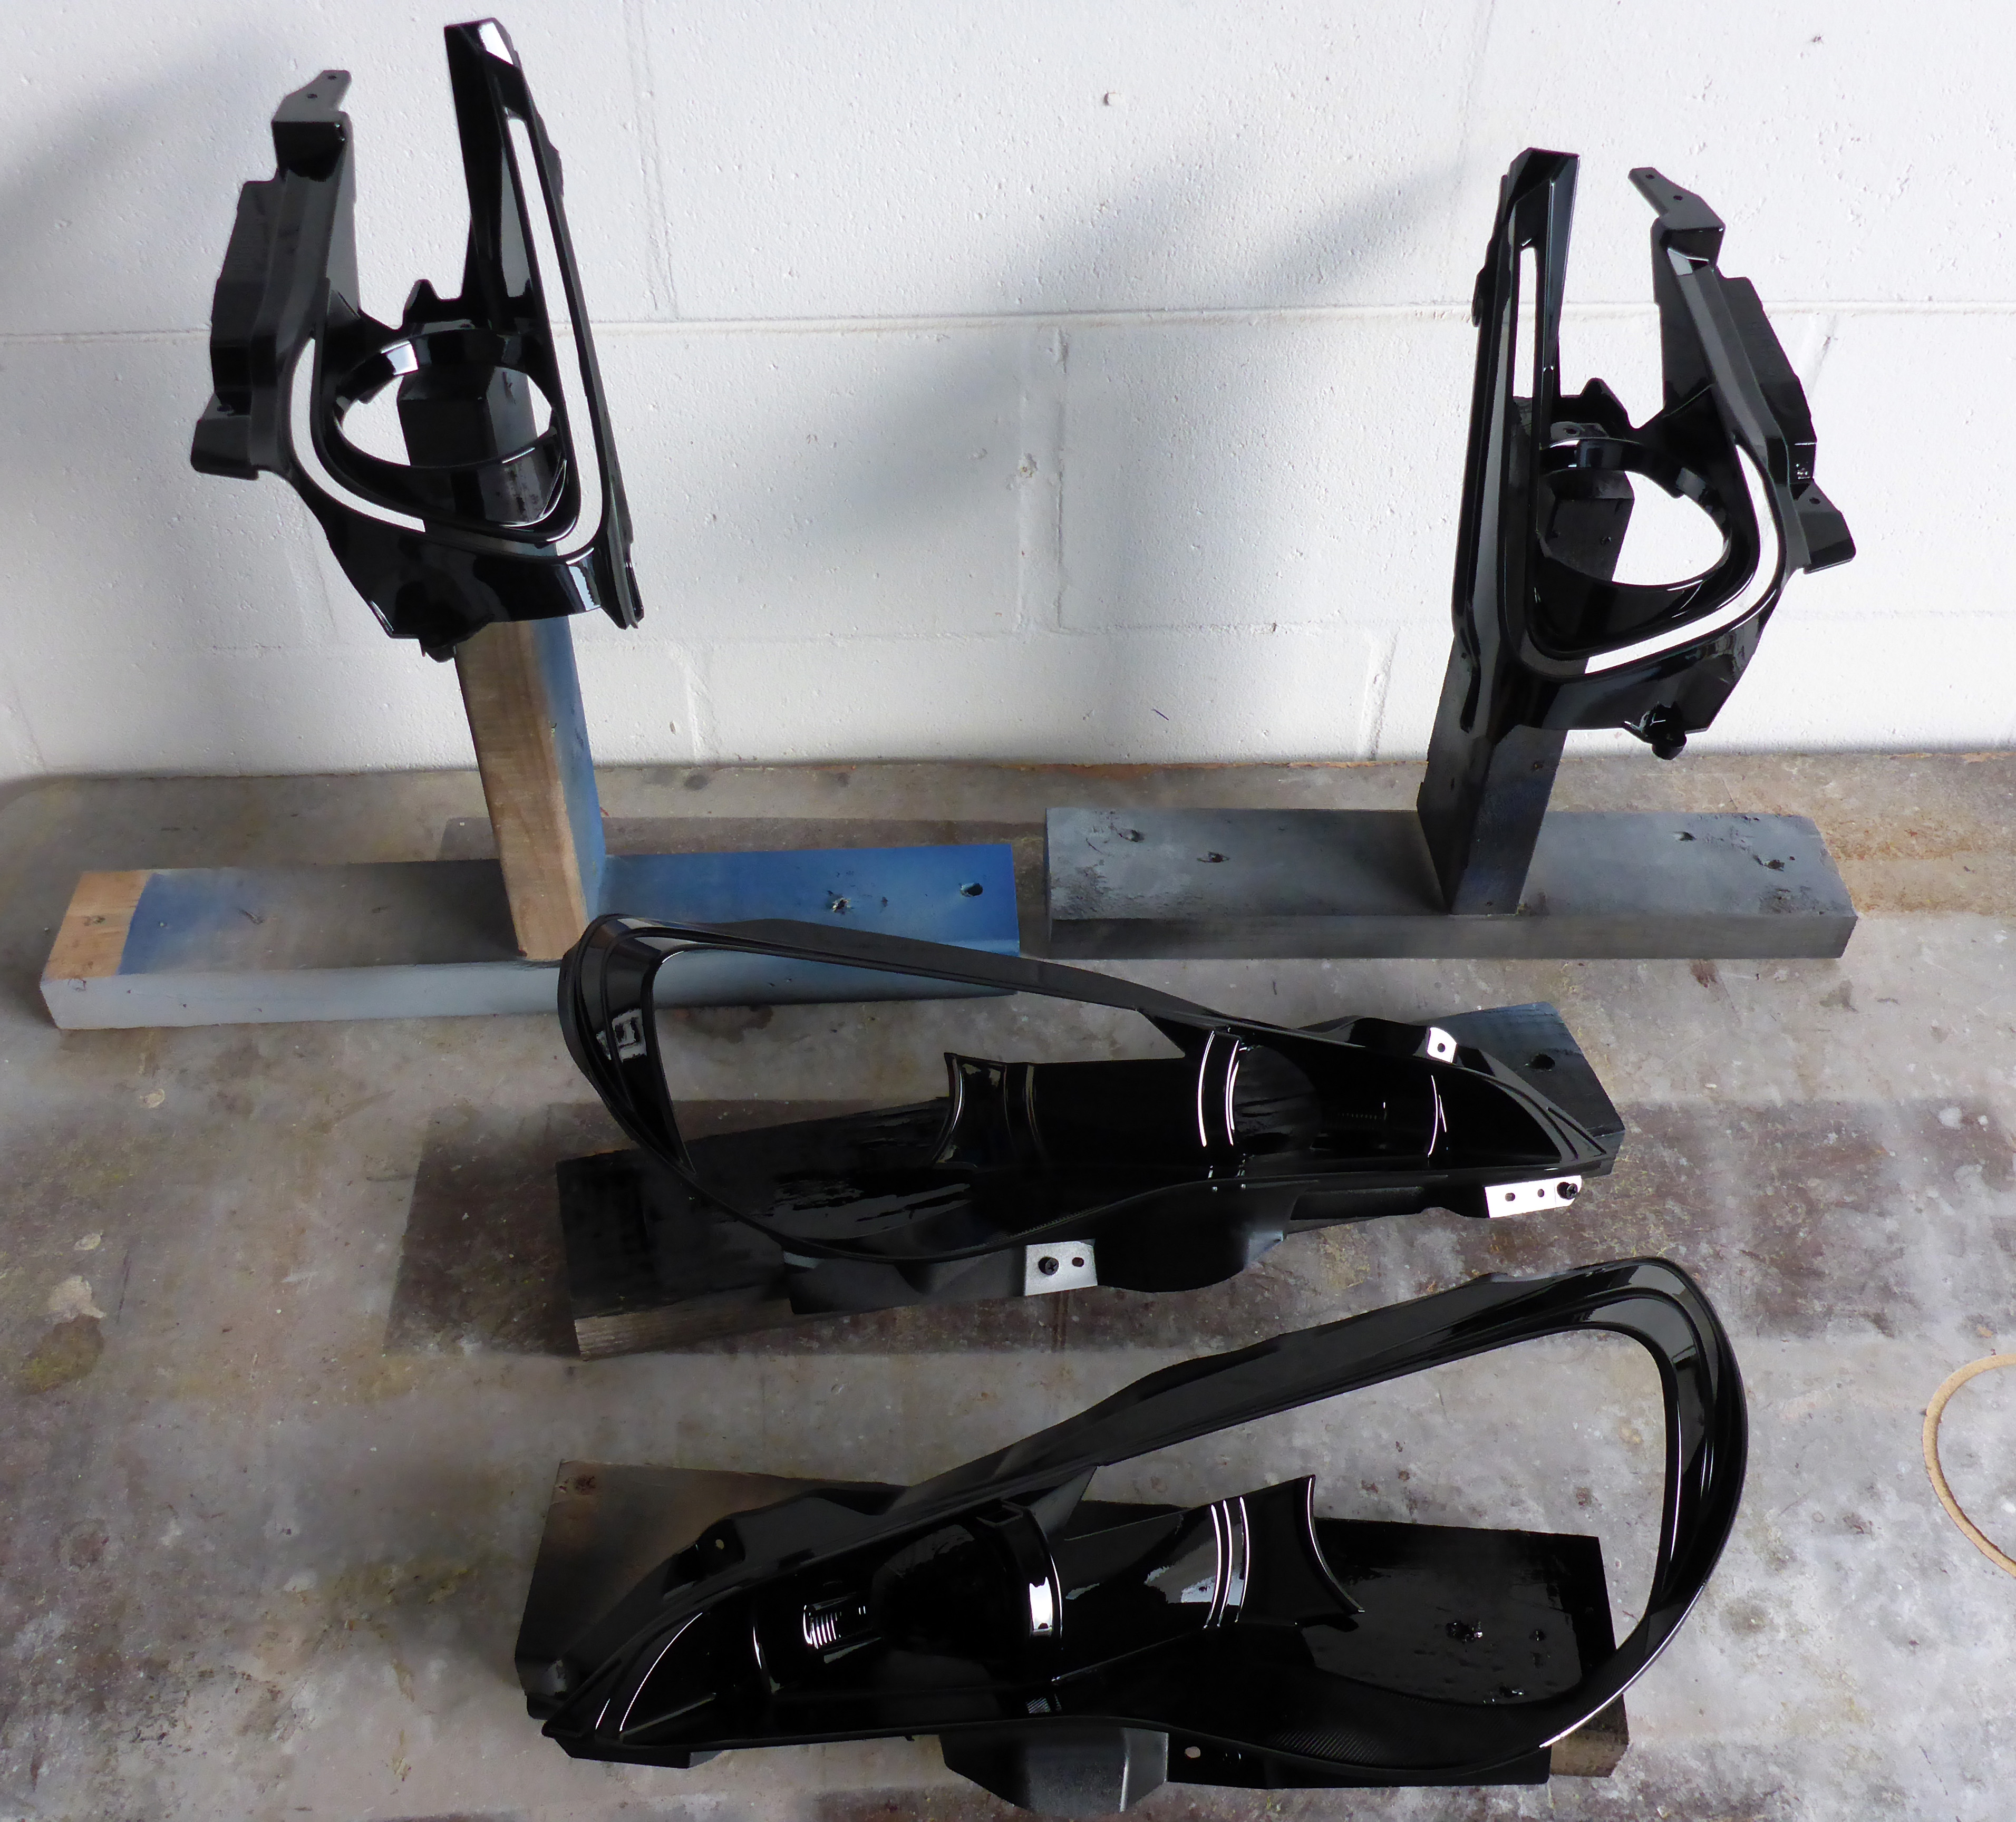
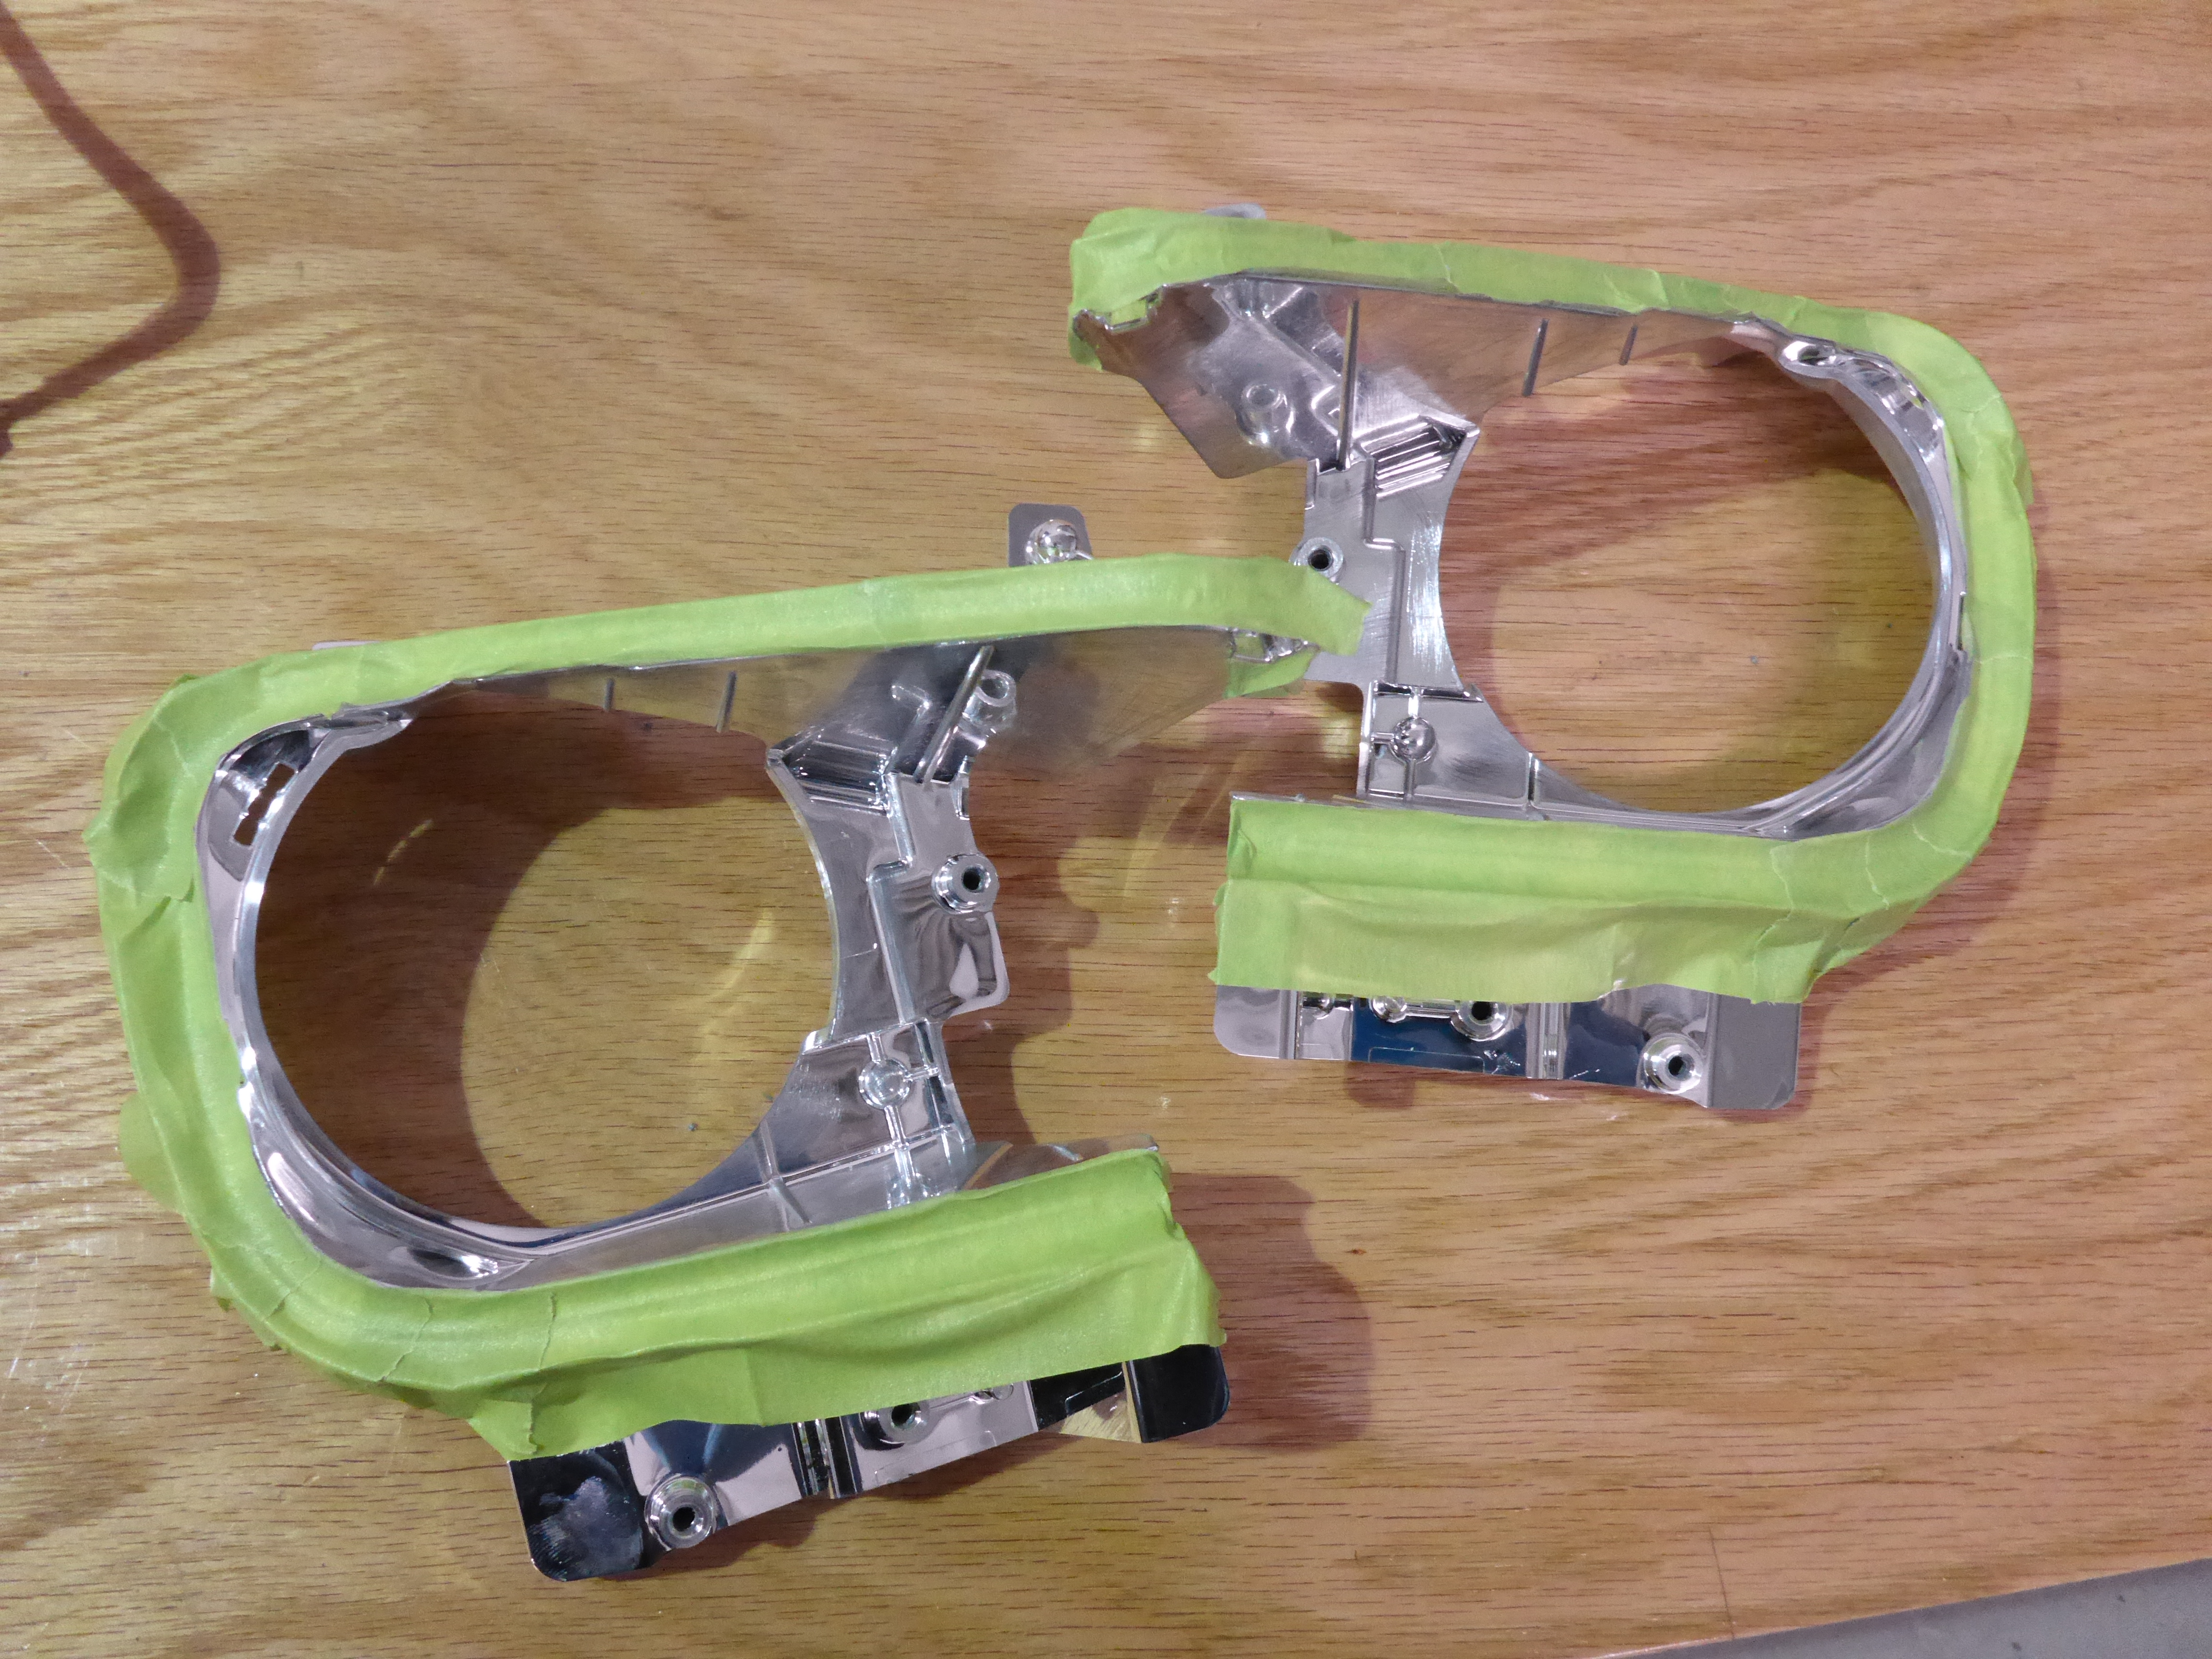
It’s paint time! Almost gets routine at this point: Strip chrome, prep, paint, celebrate:
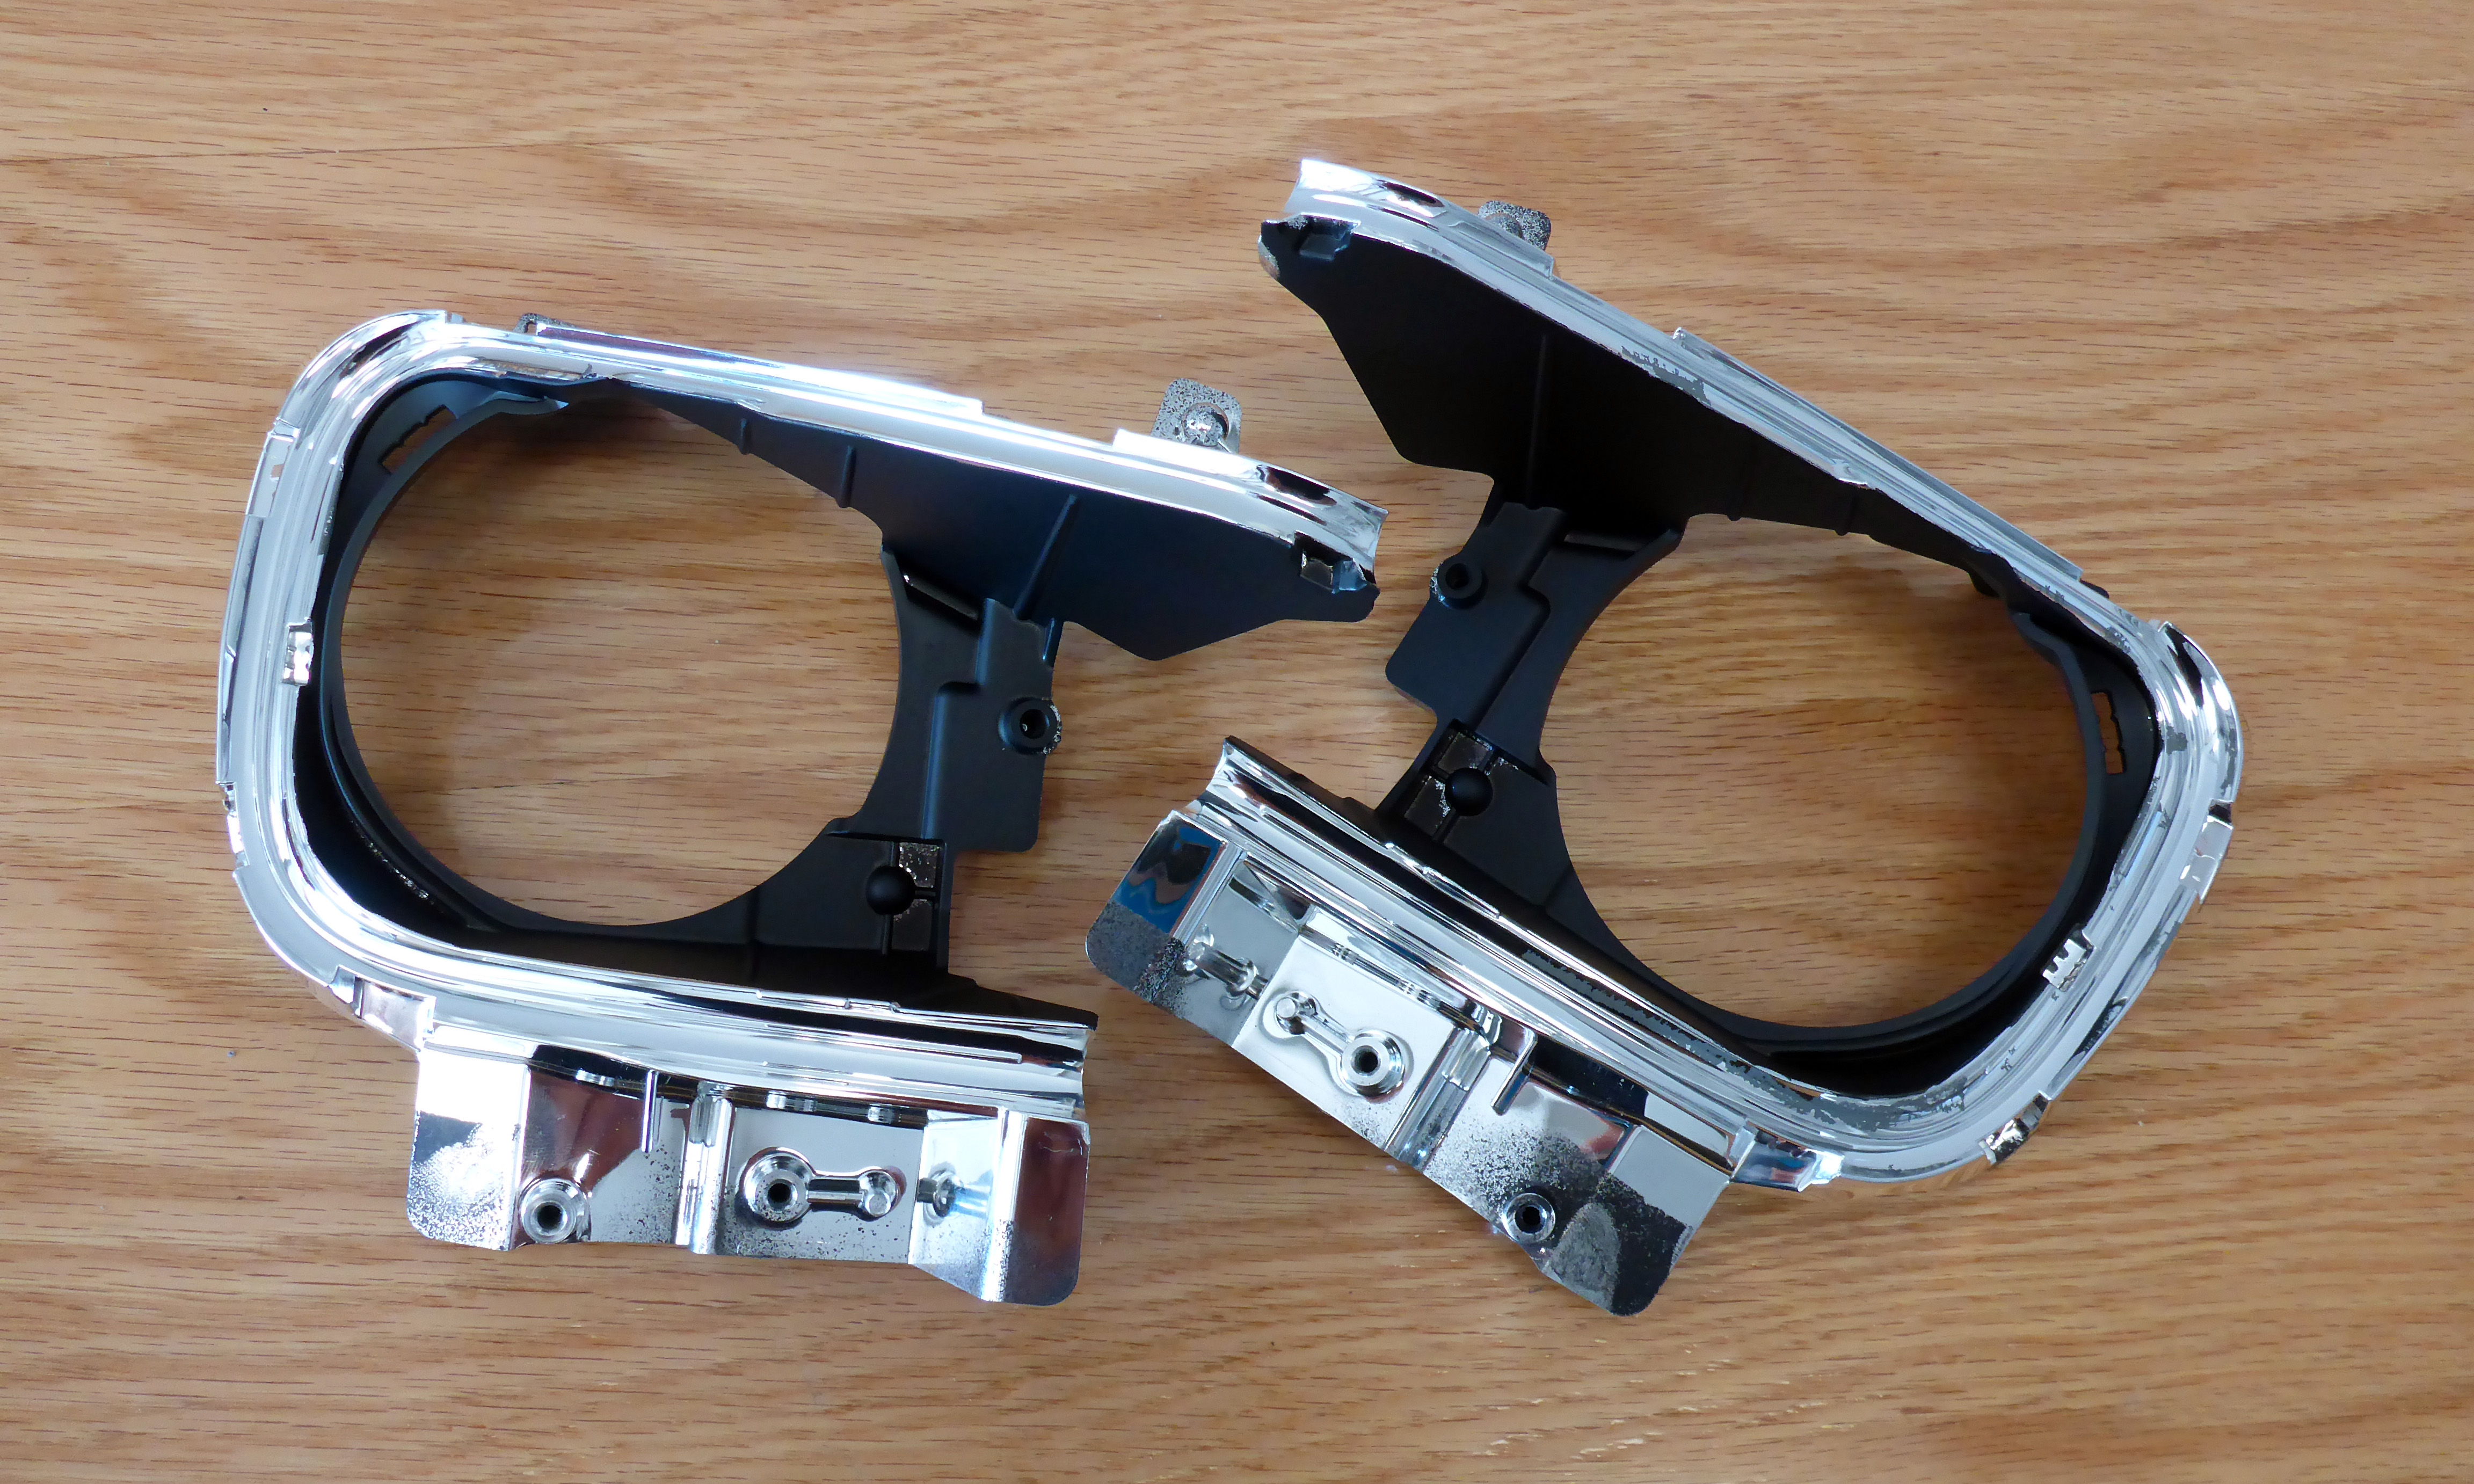
Fun speedbump: I started reassembly and noticed that you could still see slivers of factory chrome on the backside of the boomerang mounting pieces. So it came back apart, got masked, painted with flat black, and reassembled. All in the details!
Profile Pivot Switchback Halos being mounted on the OEM projectors:
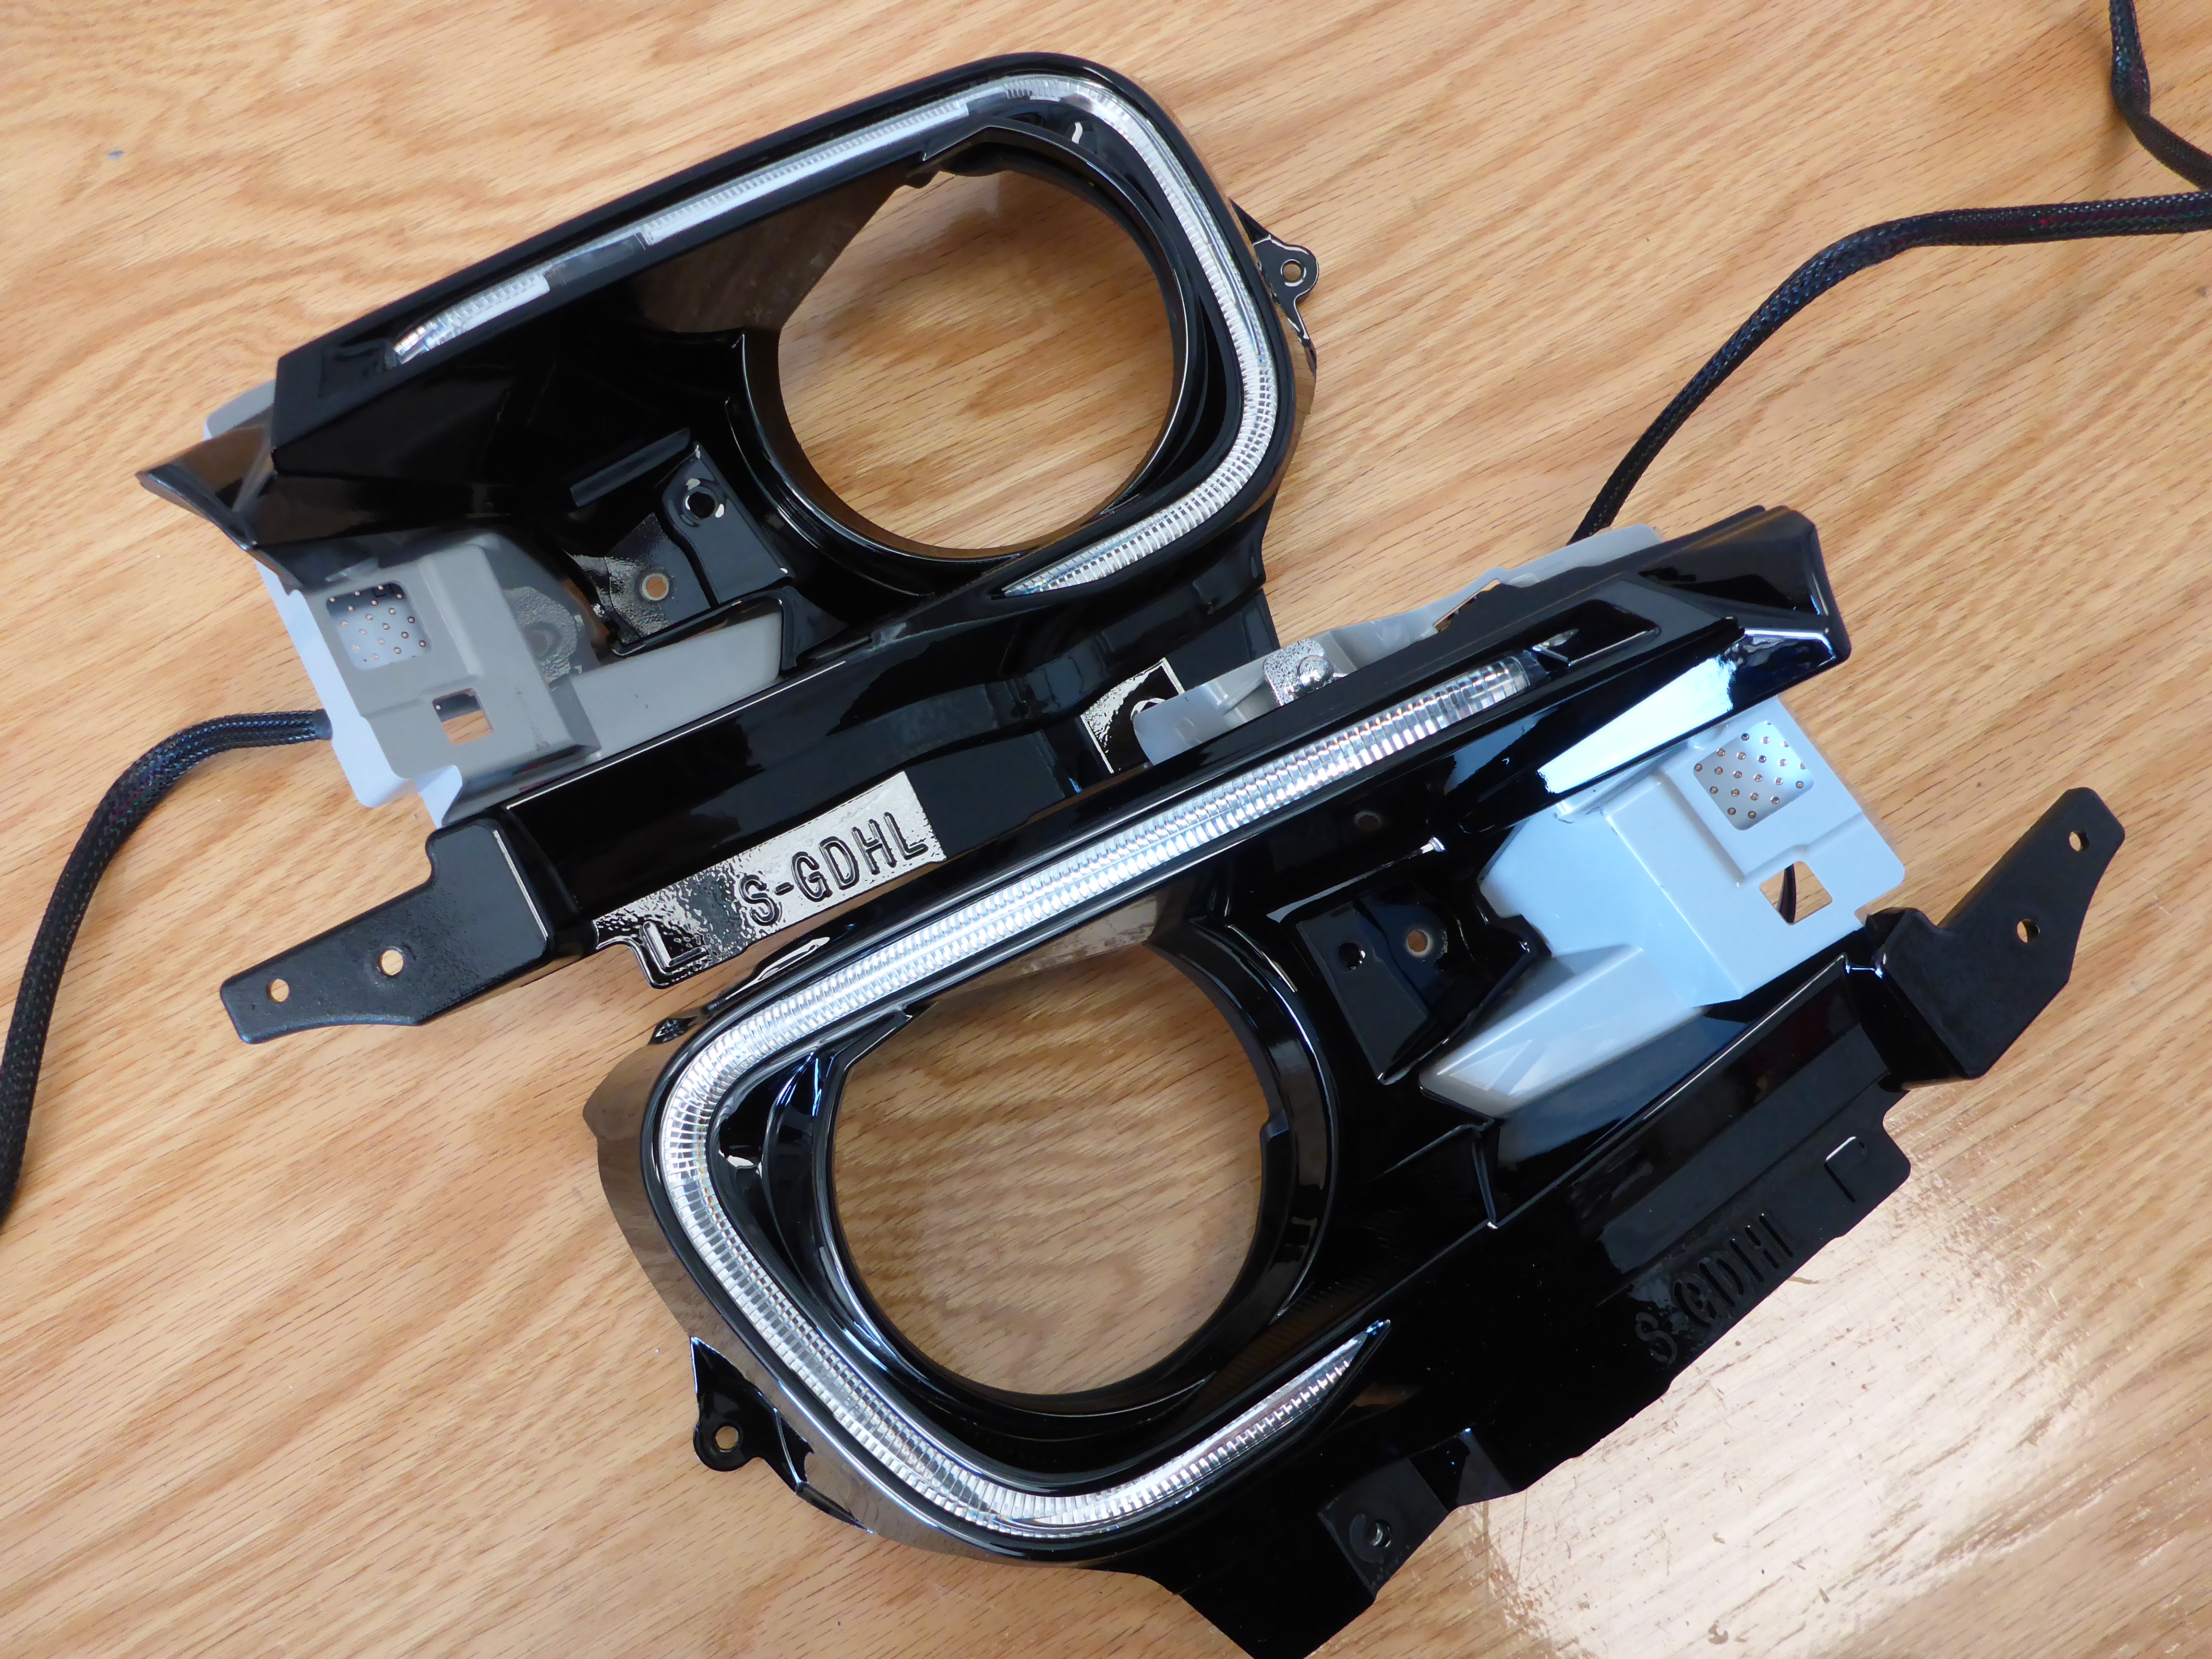
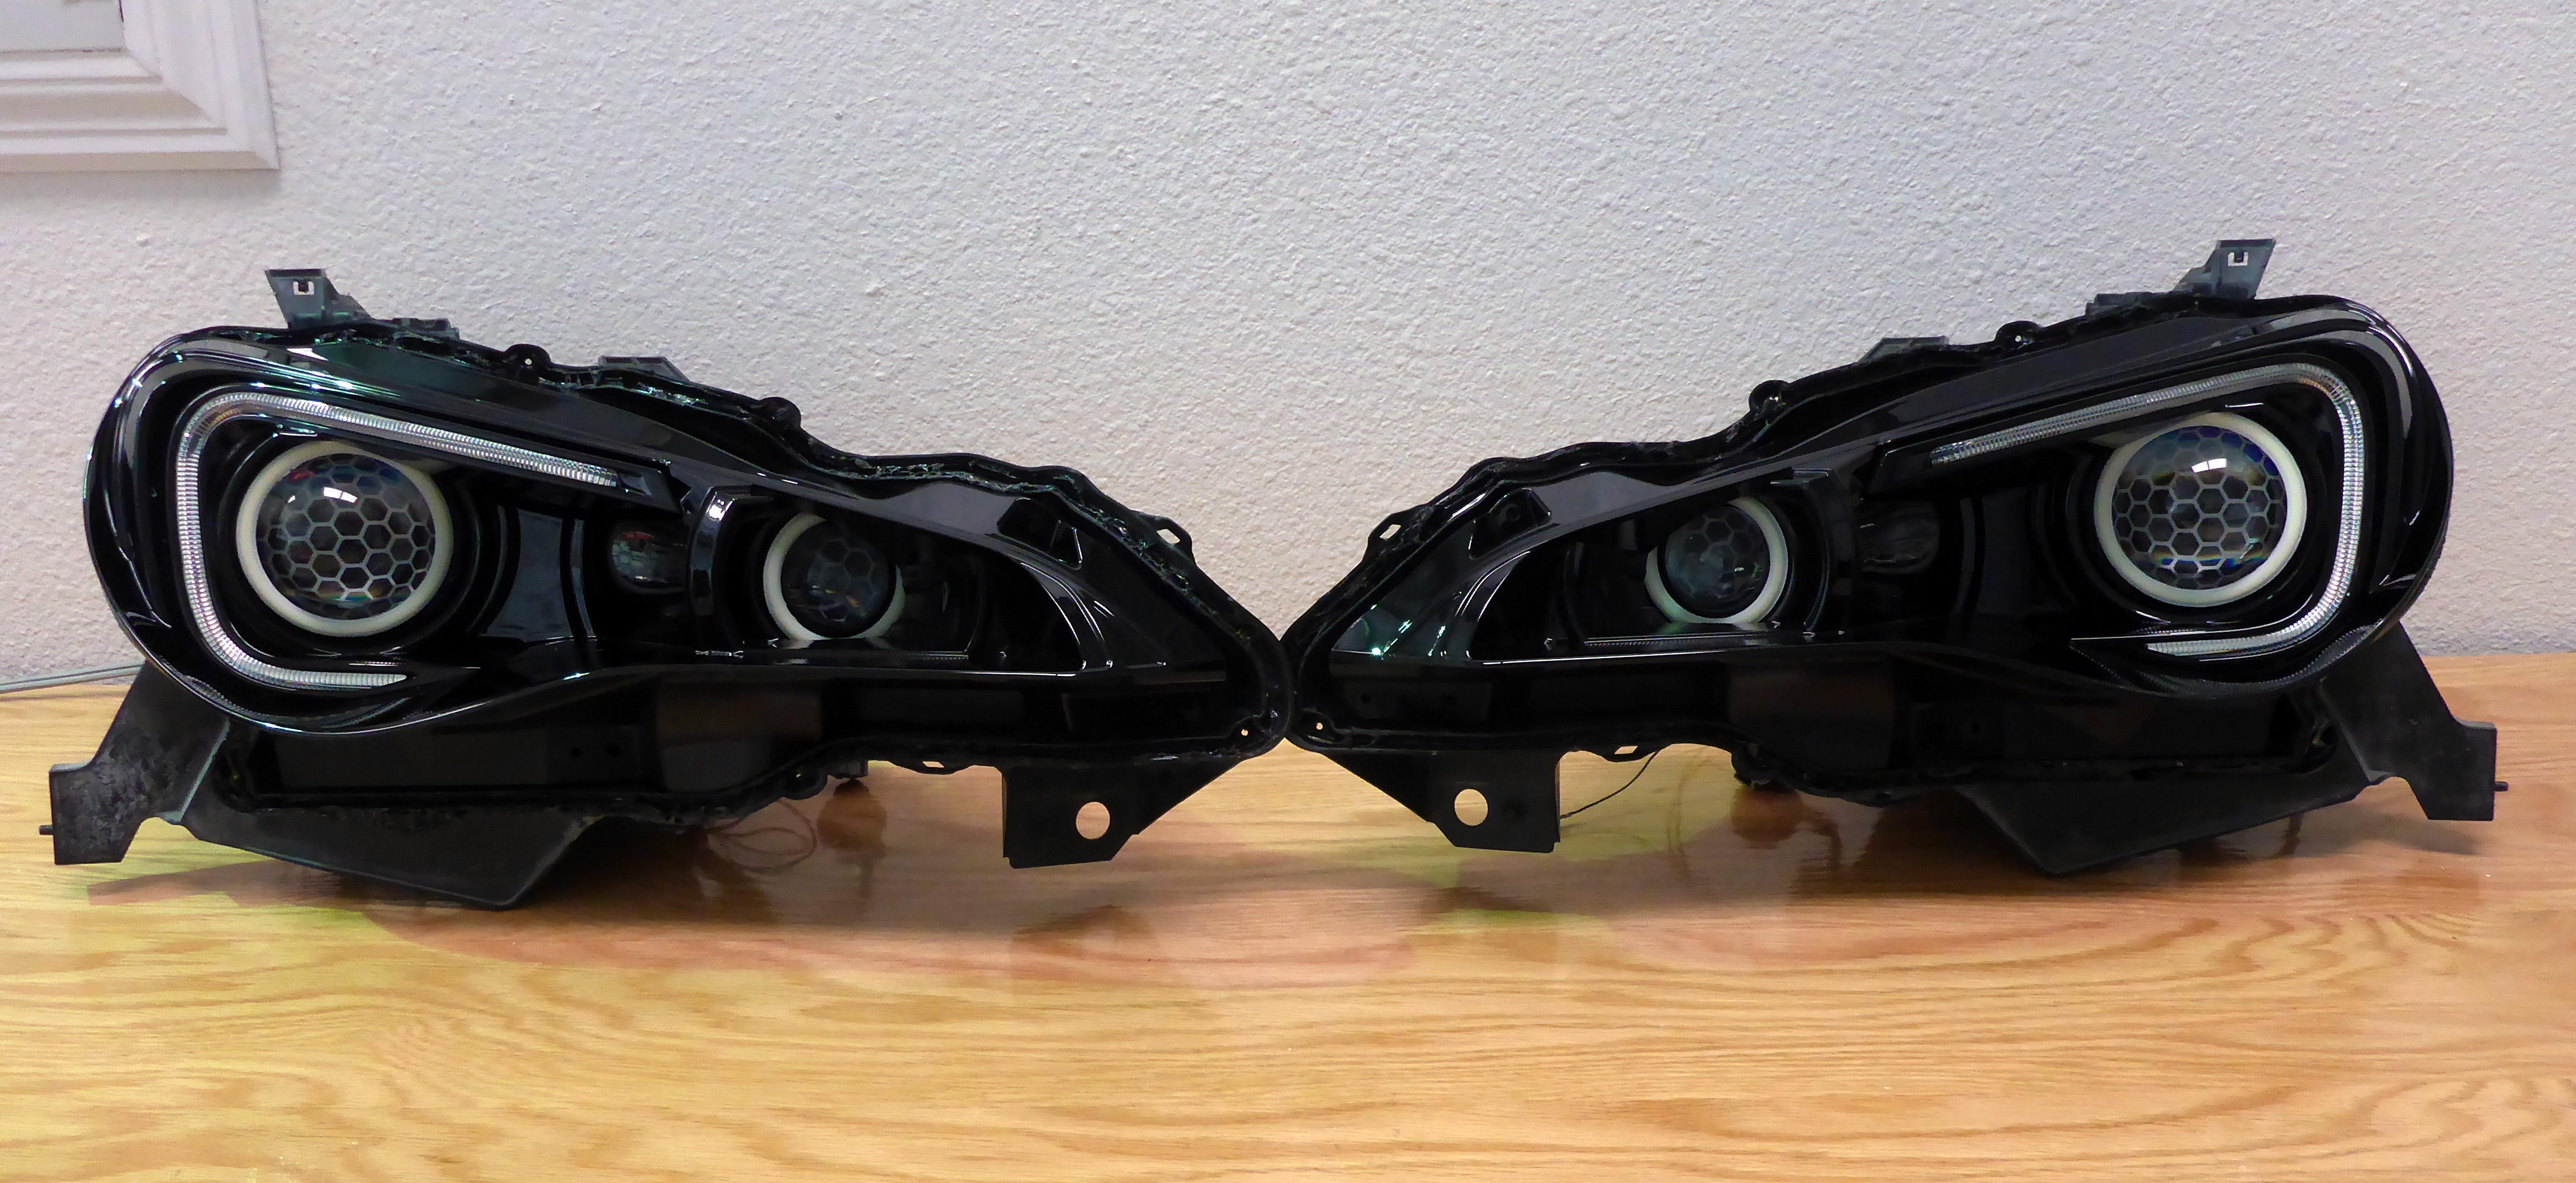
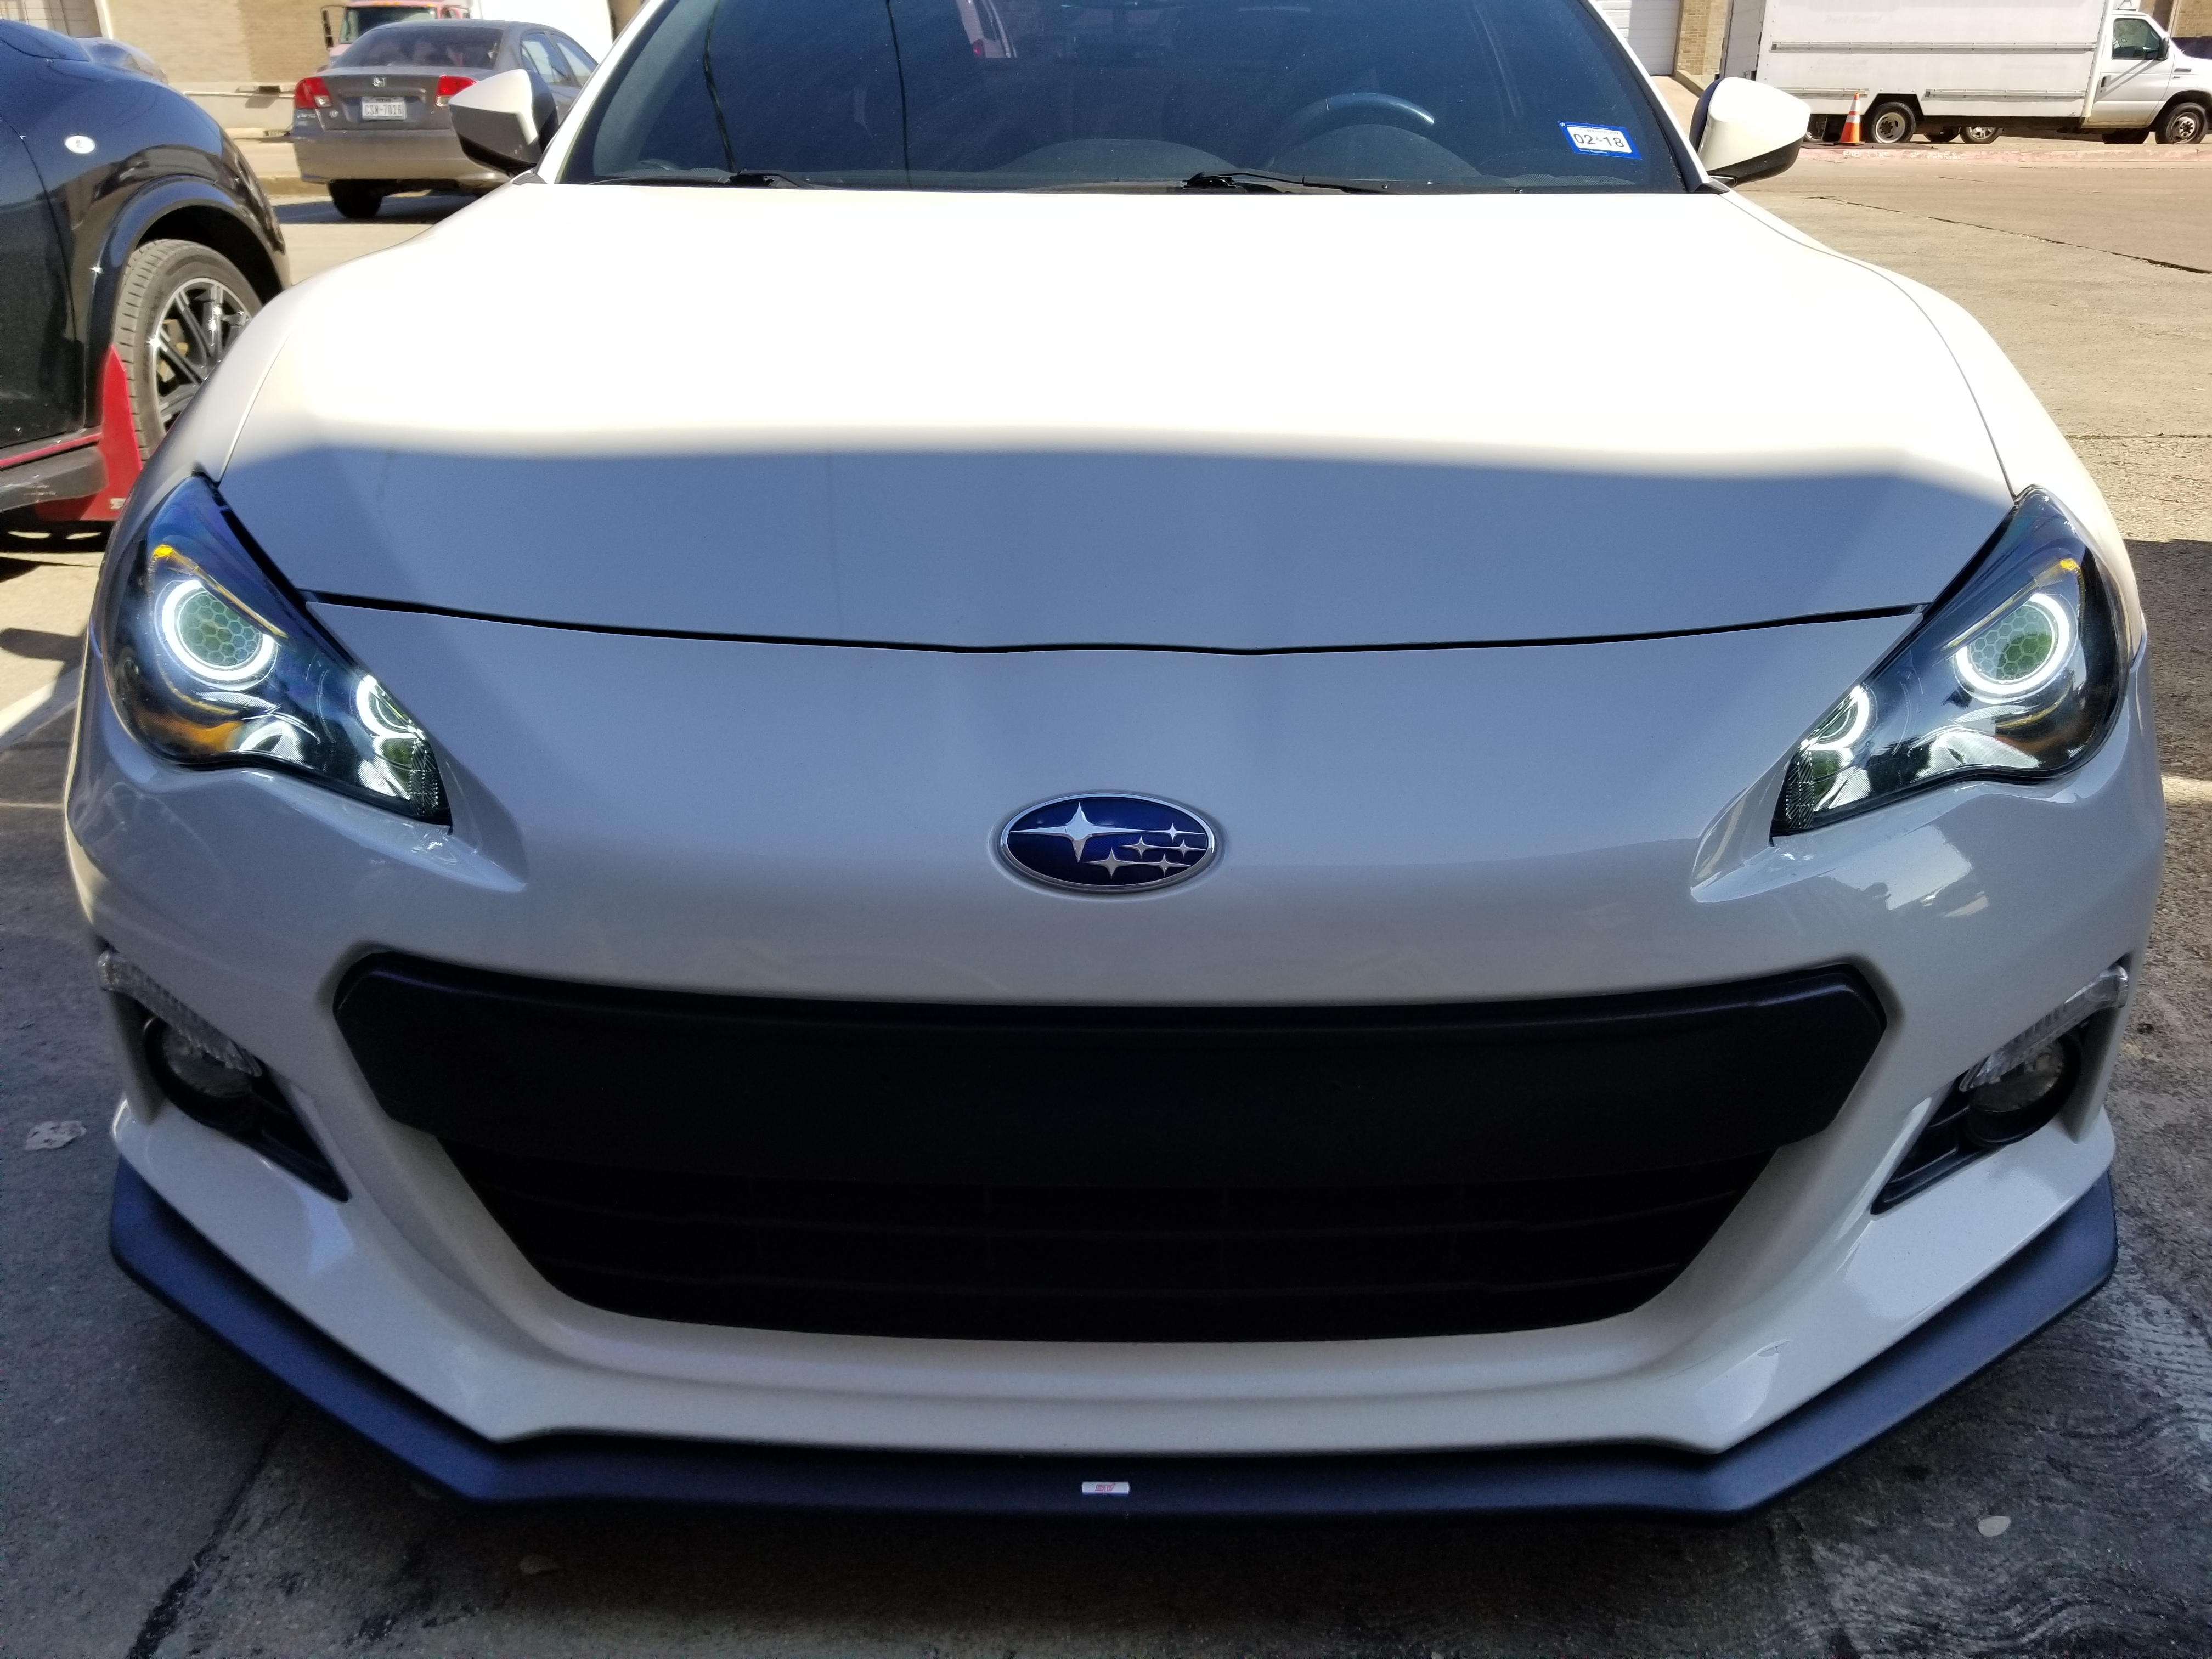
Final touches and assembly time!

Glamour shots worldwide, ooooh baby you so purdy let me see the way you shine!
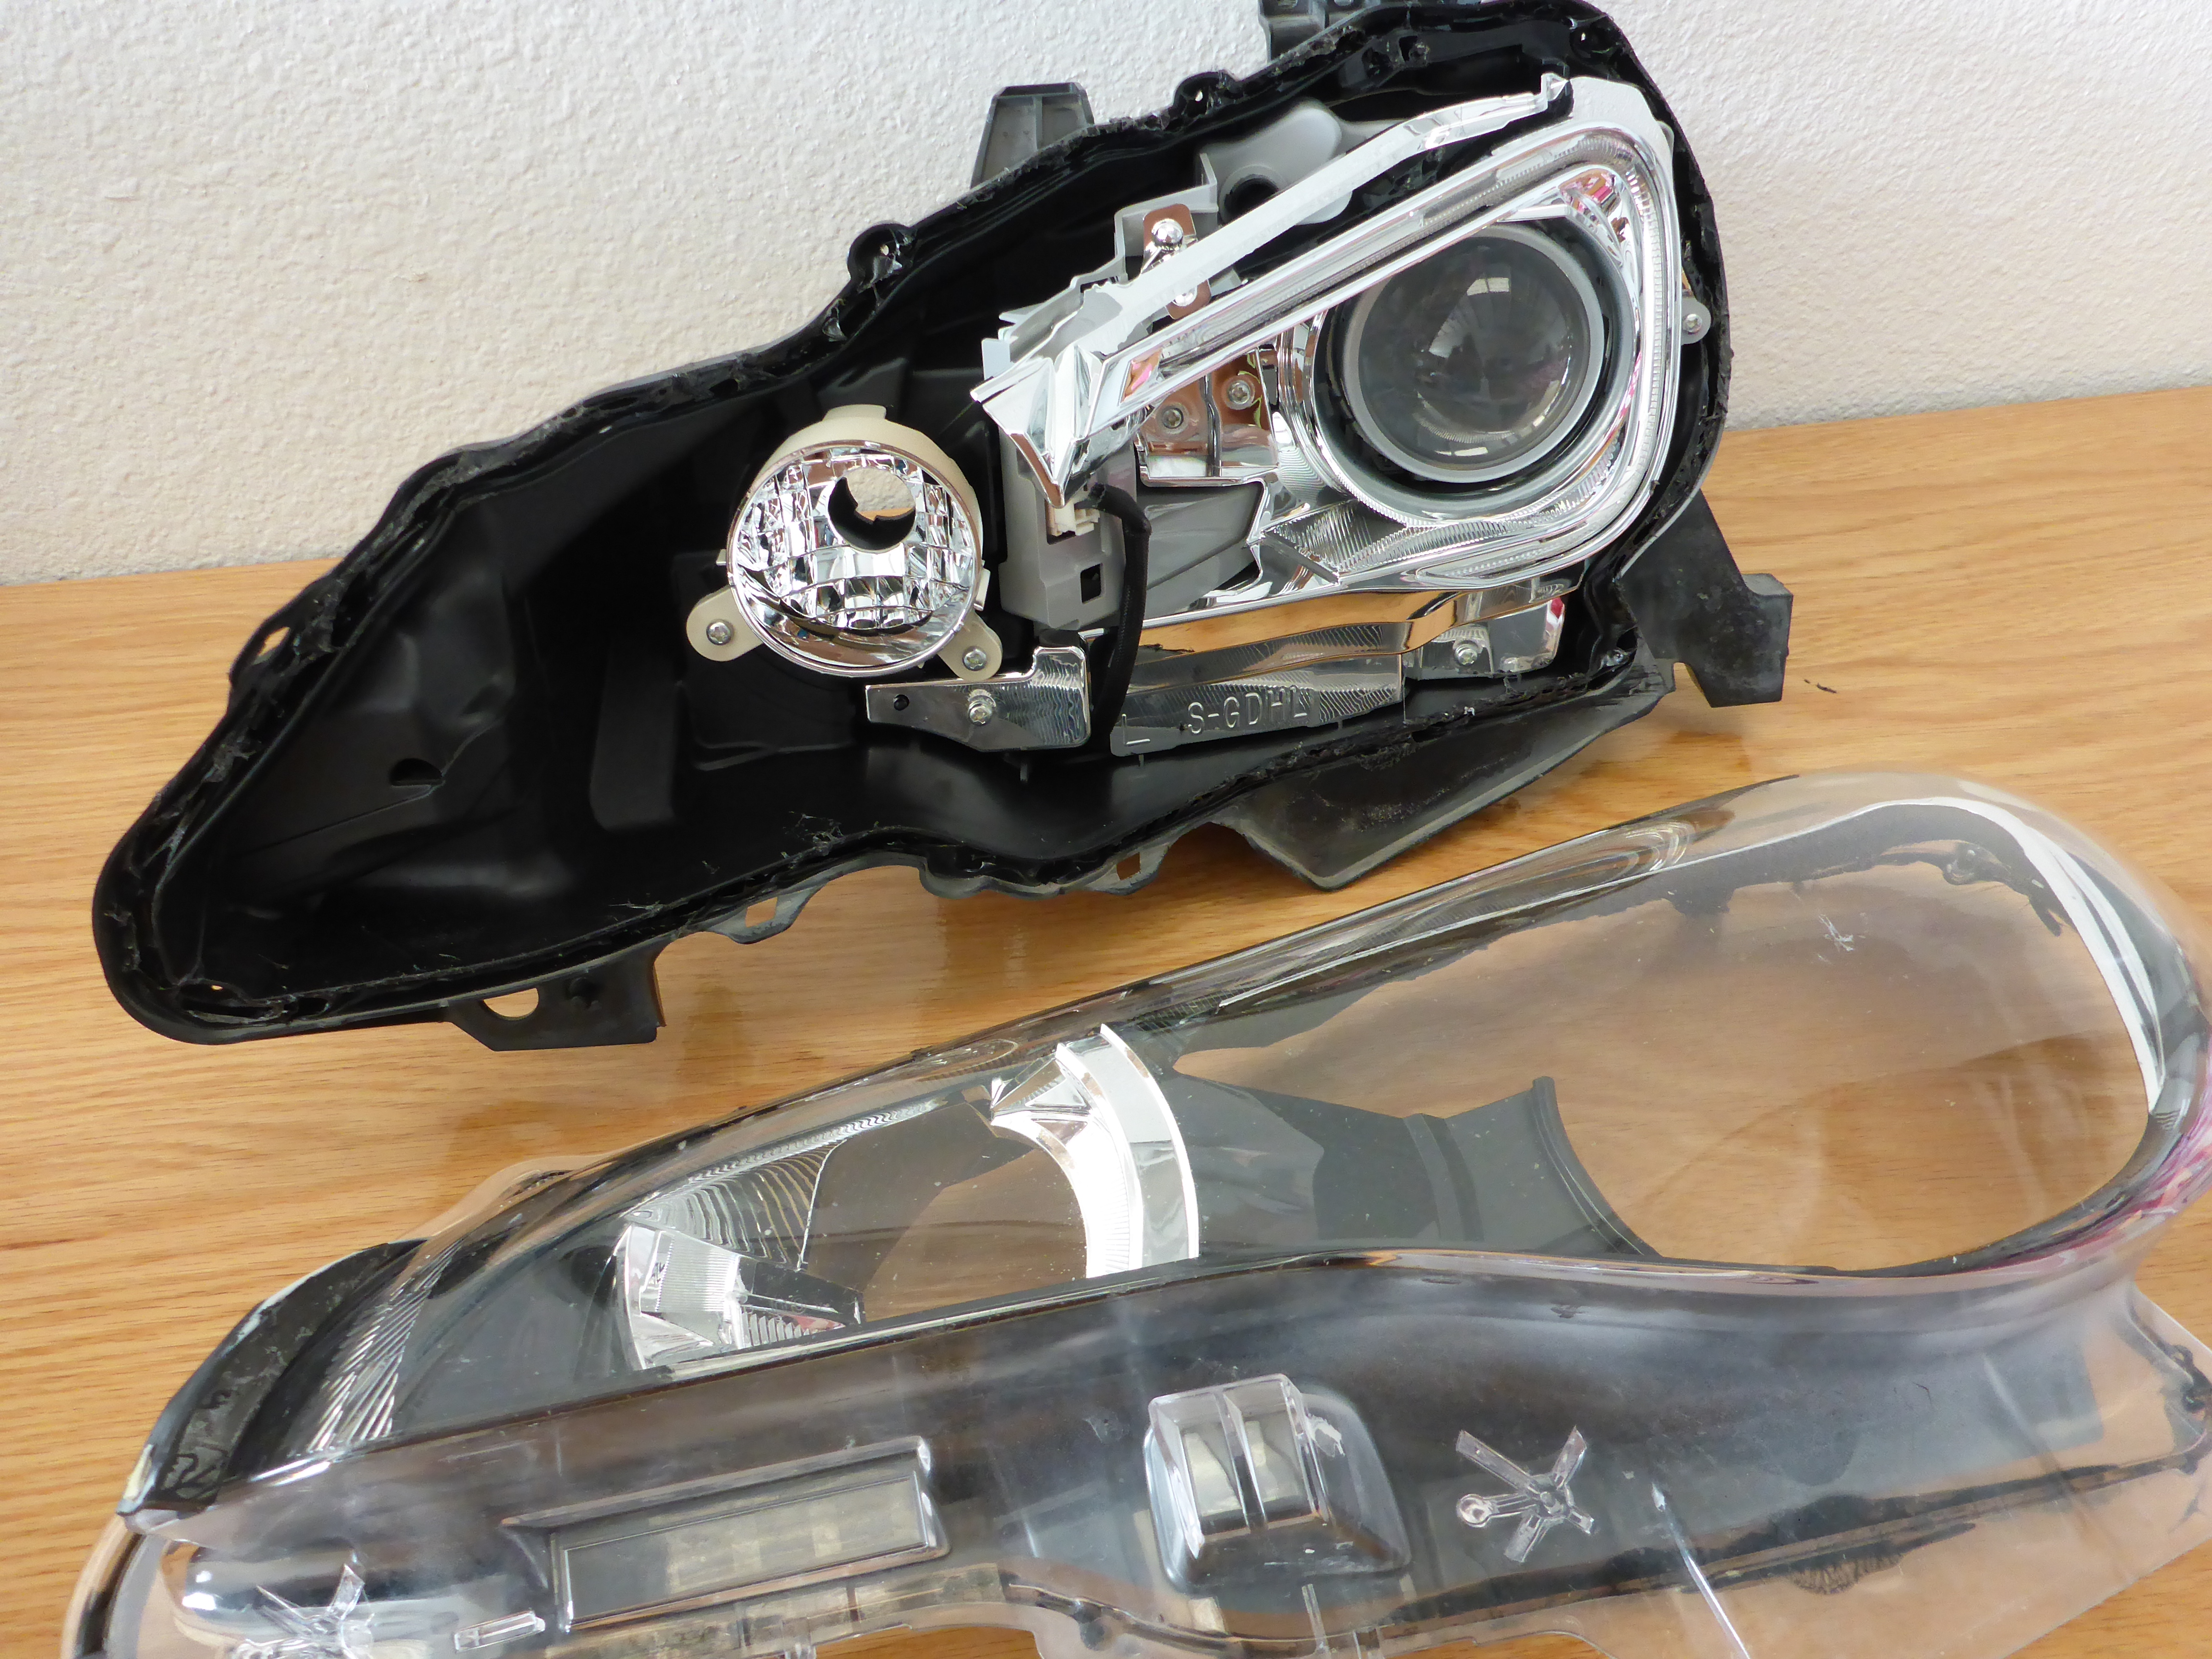
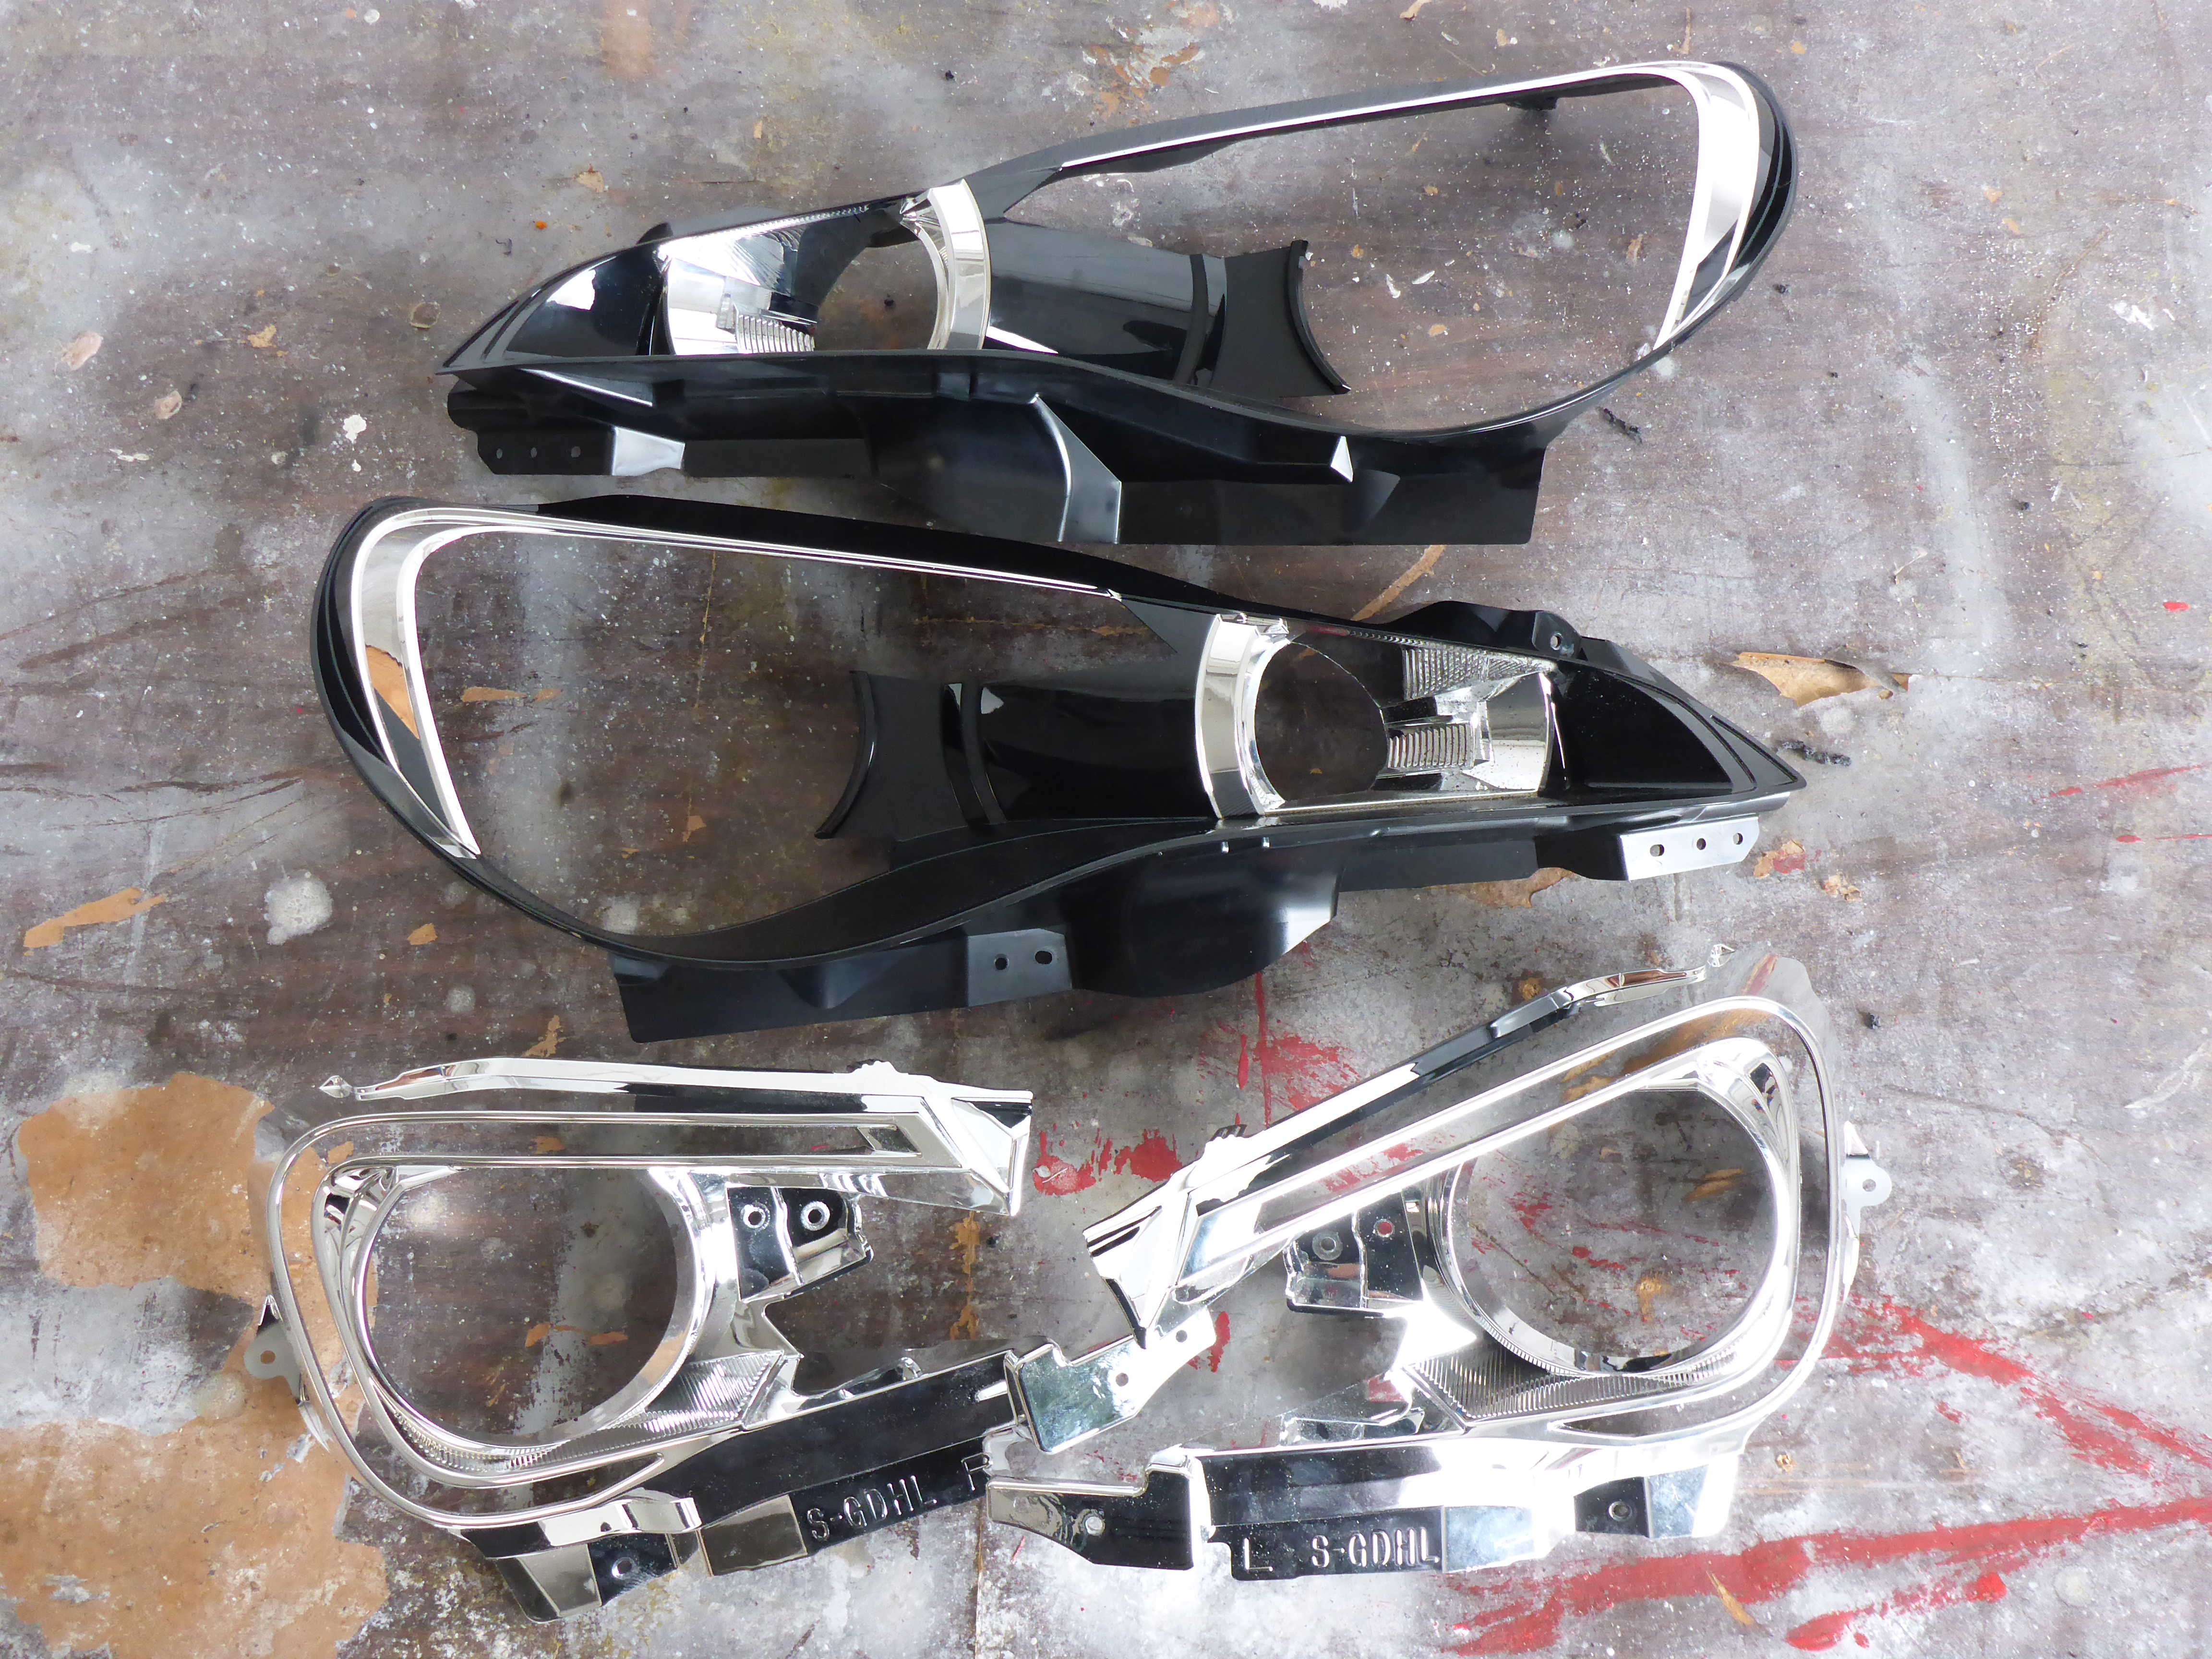
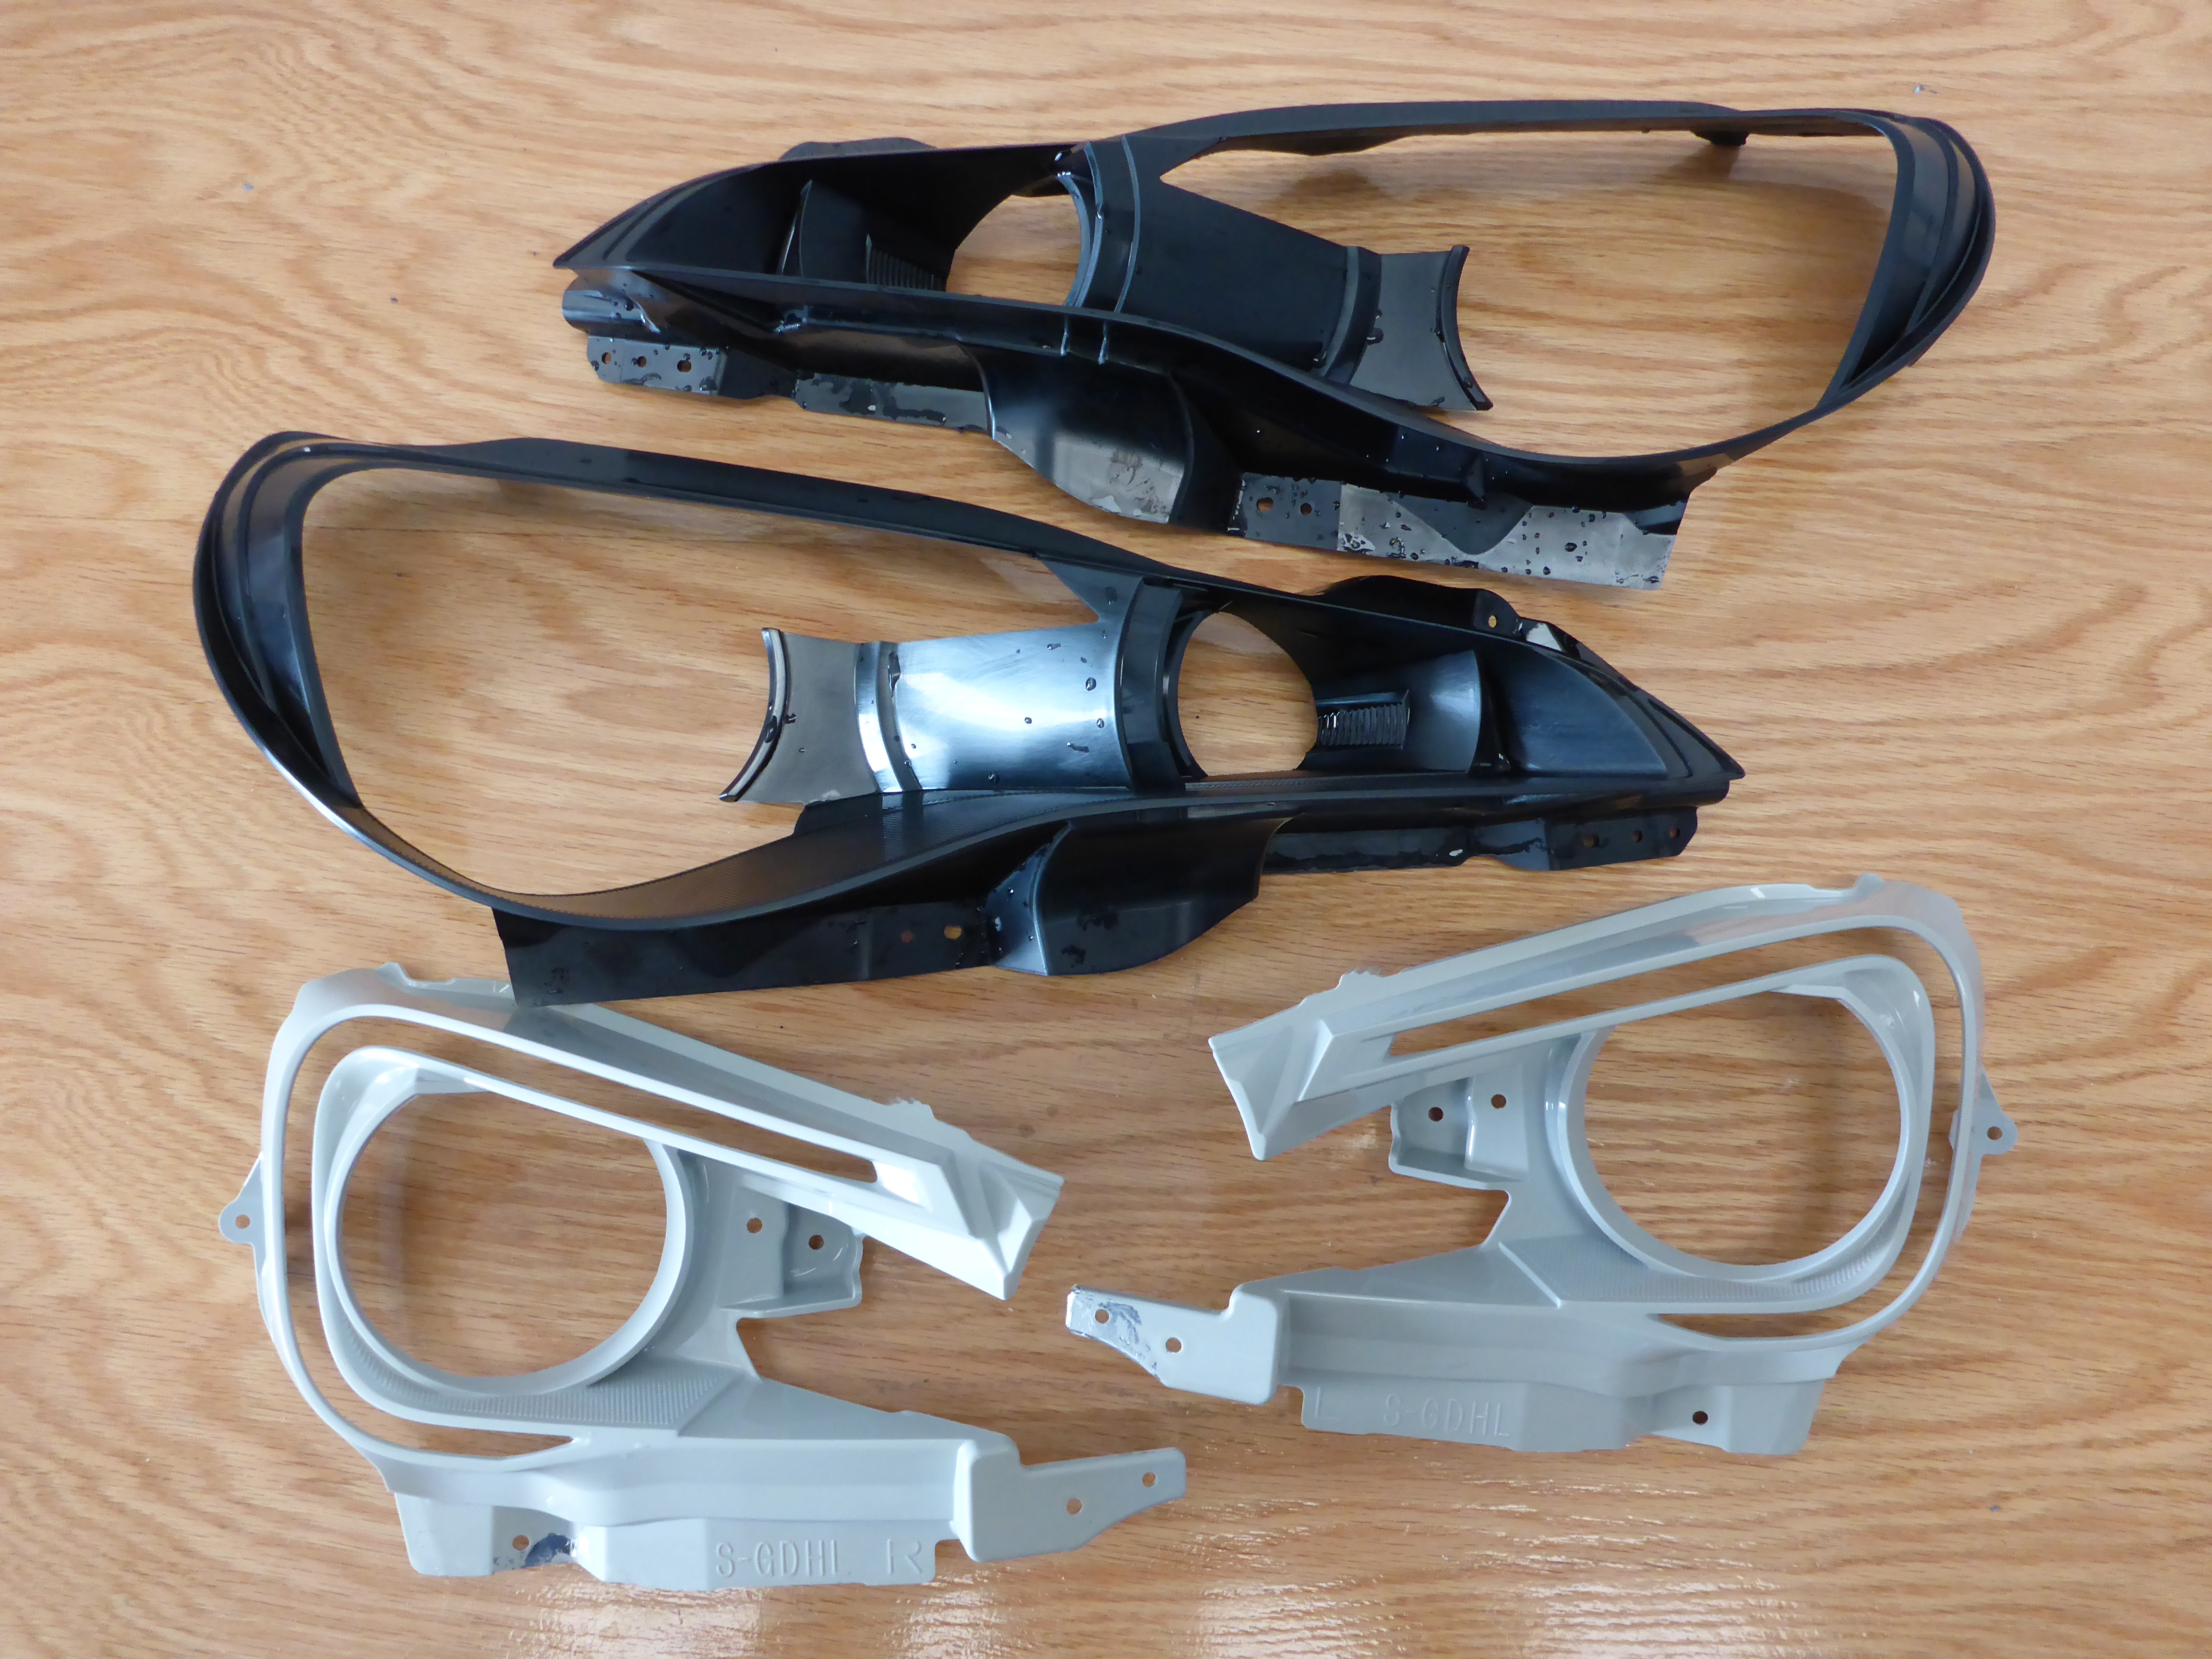
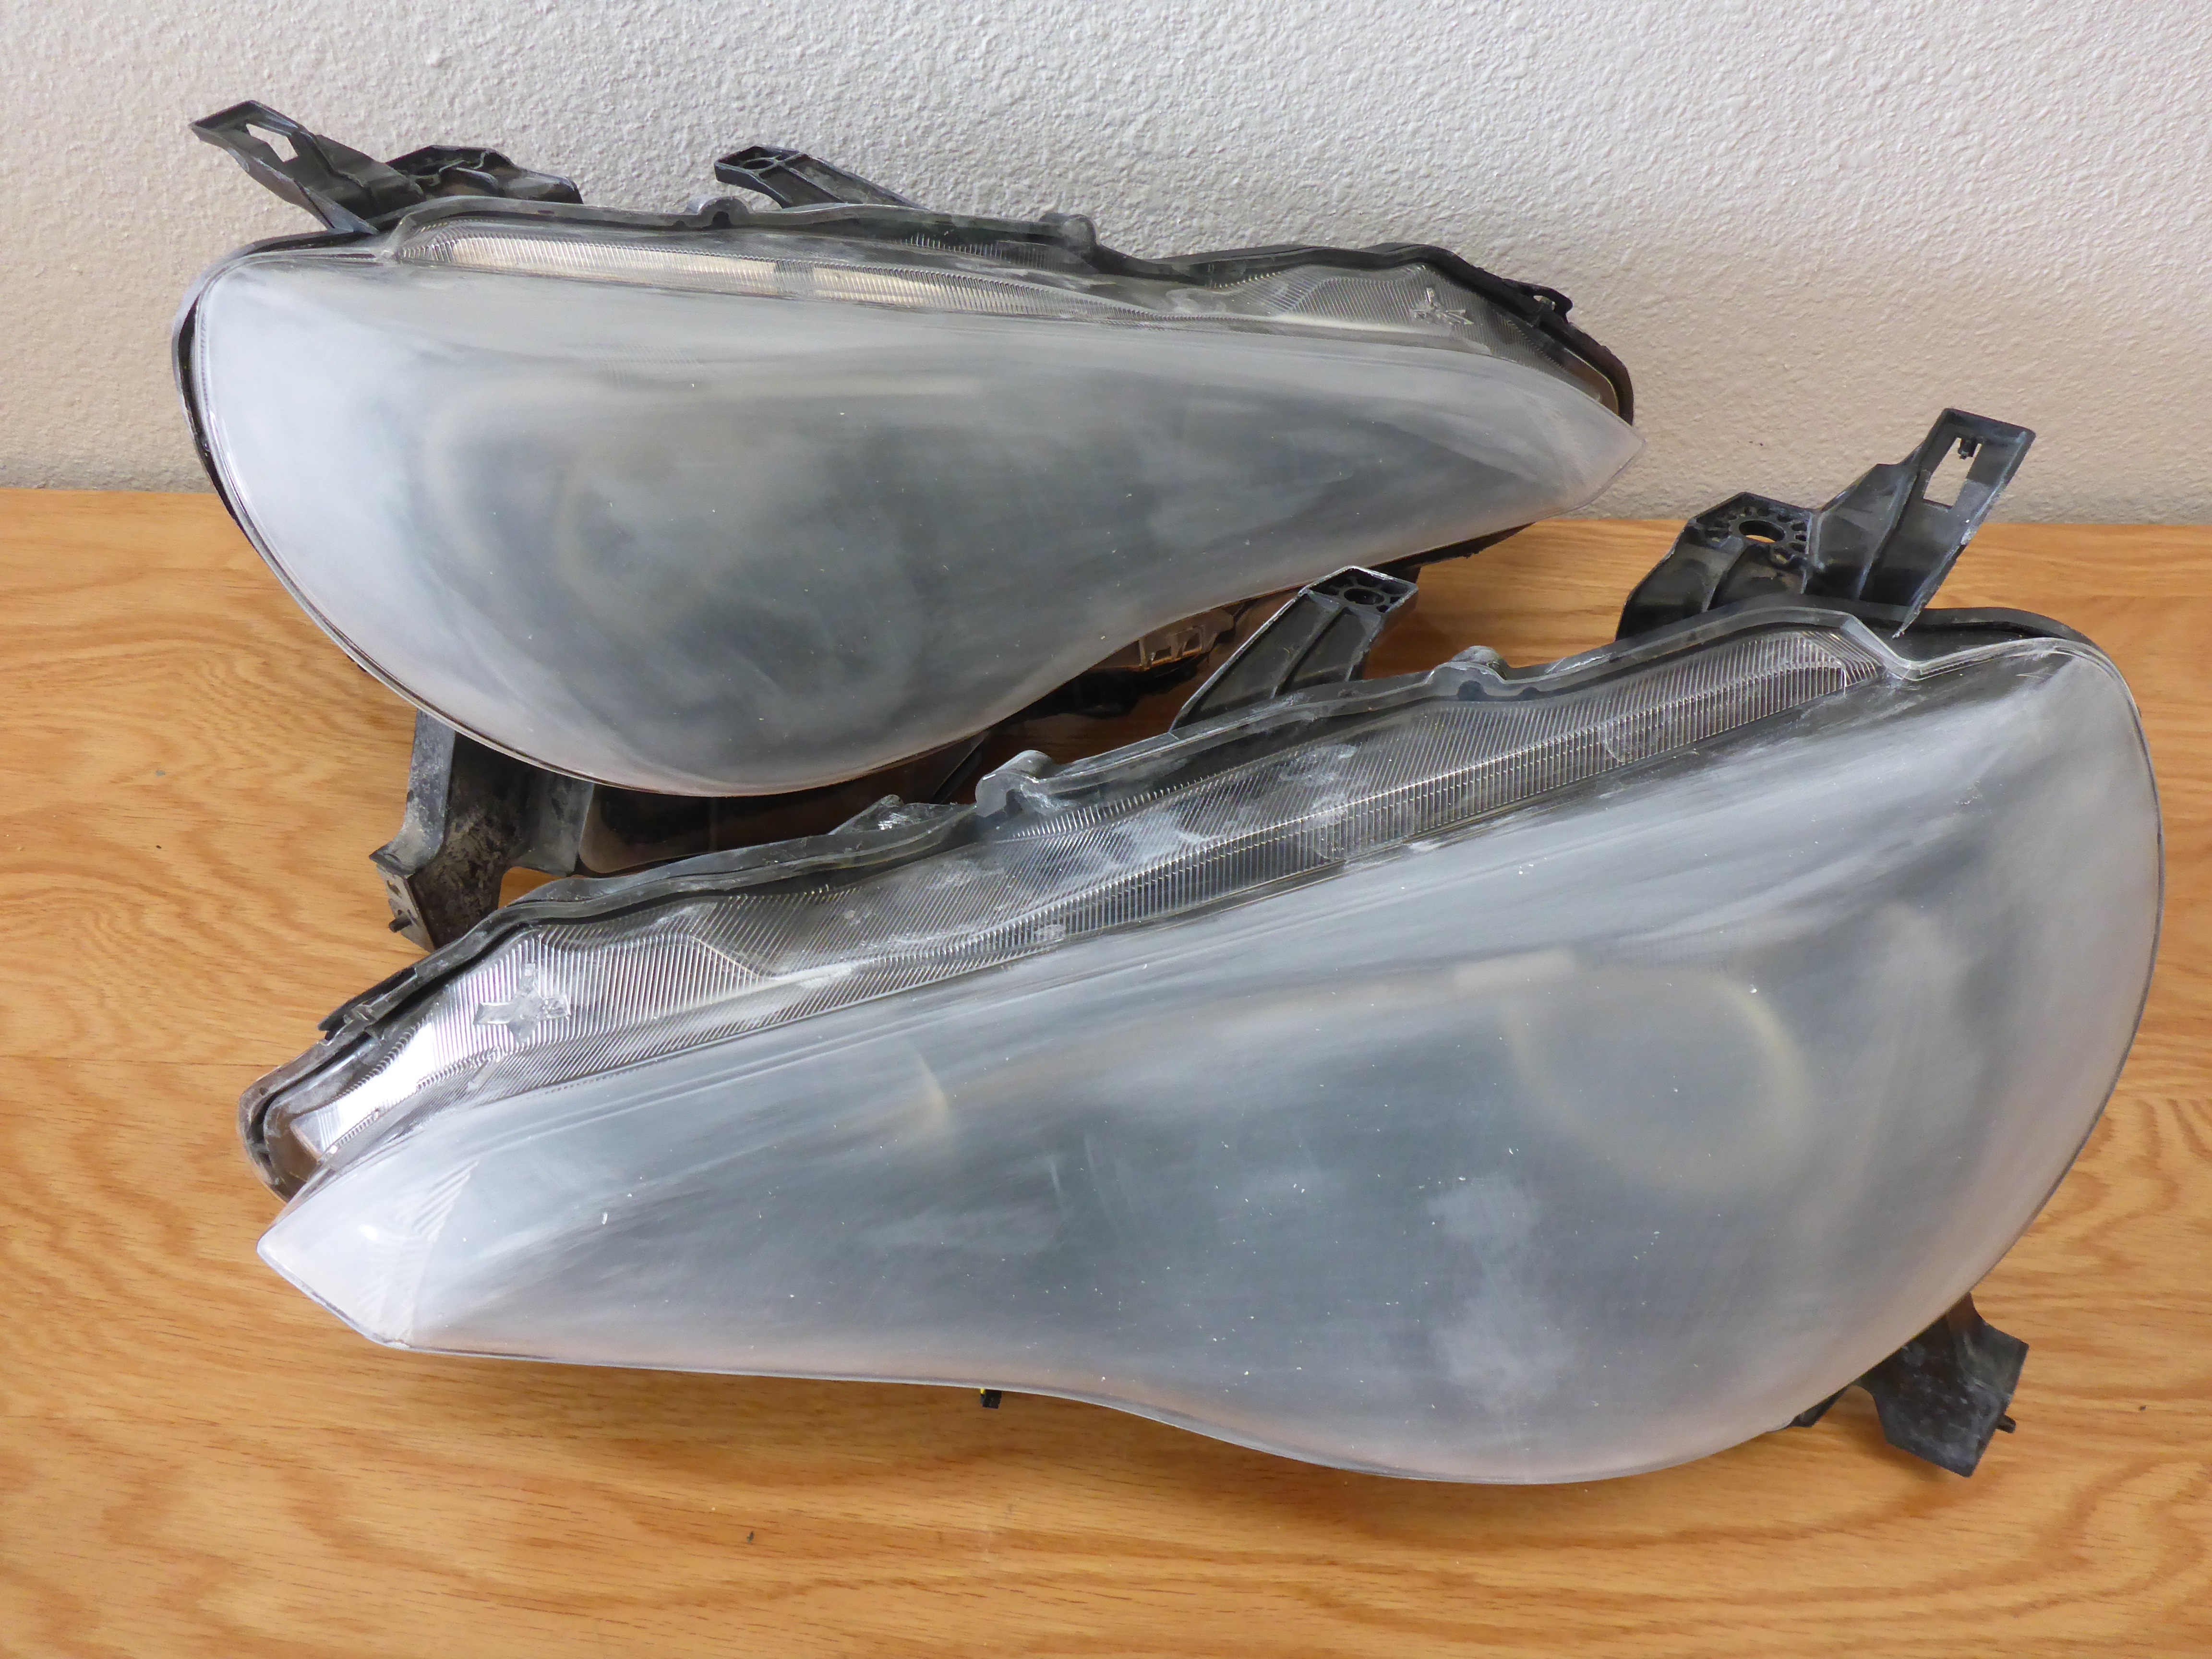
All righty, so then I put it back together and had to address the massive amounts of pitting/chips/scrapes to the front of the housing. Purchasing a new set of housings was cost-prohibitive for this car so we gotta work with what we got! First, a closeup of all the damage. Then, sanded down to try and level it off a bit and promote clear coat adhesion. Then automotive clear coat for the protection!
Since all of the wiring for these headlights was available right on the headlight itself, I pre-wired everything for the client. I’m such a nice guy!
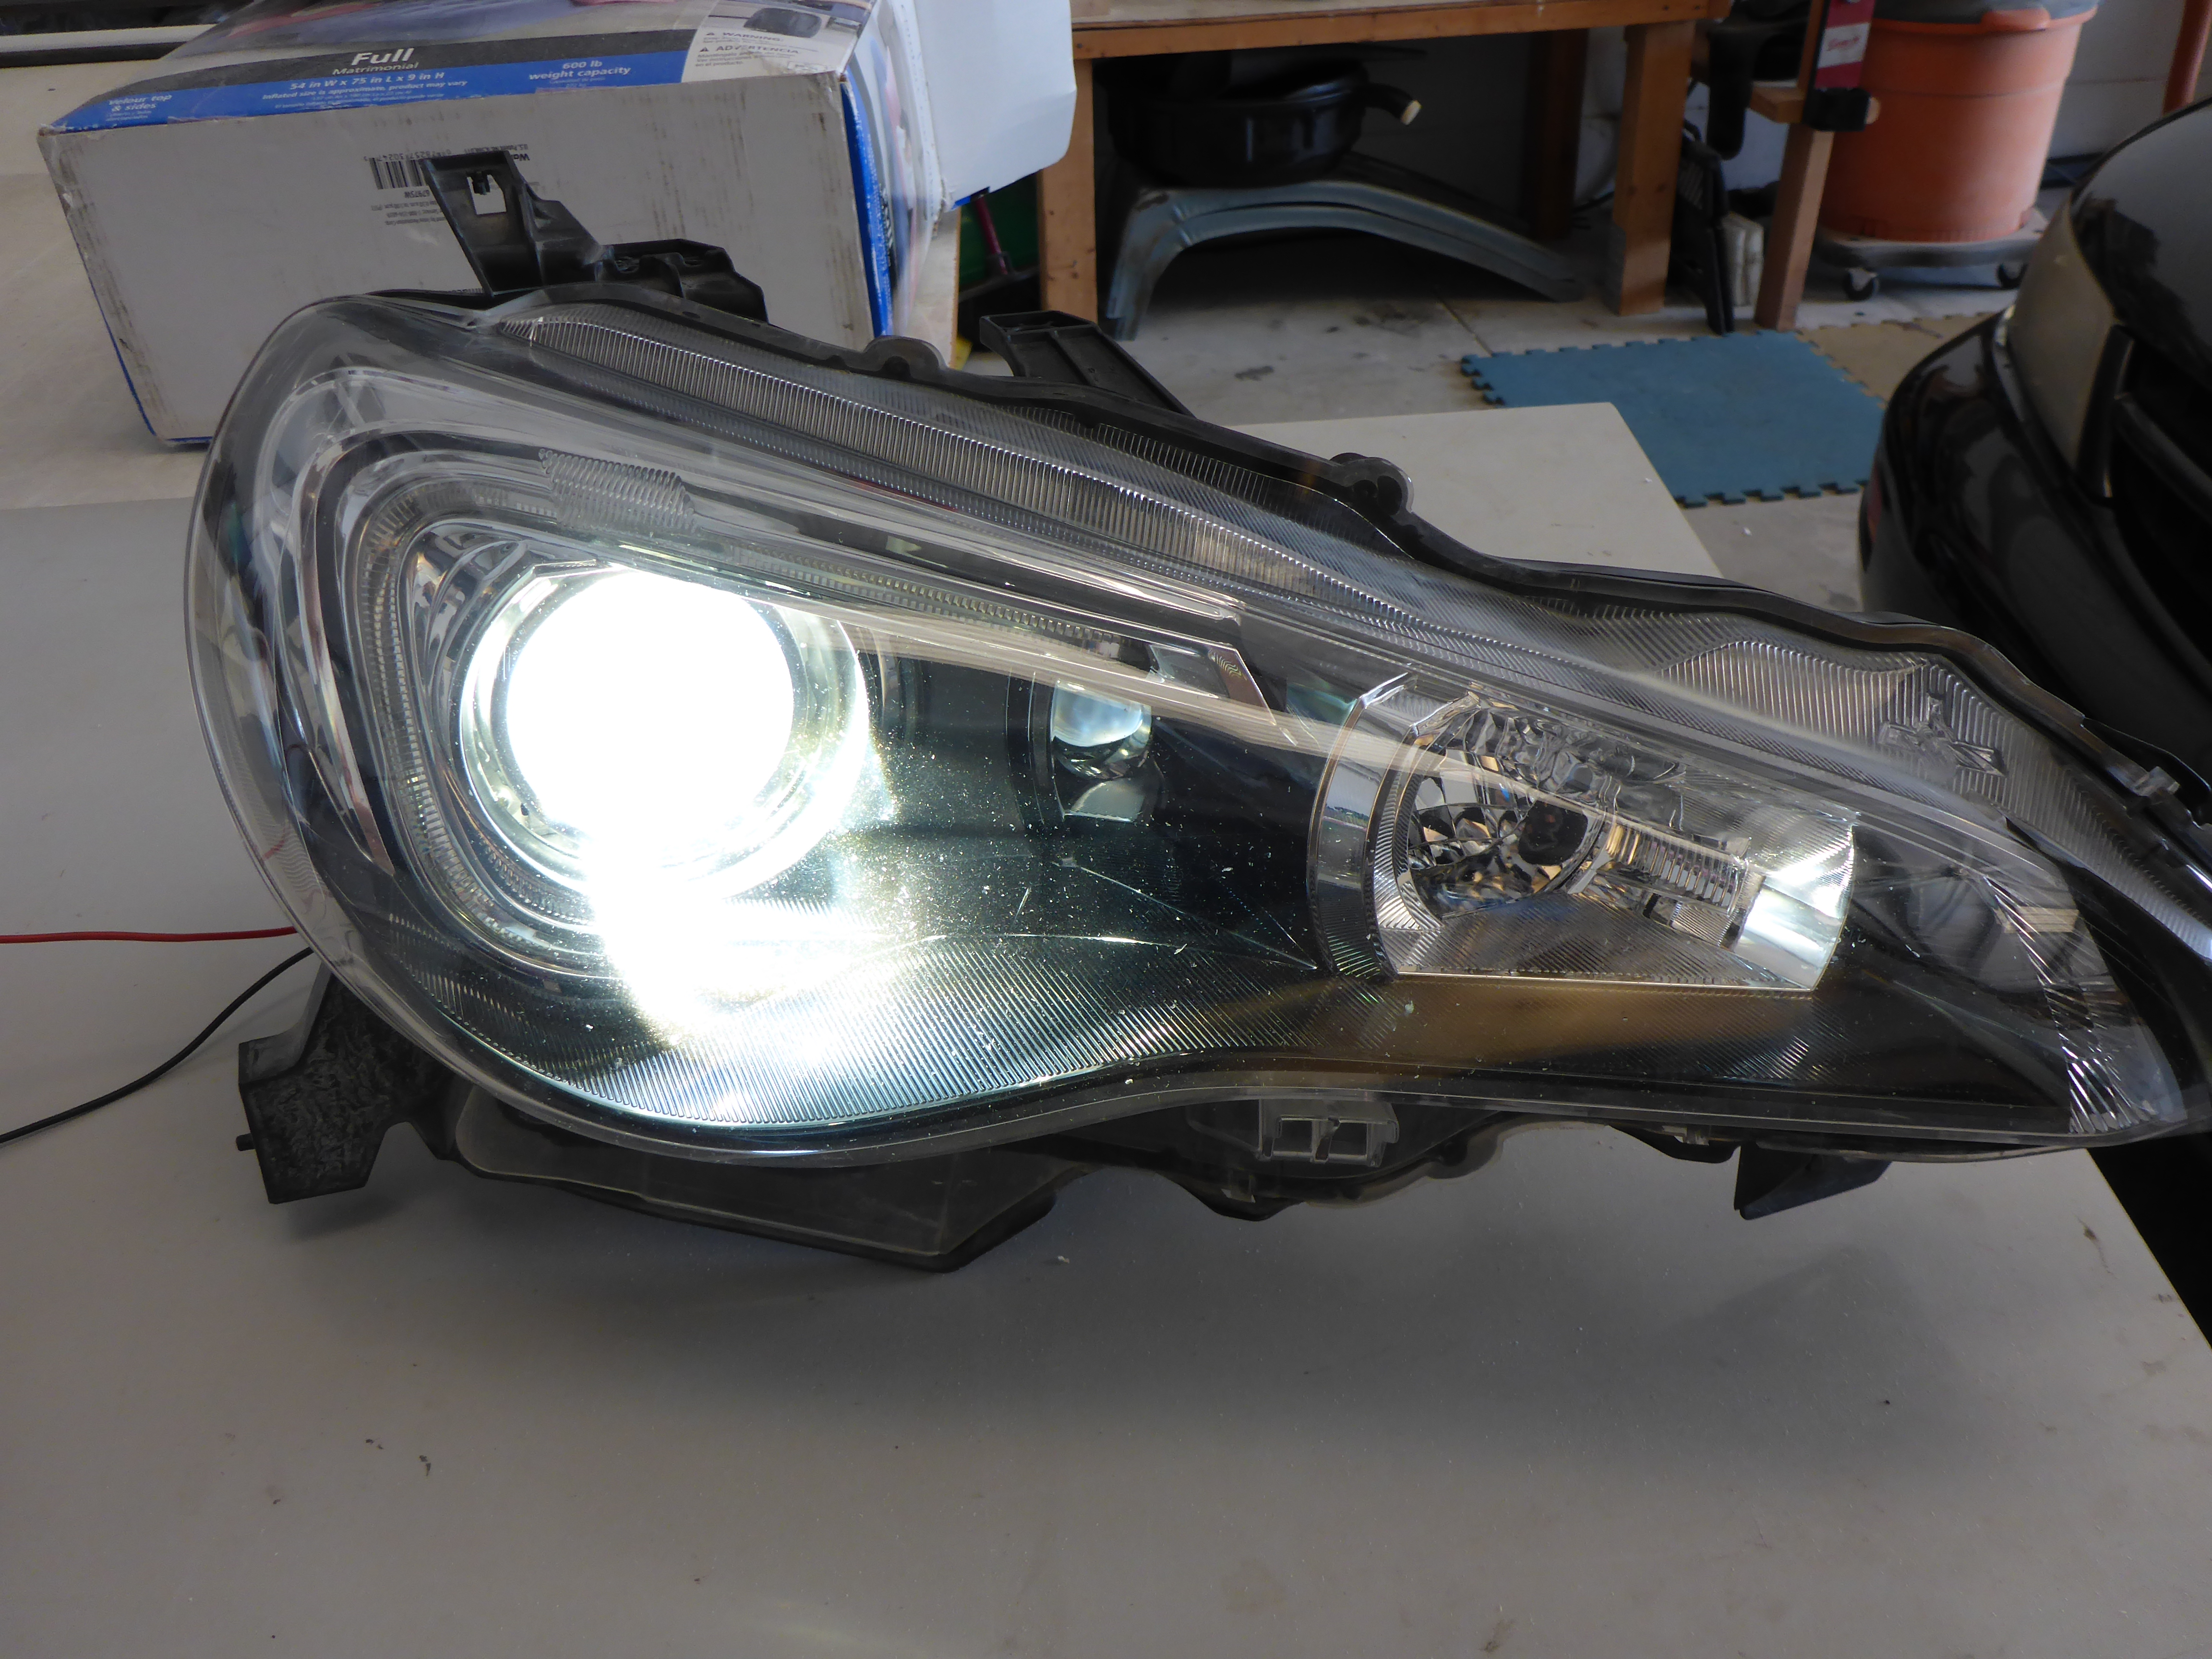
Also replaced the OEM headlight bulb and upgraded it to a Osram Xenarc 66440 CBI D4S Bulb. Moar powah!
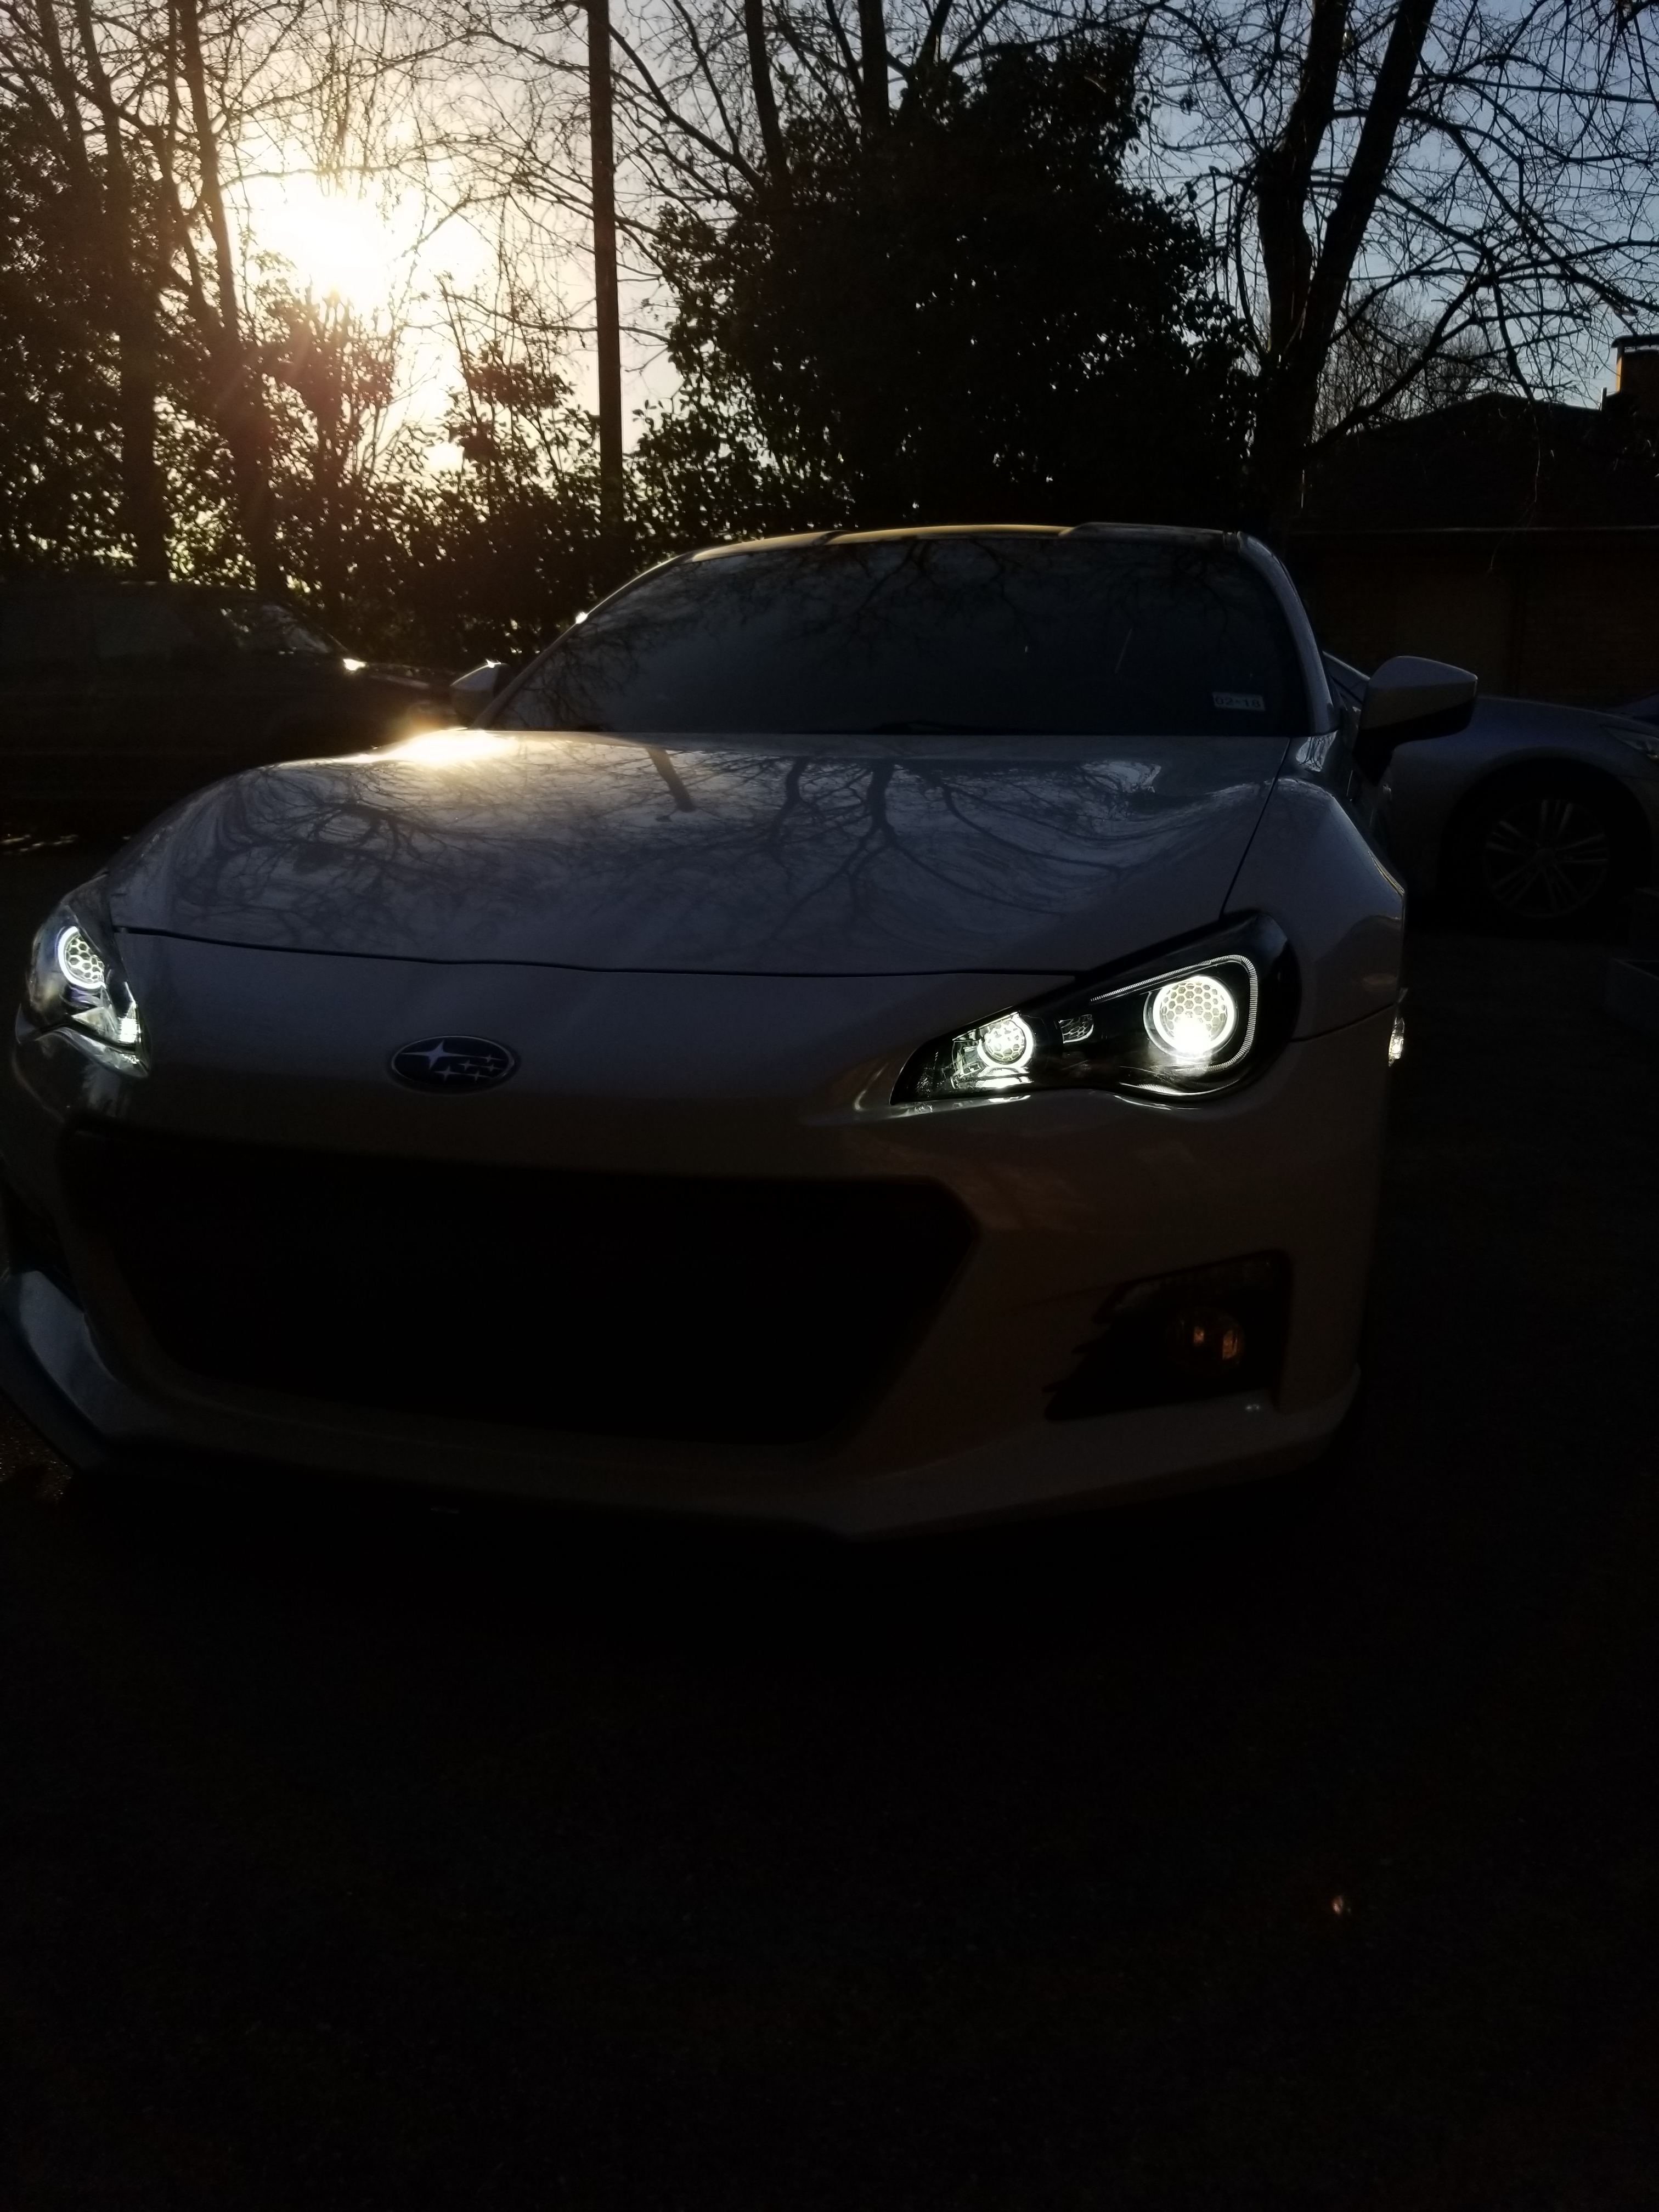
Testing out both low beam patterns of the new upgraded main headlight CBI bulb and the Matchbox fog light Morimoto bulb. The fog light will have no step in the cutoff and should be significantly lower to have pure foreground performance. As you can see on the wall…

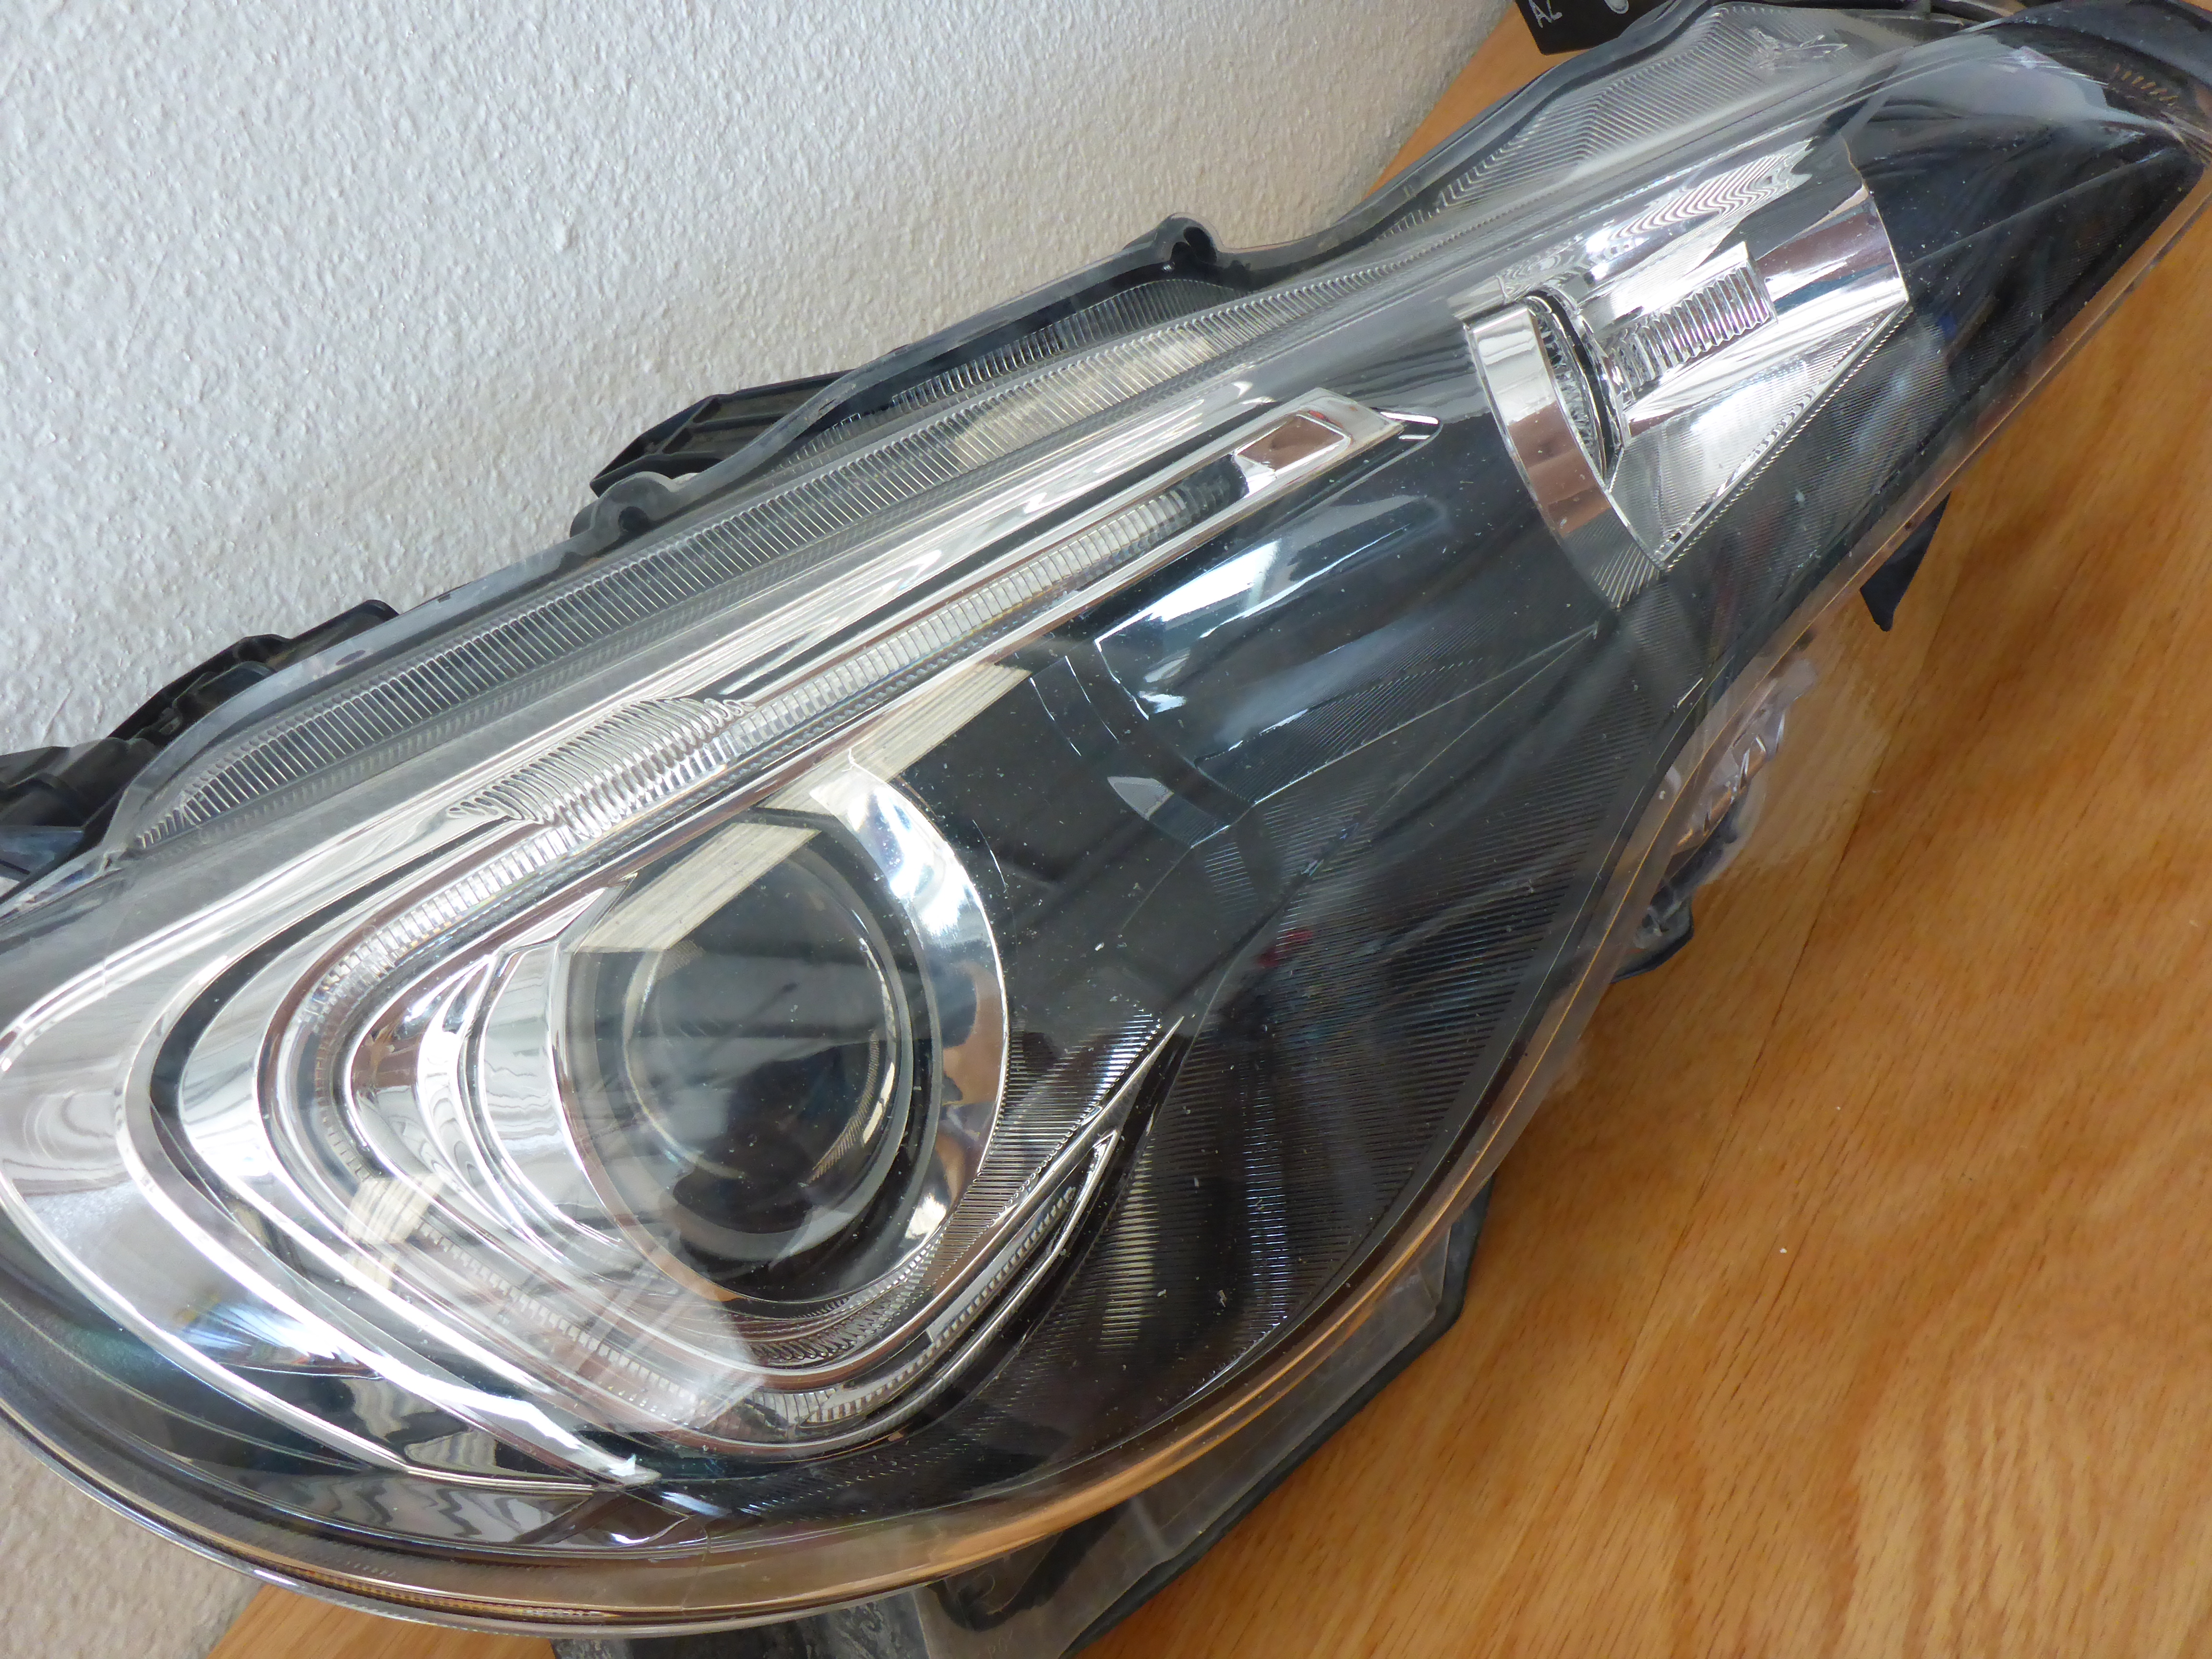
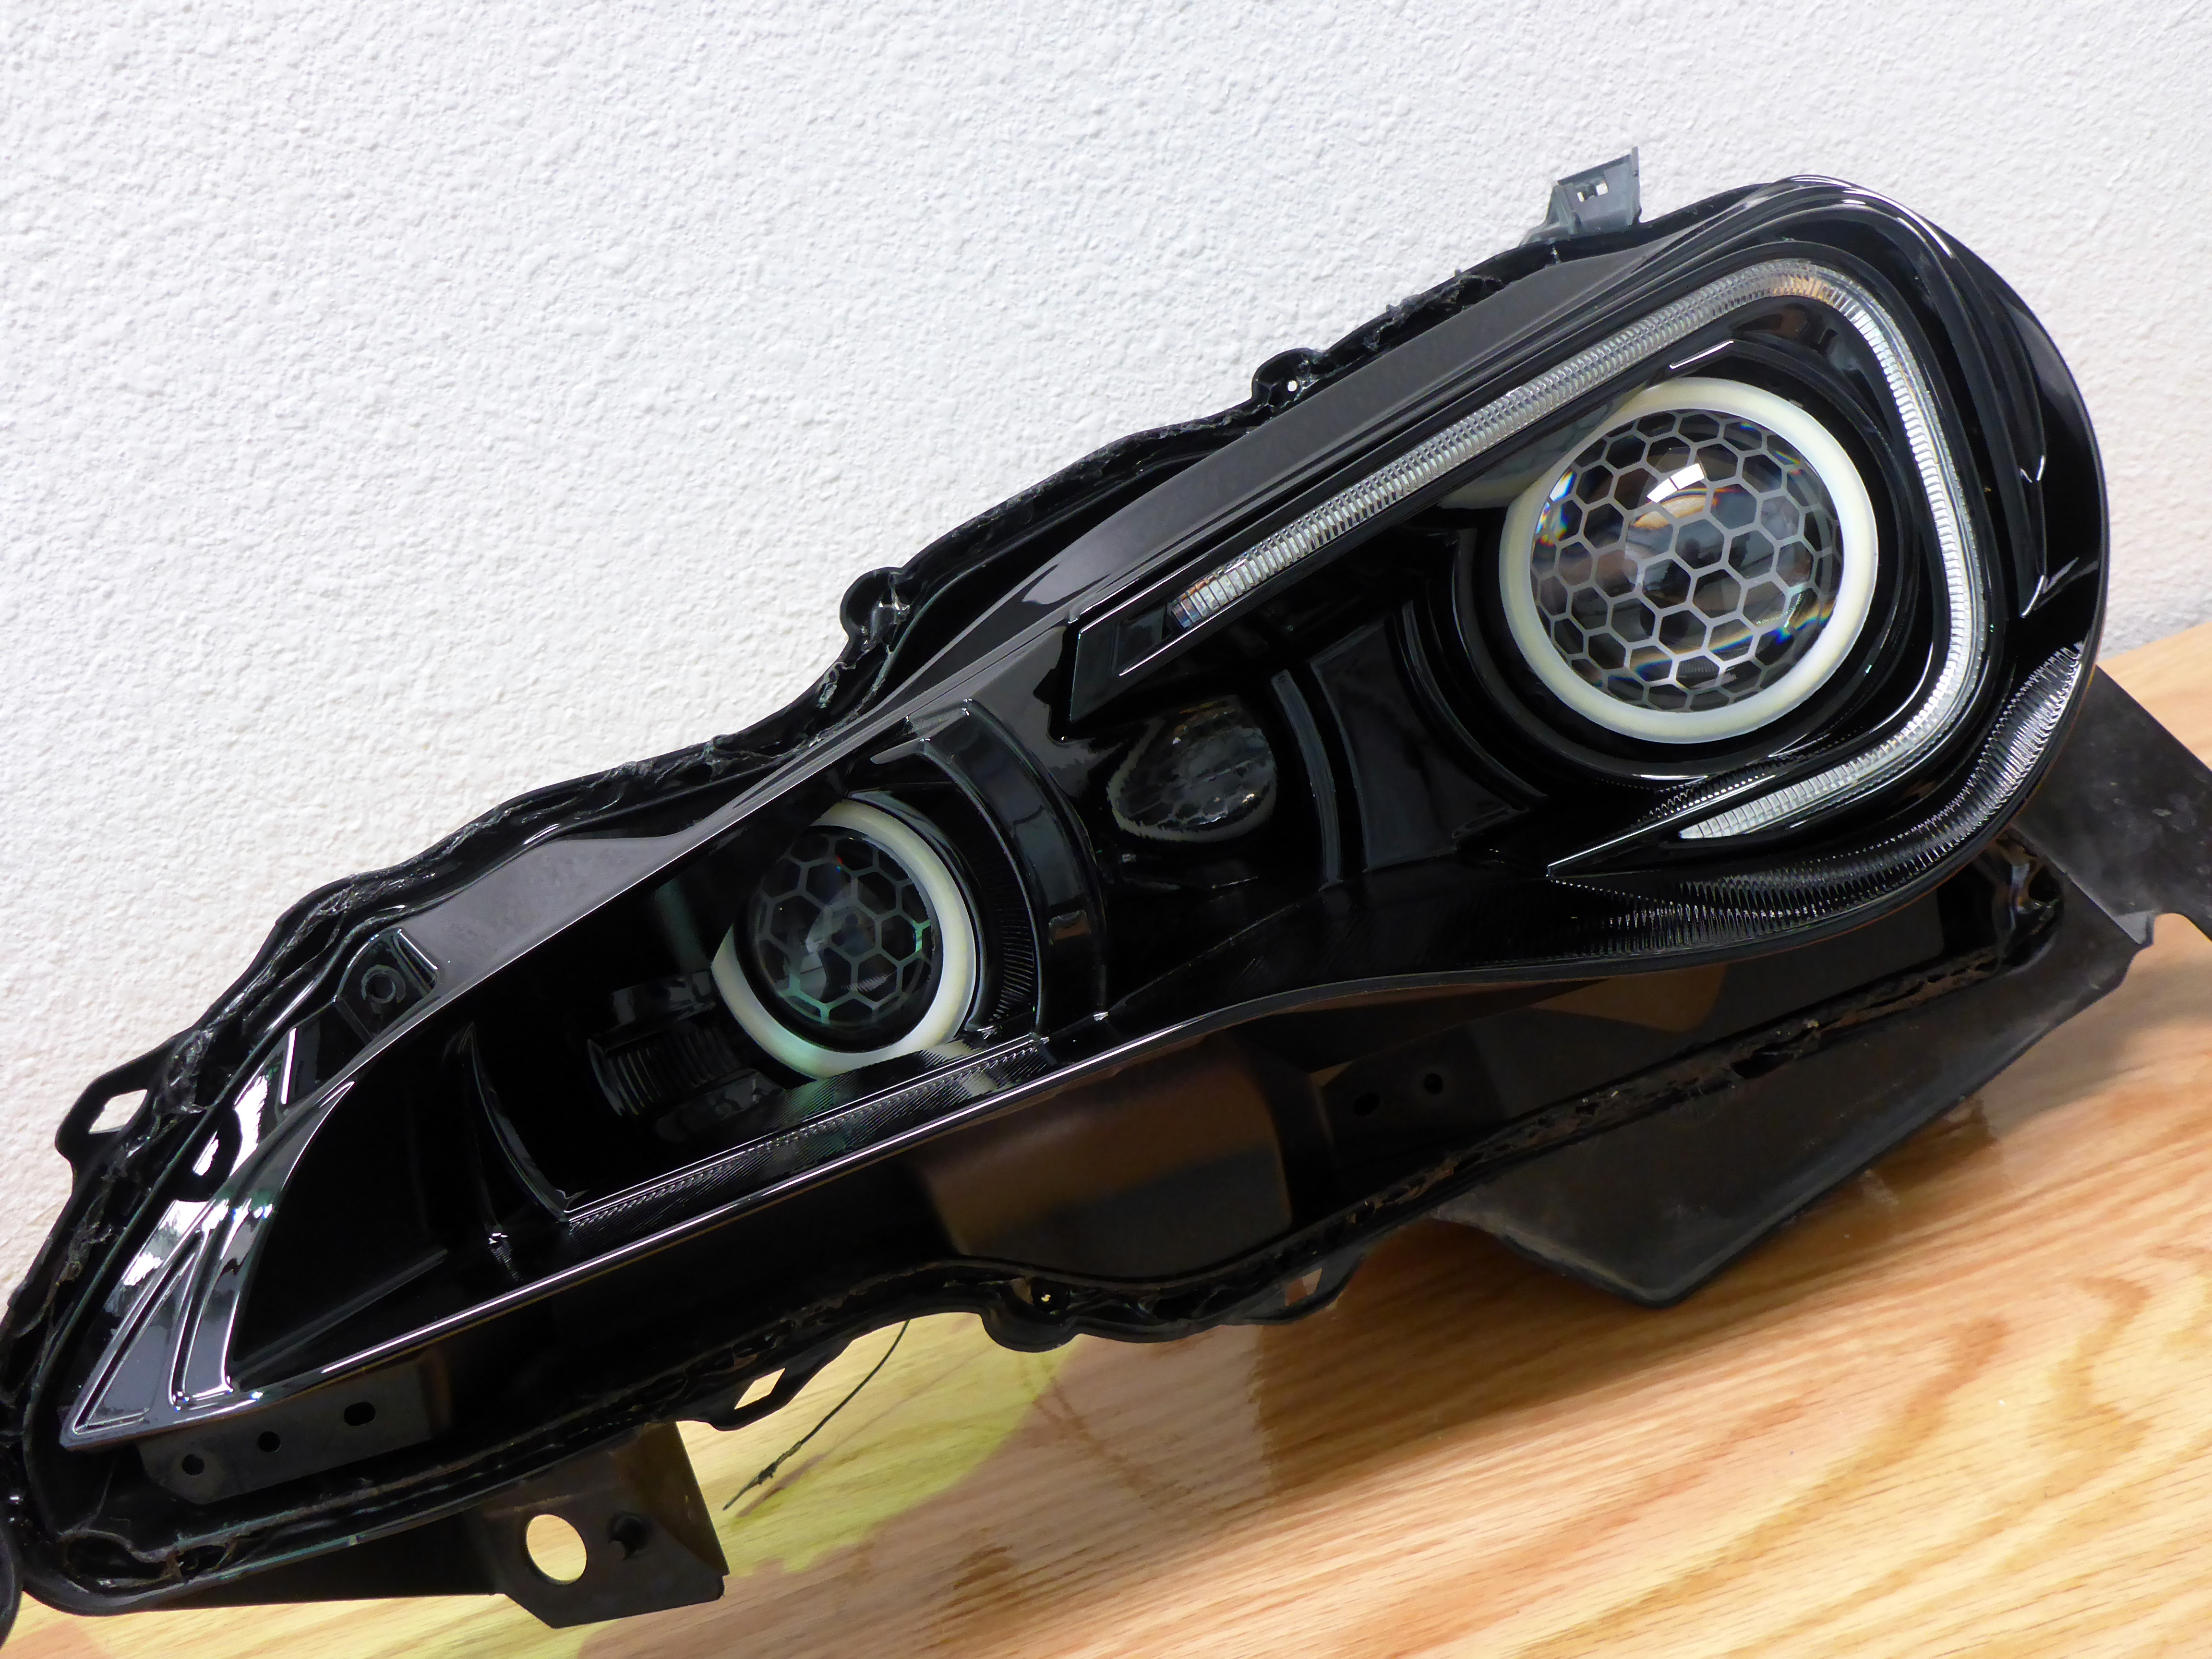
Final beauty shots since everything is all assembled, tested, and completed now!

And for super funsies, let’s throw down some customer supplied installed pictures!

Oh baby oh baby oh, that wraps up this install. Have yourselves a wonderful day!
-13-