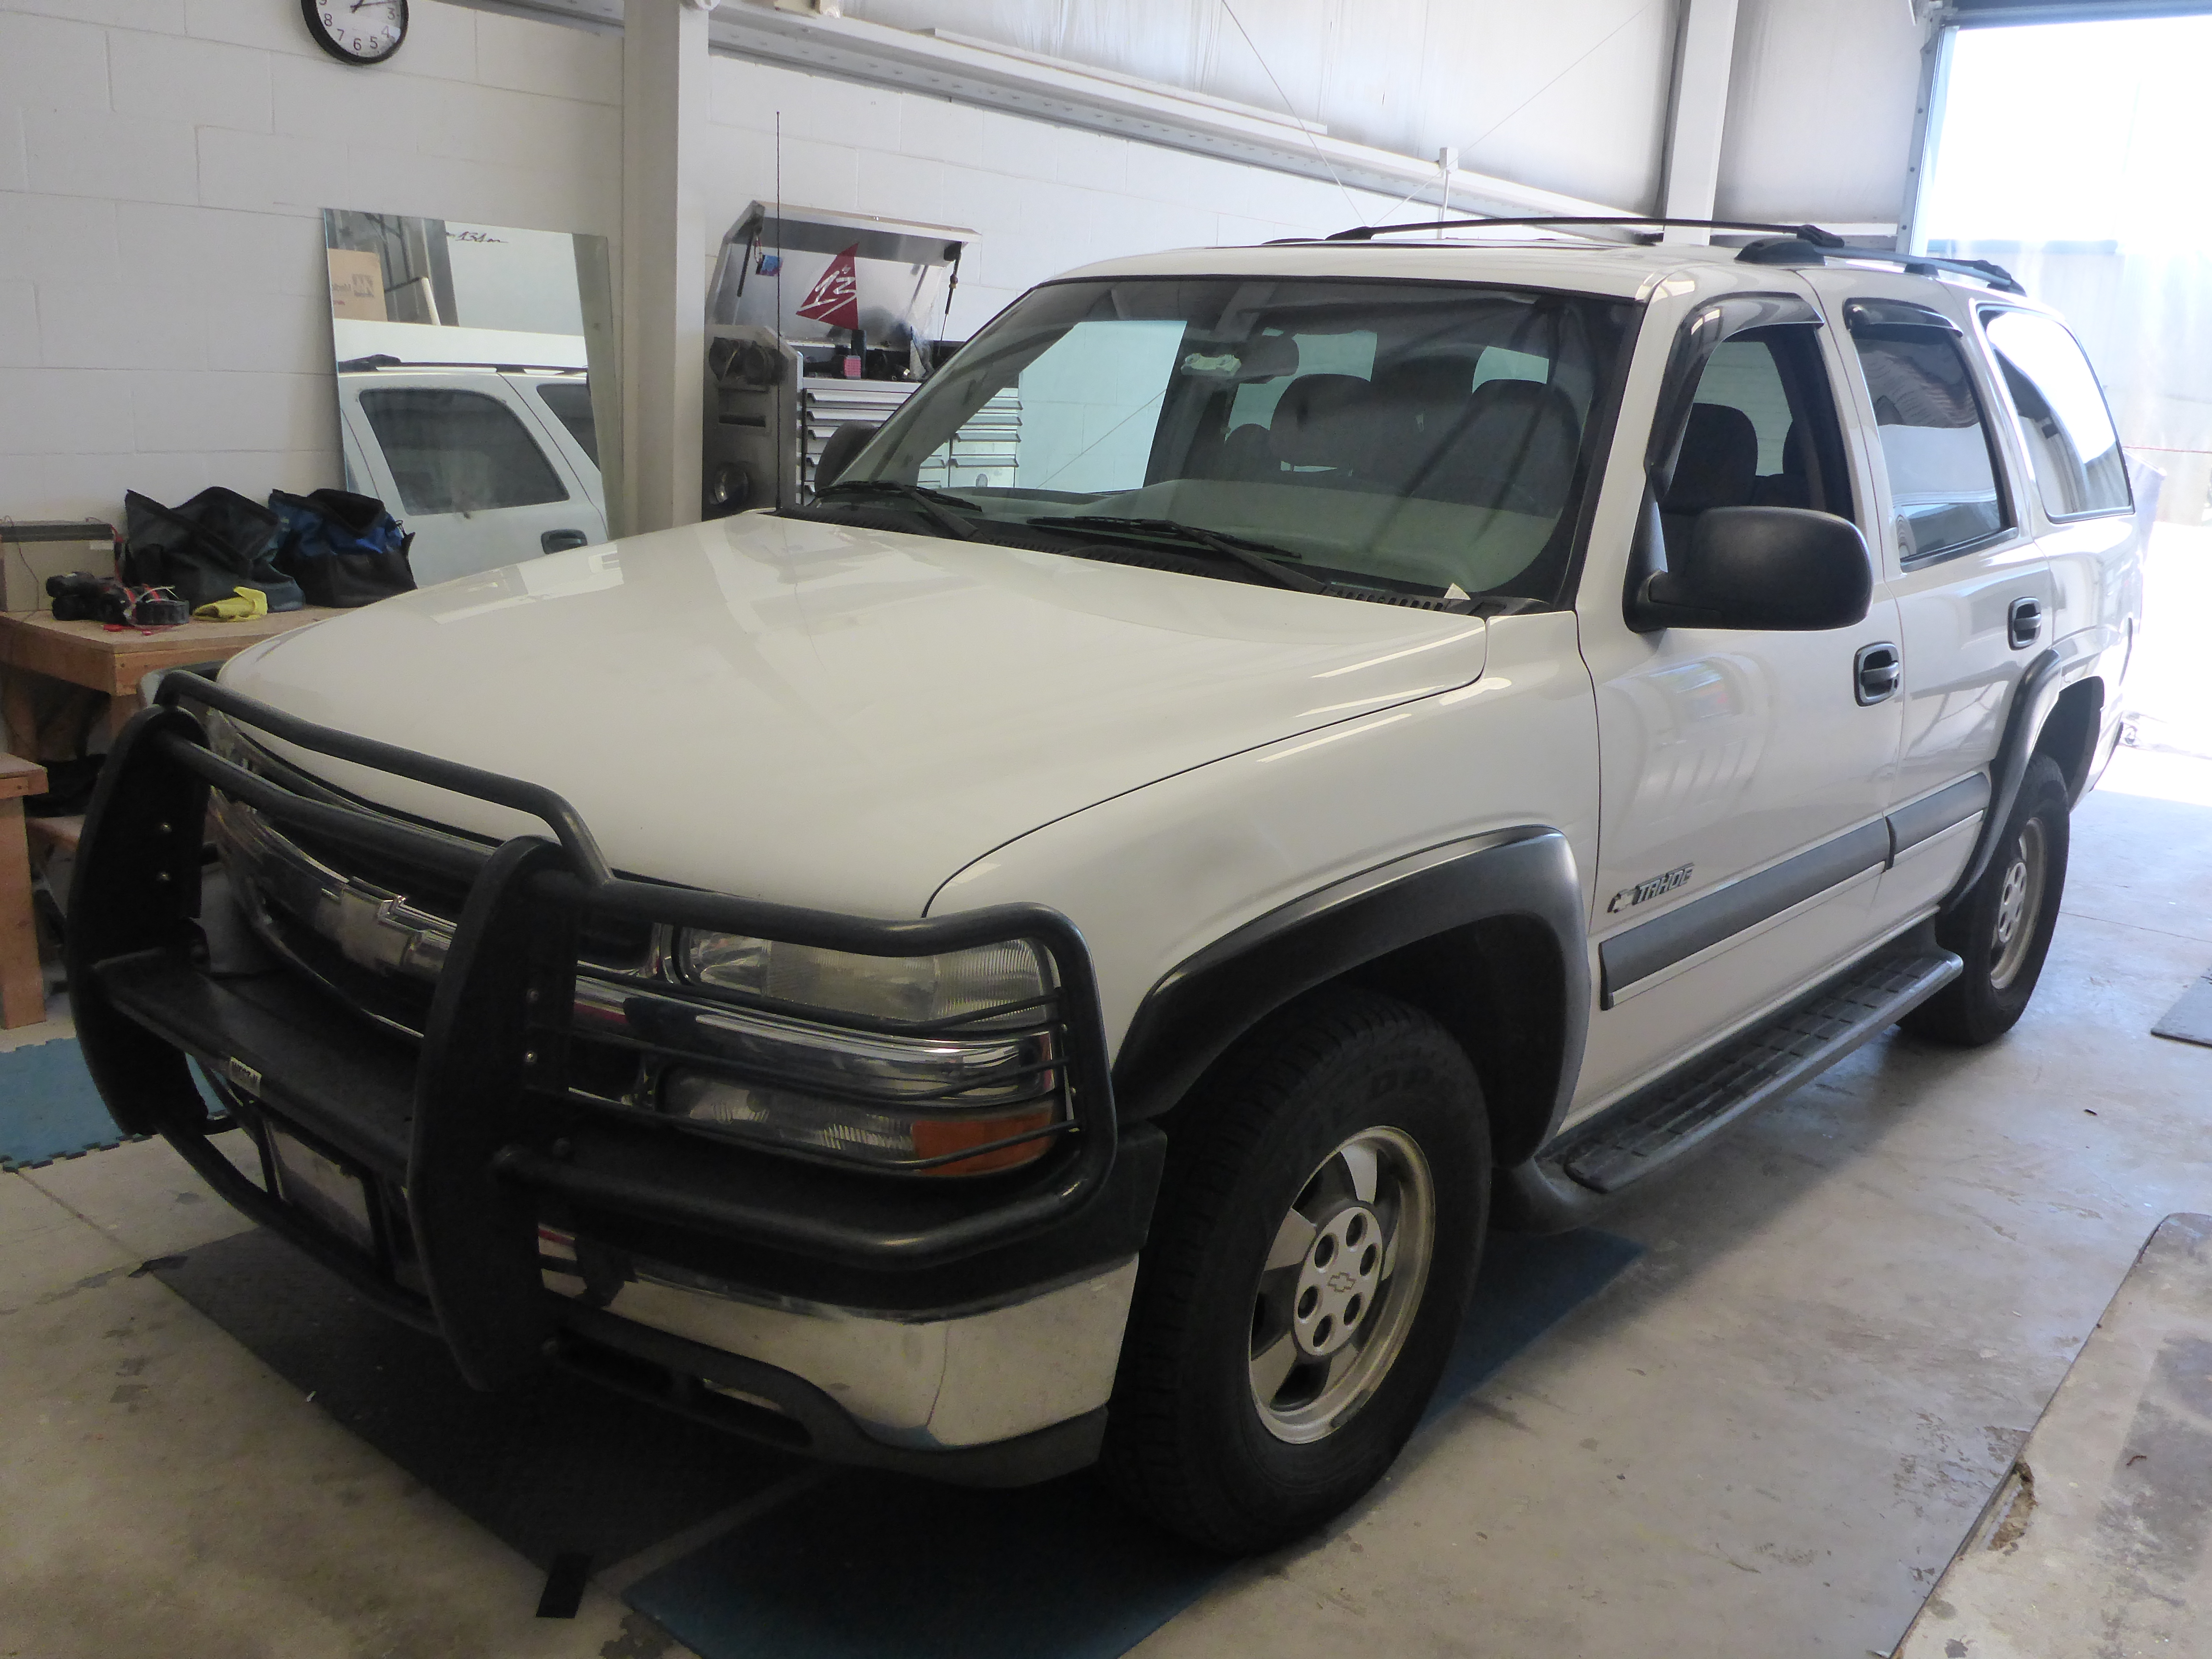
2003 Chevrolet Tahoe
This 2003 Chevy Tahoe came to me with some problems. The headliner sagging the most noticeable yet the least concerning. There was an aftermarket sunroof installed that was leaking and a questionable aftermarket drop down monitor. I knew that fixing the headliner would require fixing the other issues behind the headliner. Cool. I like a good challenge. Let’s get to work!
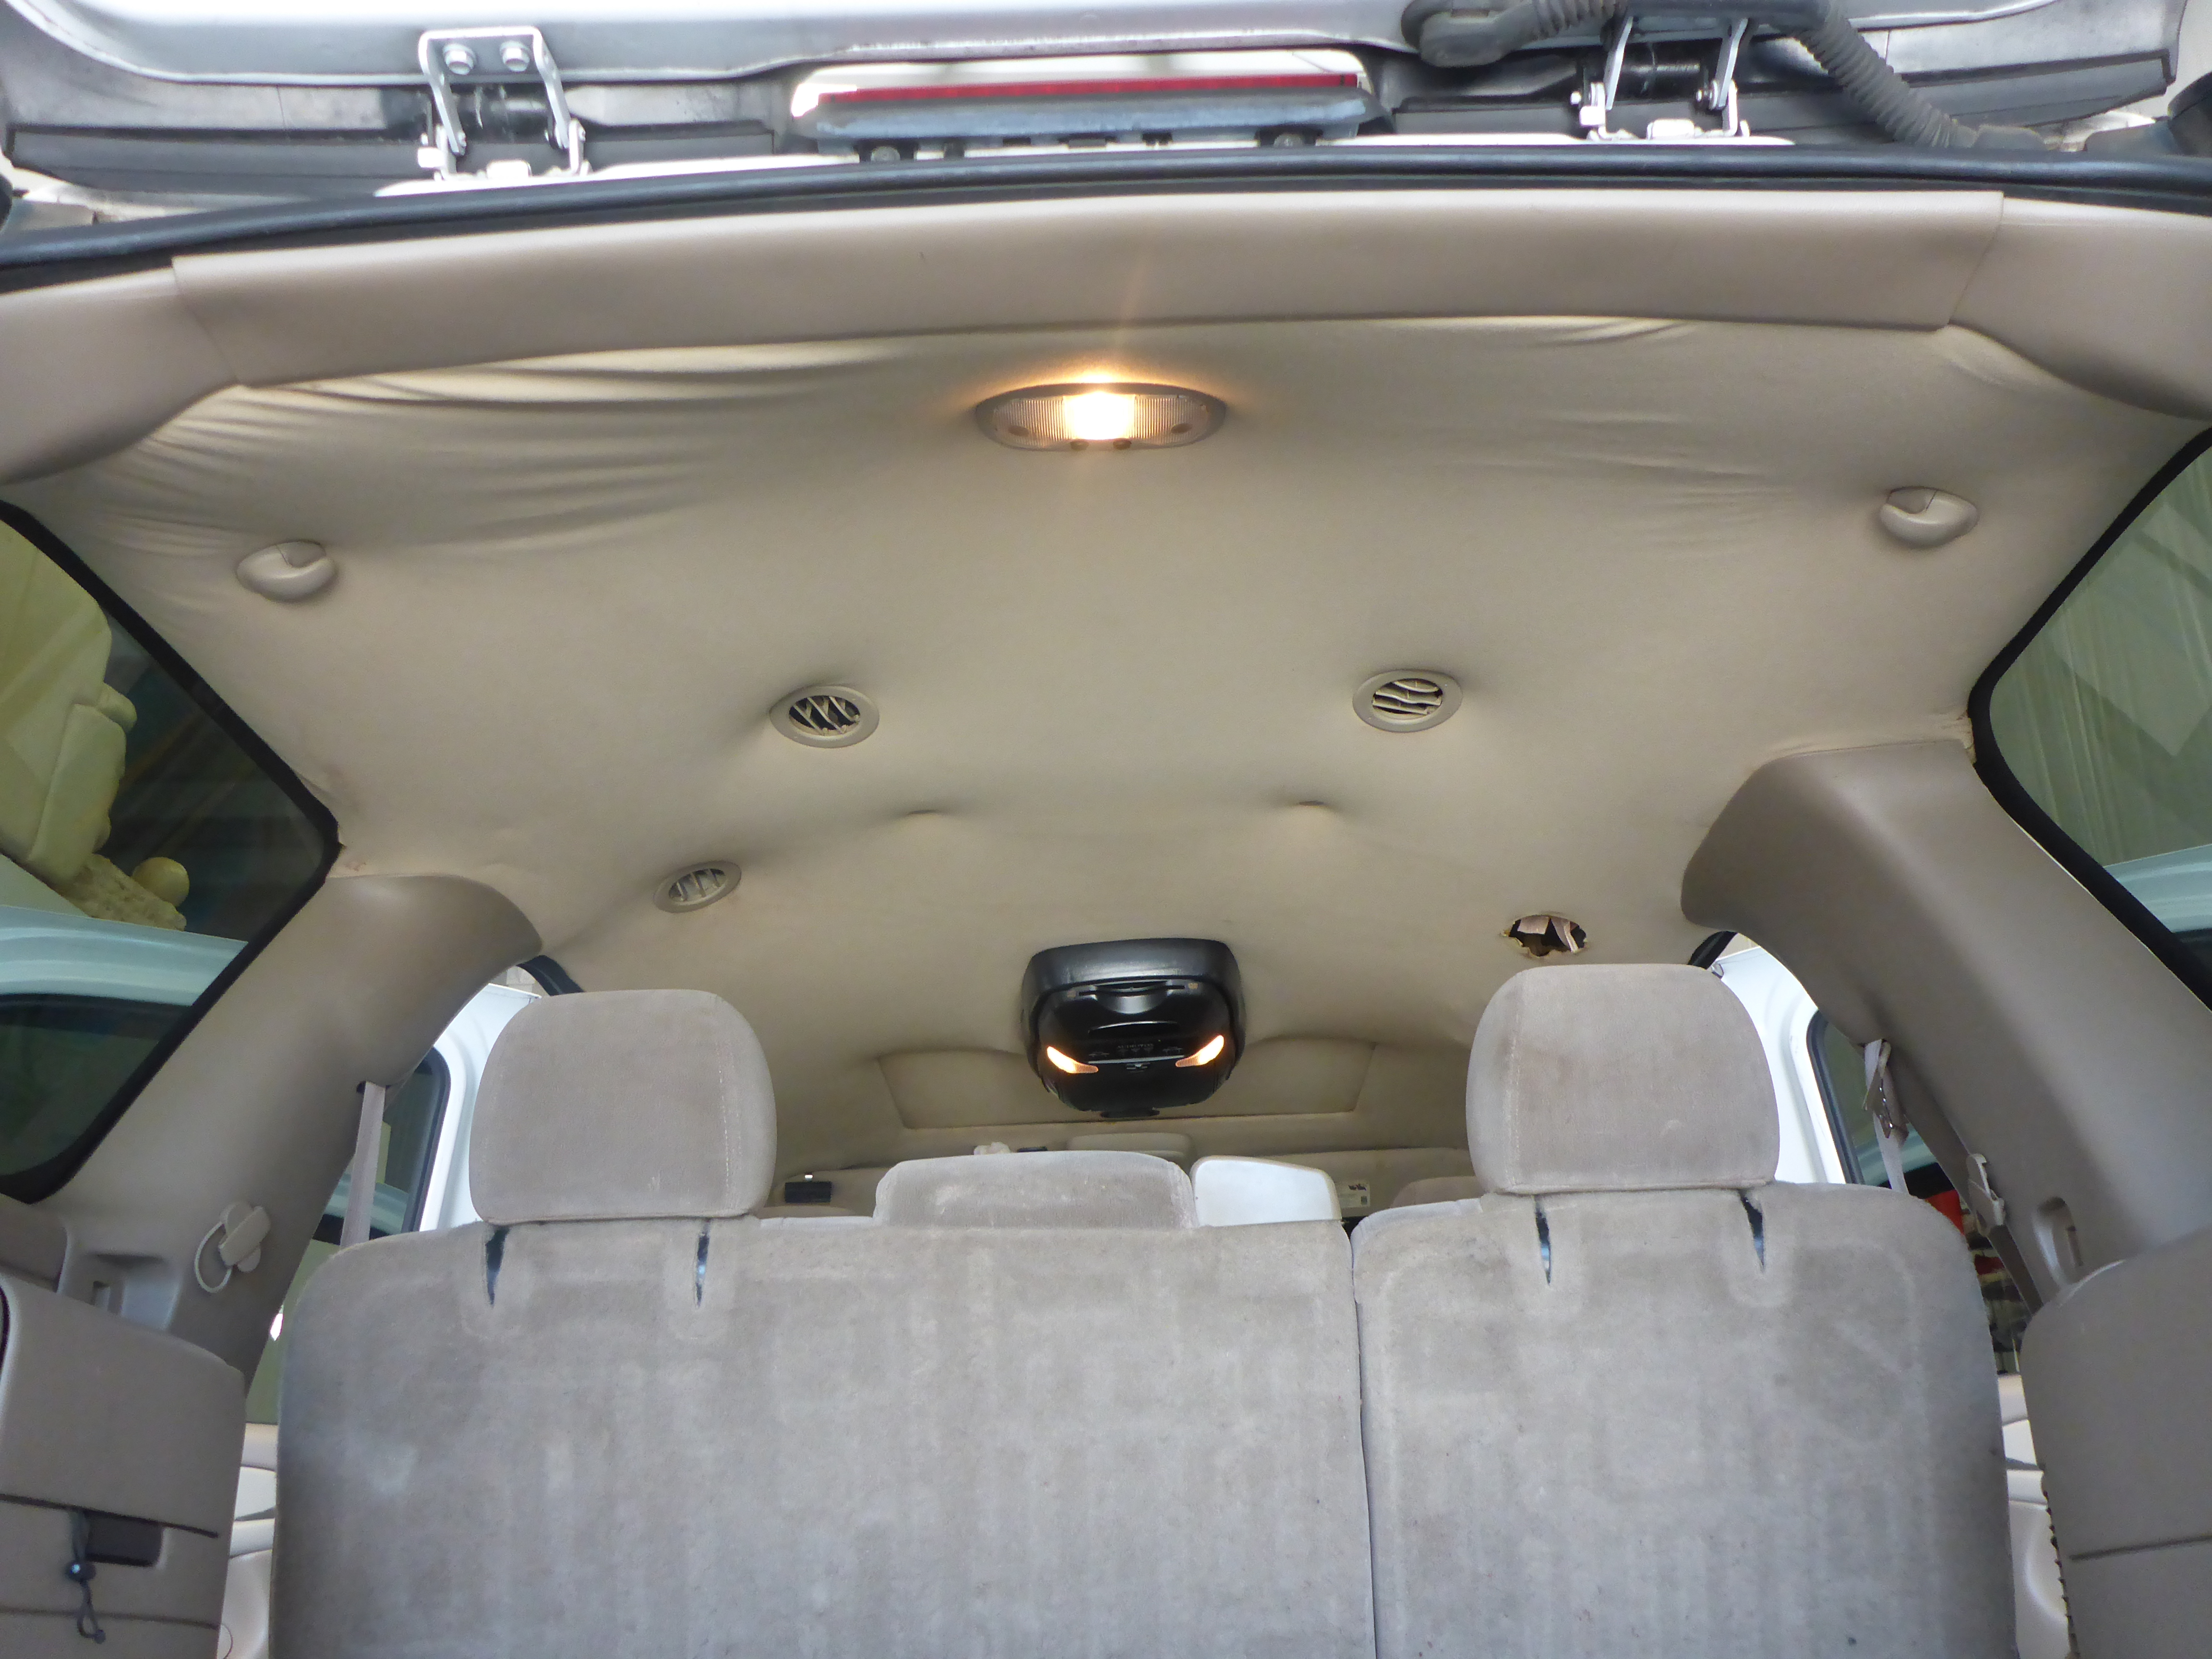
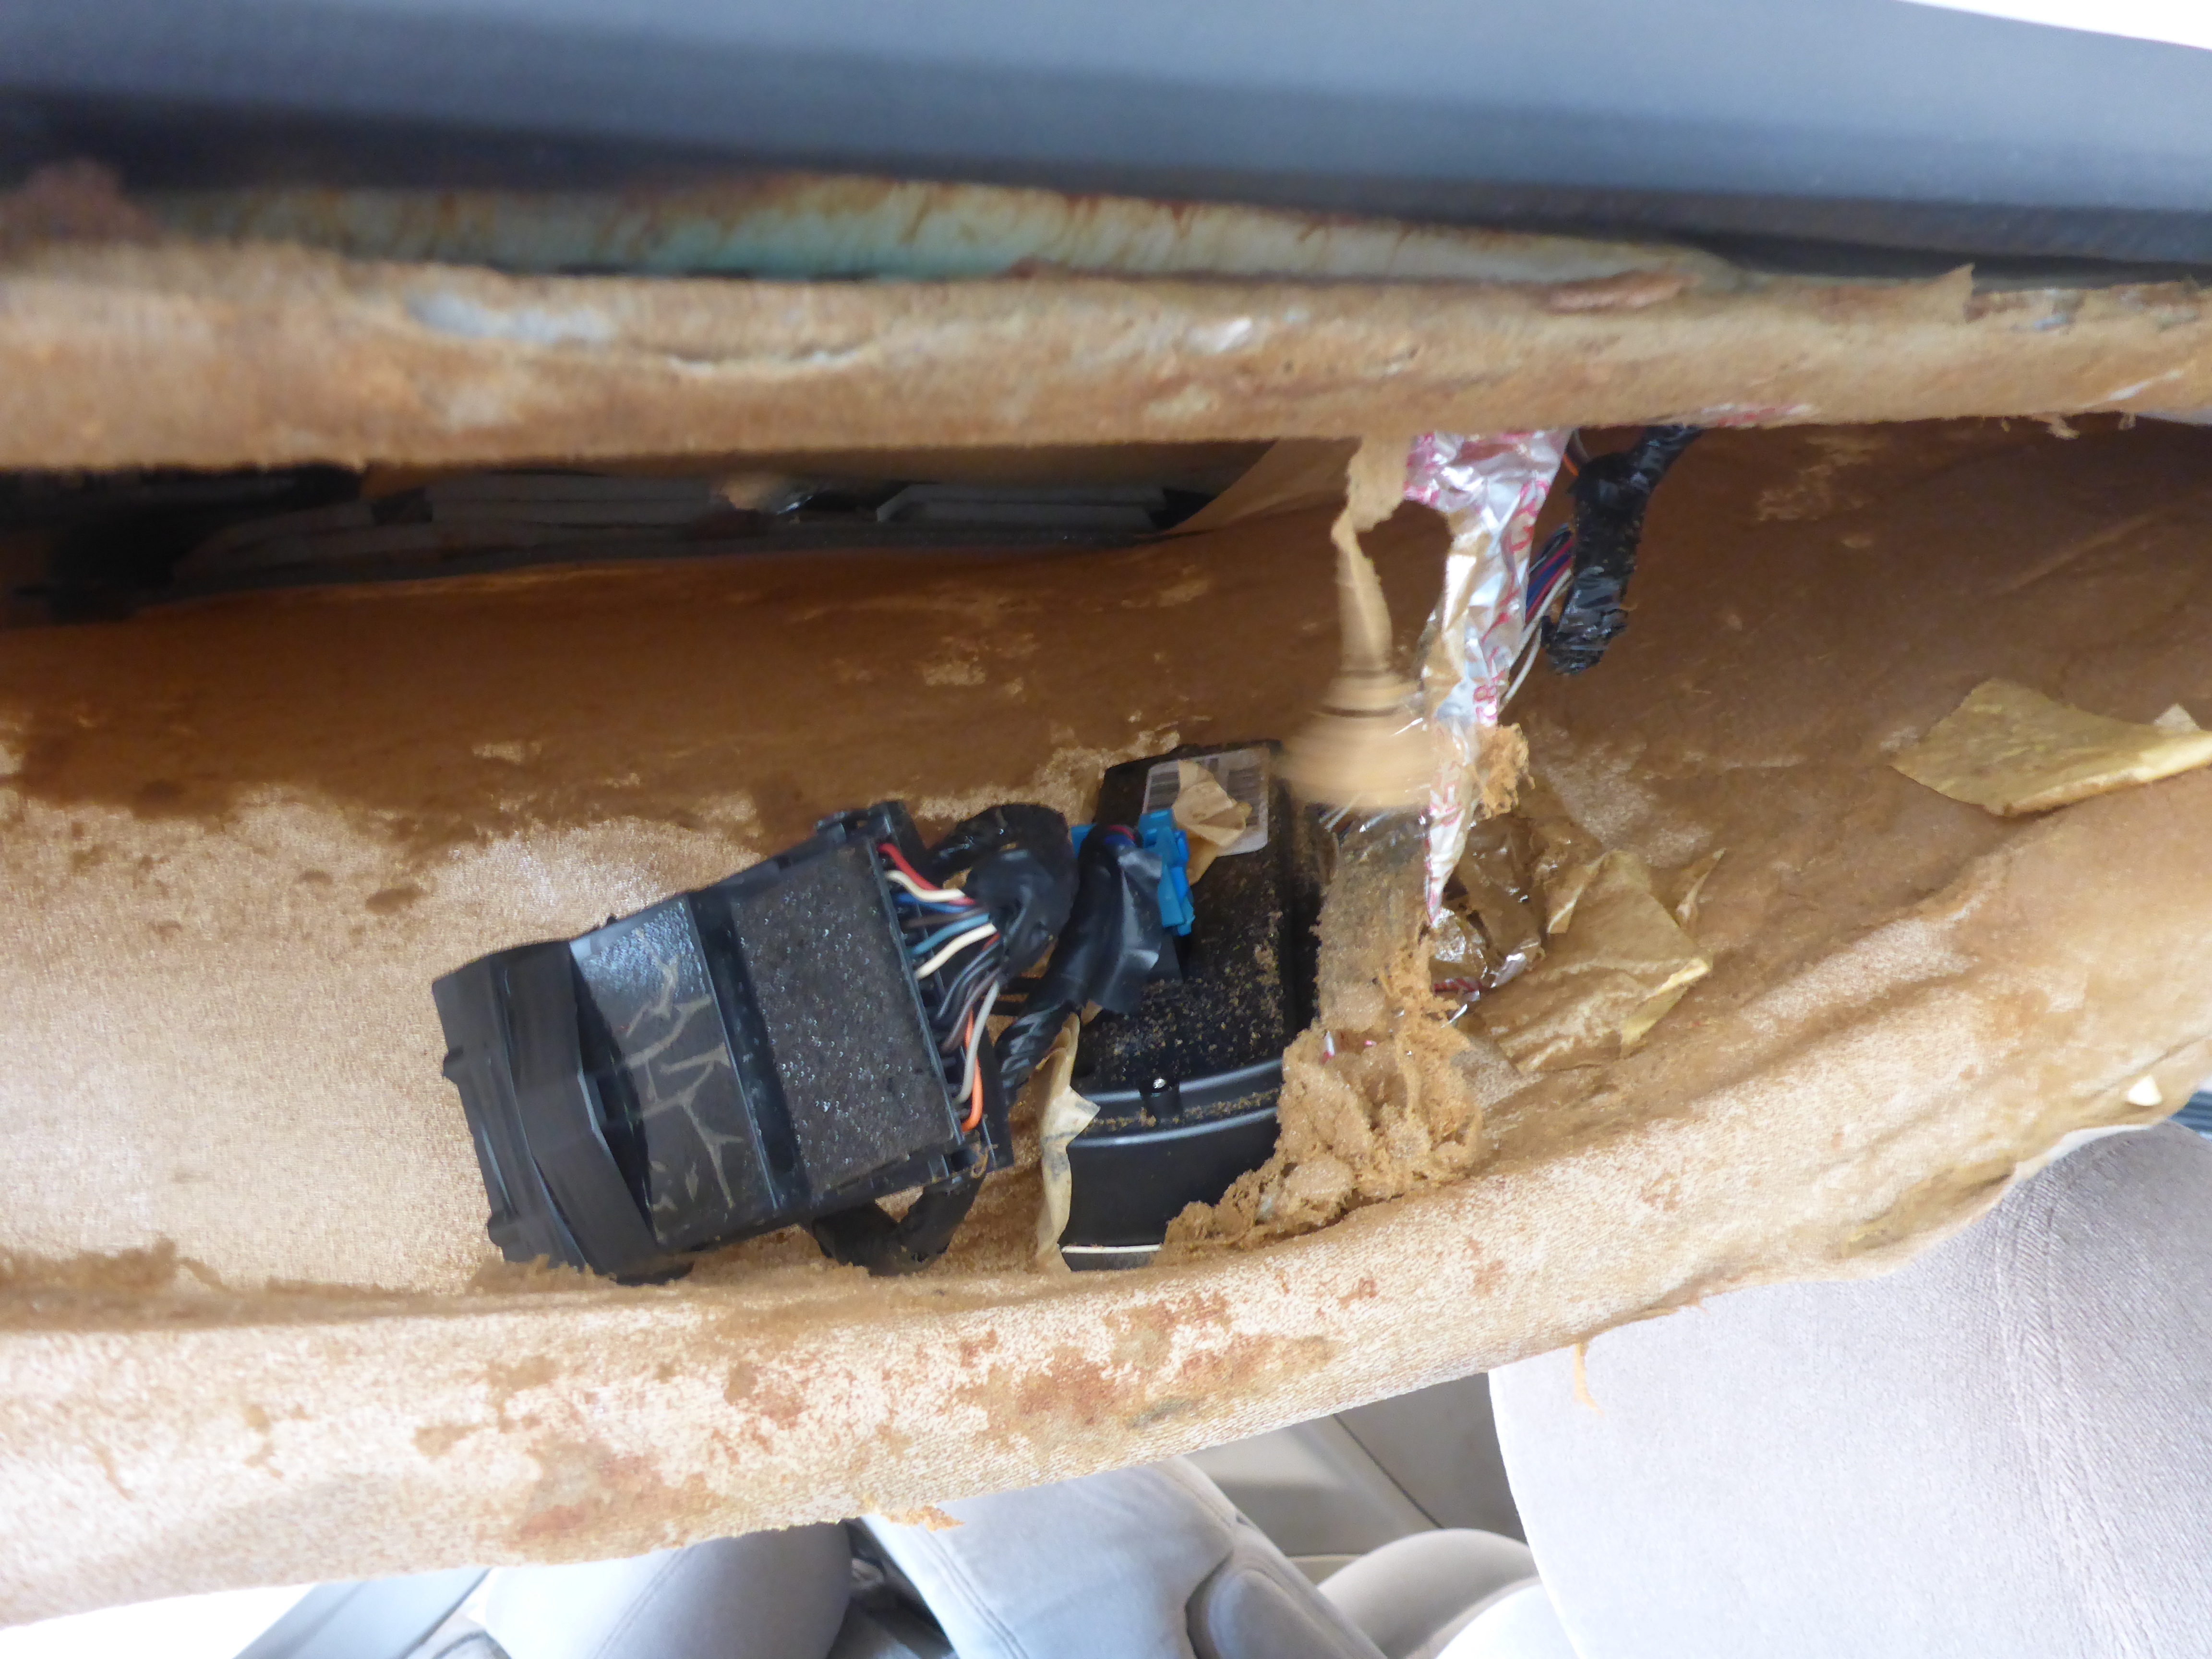
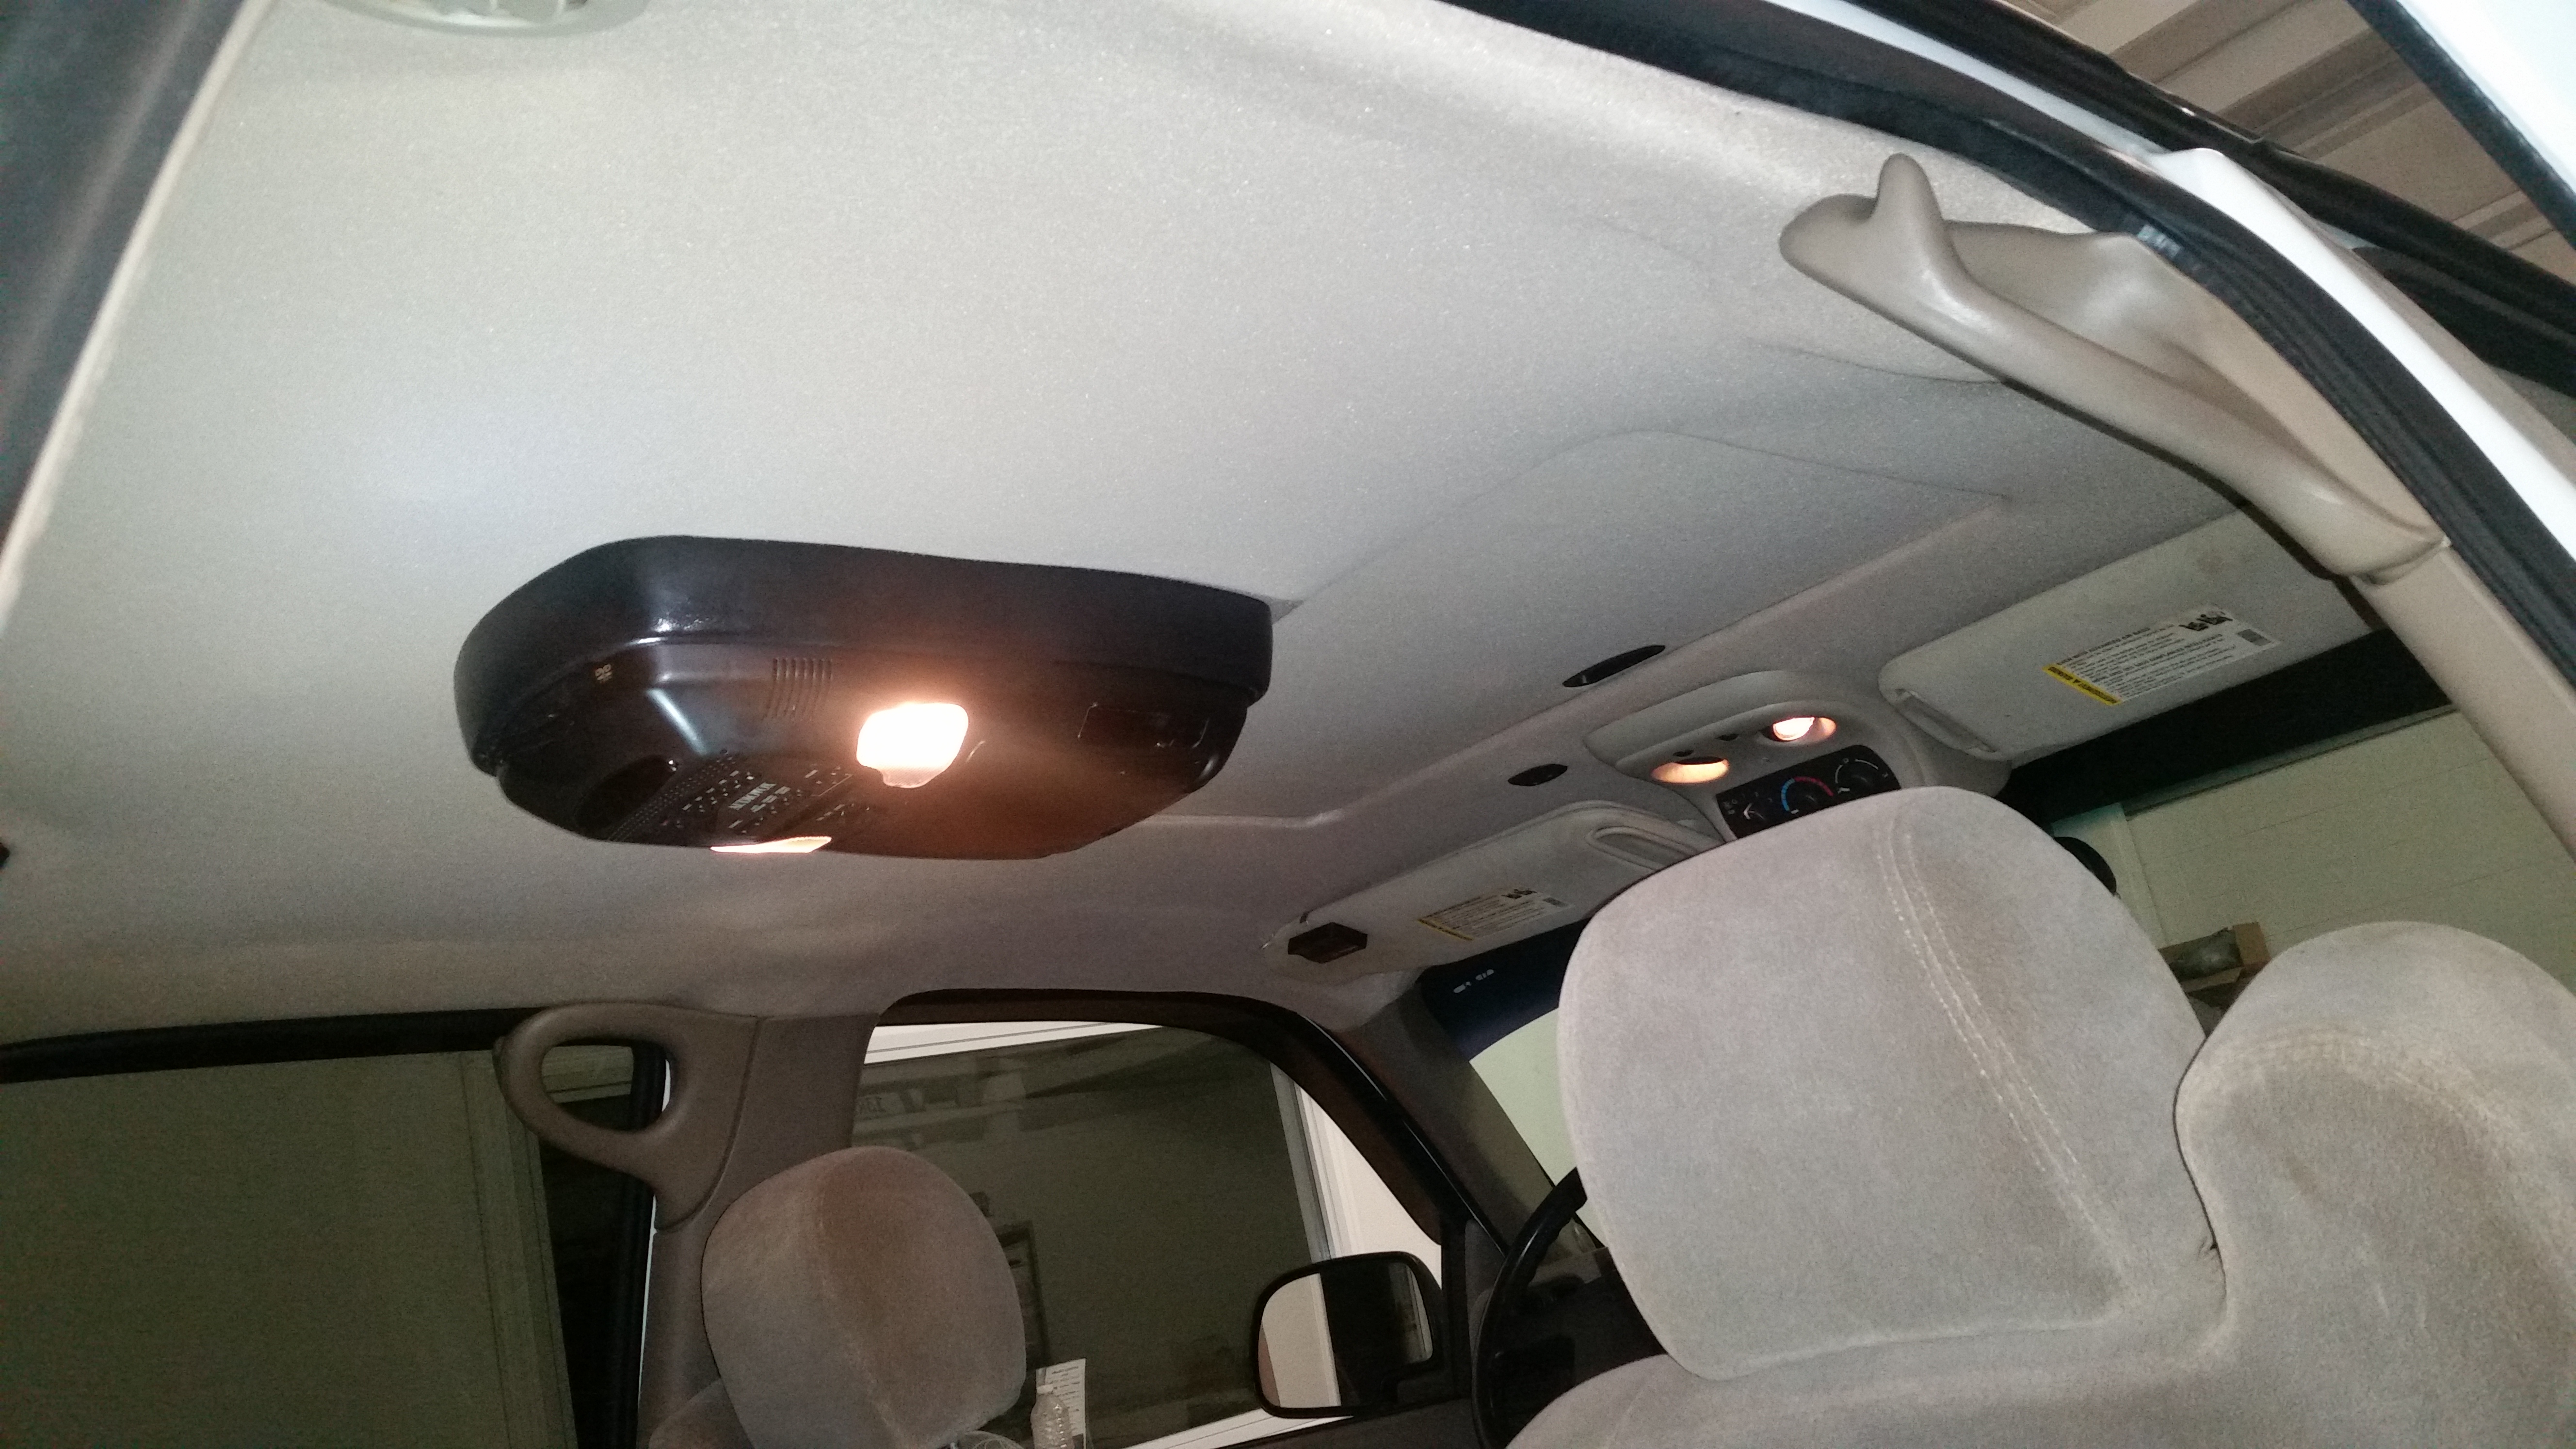
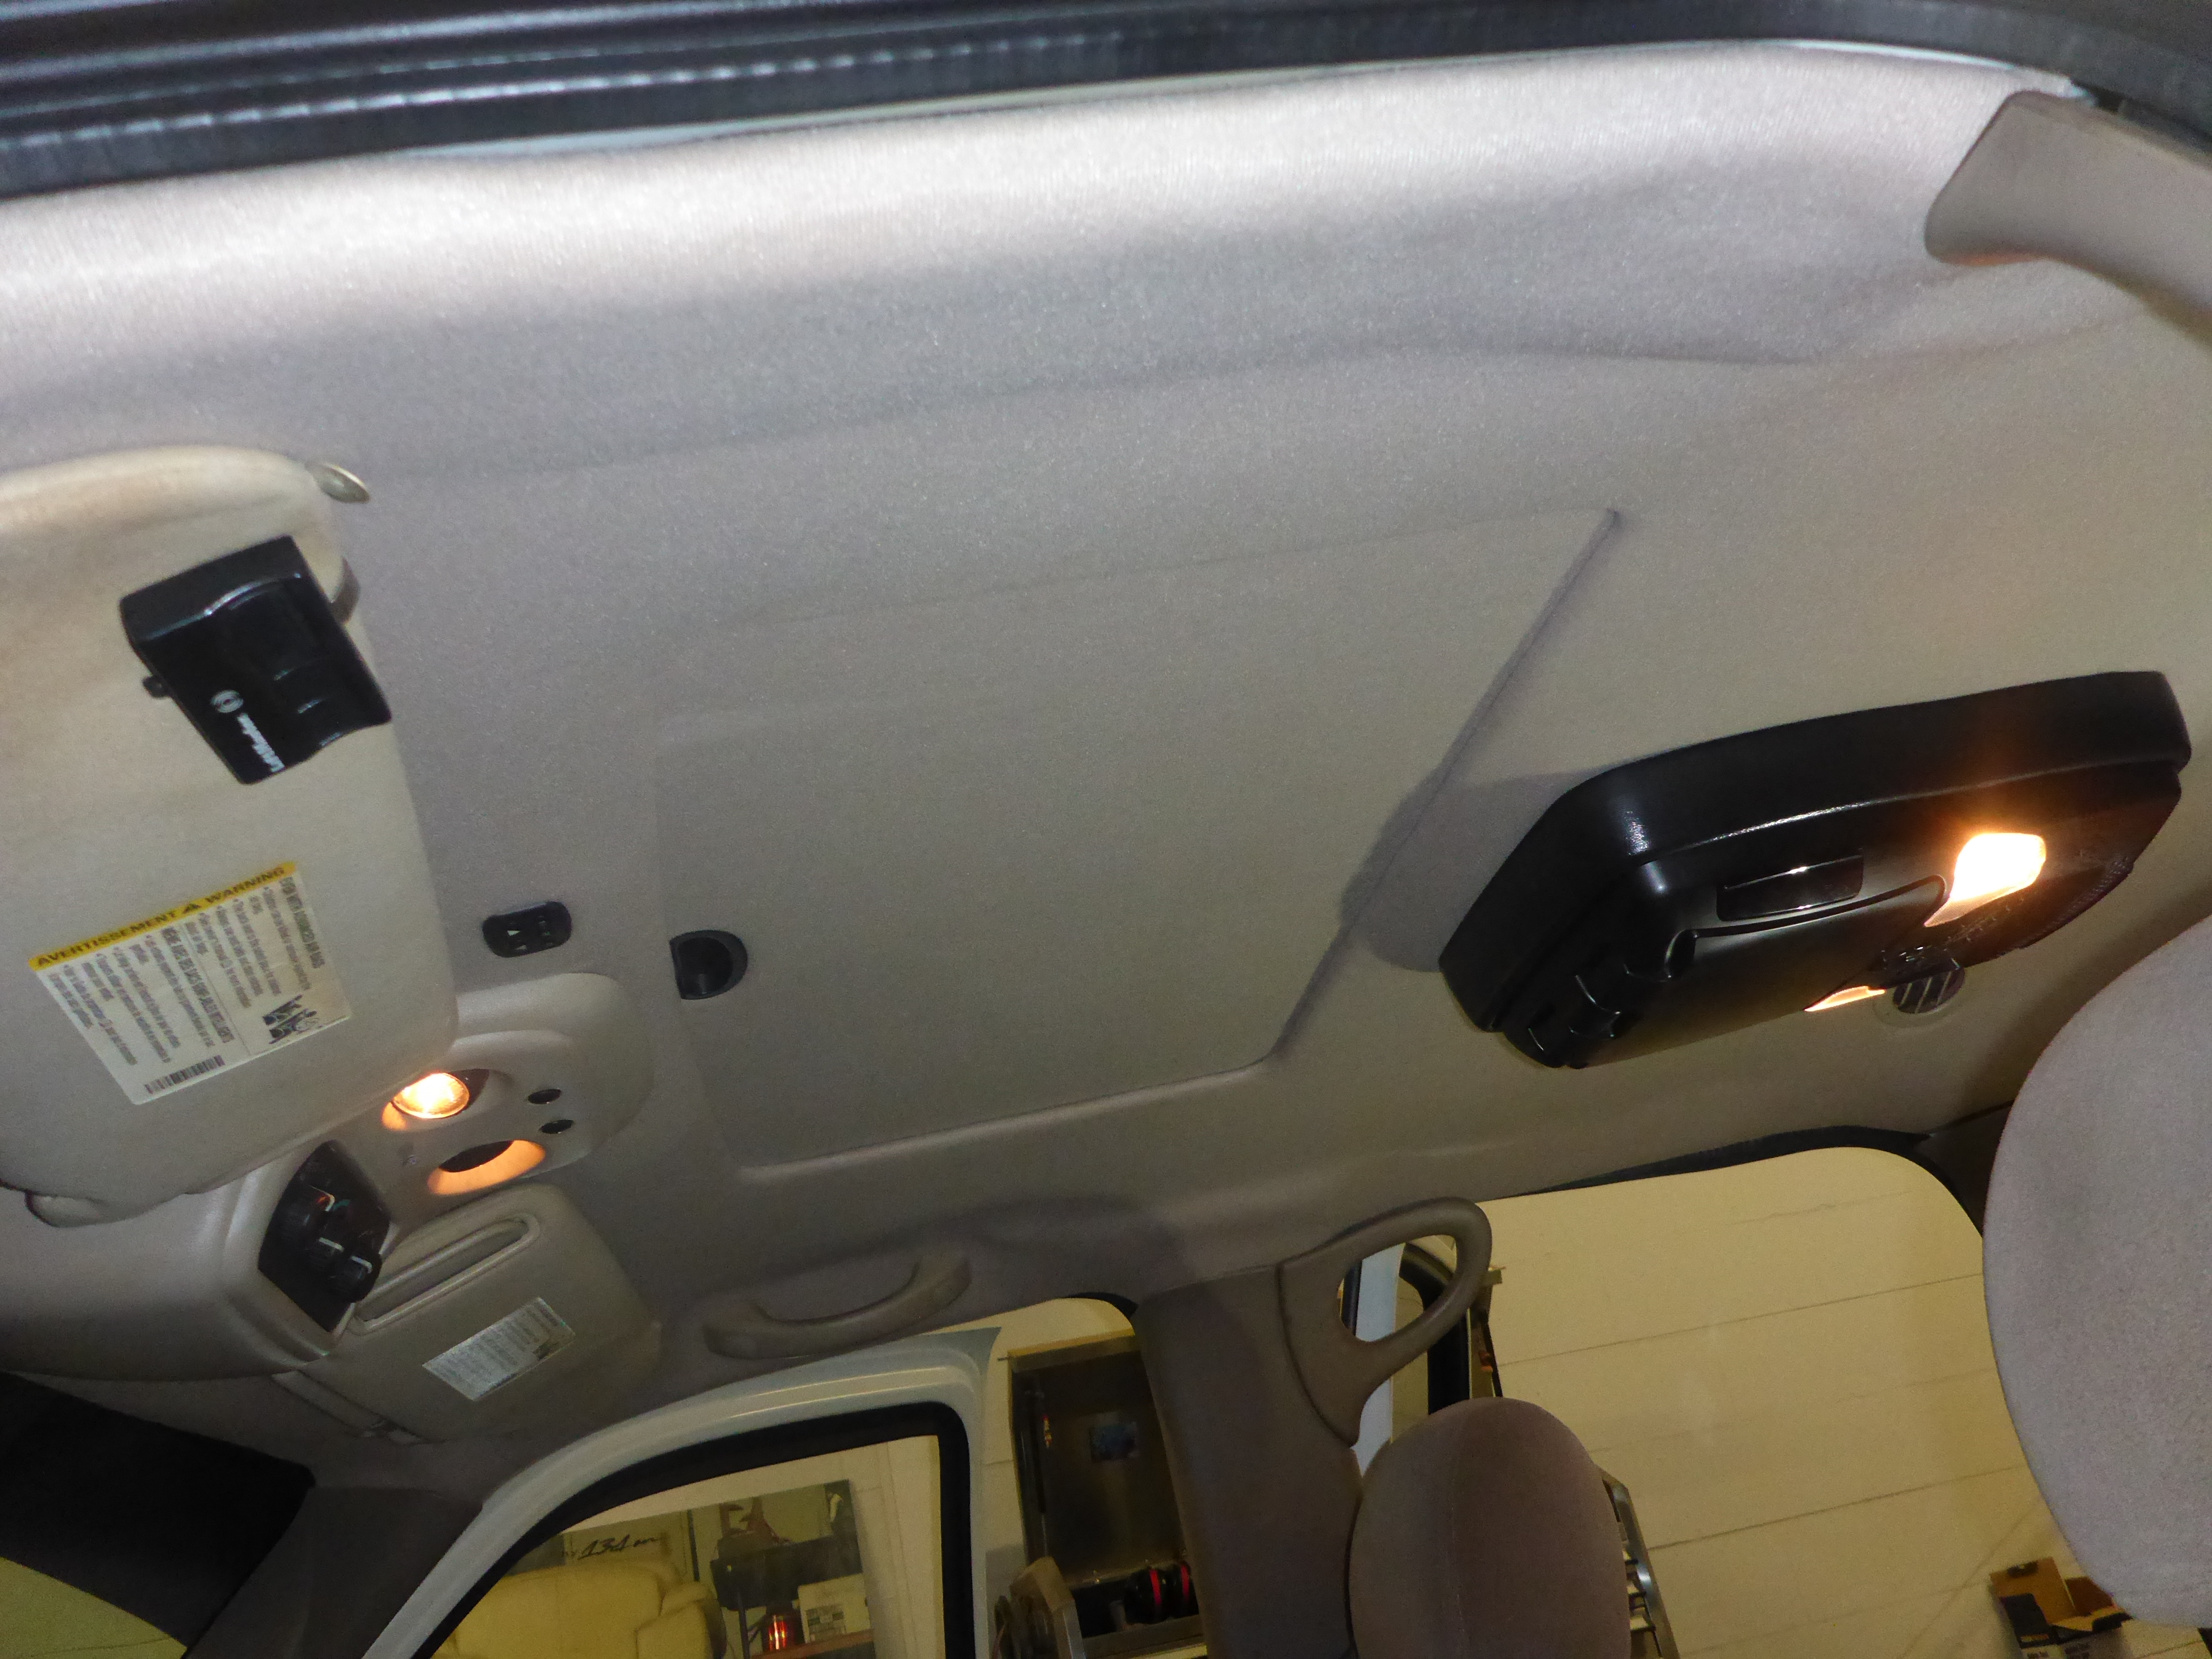
The vehicle as it arrived… big pillowy fluffy looking headliner and…. wait, what is that lump of stuff stuck up there? Uhhhhh…. -__-
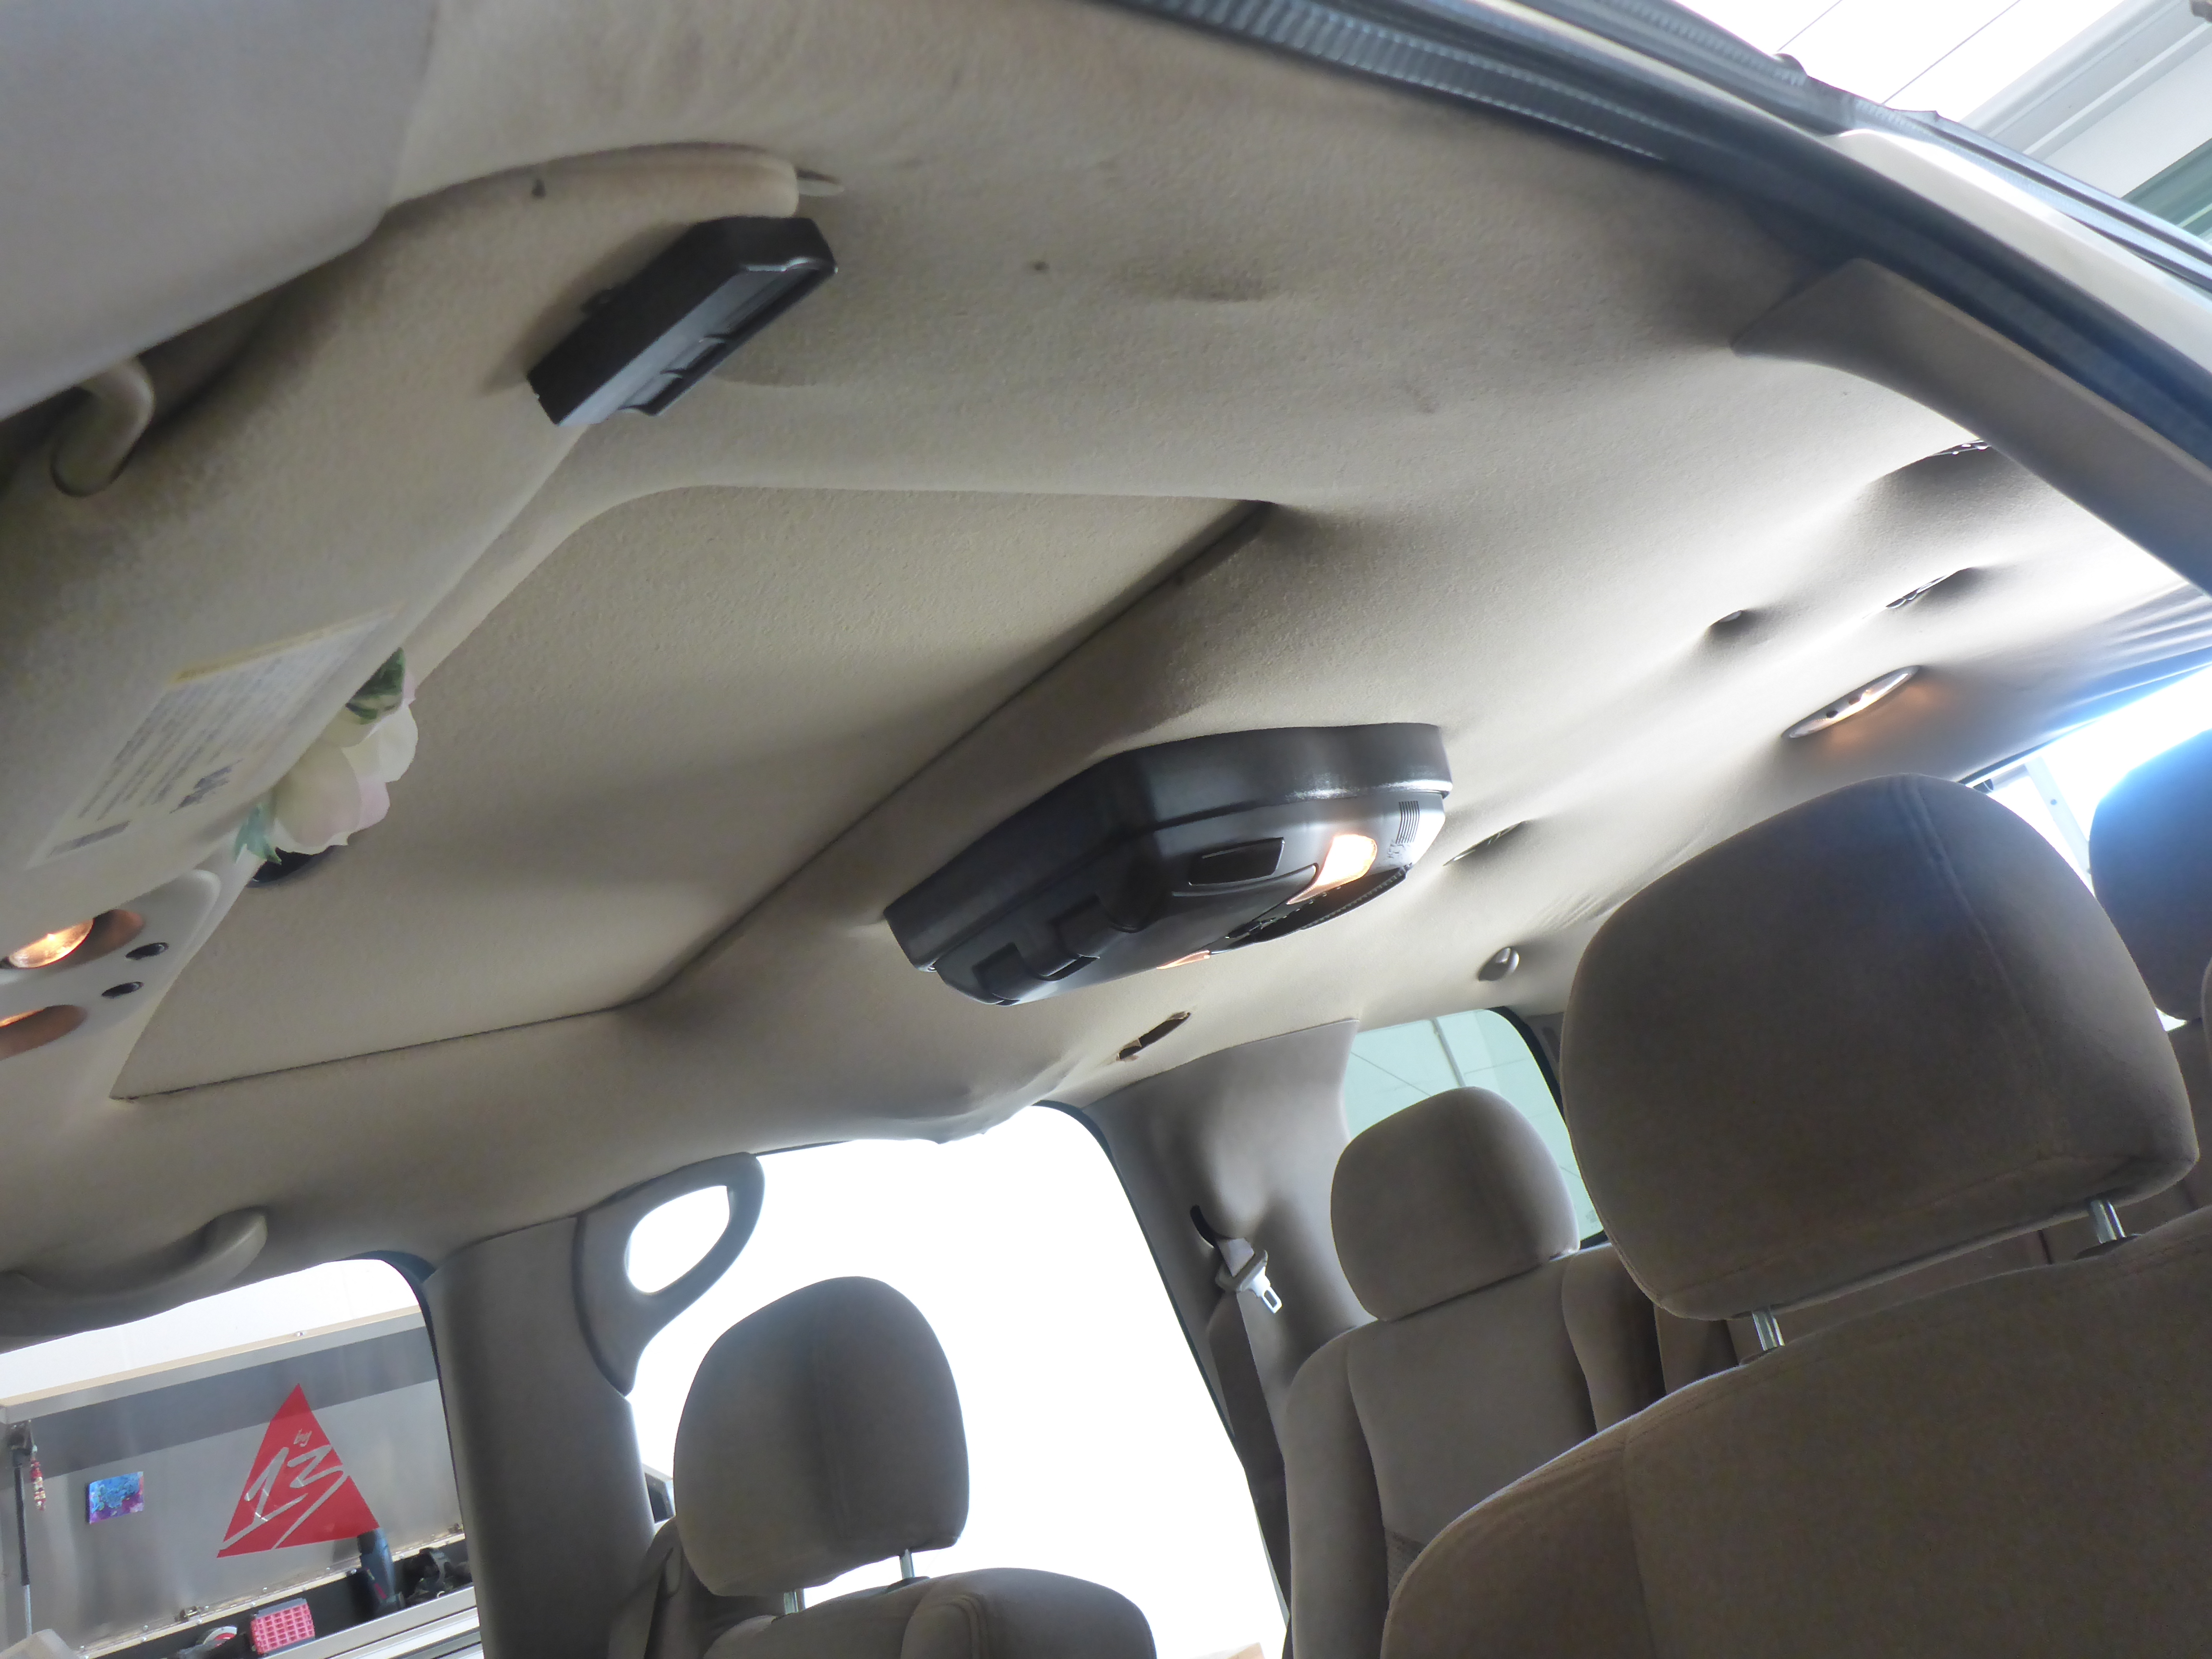

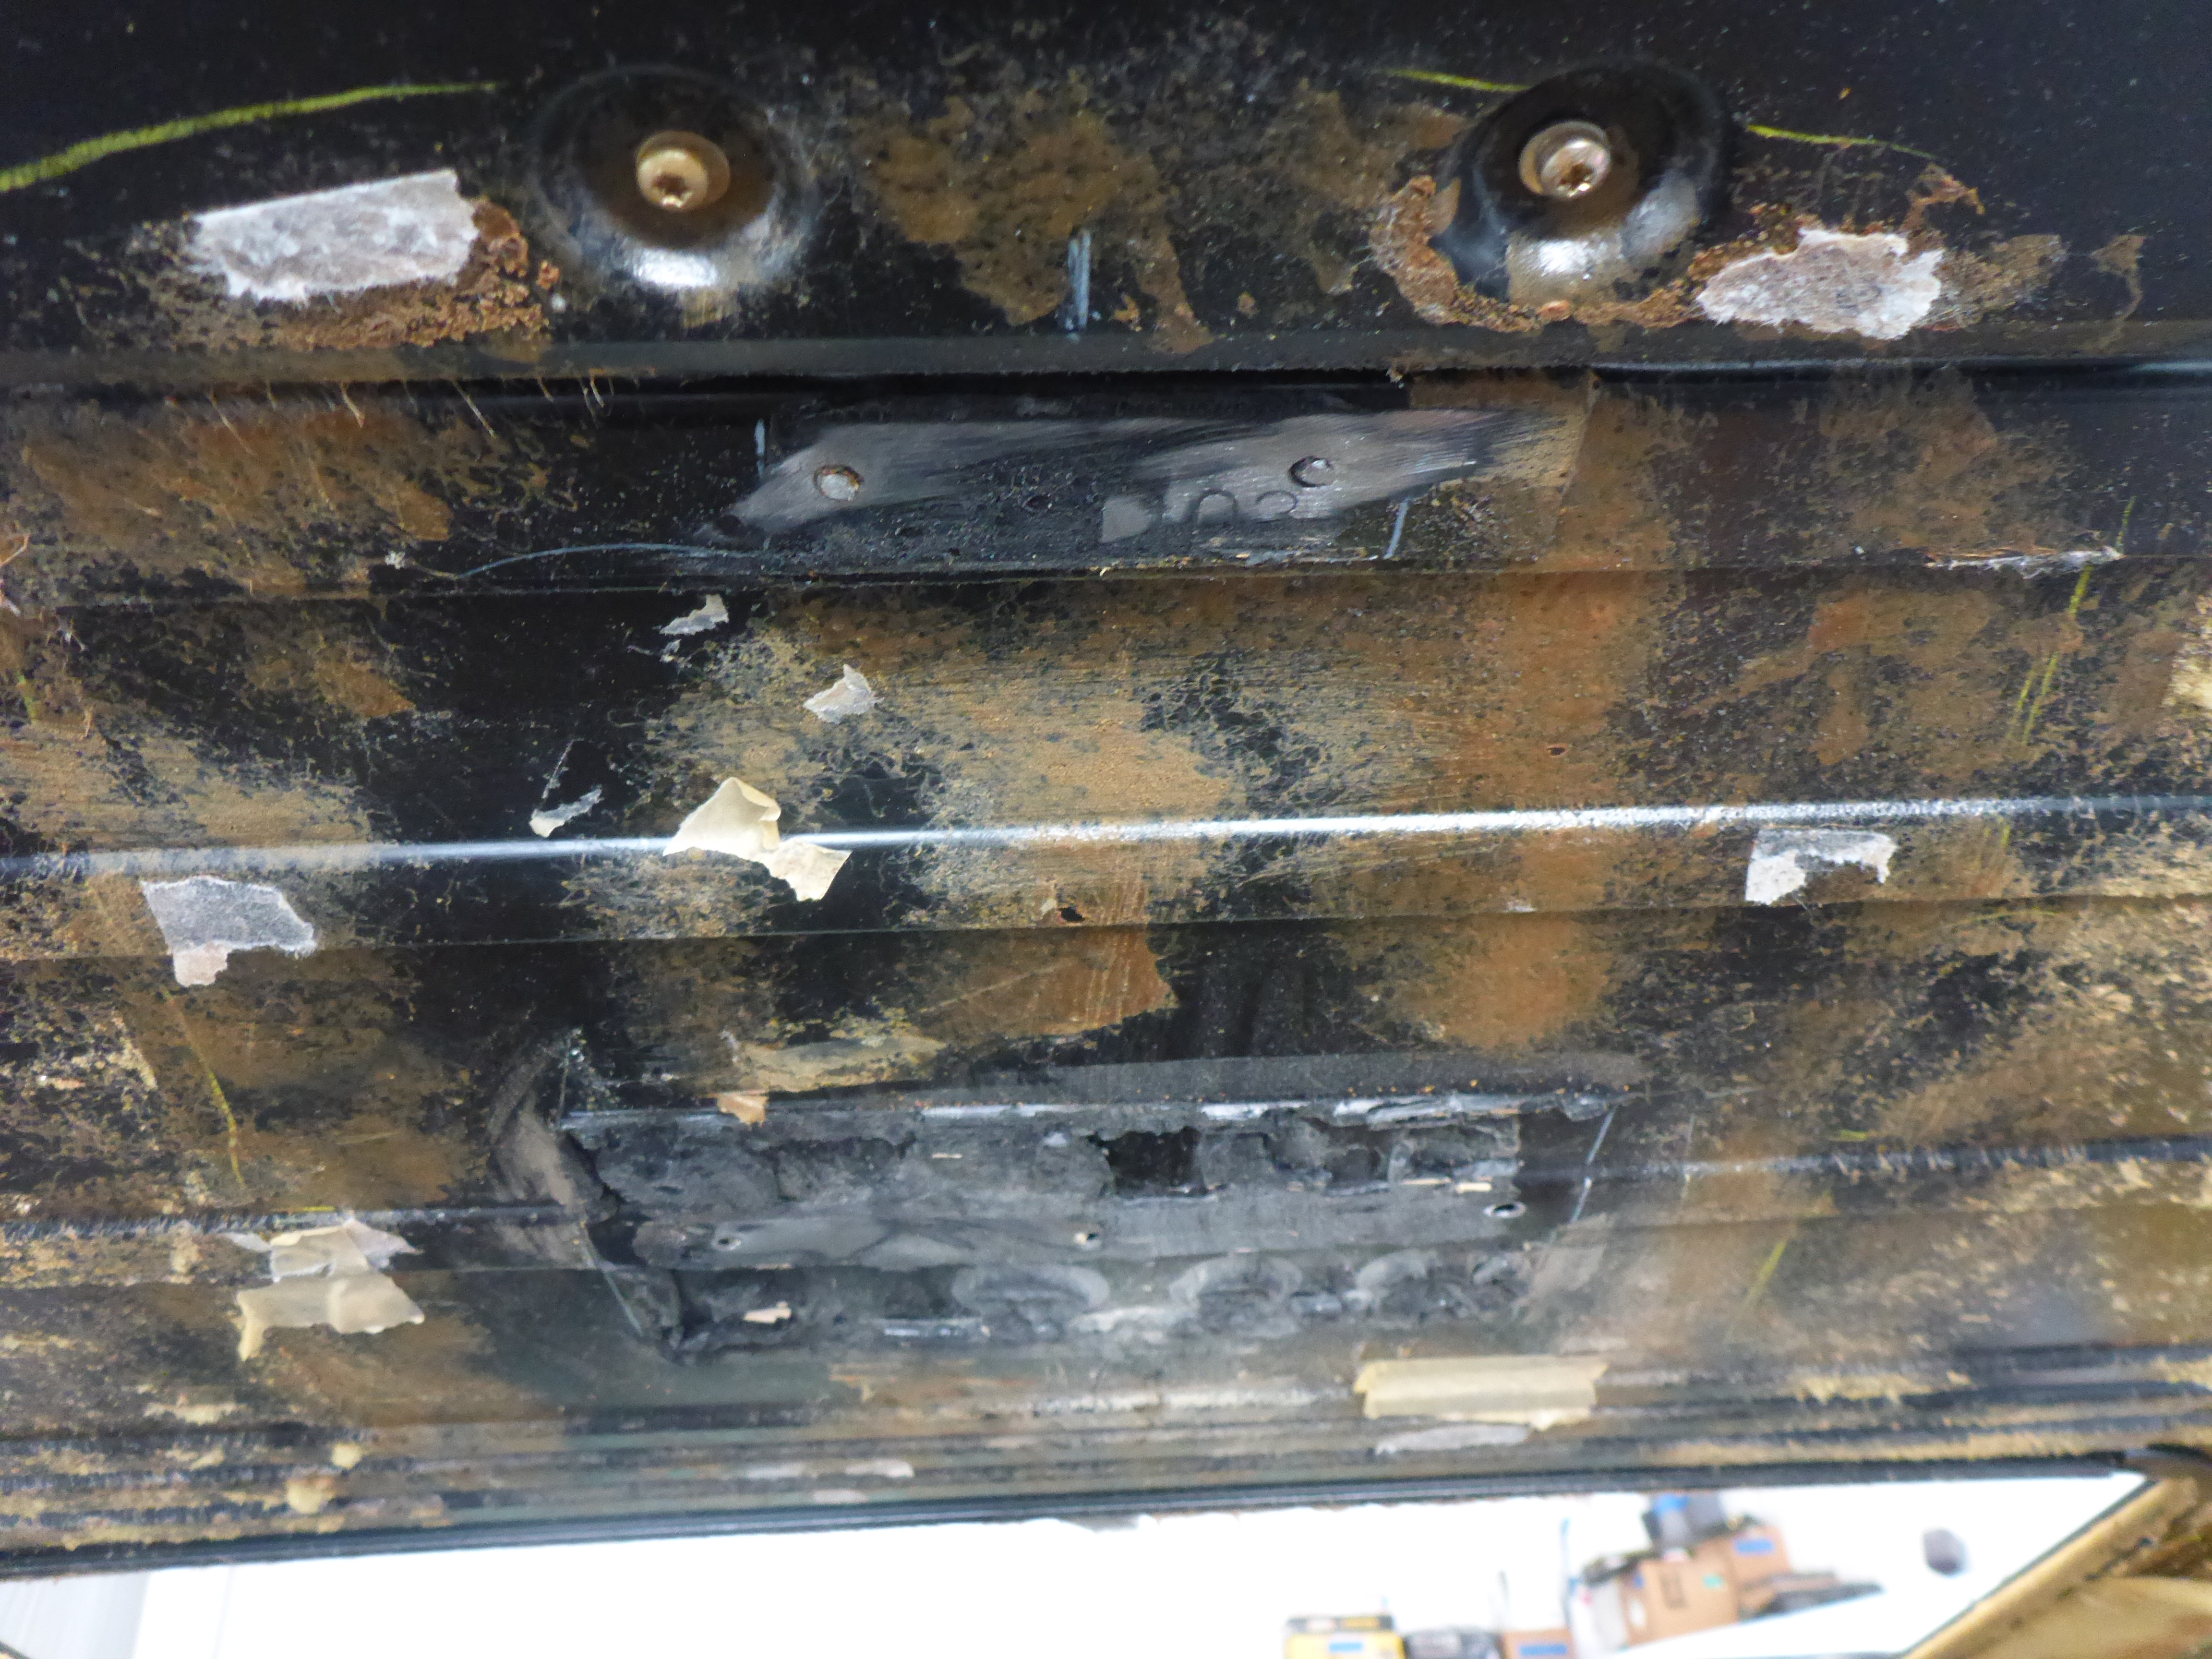
As soon as I began to disassemble, the red flags of improper installation become clear. The front center station was screwed into place from the outside through the sunroof and the drop down monitor was held in by some splintering plywood and scraps of headliner material. Oh, and the mystery of the big cancerous lump? Rear AC controls and some OEM modules… now why would those just be hanging around instead of installed somewhere, I wonder…
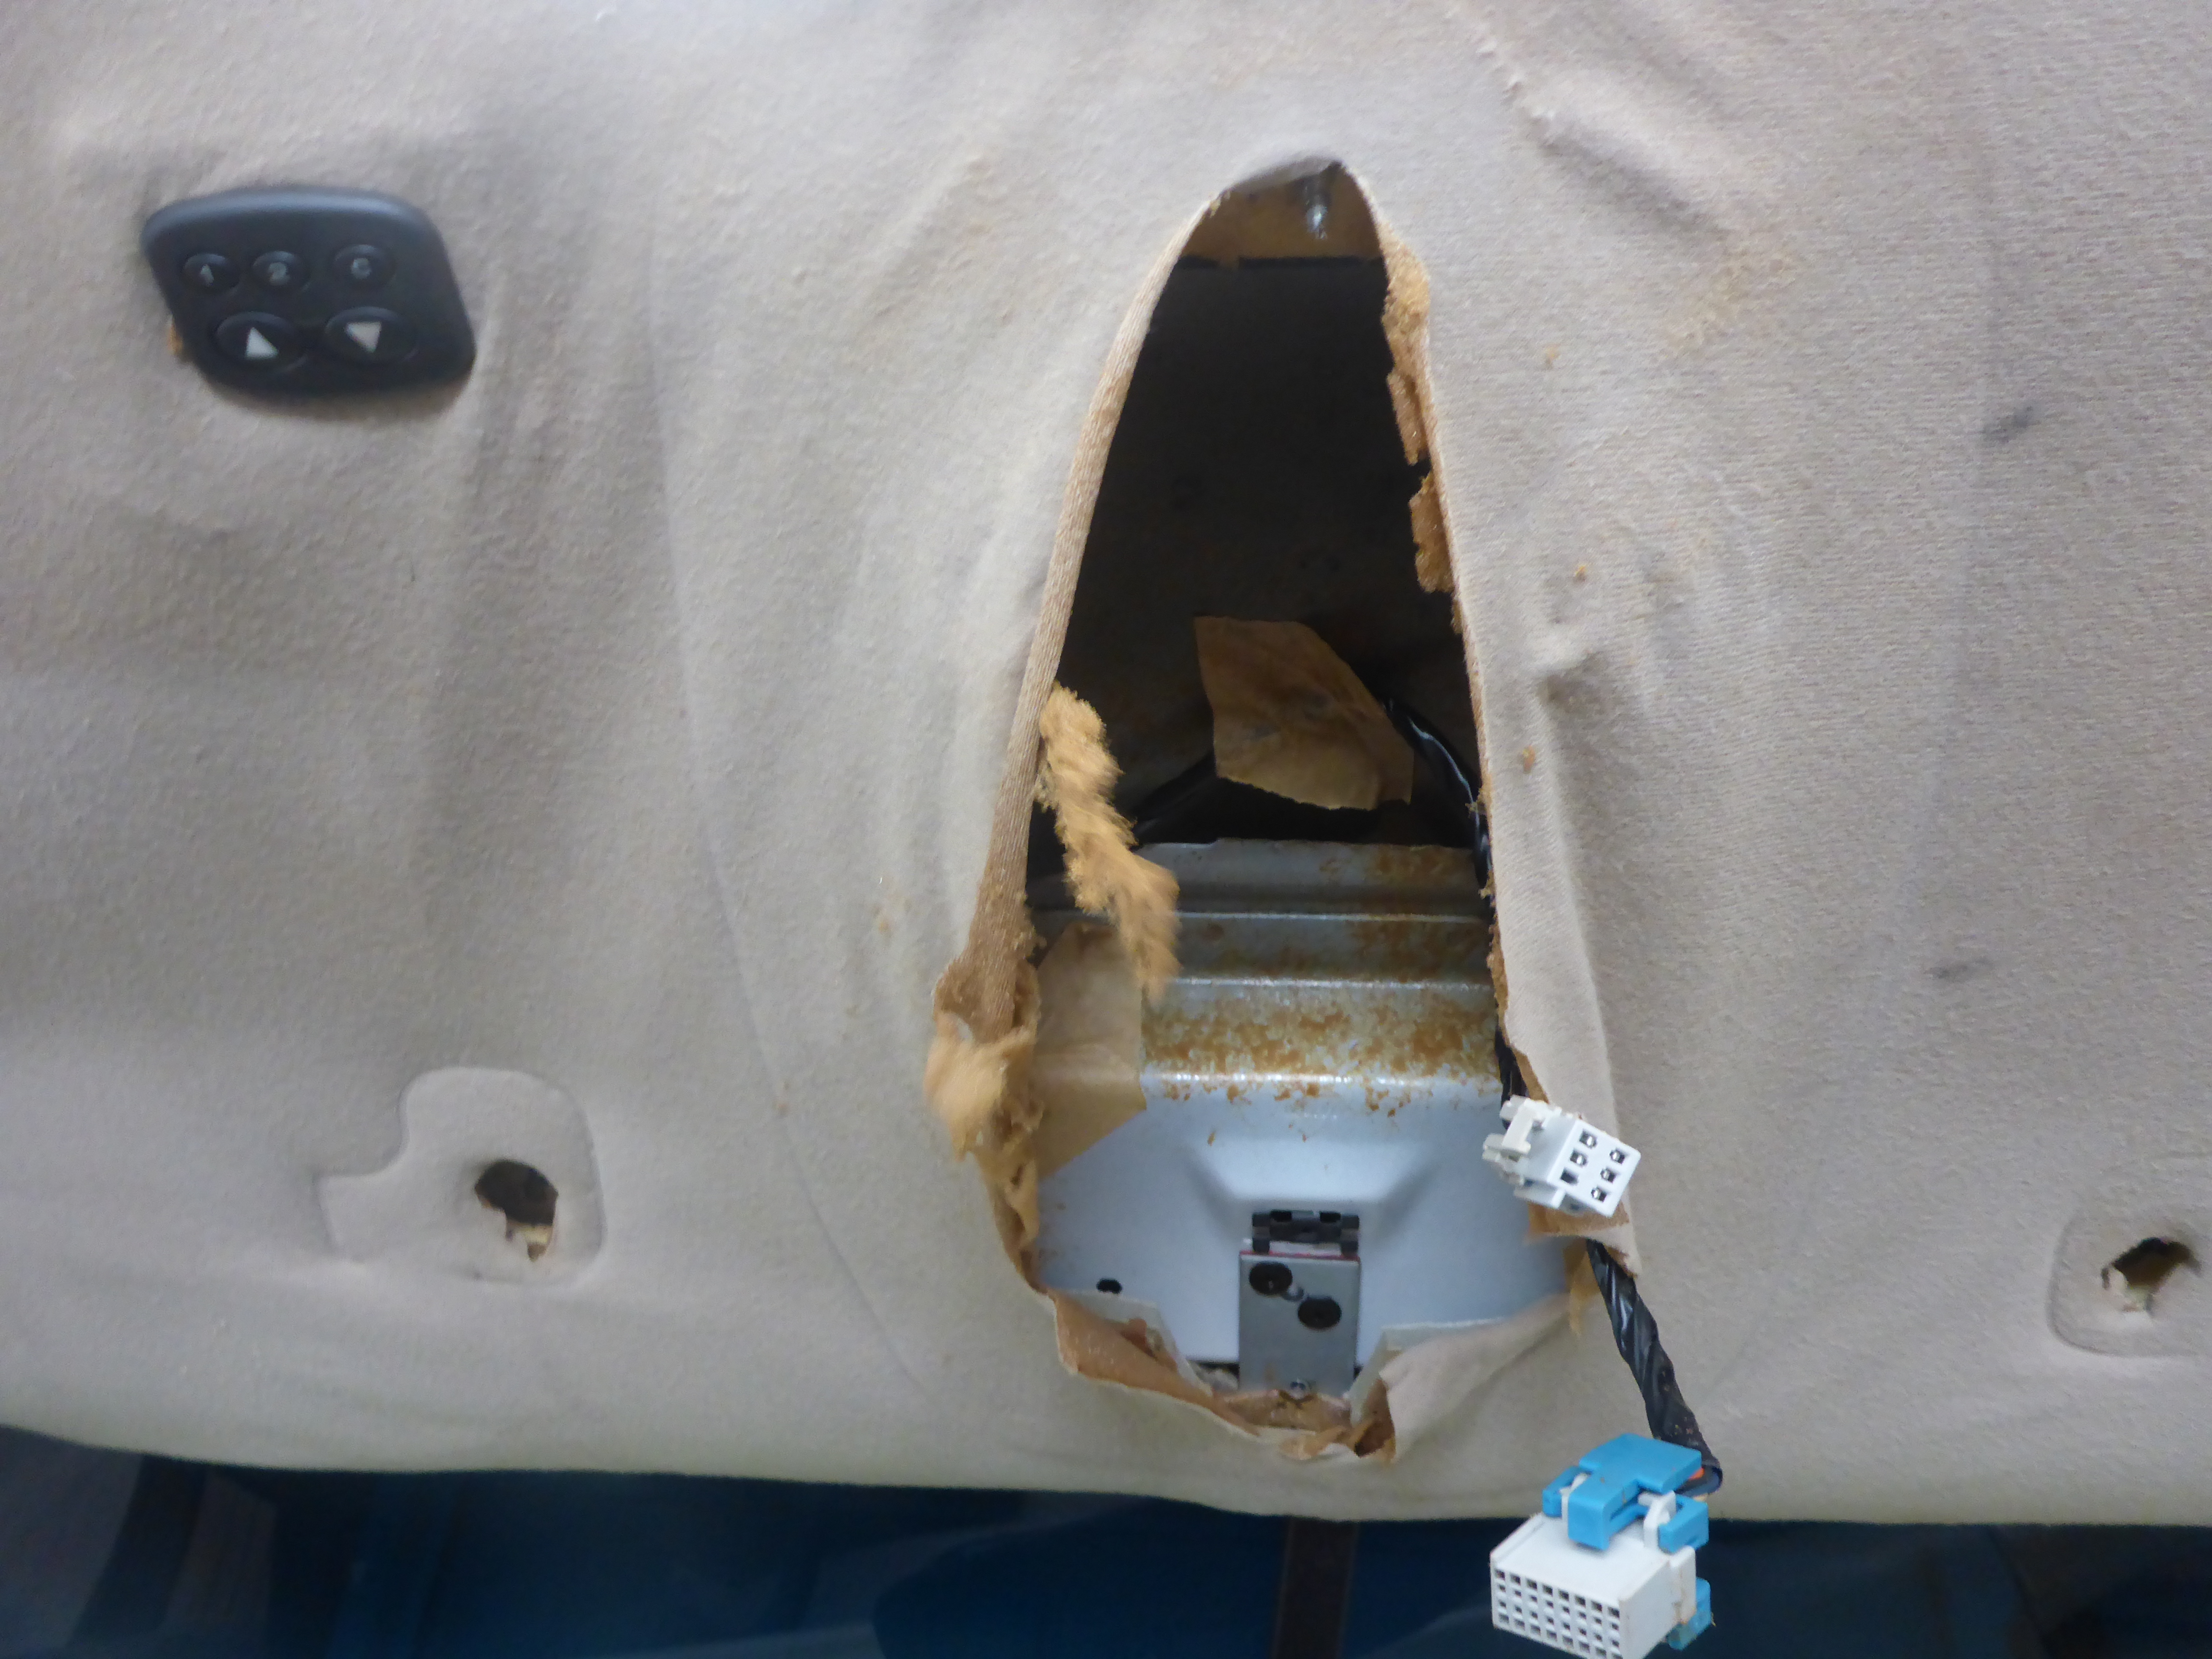

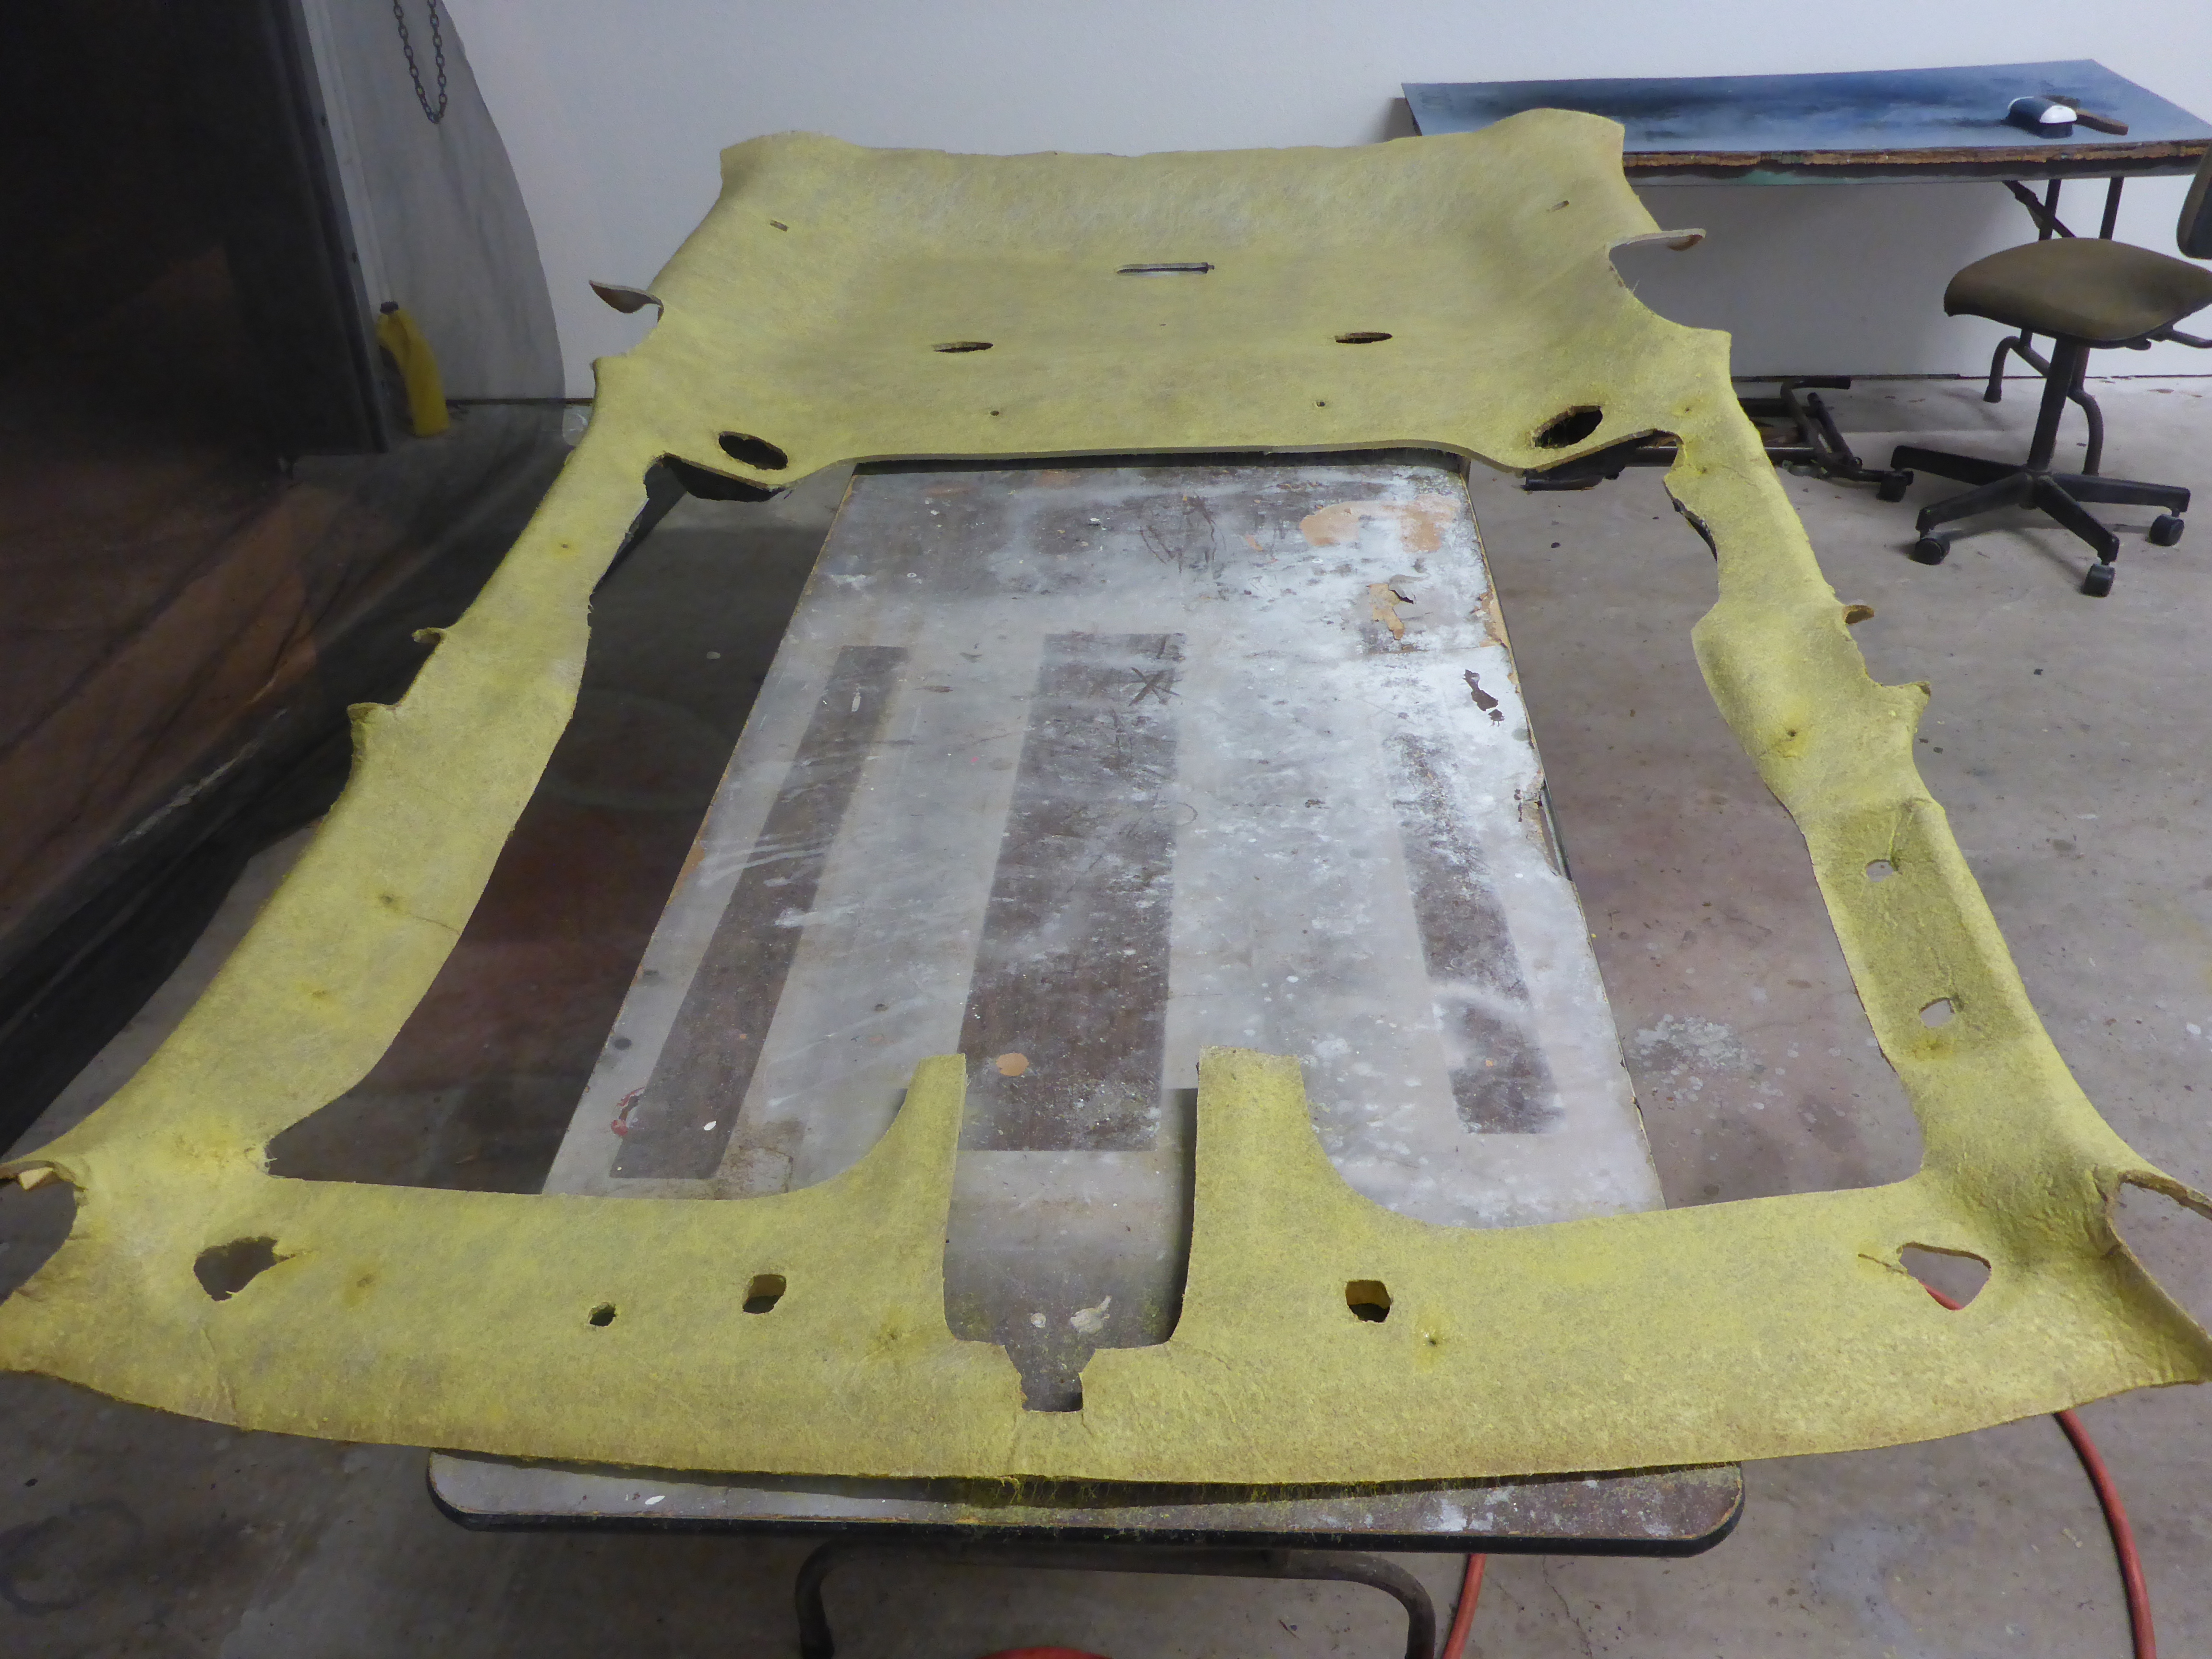
Alas, the headliner is free and ready to be removed. And what a gross thing it is once it is out of the vehicle.

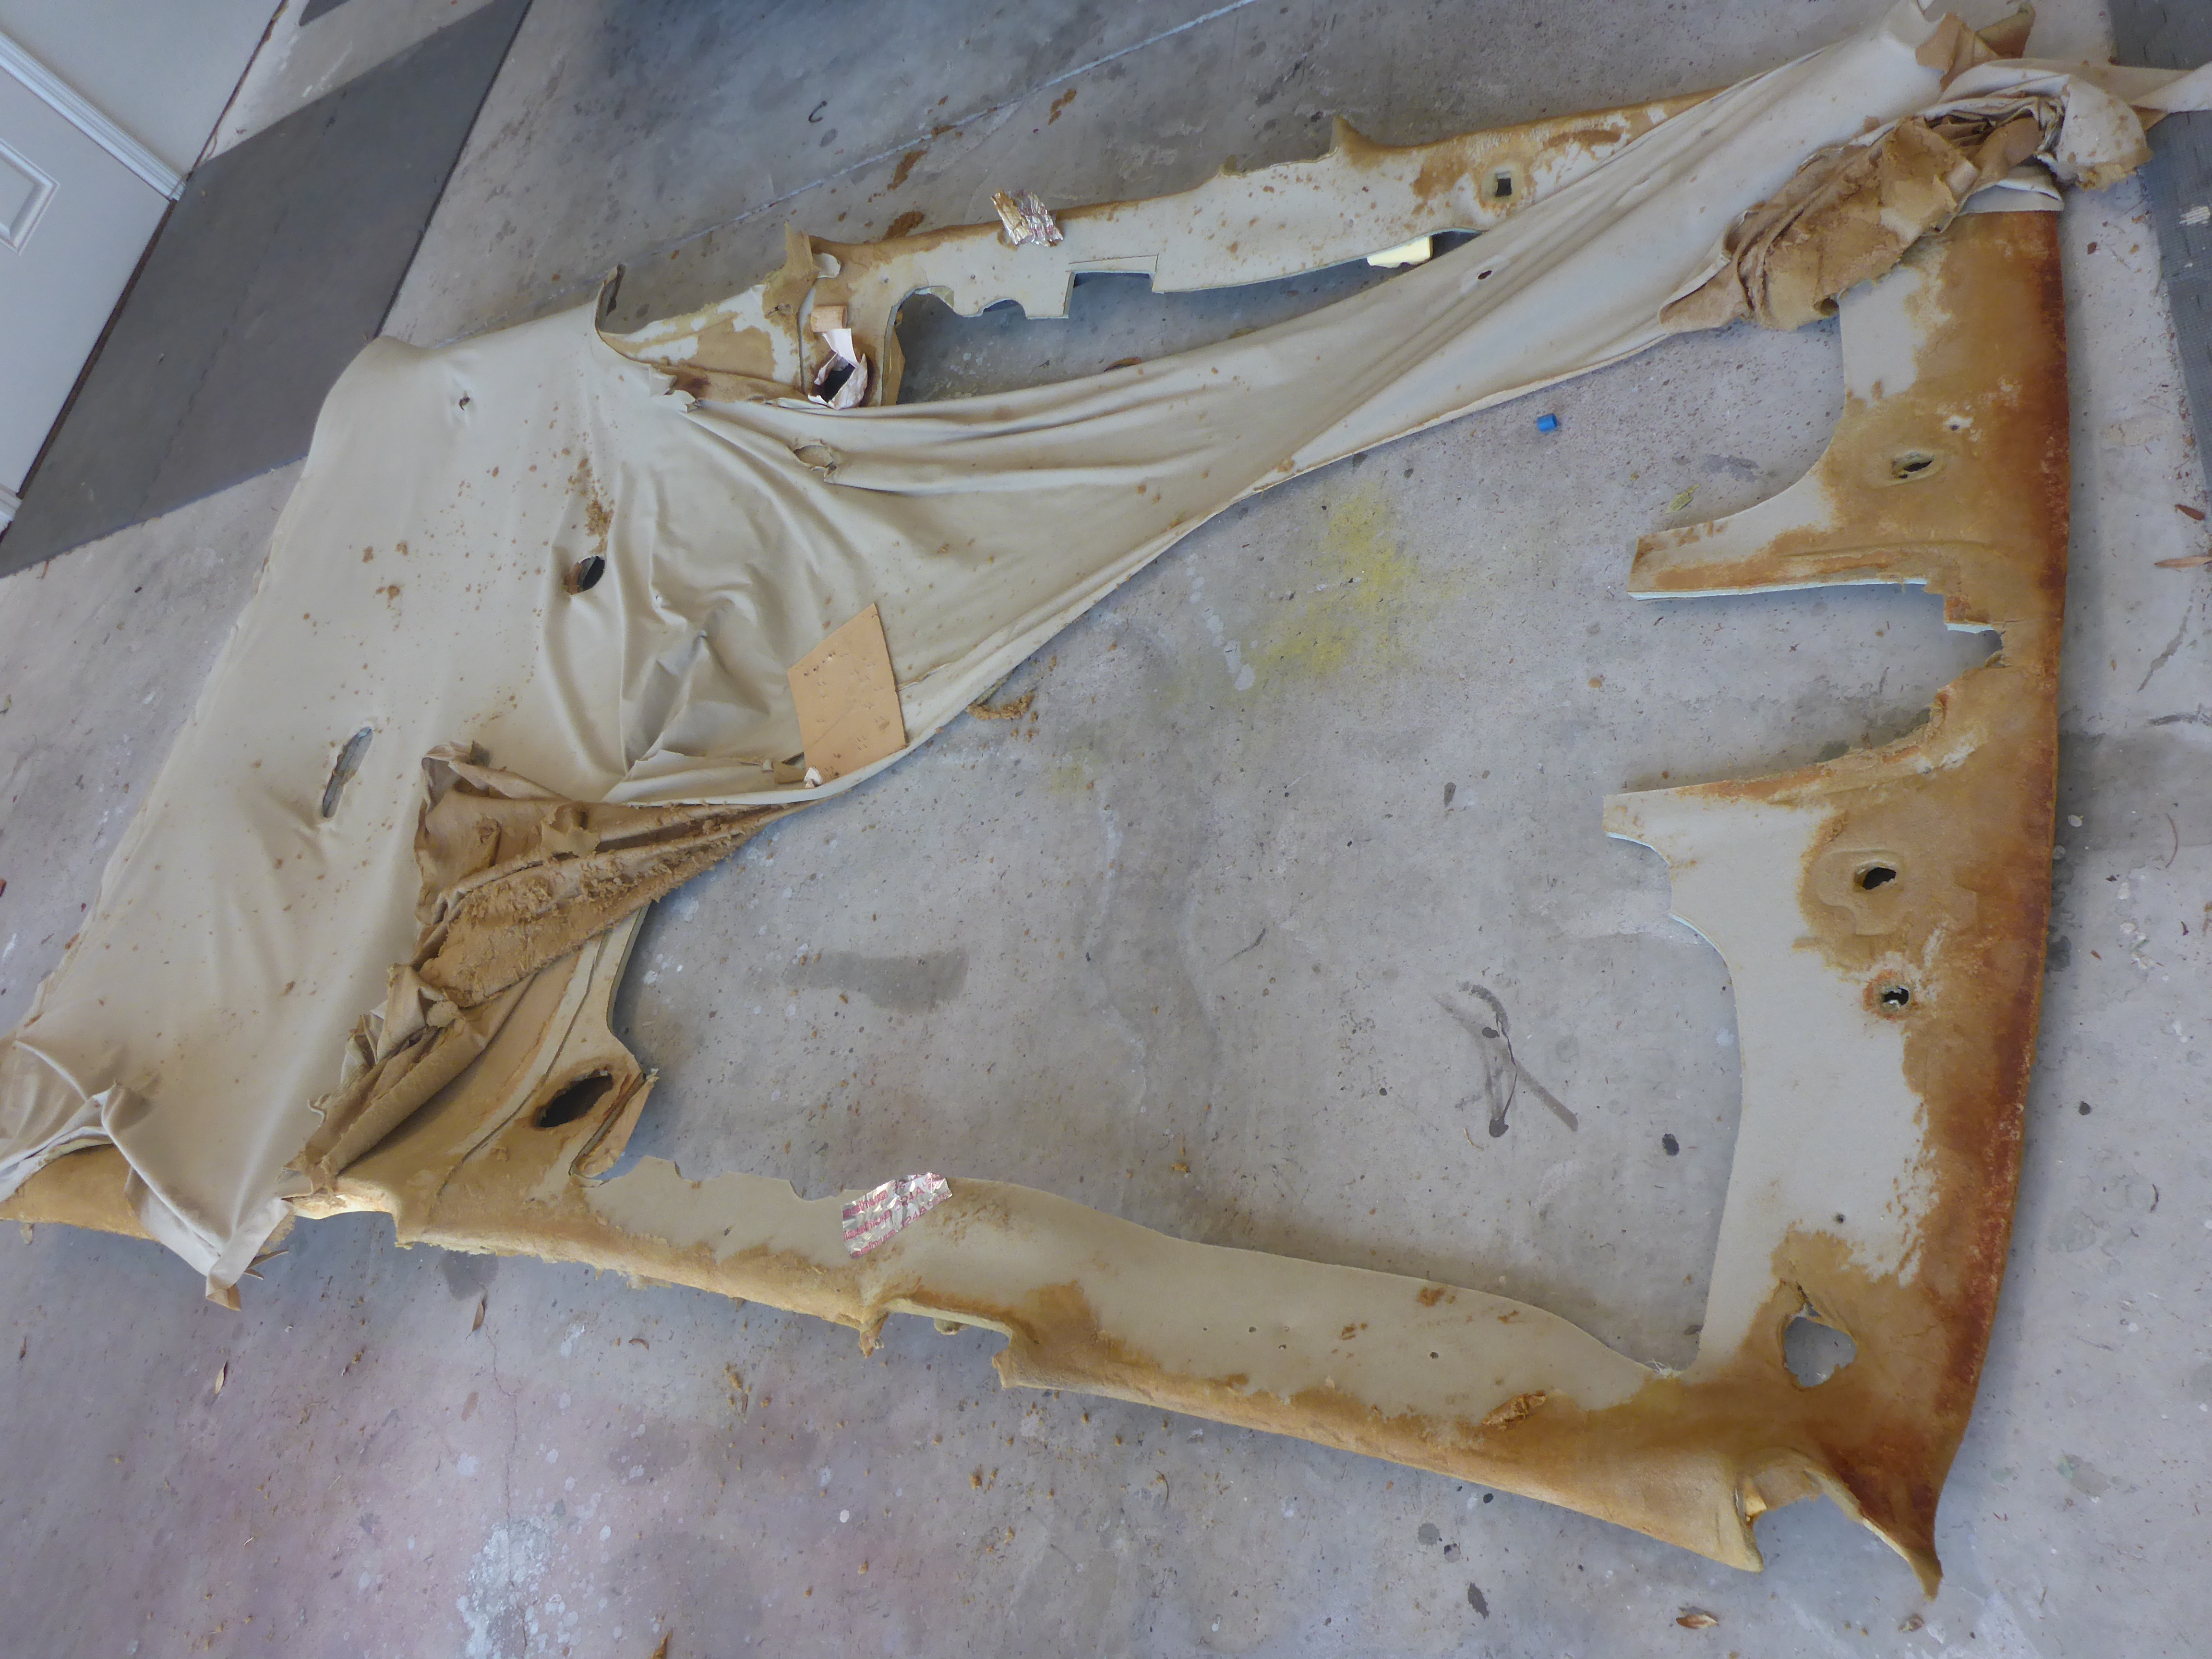
Assessing the situation…. it’s not pretty:
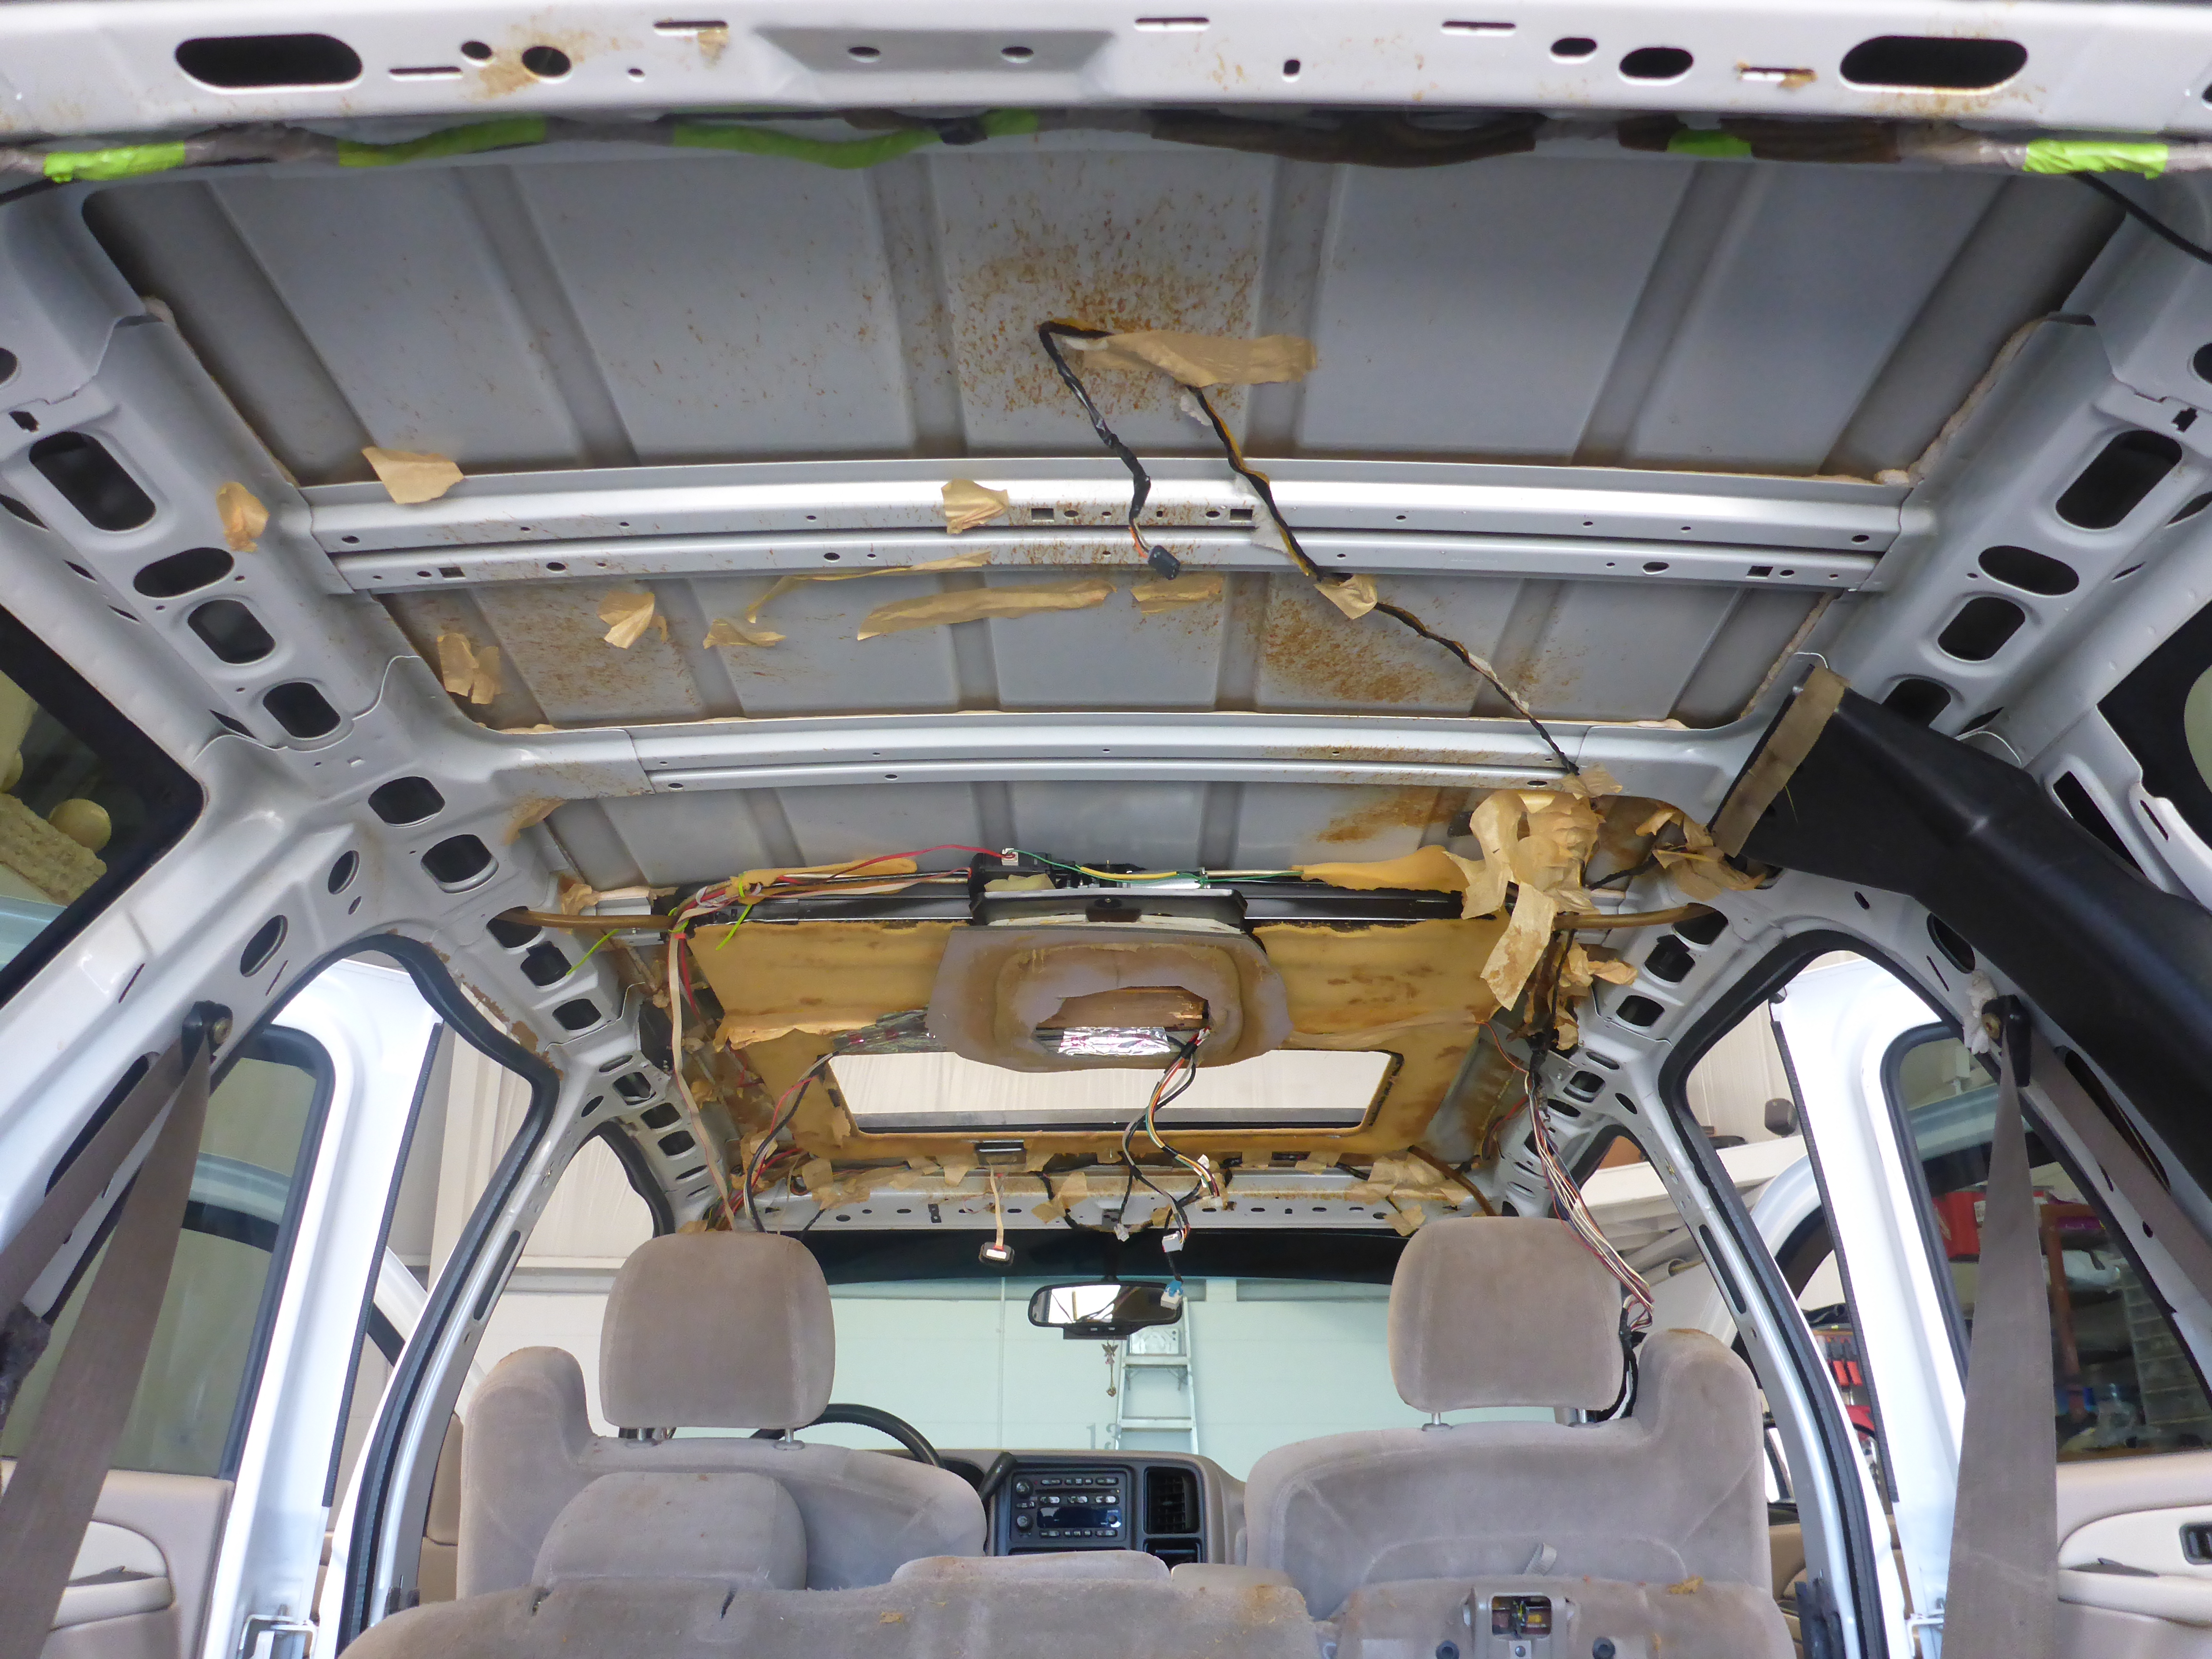

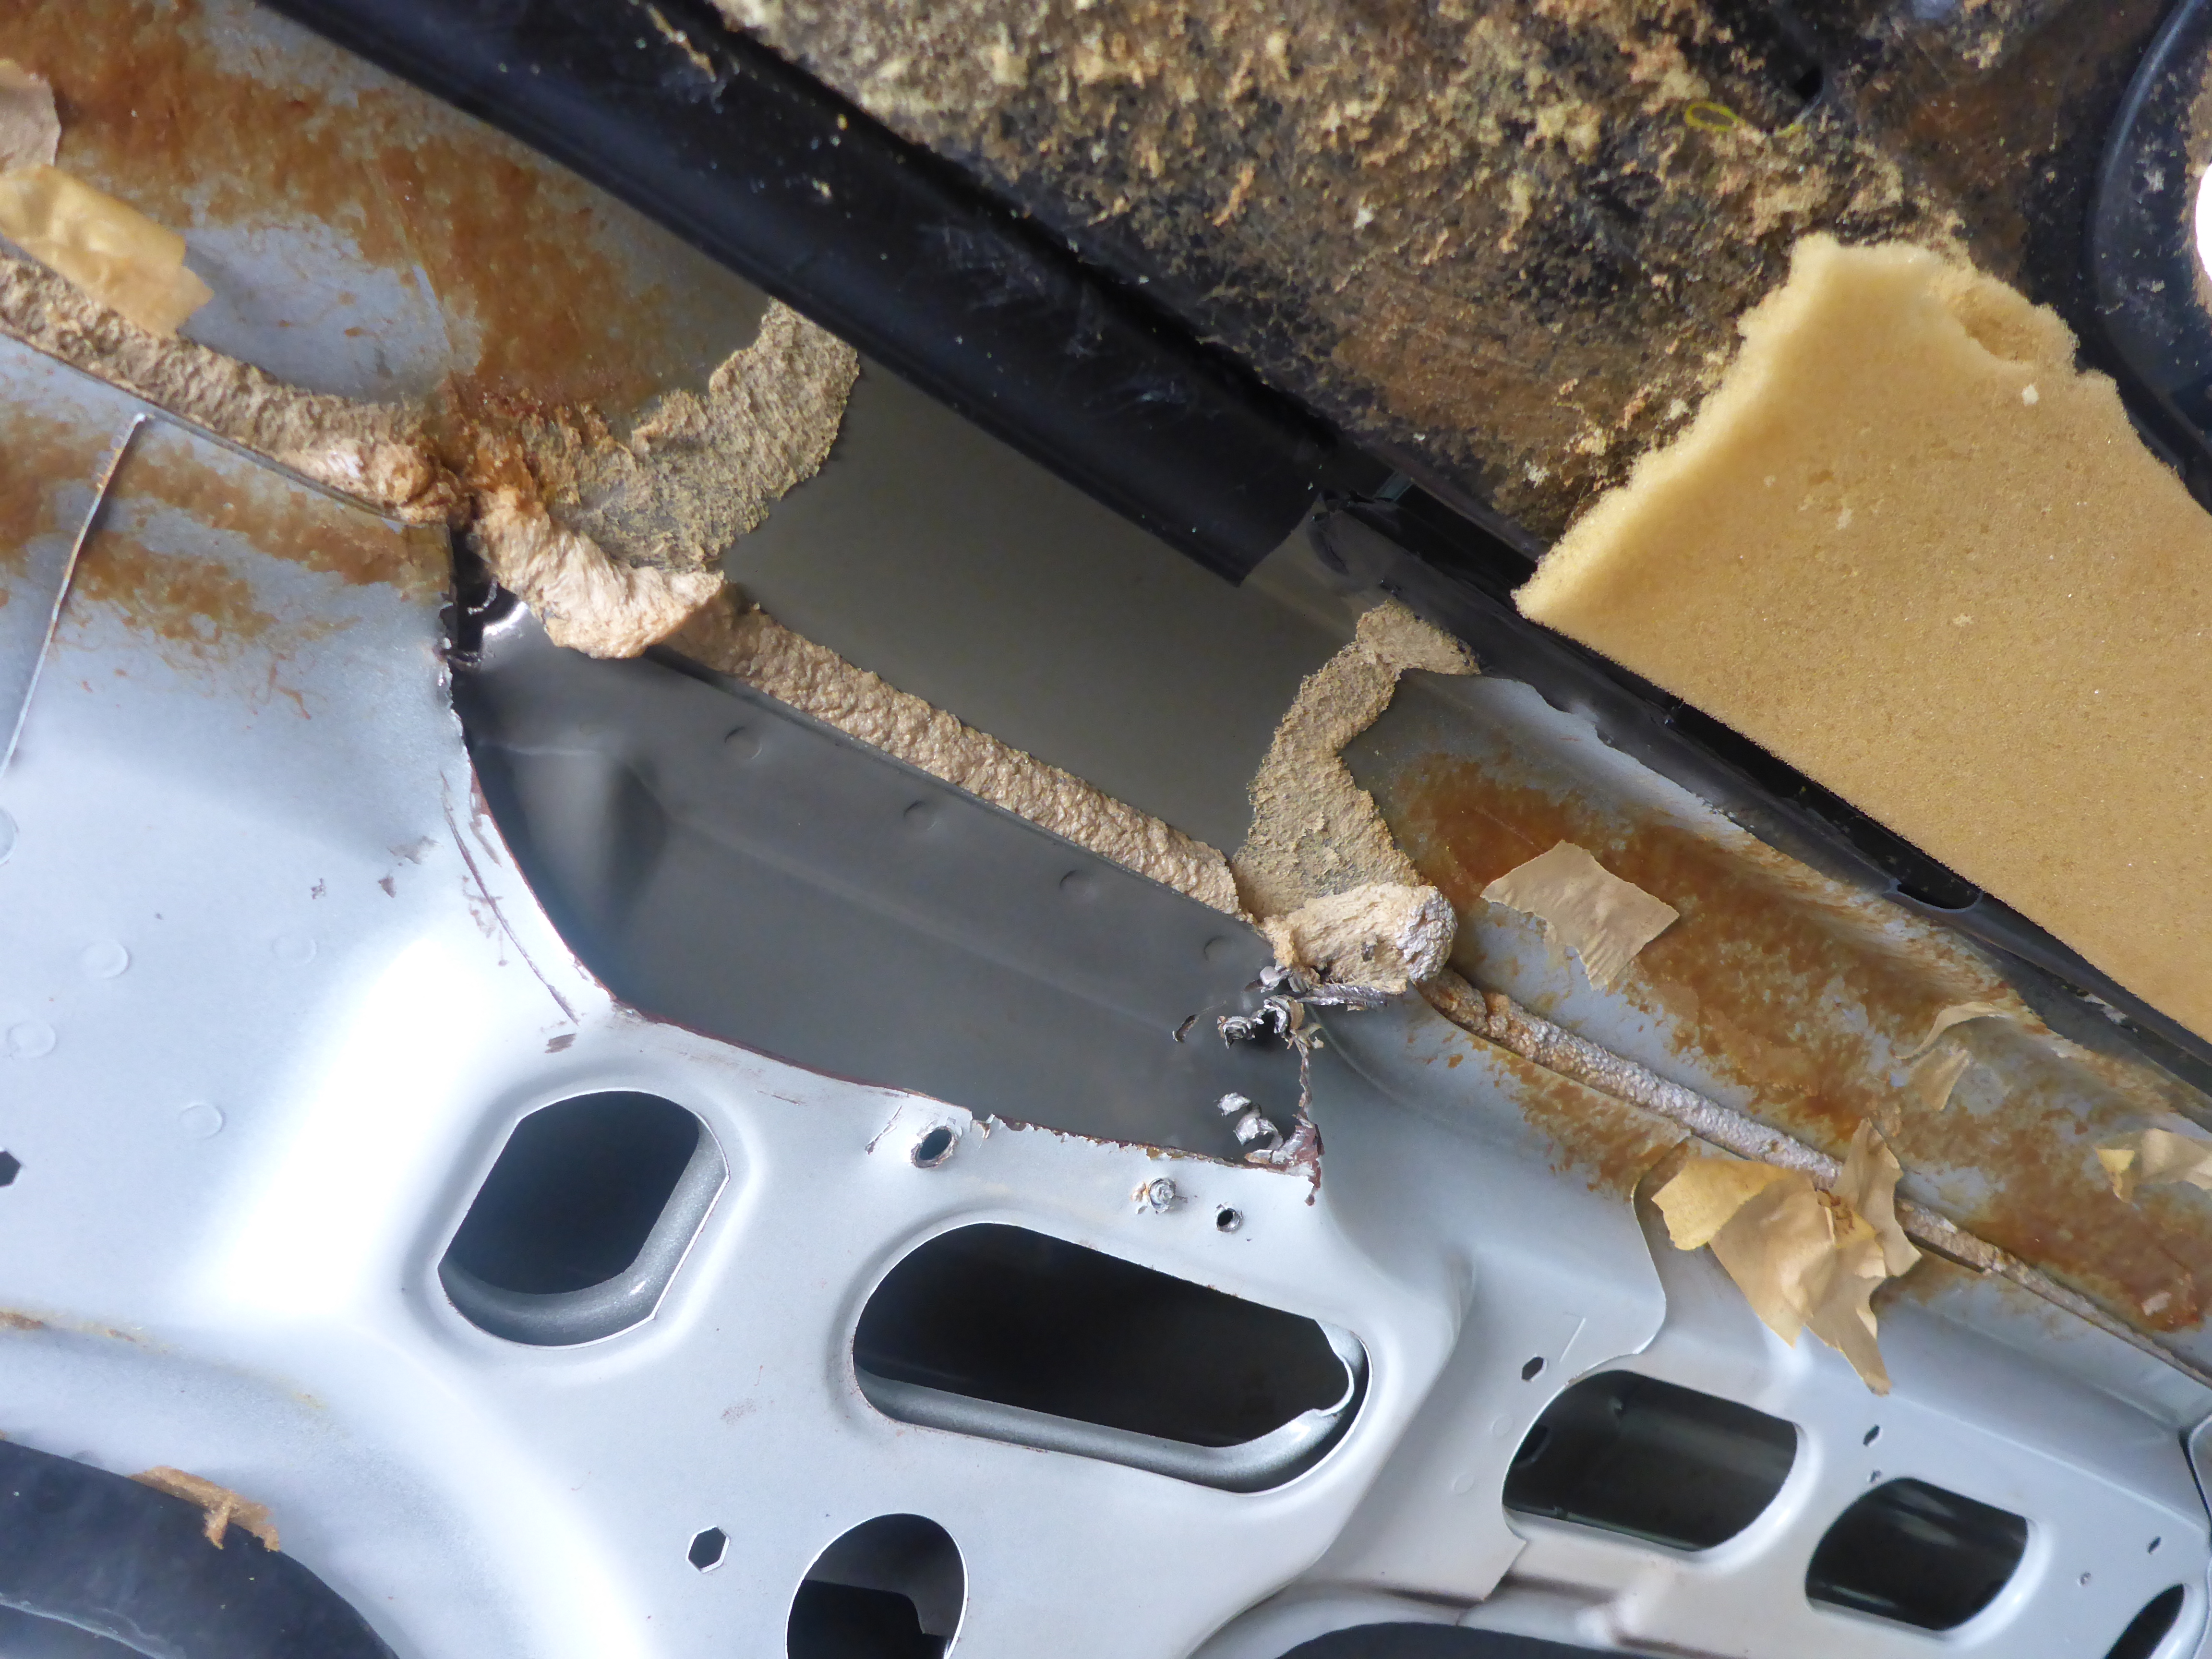
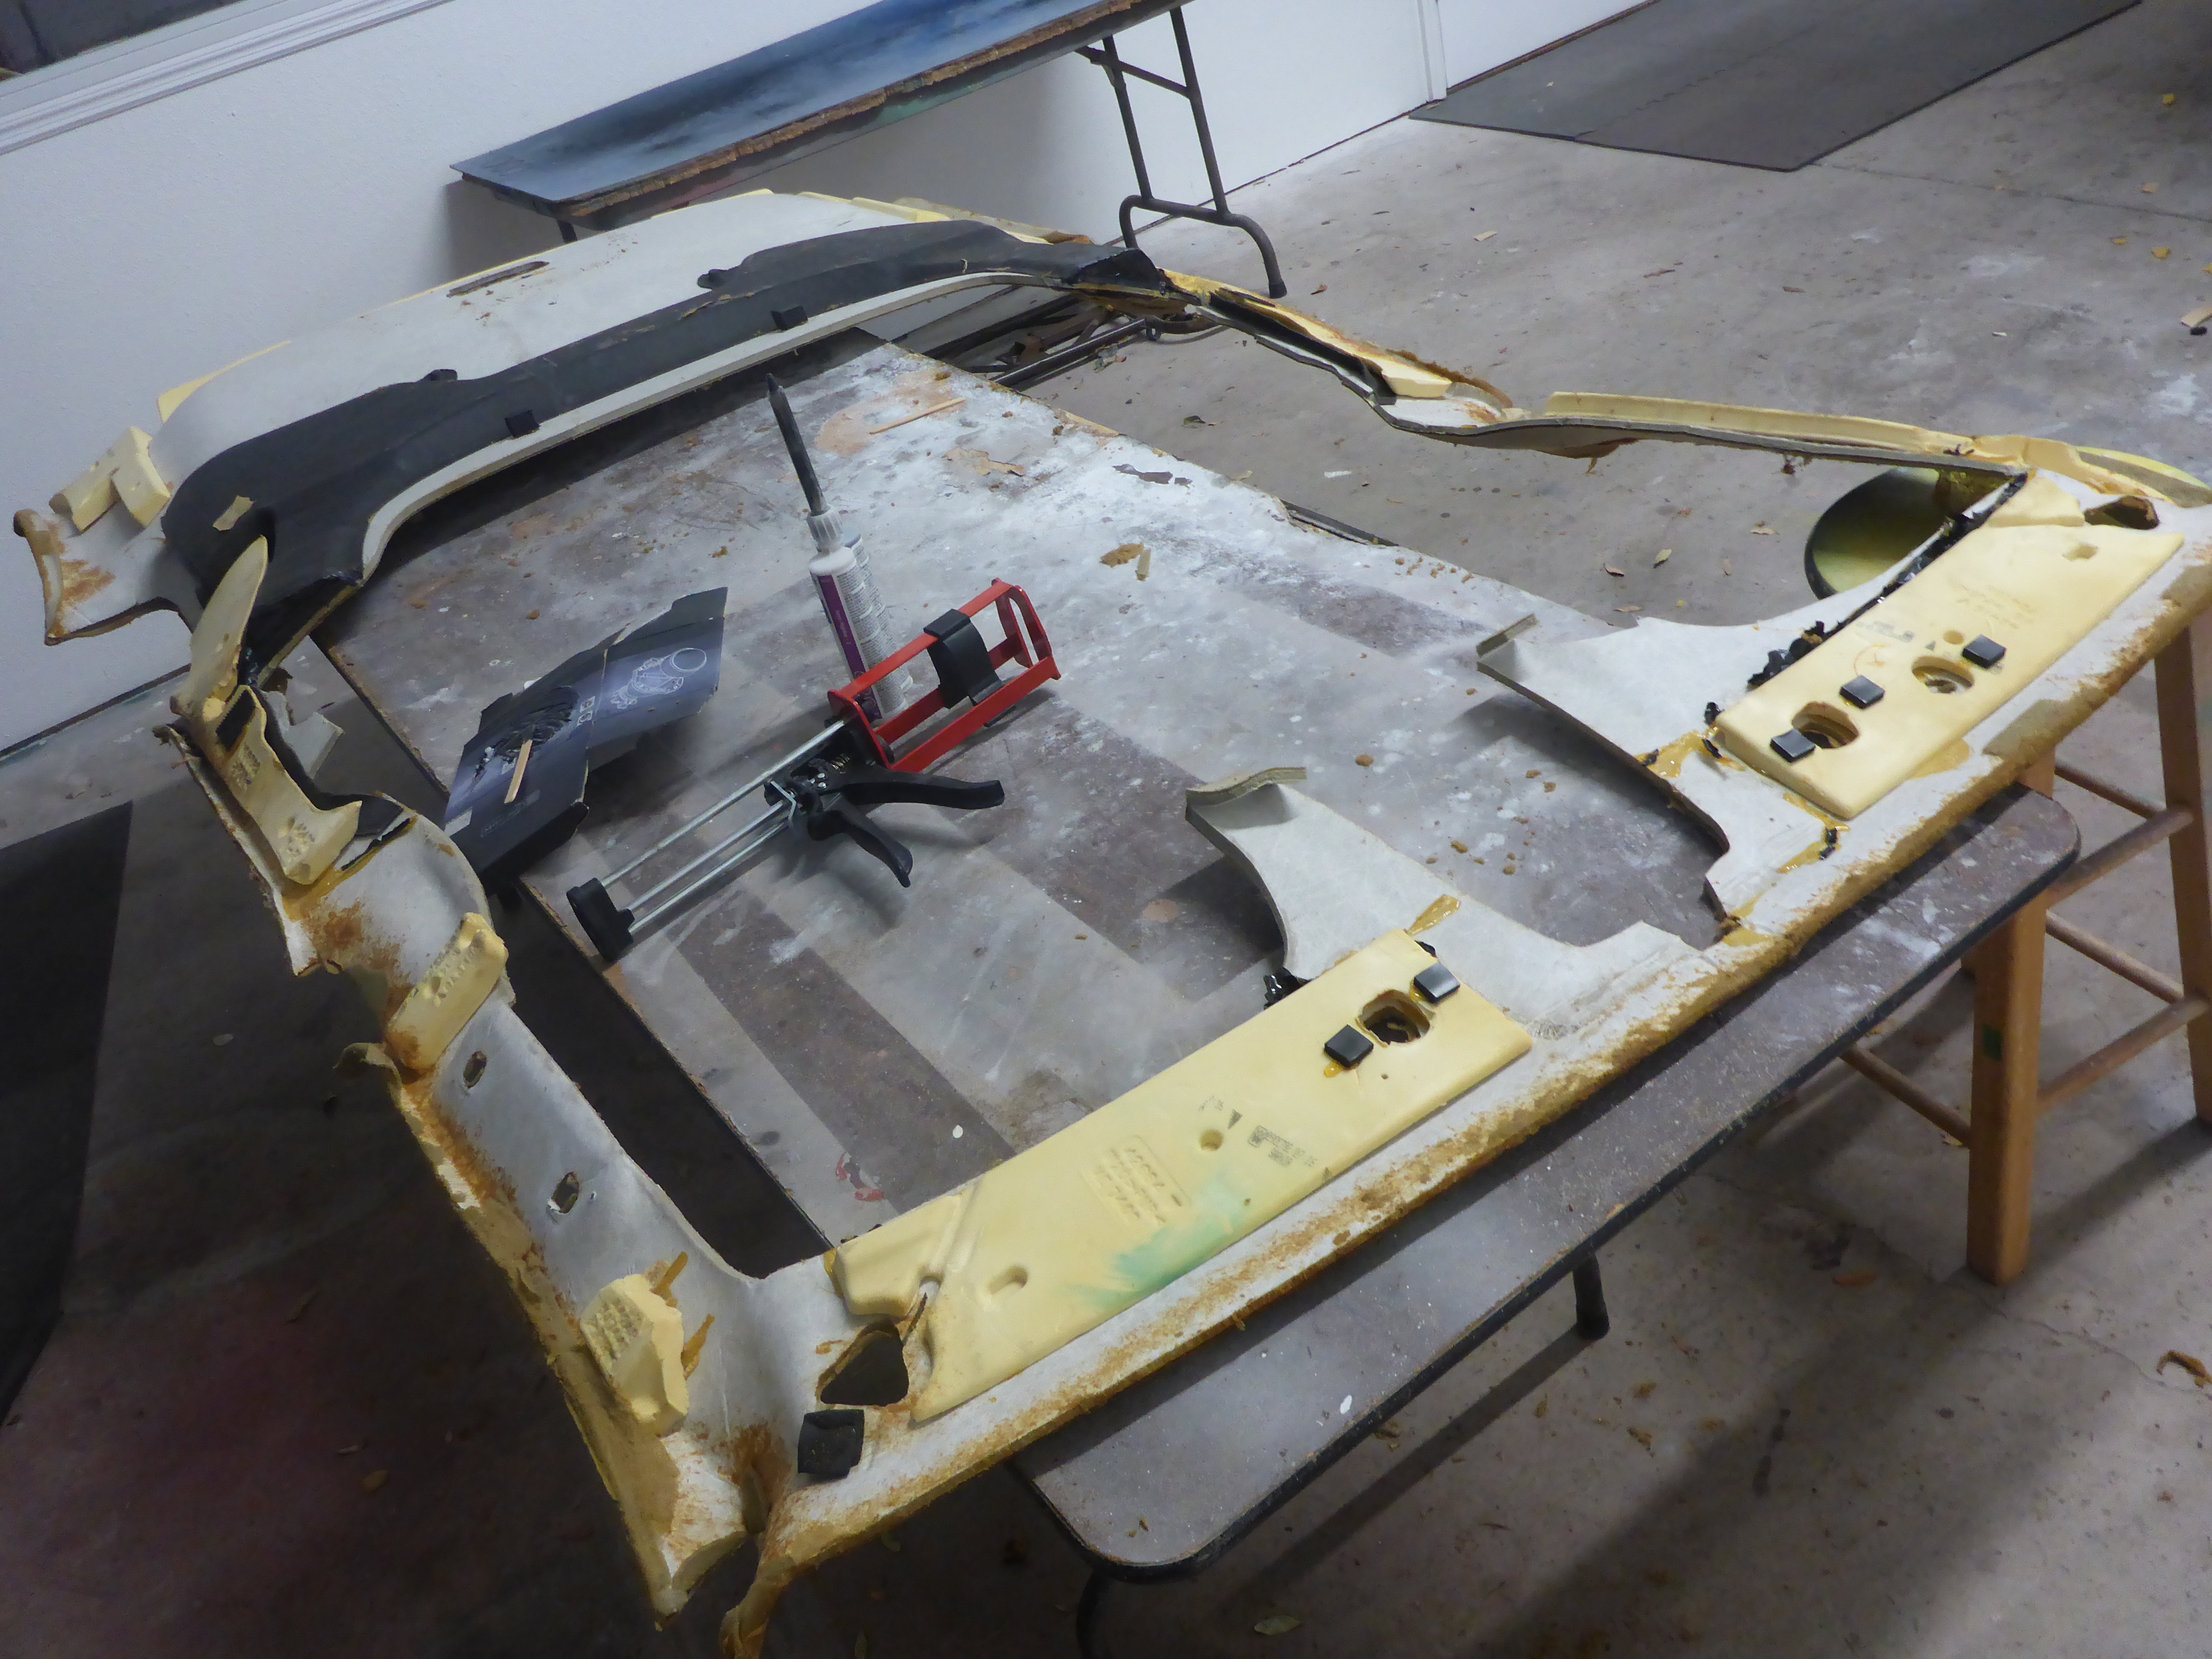
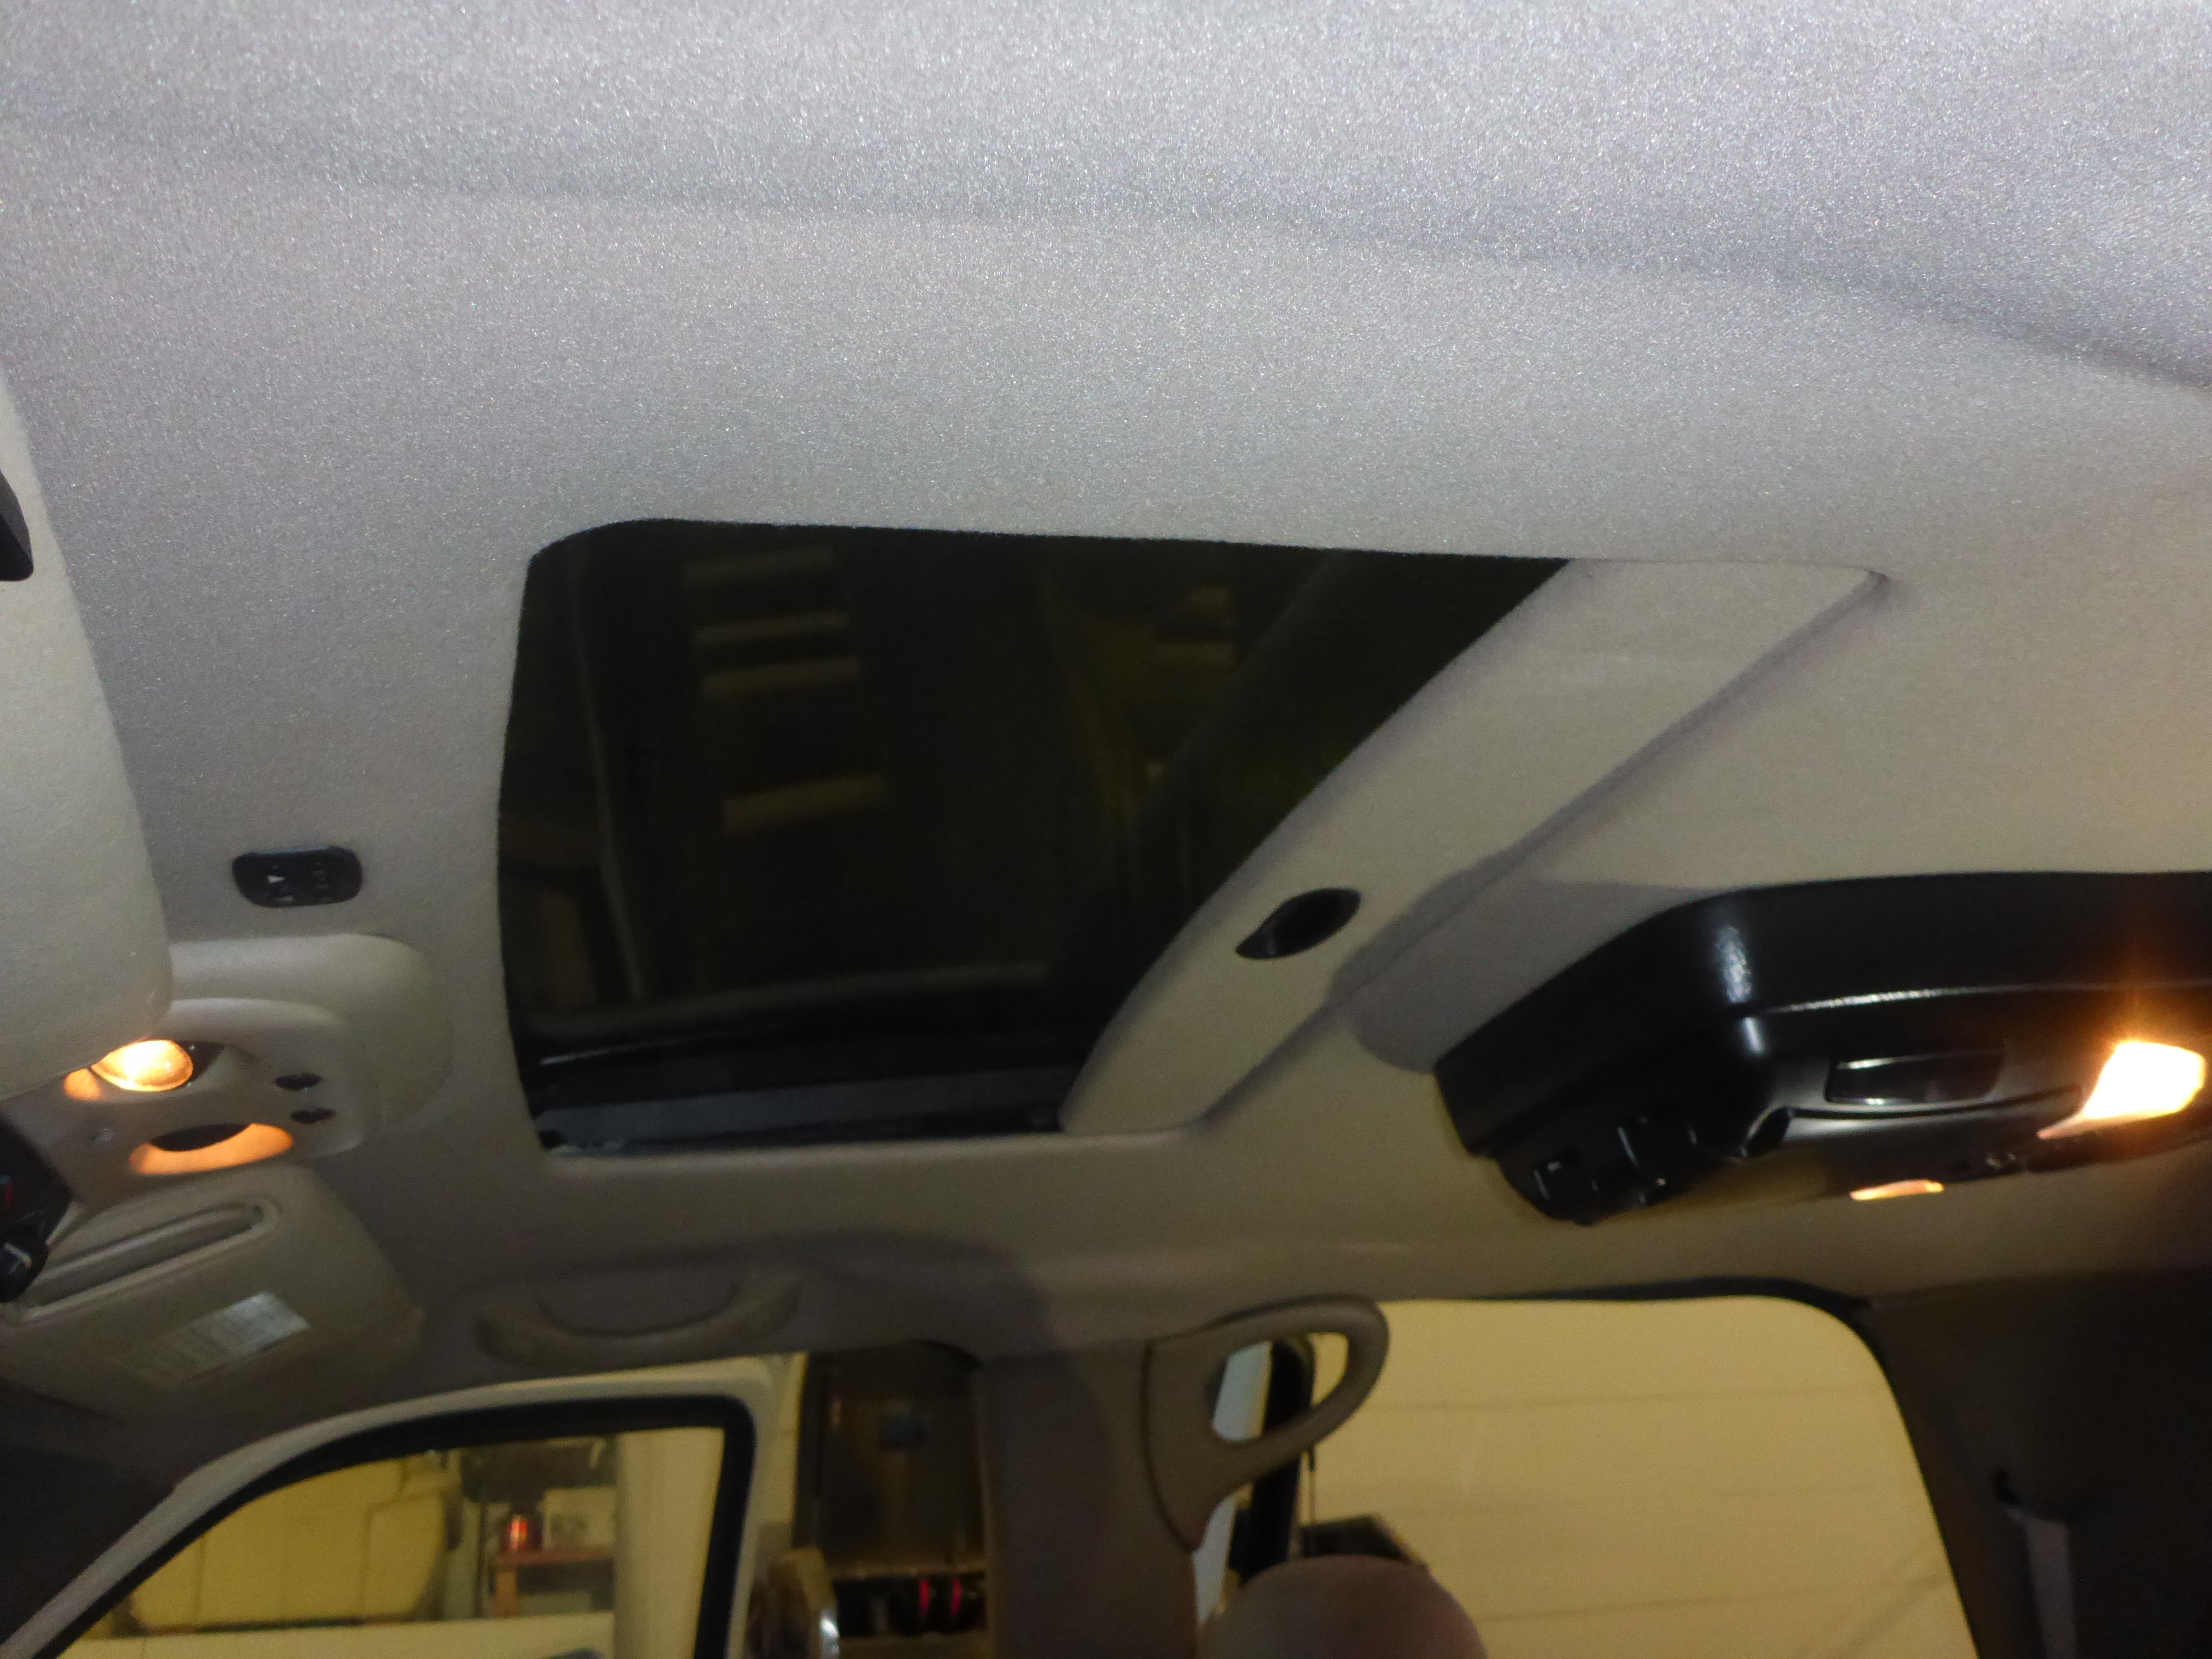
The first and most critical problem here was an ‘occasionally leaky sunroof’. What I discovered behind the scenes was frightening. Aftermarket sunroof installations are not for the faint-hearted or the inexperienced. These types of installs cannot be rushed and corners cannot not be cut. Yet, of course, there are bad installations out there. Yup, this was one of them. In this situation, the sunroof had completely separated from the roof skin, leaving a good 1/2″ gap between the outside air and the space above the headliner. So first thing’s first: gotta repair that! I used an appropriate metal-to-metal bonding epoxy and resealed the sunroof to the roof skin. Here it is being propped into place for the lengthy curing process.
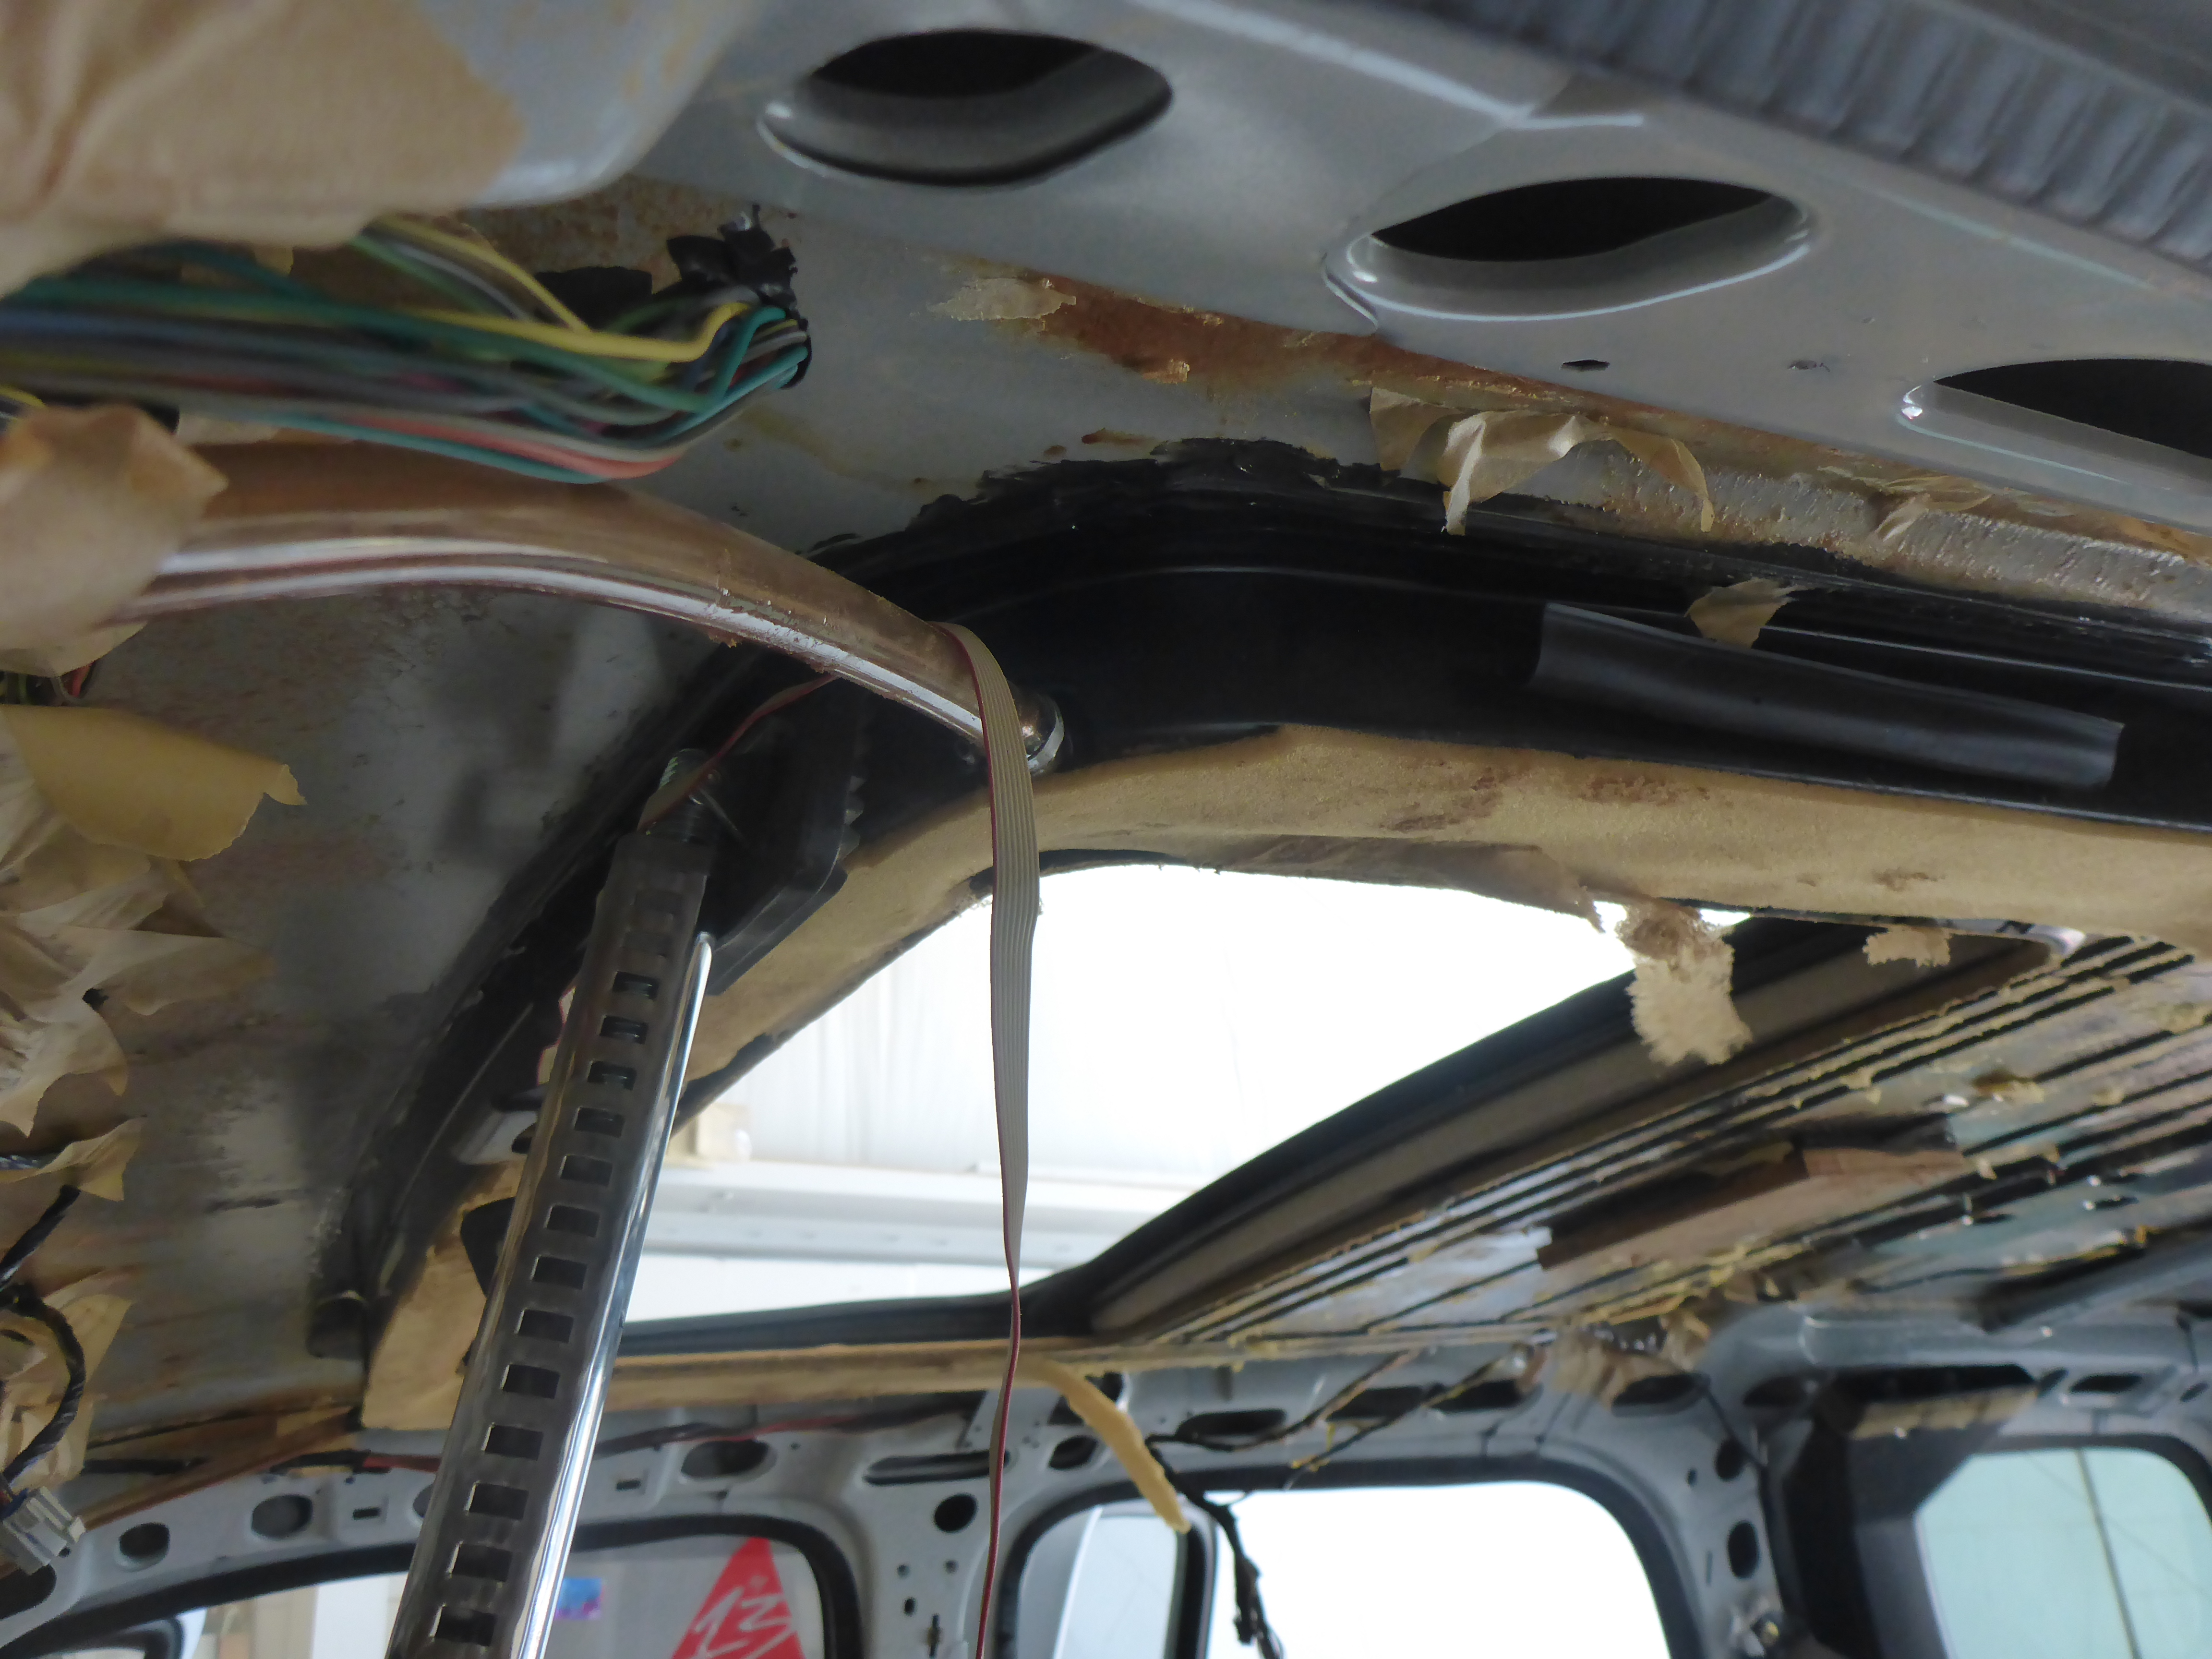
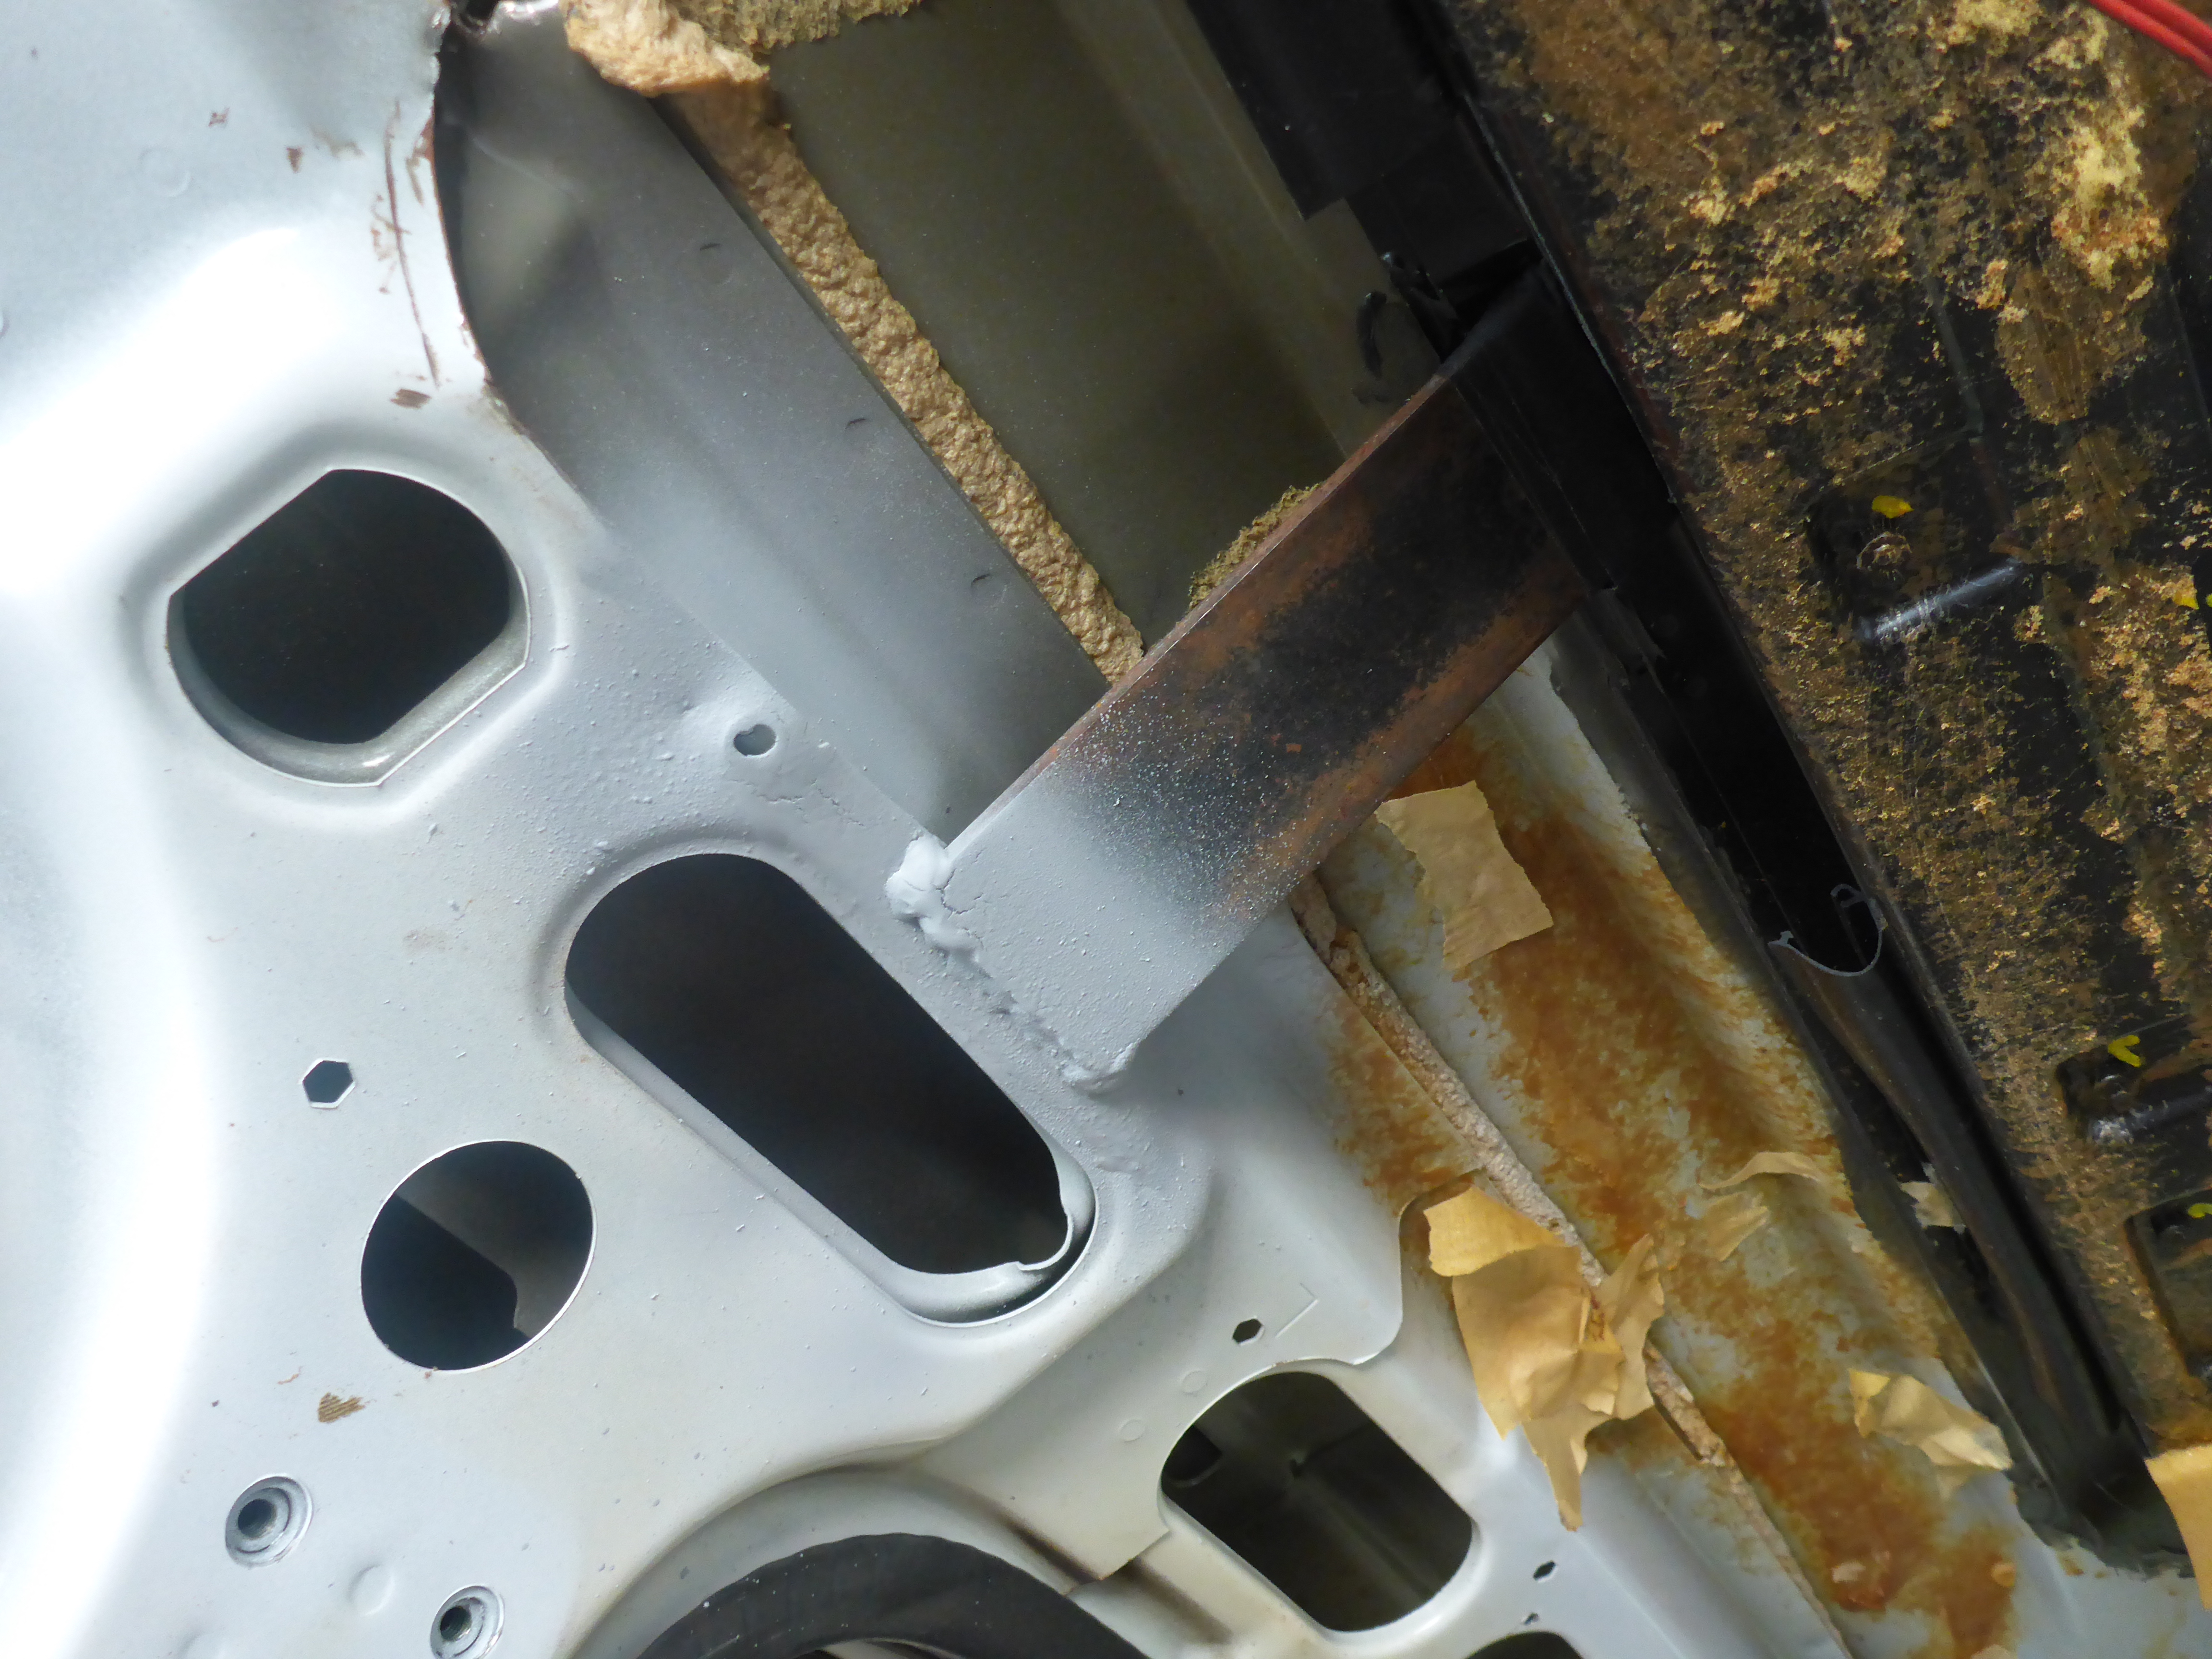
Then to address WHY the sunroof assembly had separated. It didn’t take long to find the culprit: They didn’t brace the driver side with any support to hold the weight of the sunroof. The passenger side was supported and it was clear they had attempted on the driver side but apparently just gave up and moved on. Well that’s no good. You can’t rely on an adhesive to support weight long term in a vehicle. So I welded in a nice sturdy support of some flat stock to relieve future pressure on the epoxy.
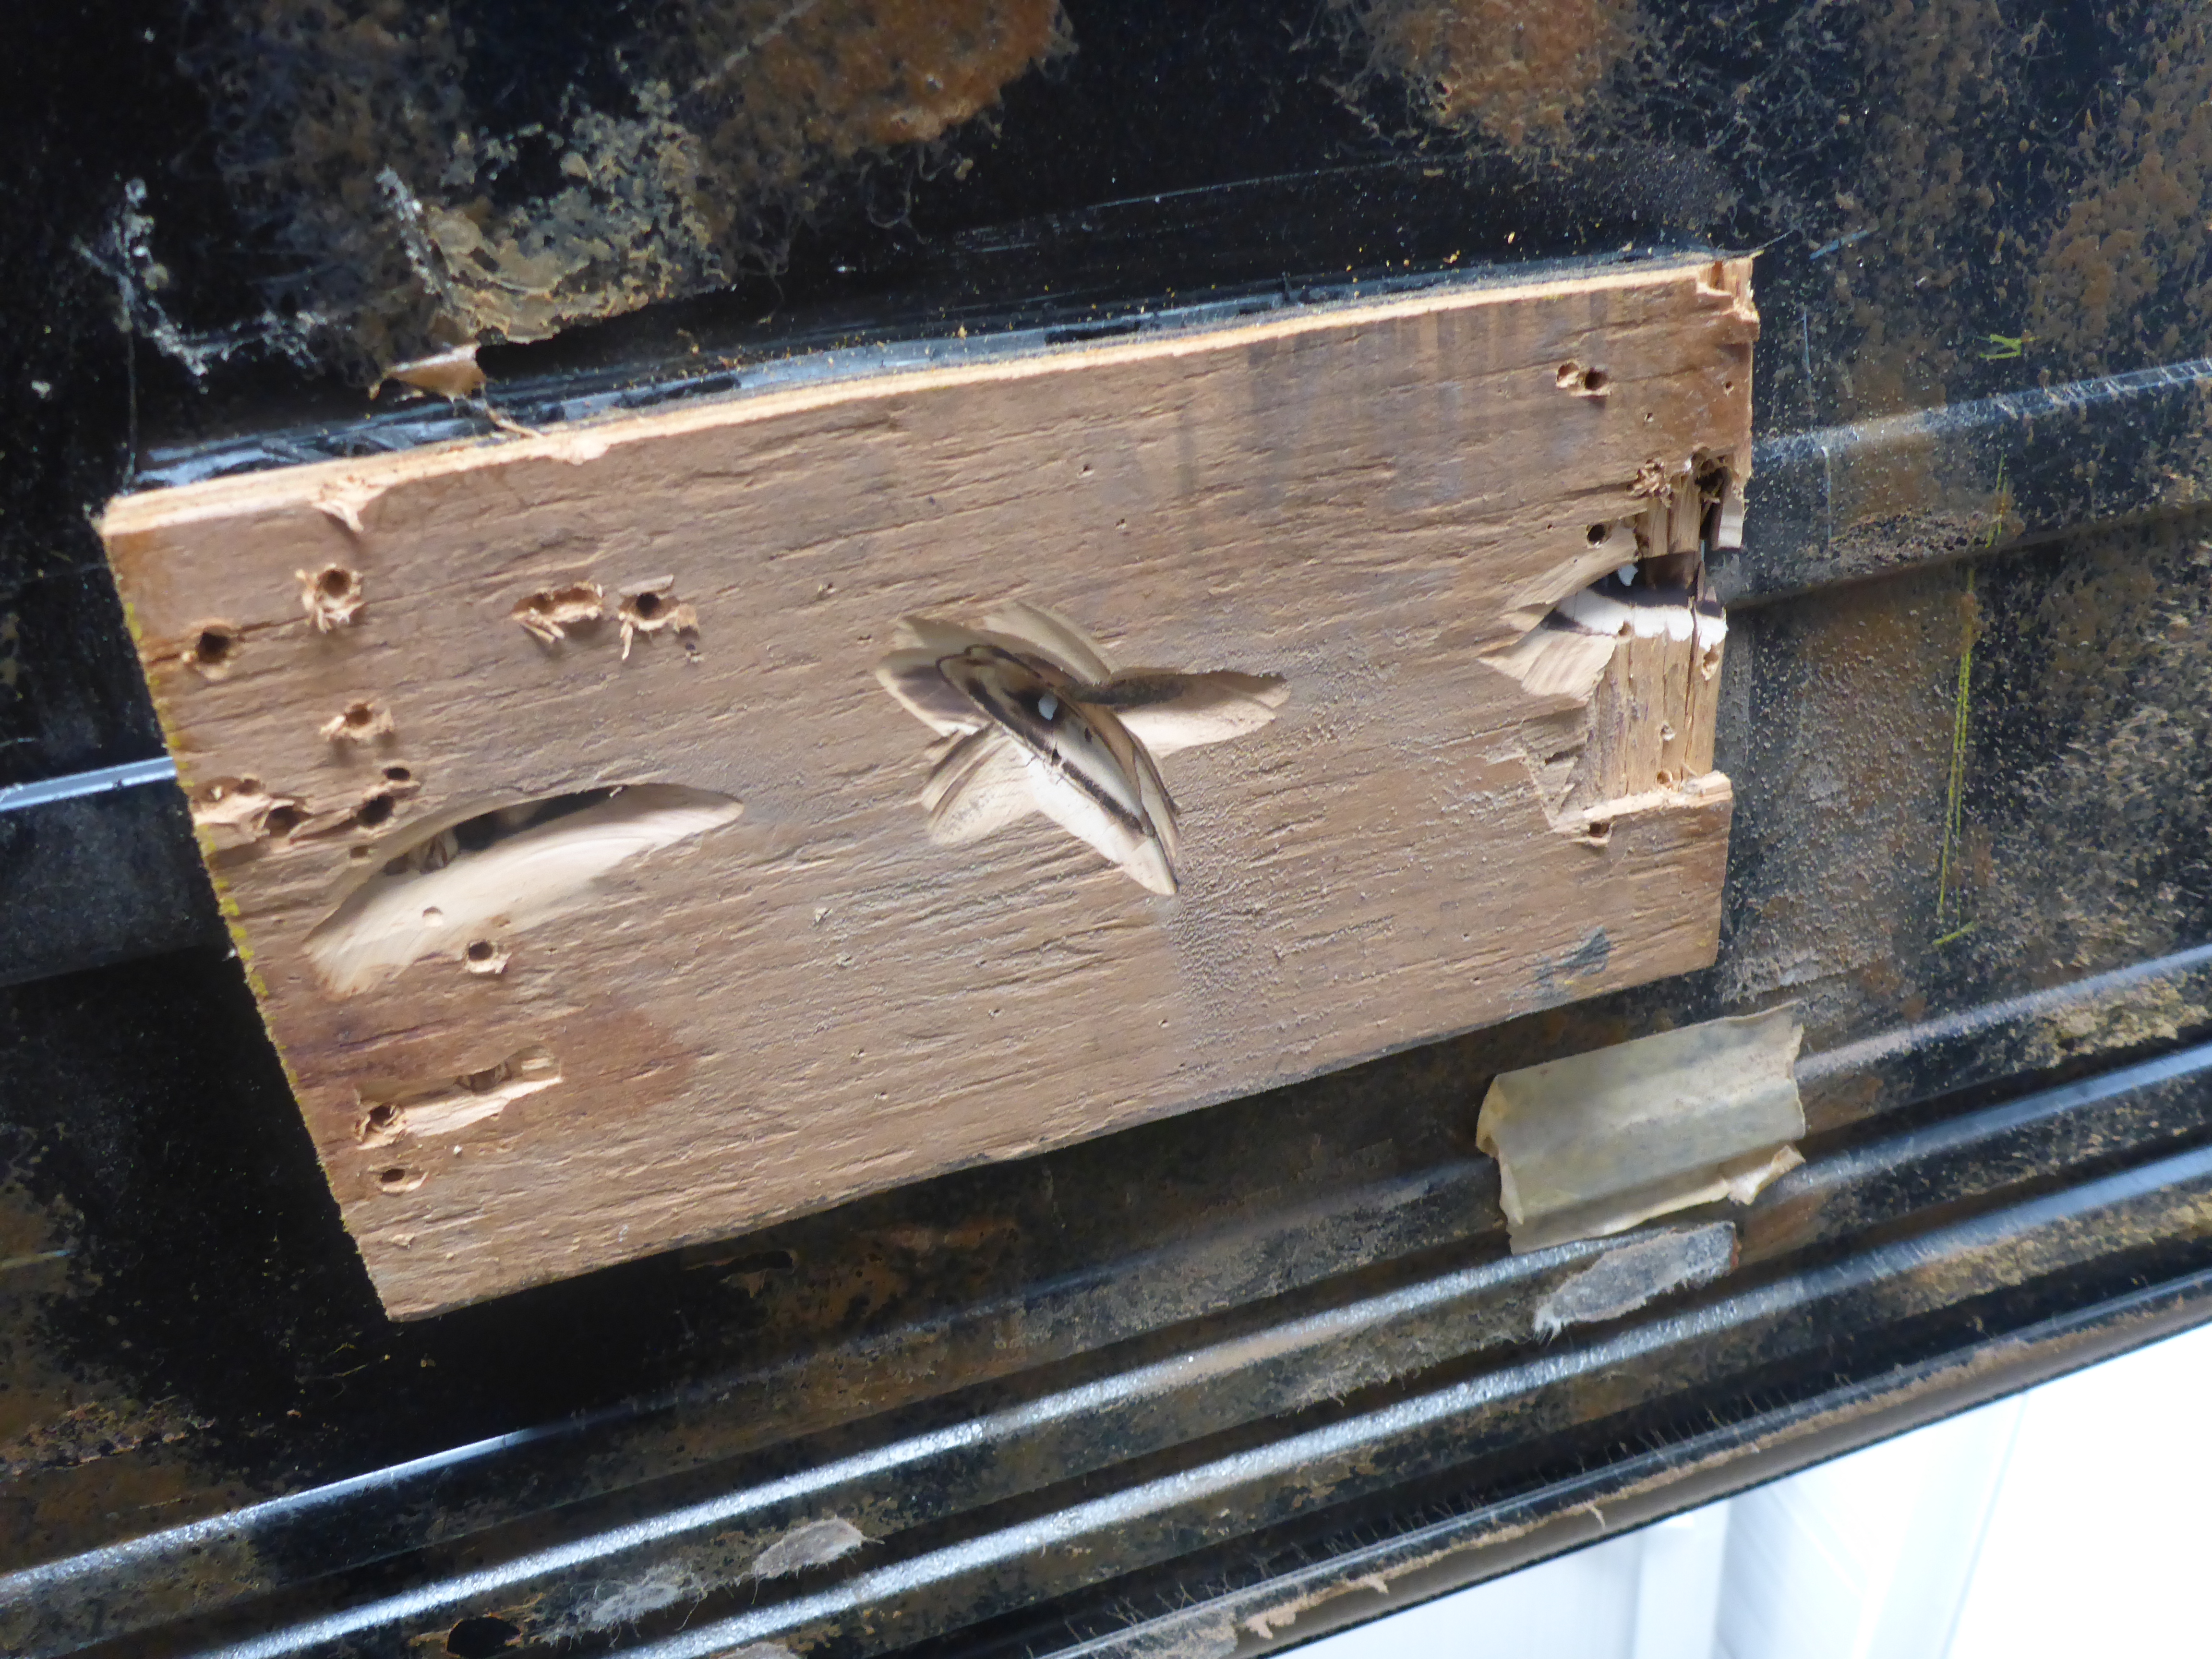
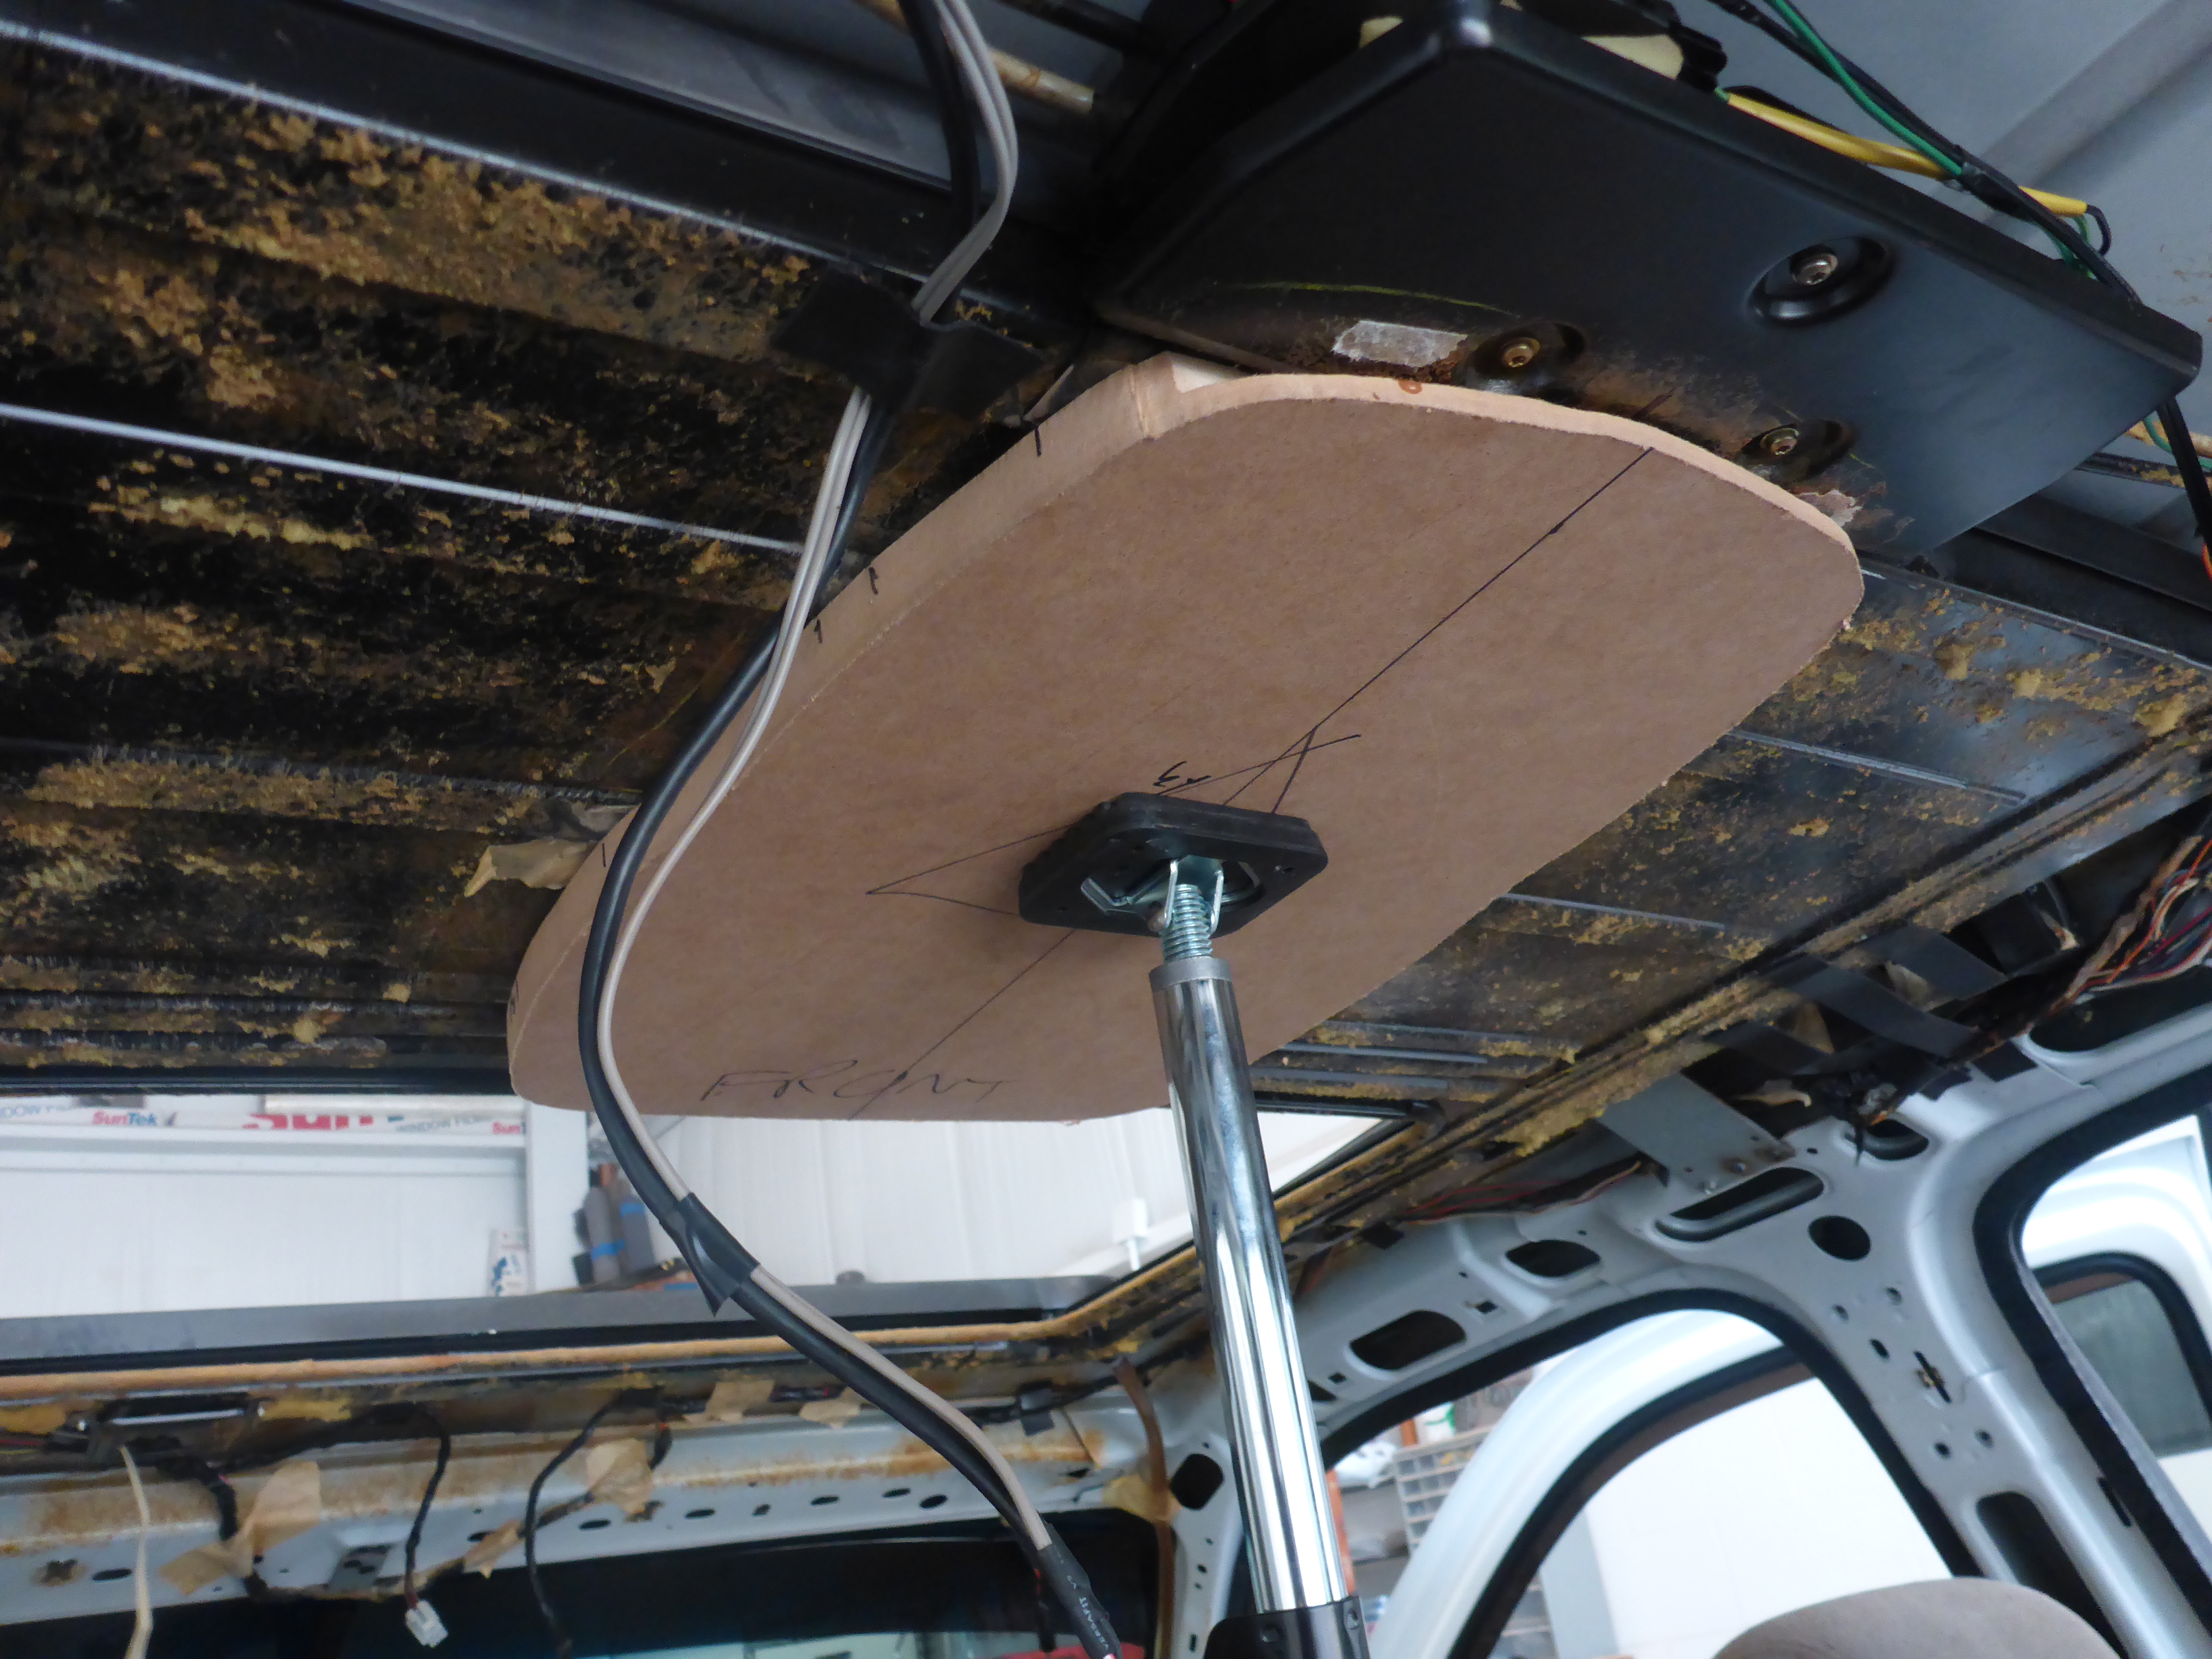
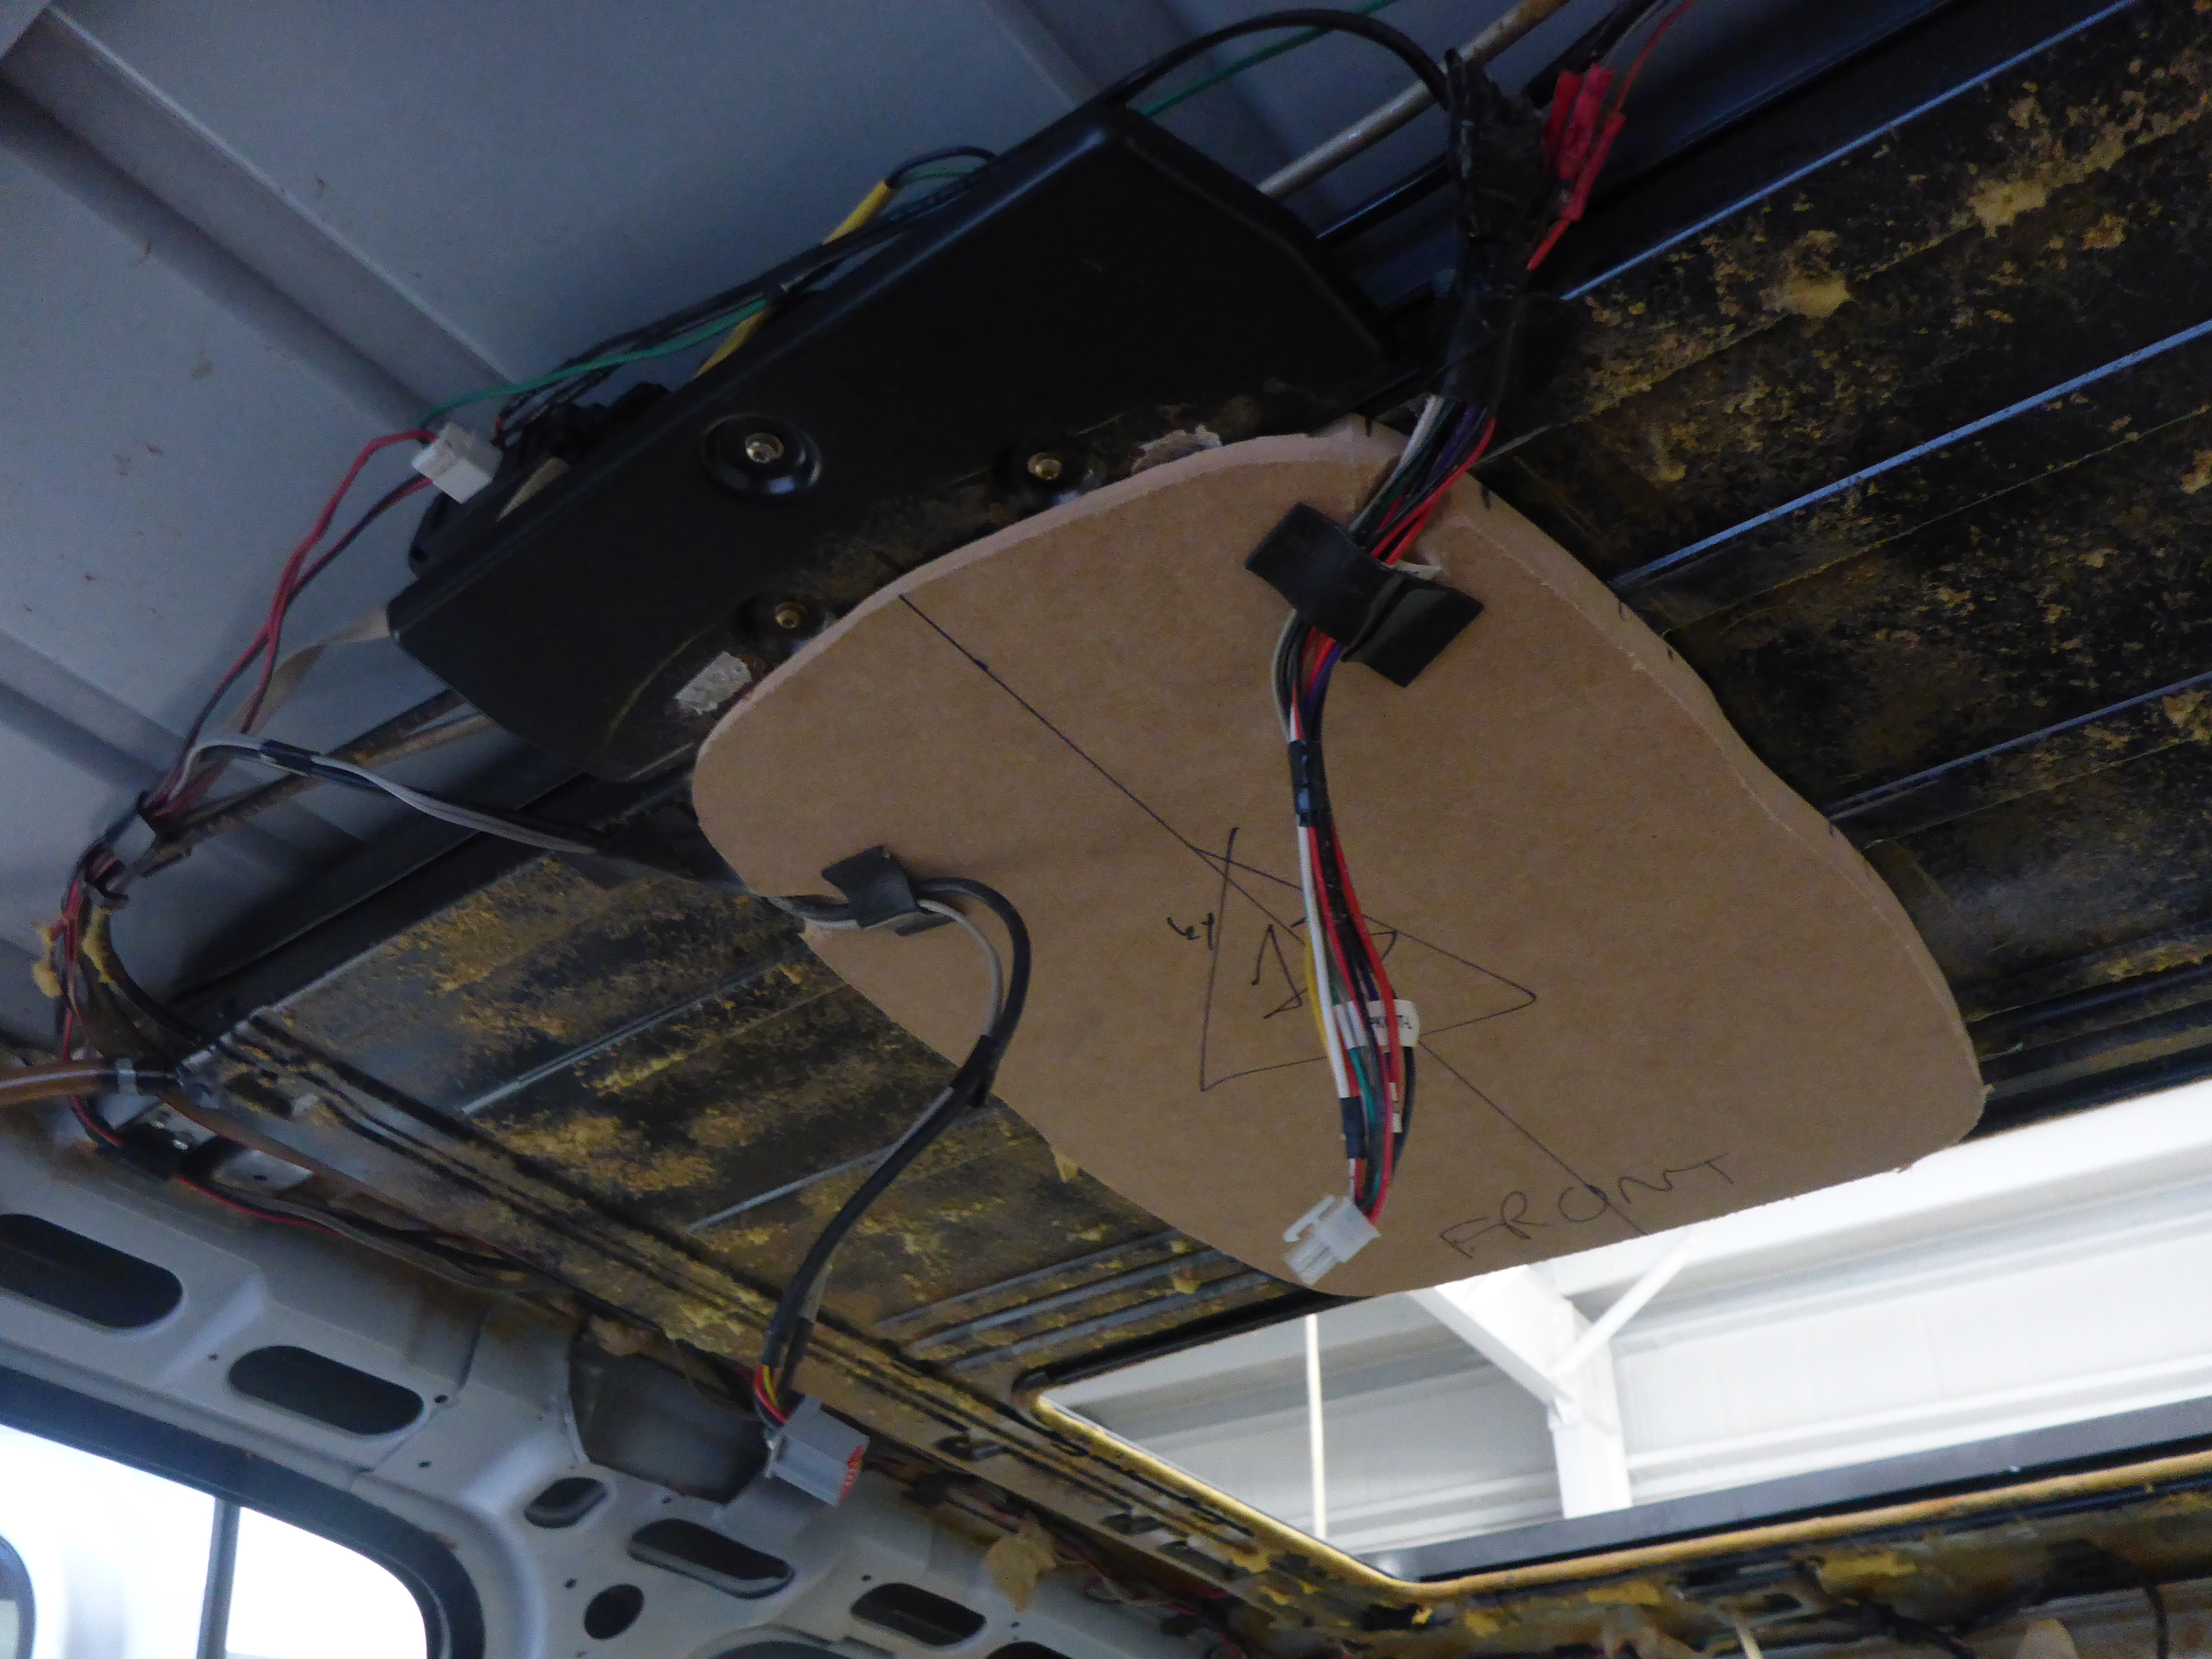
Now to address that sketchy drop down monitor mount. They had screwed in some plywood from the top (clearly some bad foresight) so I had to grind away the threads so that I could pry out the worthless wood. Once that was done, I cleaned up the area and sealed the holes left behind before bonding in a solid 3/4″ piece of MDF for a mounting point. Although generally using wood in cars is discouraged, MDF makes for a very acceptable sturdy reliable mounting surface that can handle loads such as an overhead monitor. Channels were ground away so that wiring could be run without crimping.
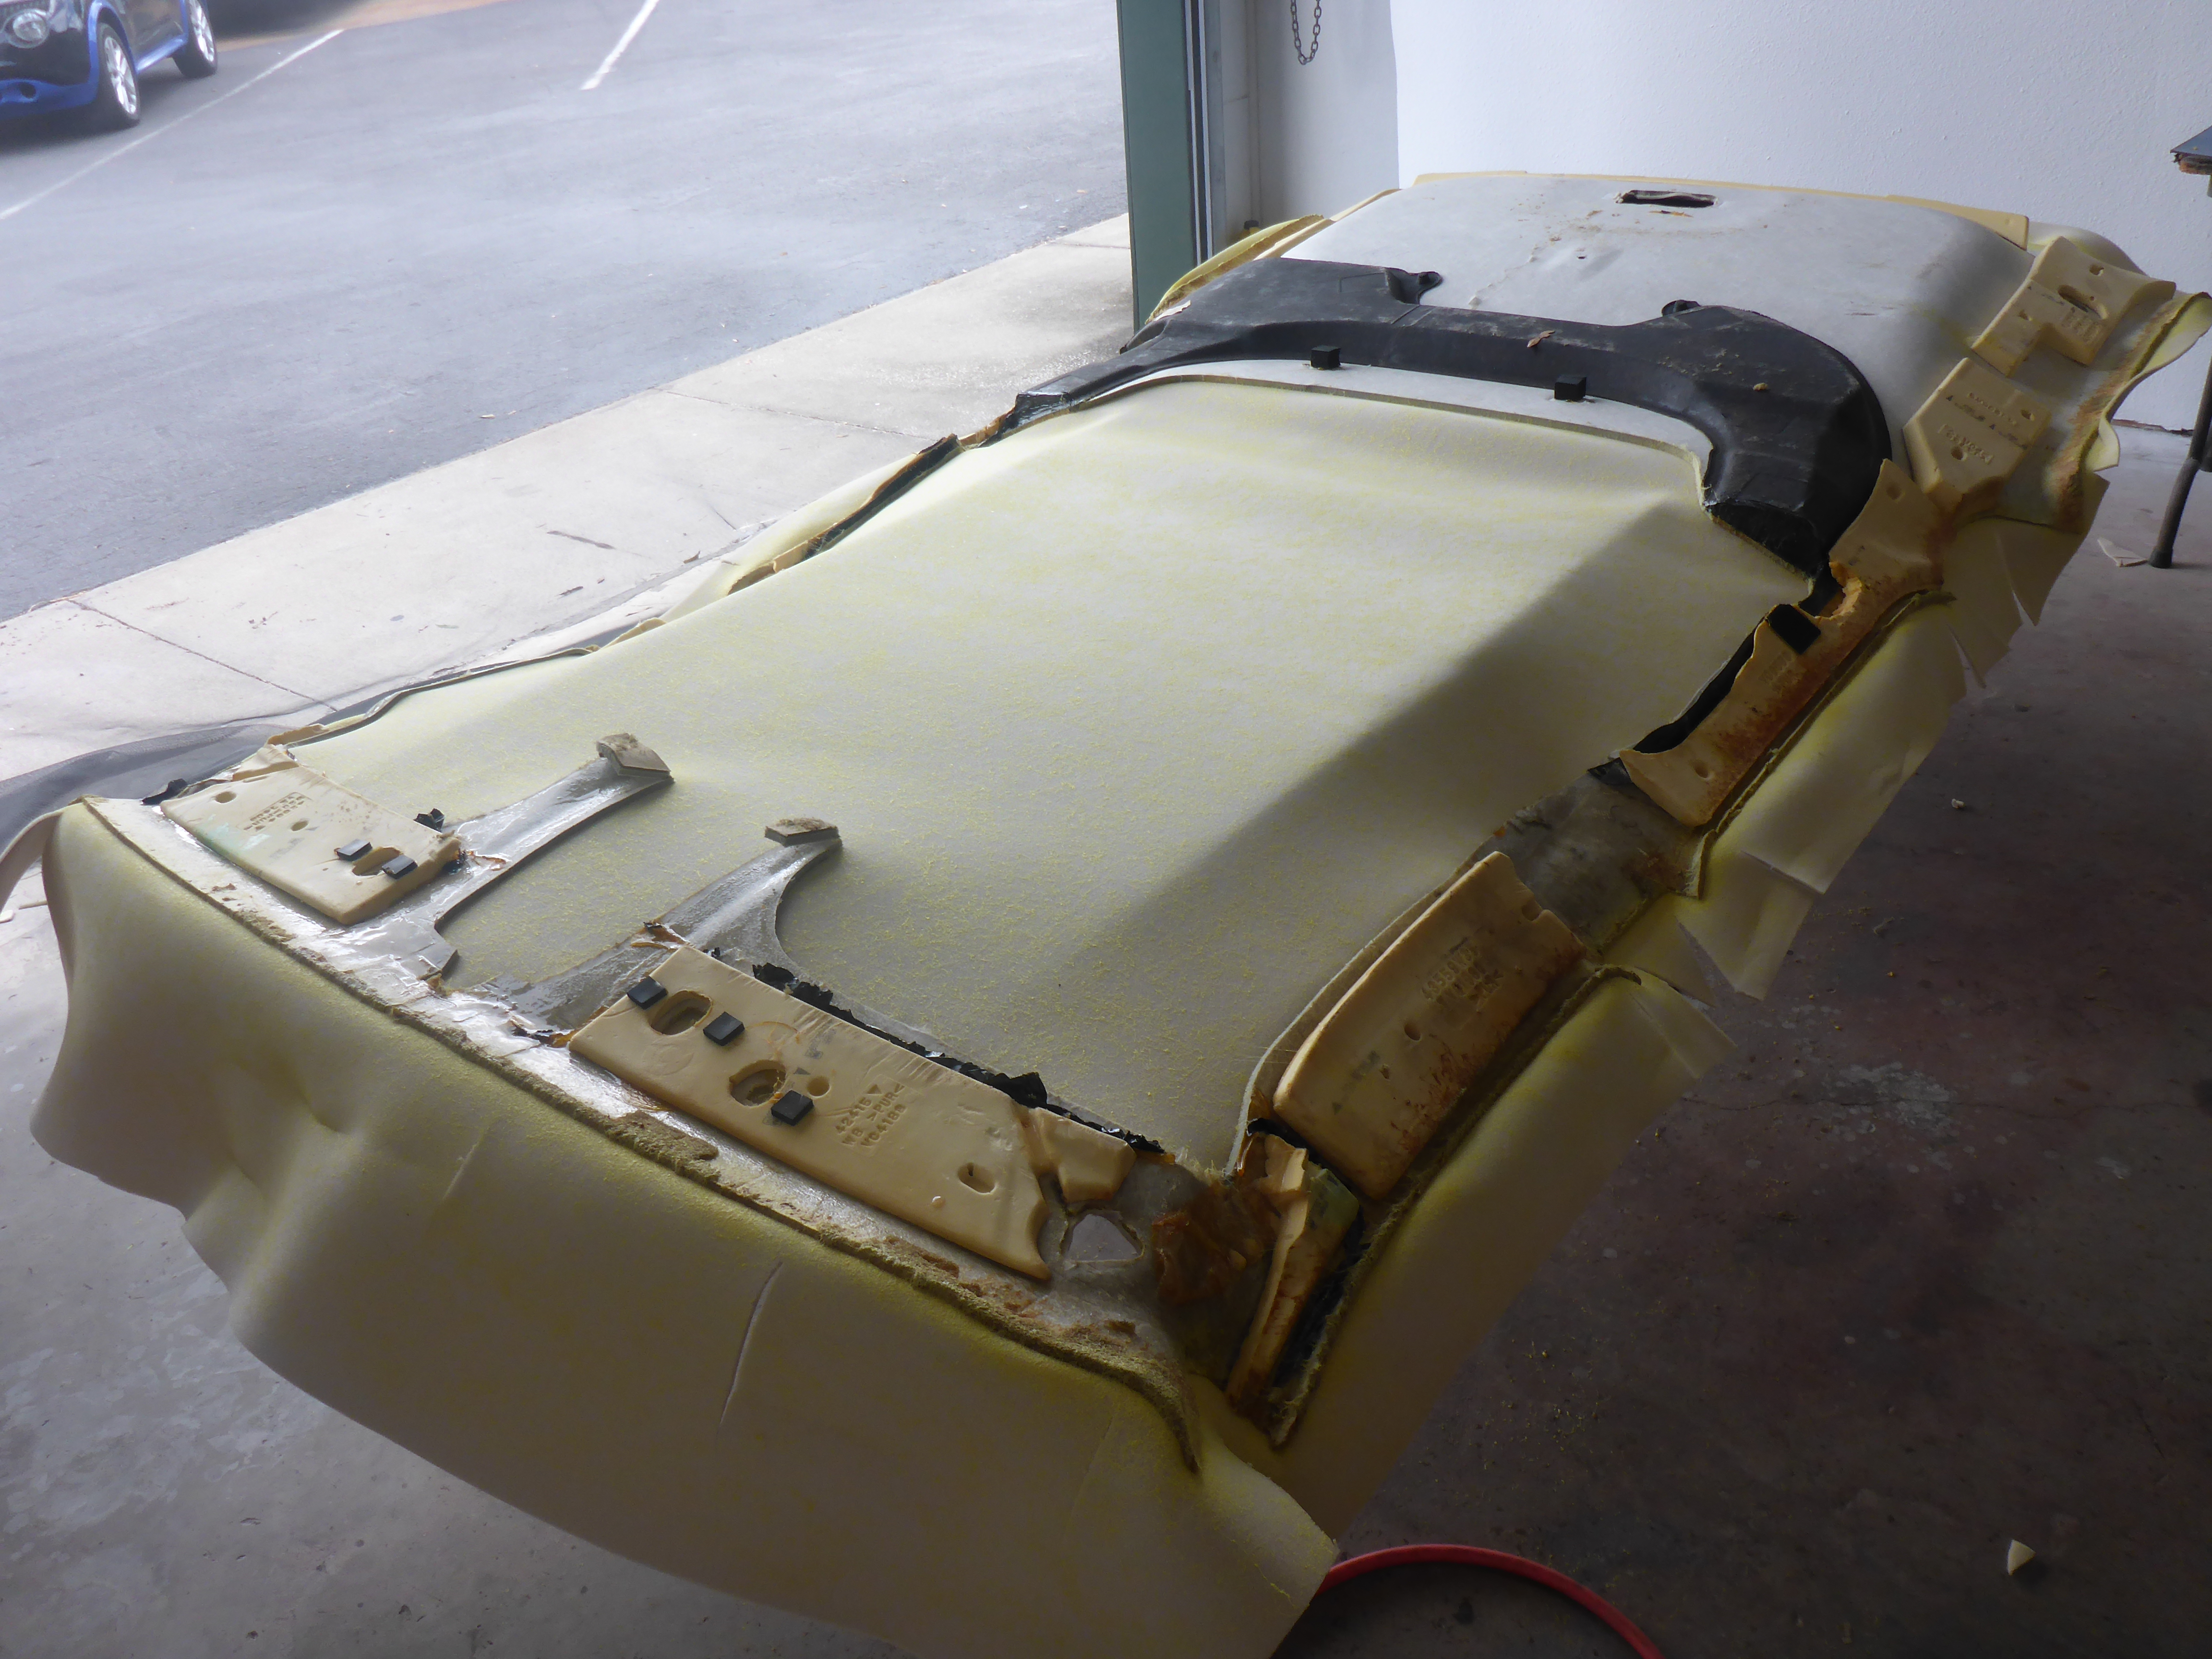
So the sunroof and the drop down monitor had been addressed. Now onto the headliner! It had been severely damaged and was suffering from a lot of unnecessary cuts, material removal, and drill holes. Once it was out, the mystery of the stashed rear AC controls became clear: This used to have a whole rear ceiling ac ductwork system that had been cut out and sealed with masking tape. Masking tape, ya’ll. Seriously. So I removed their tape job and sealed the plastic ducts properly with a 2 part plastic epoxy. Then I had to reinforce the headliner itself since it was extremely flimsy. I soaked everything I could in fiberglass resin and reinforced it with plenty of fiberglass mat and cloth. It wasn’t bulletproof, but it was a major improvement and restored the original strength despite significant material loss.
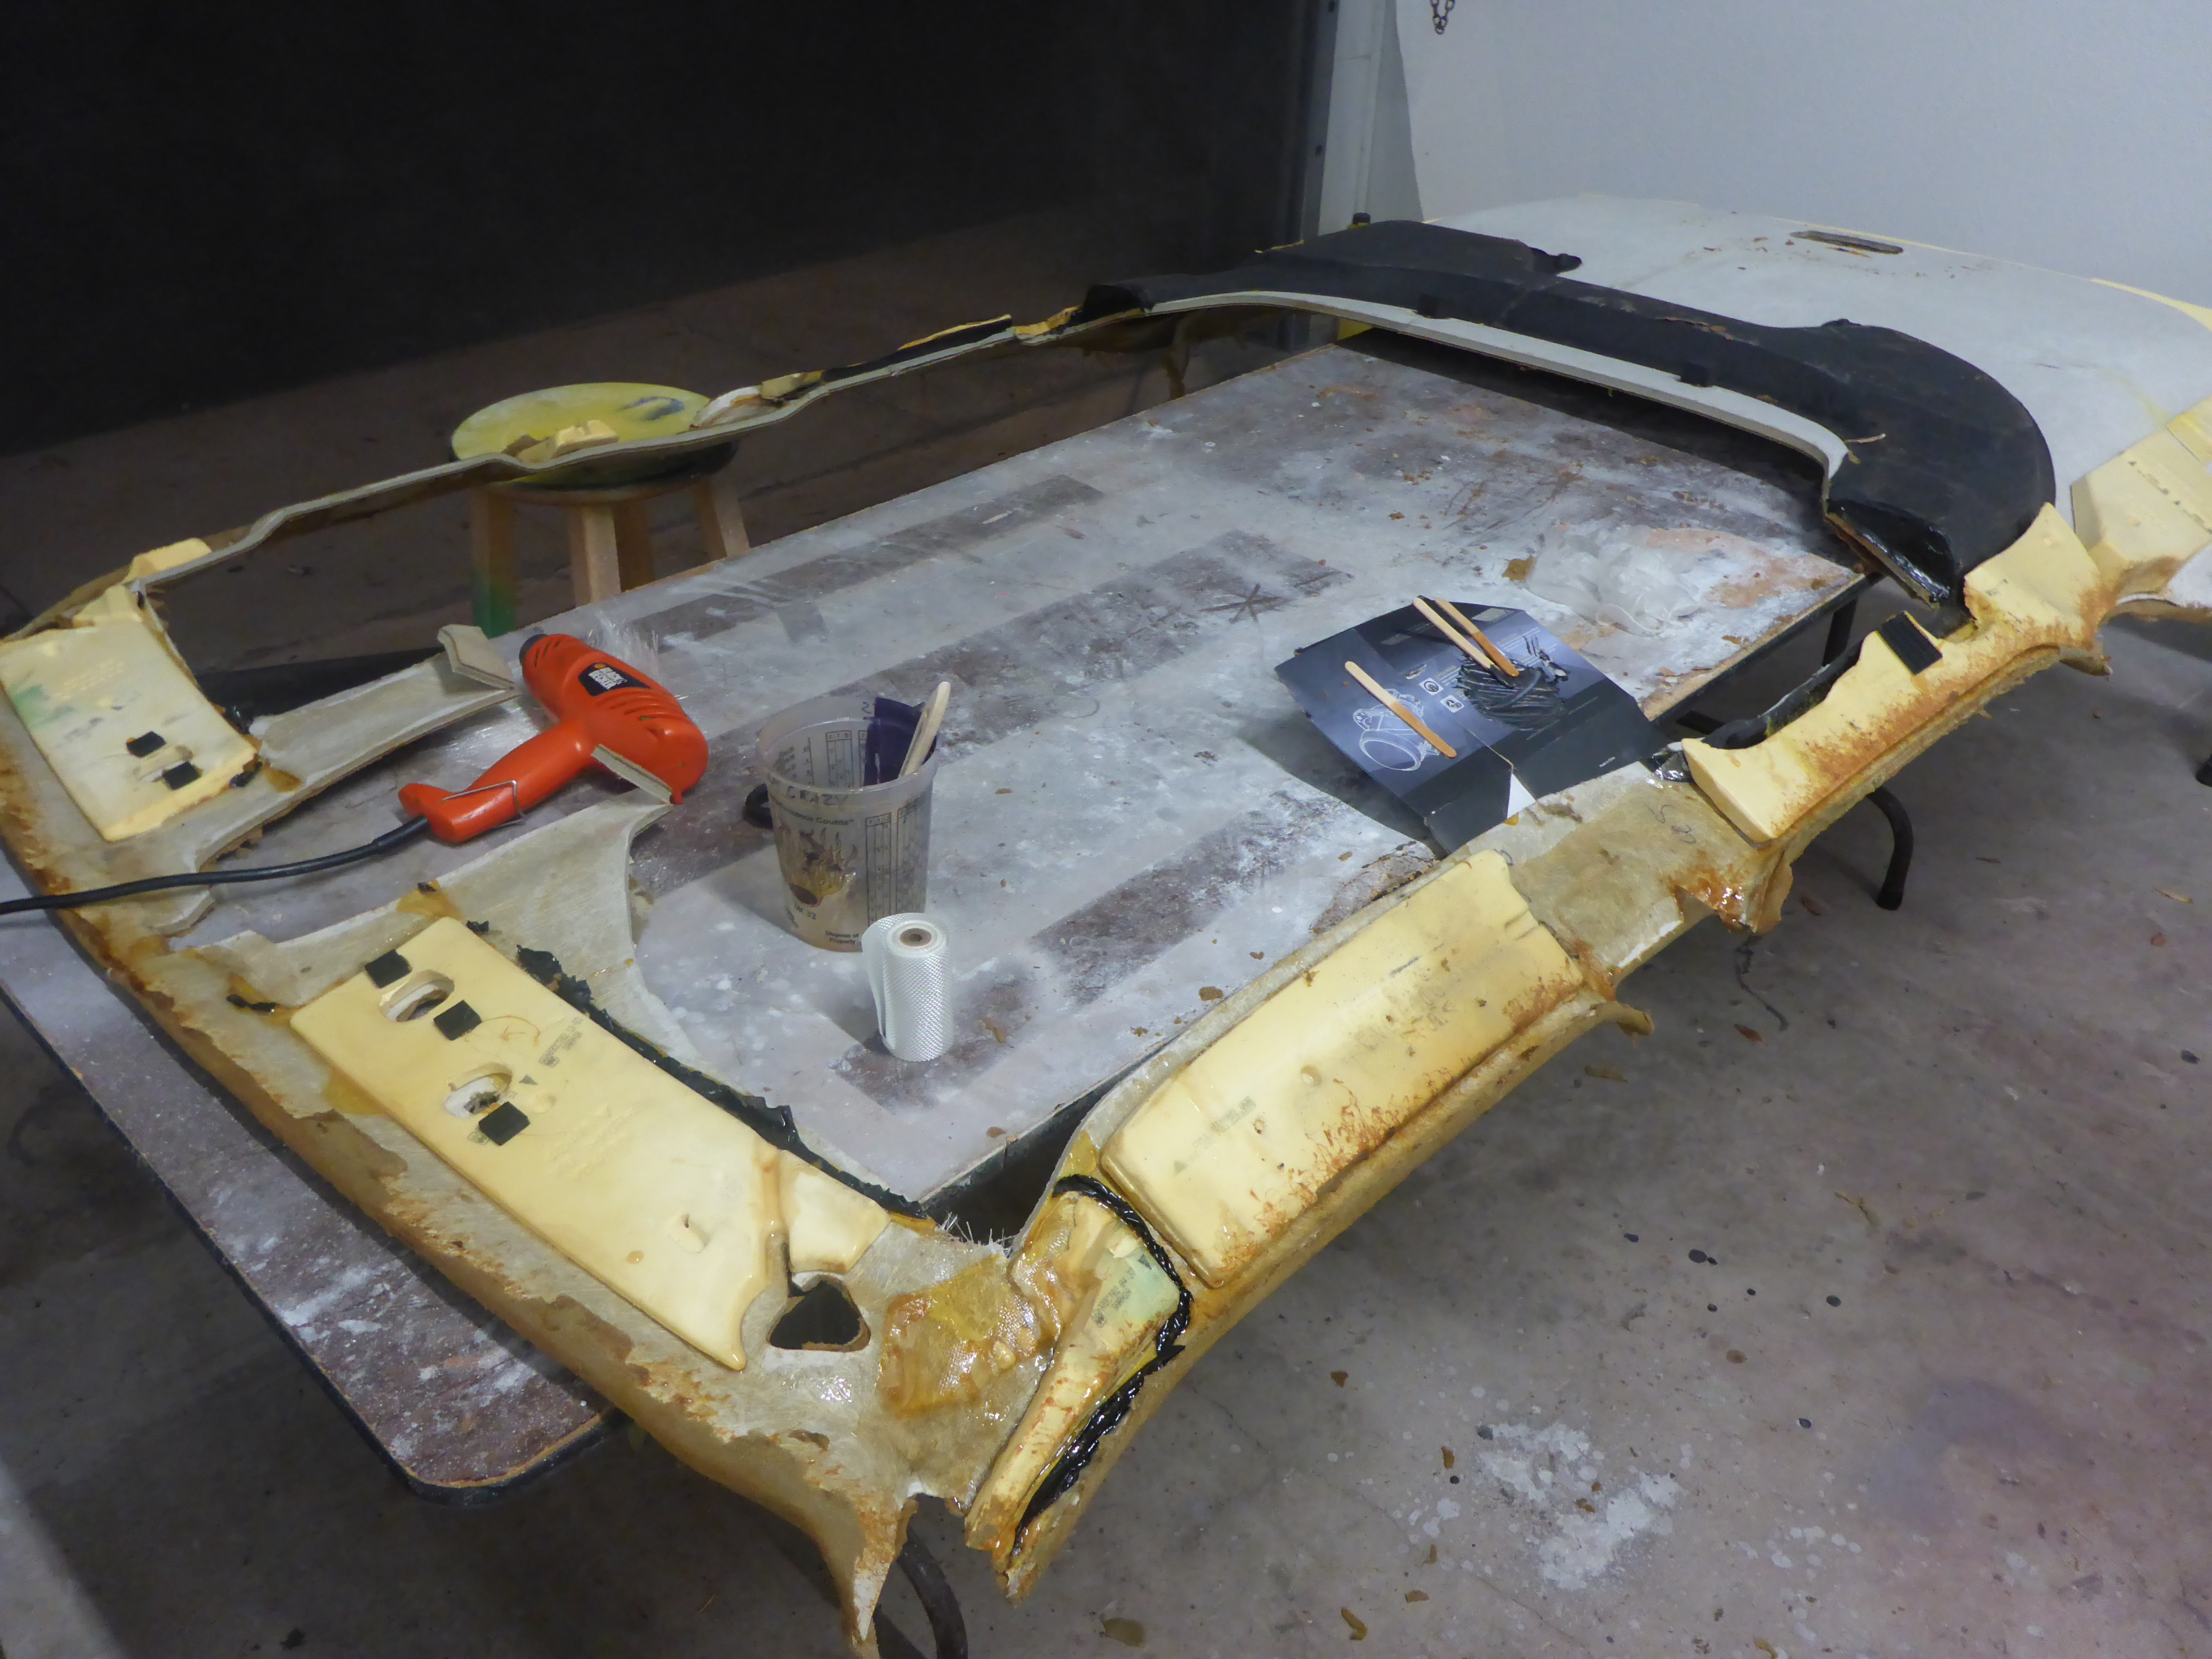
Once that had sufficient curing time, it was a run-of-the-mill headliner upholstery job… if headliners were a trampolines. Regardless, process is the same: clean it up, spray it down (I used LOTS of glue for this one since it was so weak), spray the material, mate the two, wrap the edges, get her nice and pretty. Done and done.


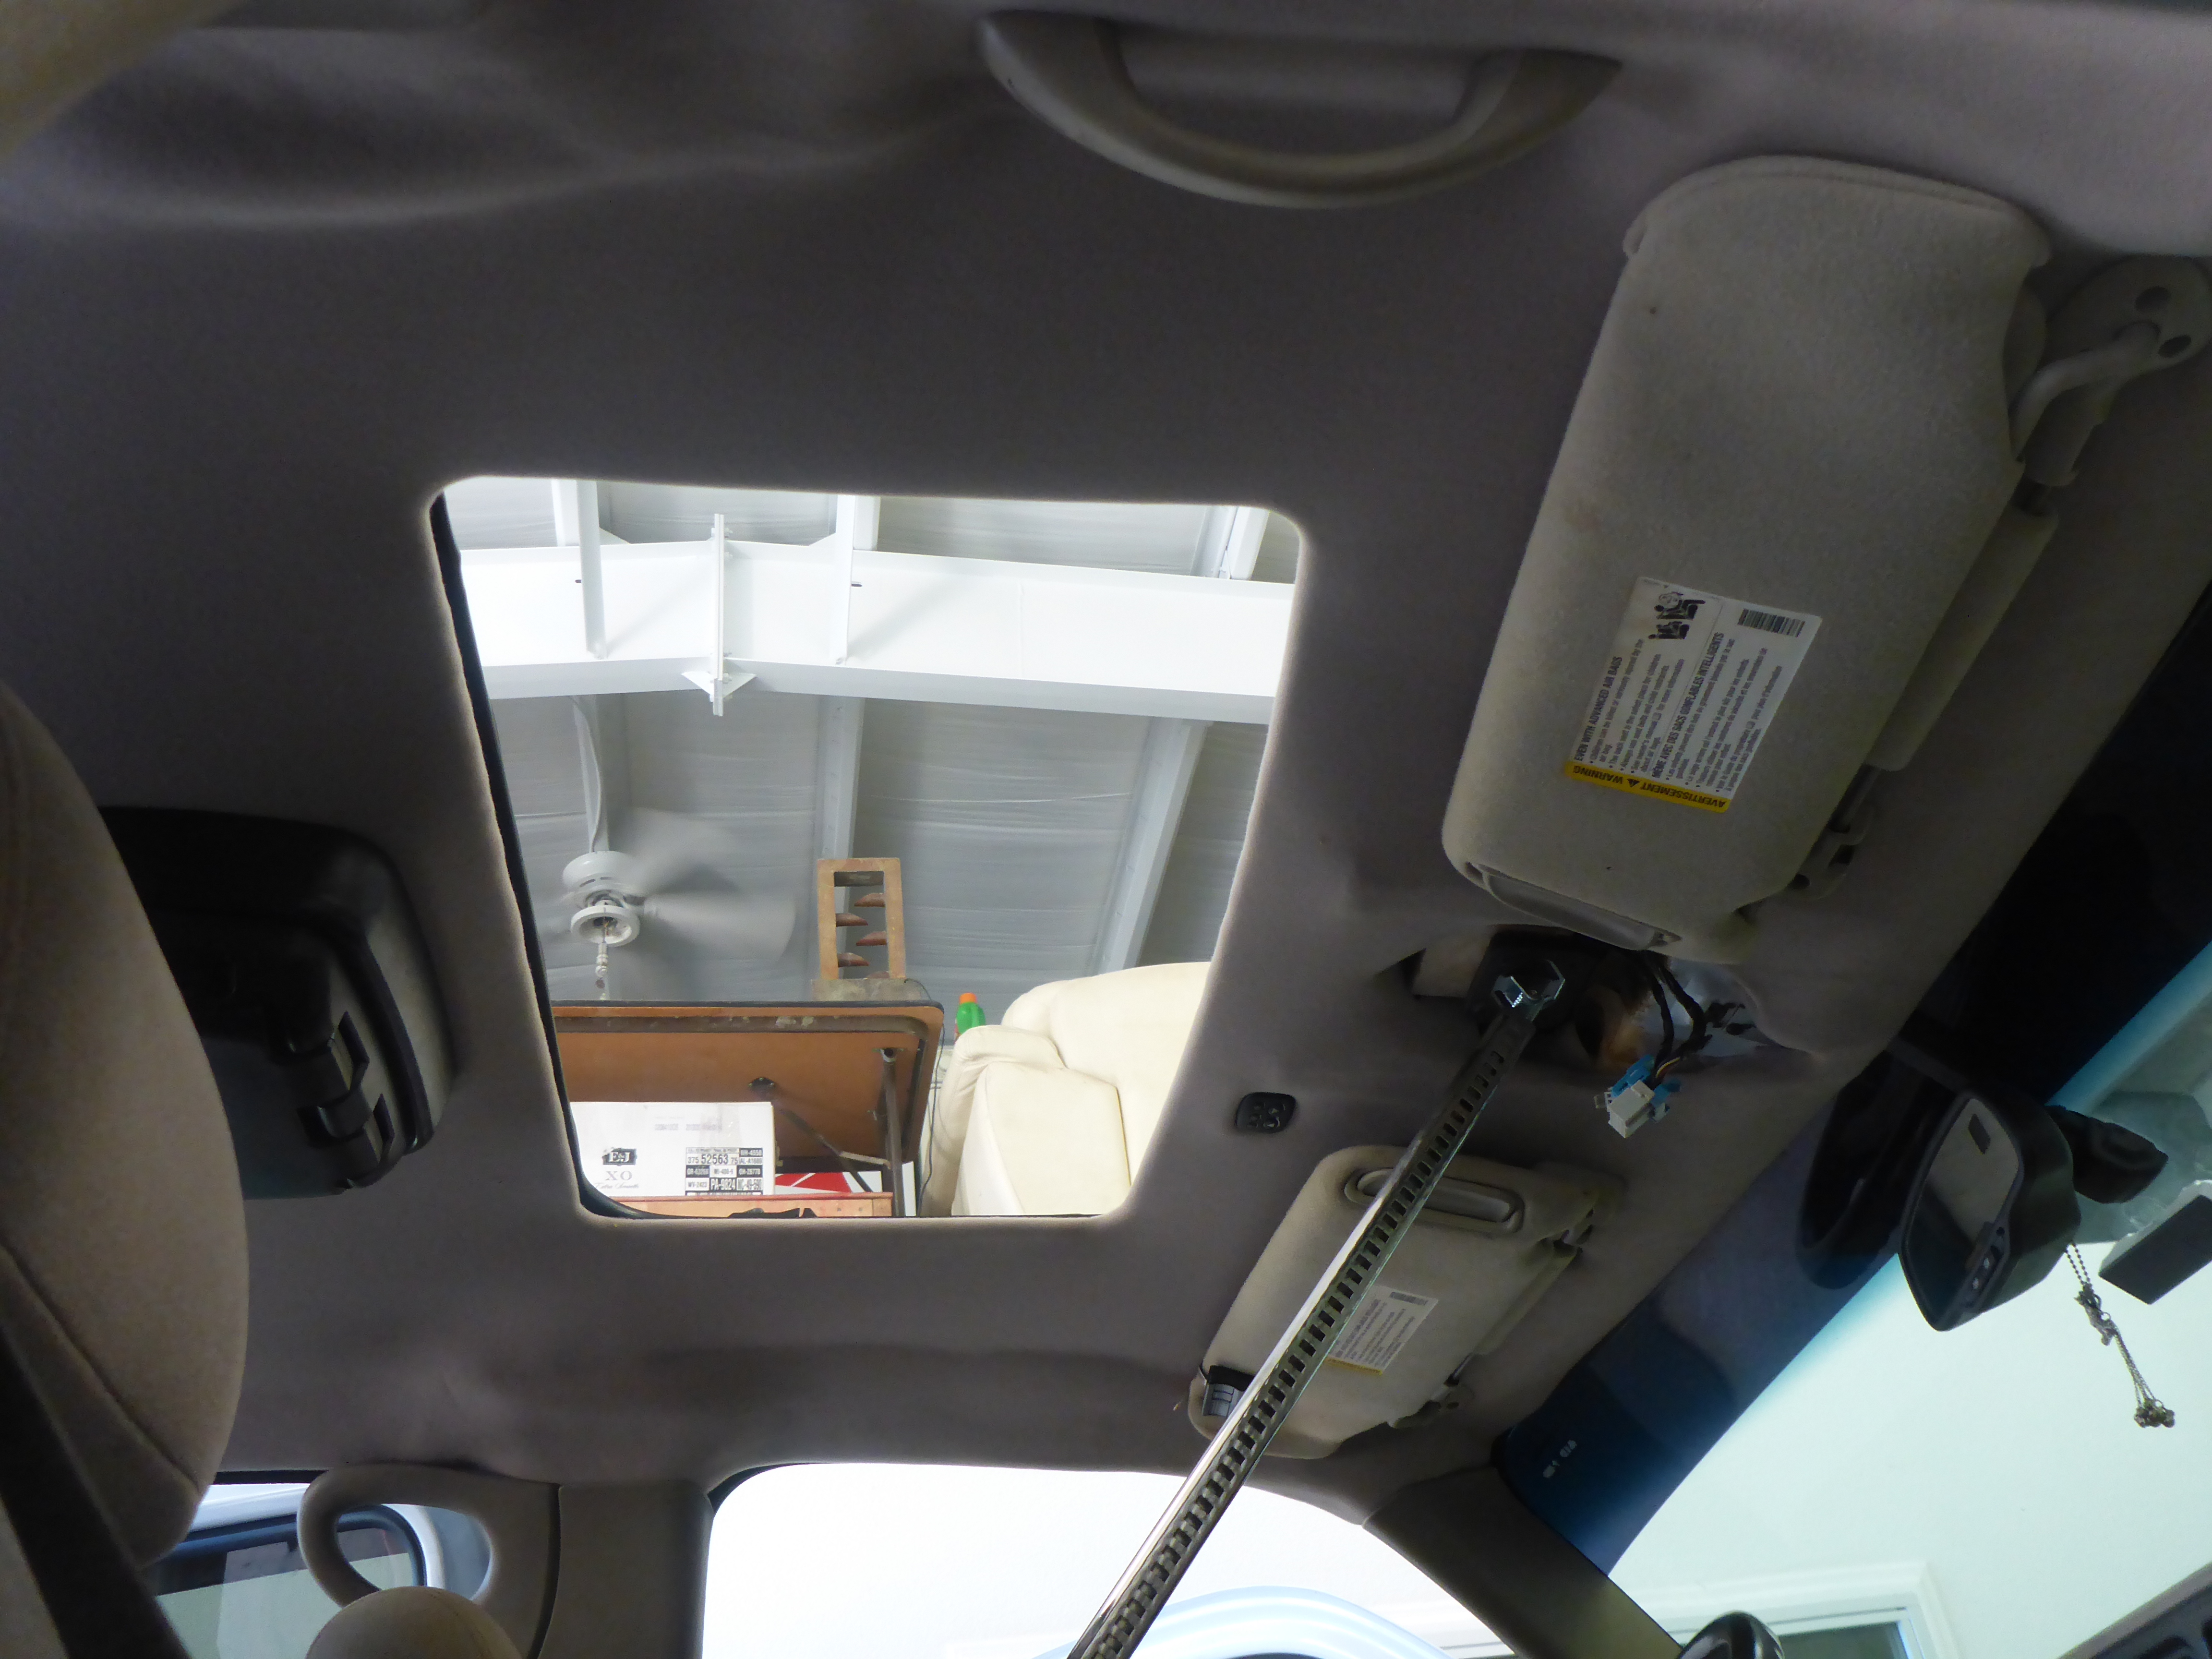
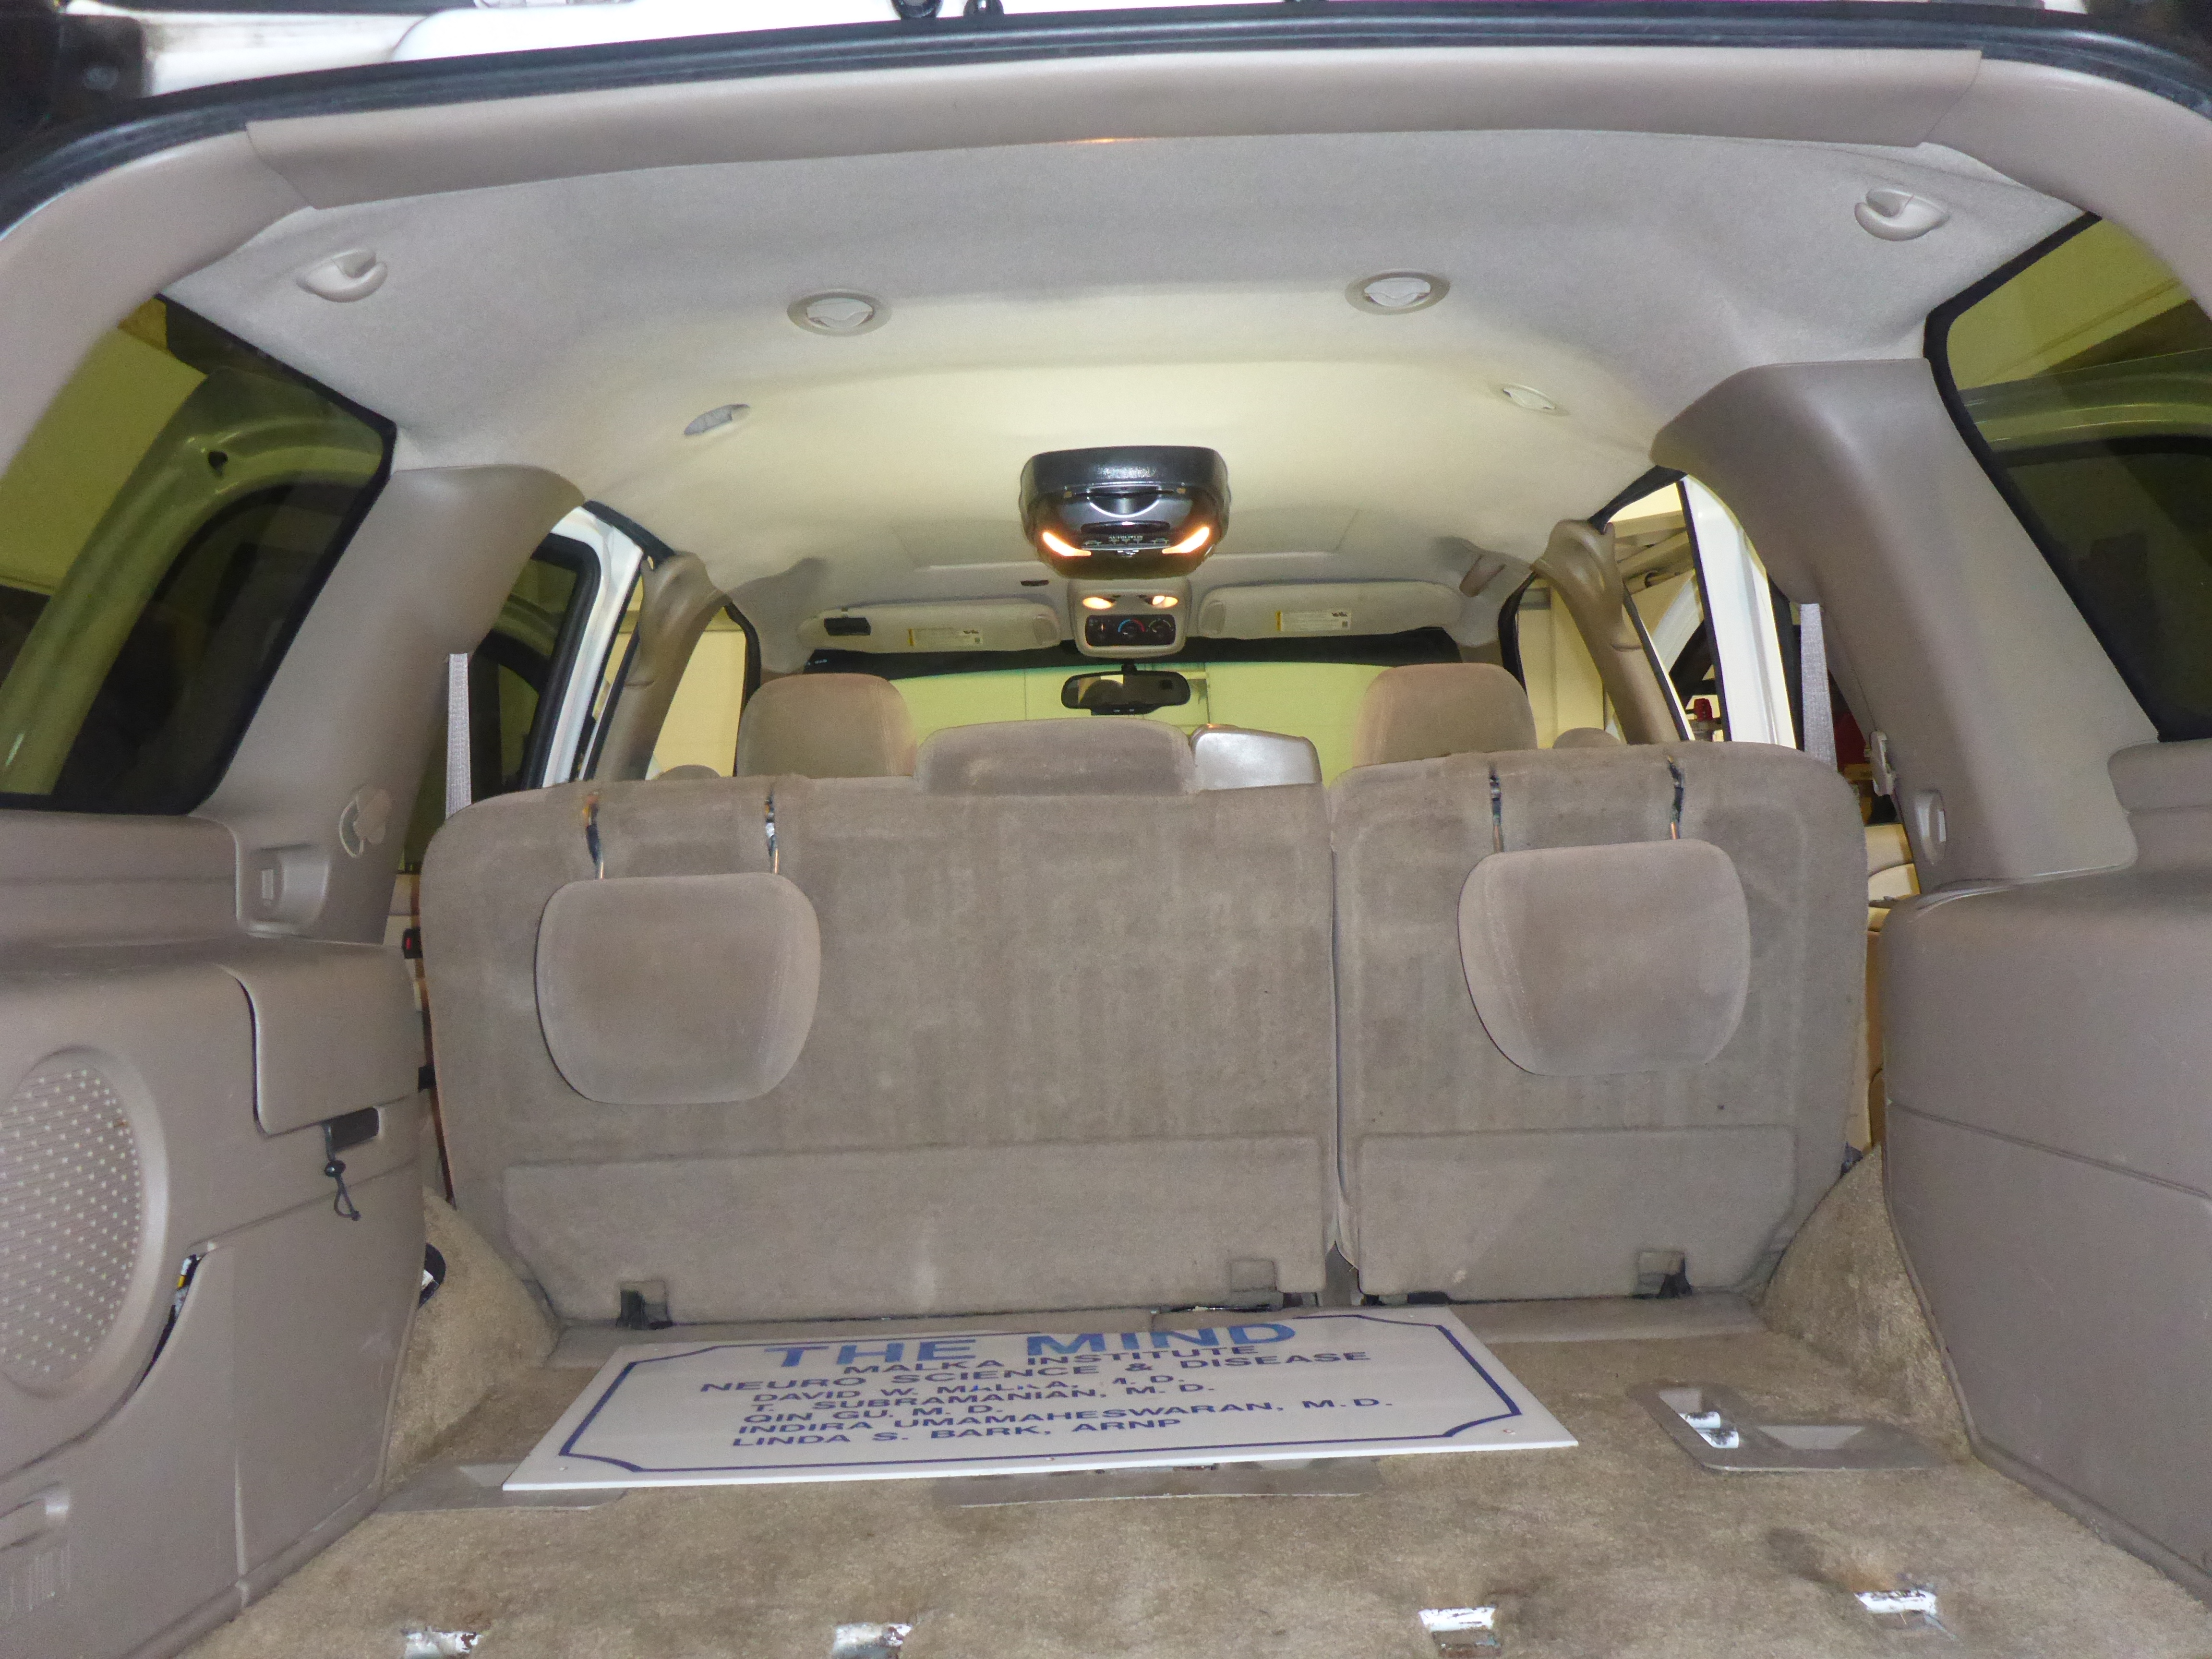
Time to get the freshly wrapped headliner into the car and cover up all the fantastic repair work I just did. I’d say this is the trickiest headliner I’ve ever done because I’ve never had to wrap to an aftermarket sunroof in the car. Normally a headliner is just a trim around the sunroof. But this particular setup had no trim—it required me to pull the fabric up and wrap from outside the vehicle. Either way, the result came out fine. I had to create new mounting points for the front center control pod since I wasn’t going to screw through the sunroof like they did. The sunroof panel itself also got new matching fabric. The material stretch from headliner to drop down wasn’t the smoothest transition from some angles (pictured) but it was surprisingly acceptable in person. To be honest, I expected this to look a lot worse than it did when all was said and done. For a repair job, I did flawless work. For a ‘polishing a turd’ job, I did exceptionally decent. All in all, the client was super happy and everything worked as intended so WIN!

<3 -13- <3